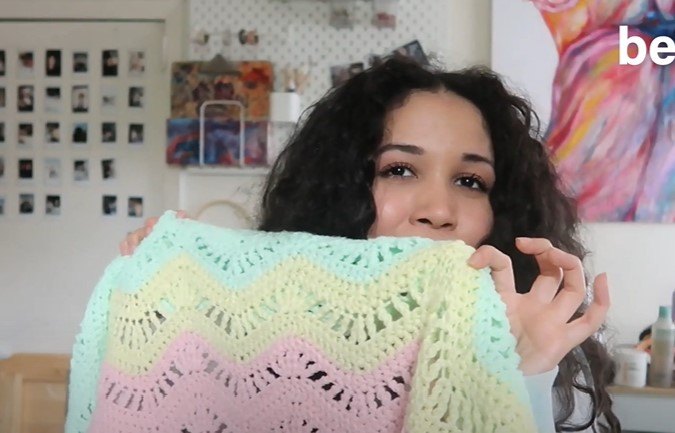
How to Make a Cute DIY Beach Skirt Out of an Old Crochet Blanket

In this tutorial, I’ll show you how I thrifted a pastel crochet blanket and turned it into a DIY beach skirt for spring and summer.
I got this idea when I went to the thrift store and saw a crocheted skirt. I wondered how easy it was to make because it's really just added elastic to the waist, so I could make my own using a crochet blanket.
Upstyle Recommends!
Tools and materials
The beauty of this DIY crochet skirt is that you don’t actually have to crochet anything! All you need are basic sewing skills and some elastic. If you don’t have a sewing machine, you could do this DIY with a needle and thread.
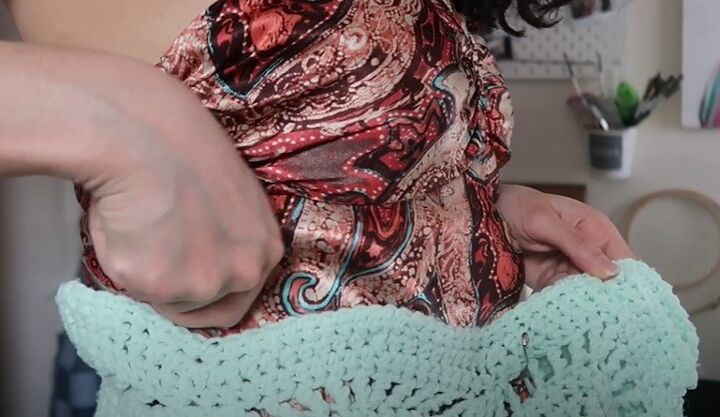
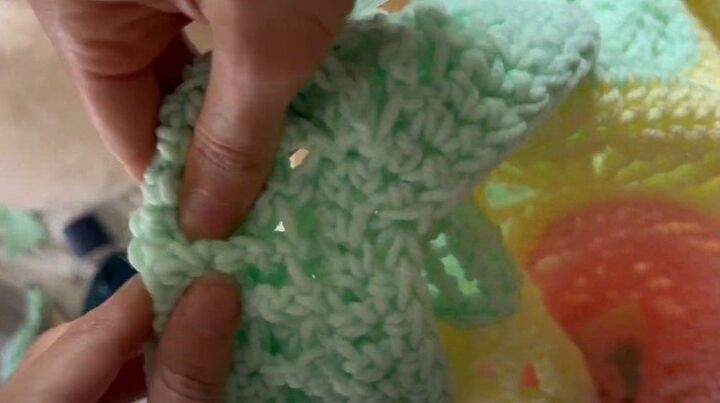
1. Wrap the blanket around the waist
Wrap the blanket around your waist to see where to sew a seam to close the skirt. Use a safety pin to hold it together.

2. Sew the side seam
You don’t need to create a straight A-line skirt like I am doing. You can sew it part way down or at an angle to make an open slit that shows some leg.
Sew the seam with a color thread that will blend in. Then, instead of cutting the excess fabric, lay it flat and sew down.
After sewing, the blanket will look like a tube. Keep the tube inside out because you need to create the waistband.
3. Make the waistband casing
My blanket has a scalloped edge, but your blanket may have a straight edge. Fold down the top edge so that you can fit the elastic through the casing (almost double the width of the elastic).
Use a ruler to make sure the casing is the same size all the way around.
4. Measure the elastic
Wrap the elastic around your waist so you can see how much you will need. Don’t pull the elastic too tight; let it comfortably sit around your waist.
Cut the length of elastic a few inches longer than your waist, so you can tie a knot with the ends.

5. Pin and sew the casing
Lay the blanket on a flat surface to create the waistband. Use the ruler as a guide to pin all the way around the blanket.
Instead of using straight pins that may get lost in the crochet pattern, pin the waistband using larger safety pins.
Use the zigzag stitch on your sewing machine to sew the waistband. The zigzag stitch is the best one for stretchy fabrics.
Tip: You can fully close up the waistband when you are sewing it. You don’t need to leave a hole since there are many holes available to pull the elastic through.

6. Insert the elastic
Insert the elastic into the waistband. Take a safety pin and insert one into each end of the elastic you cut. Insert one end of a safety pin into the waistband.
Use your fingers to guide the elastic through the entire waistband.
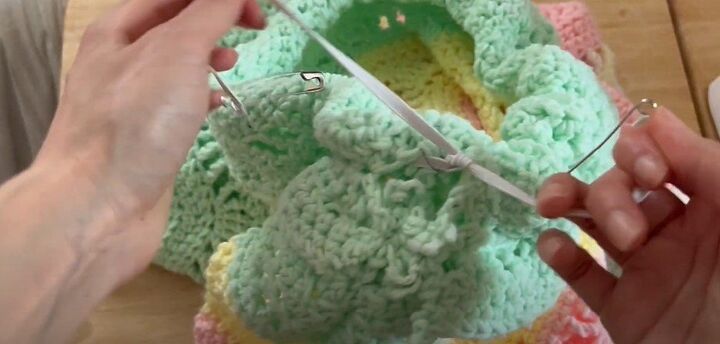
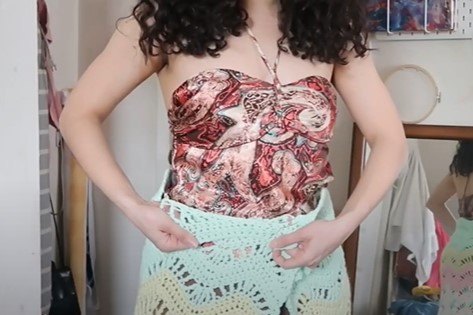
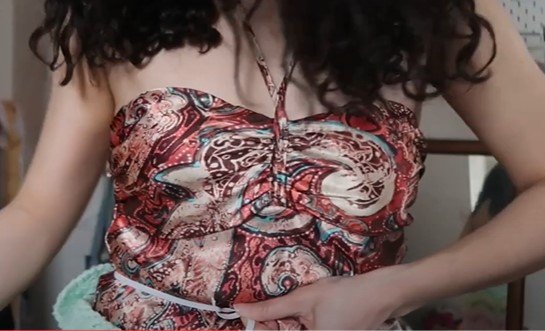
Tie the ends twice to secure the elastic. Remove the safety pins after securely tying the two ends of the elastic. Turn the skirt to the right side and you’re done!
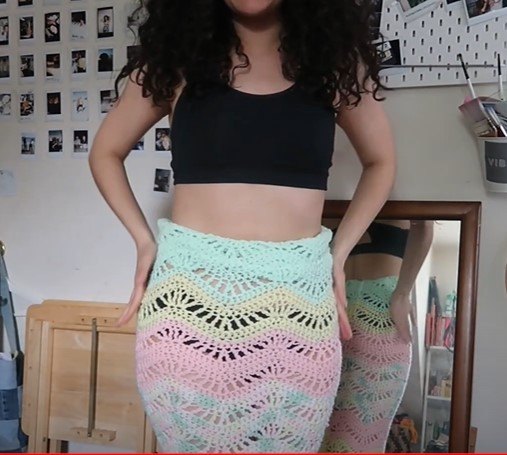
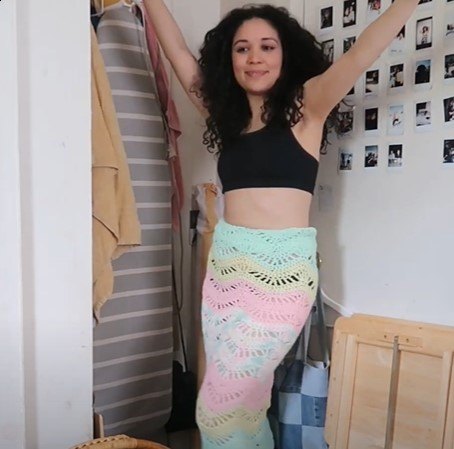
DIY beach skirt tutorial
Now you have a beautiful and comfortable skirt that will show off your lovely hourglass figure! It’s the easiest and quickest DIY you can make. You don’t even have to hem because the blanket already has finished edges.
Let me know what you think of this beach cover-up skirt or where you’d wear one if you made it for yourself. If you've enjoyed the tutorial, make sure to let me know in the comments below.
The author may collect a small share of sales from the links on this page.


Comments
Join the conversation
A word of caution: if someone actually crocheted the blanket, be careful cutting the blanket, if will be a disaster with threads coming undone all over it. It isn’t like material being cut.
How adorable! Kinda reminds me of a mermaid too.