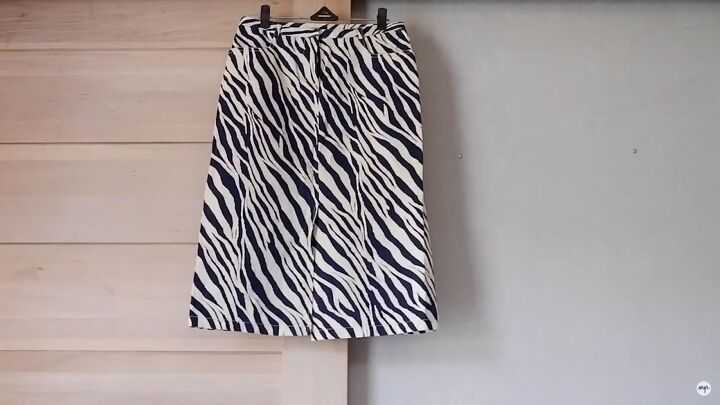
How to Make a Cute DIY Baguette Bag Out of an Old Skirt

So, we are going for a thrift flip today; transforming a skirt into a cute DIY baguette bag! This is so easy and definitely a fun process!
In this tutorial, you’ll learn how to make a baguette bag, and I'll be sharing my pattern too. I’m so excited to show you the results, so let’s get into it!
Tools and materials:
- Old skirt
- Sewing machine
- Matching thread
- Needle
- Scissors
- Ruler
- Paper
- Pins
- Lining from an old bag
- Zipper

1. Seam rip
Seam rip the skirt so that you have a large piece of fabric to work with.
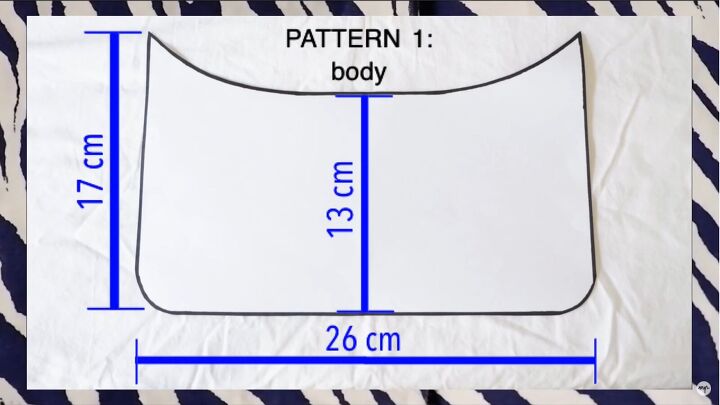
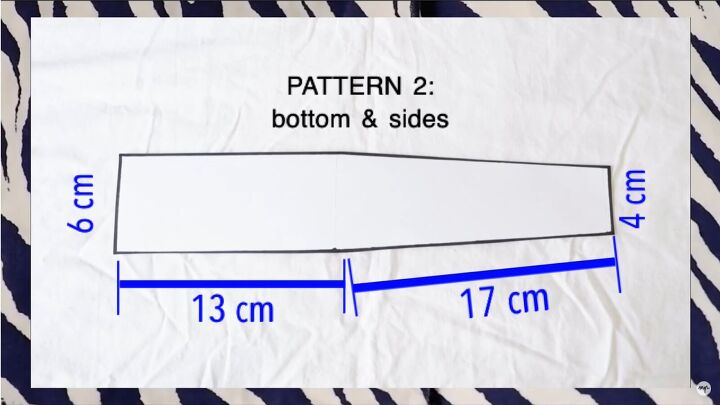
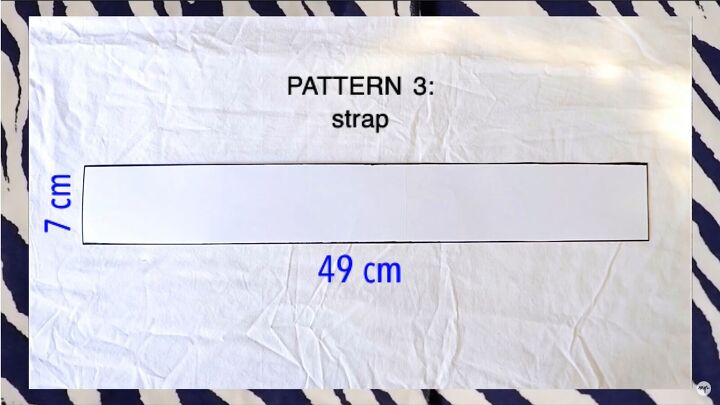
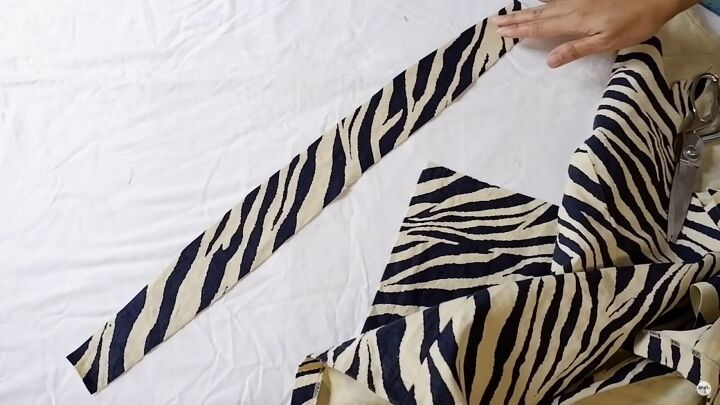
2. Cut the DIY baguette bag pattern
These patterns are based on my preference, so feel free to adjust them accordingly.
- Body x 2 pieces: height 17cm (6.69 inches), length 26cm (10.23 inches), width 13cm (5.11 inches).
- Bottom and sides: long side 6cm, short side 4cm (1.57 inches), thicker width 13cm (5.11 inches), thinner width 17cm (6.69 inches) - this is half of the actual size.
- Strap - 7cm x 49cm (2.75 inches x 19.29 inches).
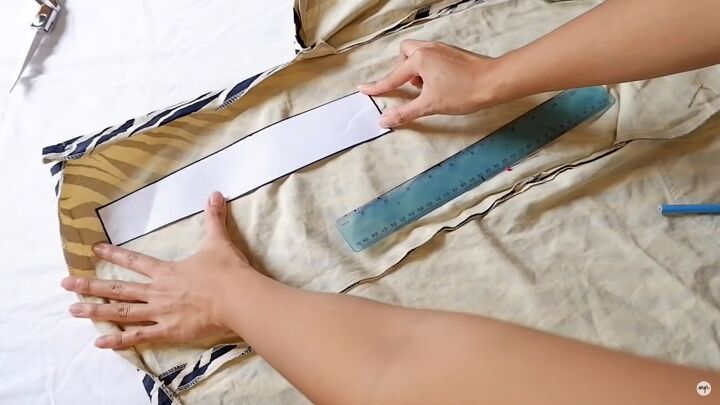
Note that the bottom and sides pattern is half of what is needed. So, trace the pattern then flip it over and trace the other side. Remember, longer ends must touch.

Ok, now that you have your pieces, let’s move on to assembling the DIY baguette bag!

3. Sew the DIY baguette bag
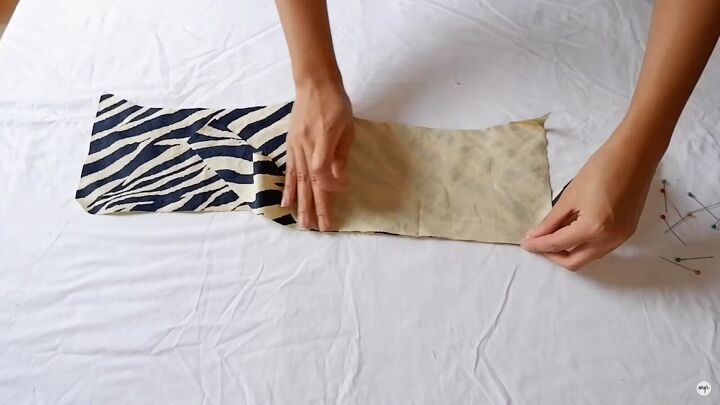
To make the main structure of the bag, you’ll need the two side pieces and bottom panel. Fold each piece in half and mark the center point. These will be your notches that you’ll need to align.
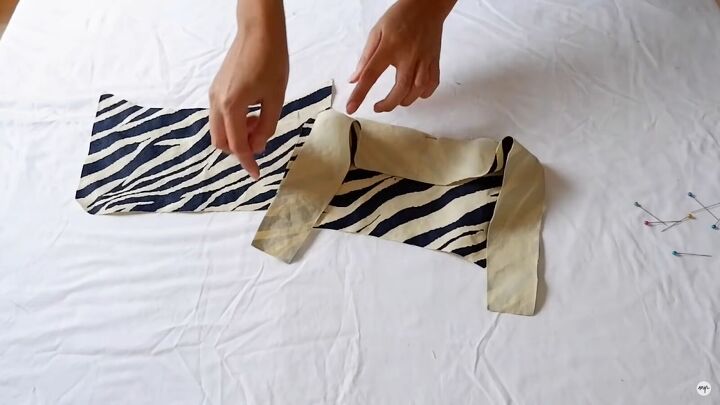
Align the bottom piece’s center to the side panel center and begin pinning the sides around. Both pieces should be right sides facing.
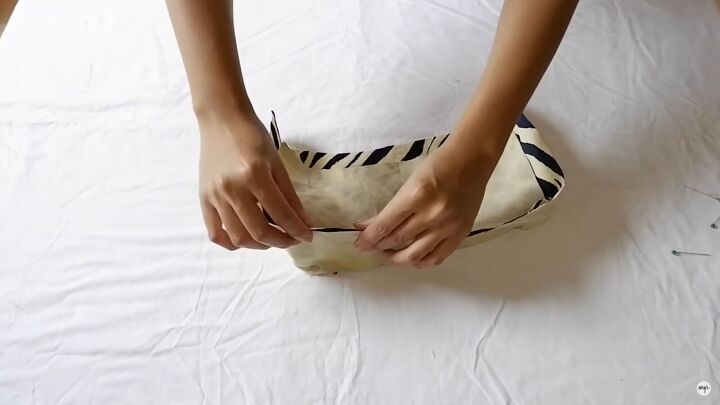
Then, align the remaining side panel’s center point to the bottom point and pin.

Head on over to your sewing machine and sew the pinned edges.
At this point, you can already see how the DIY baguette bag is already coming to life!
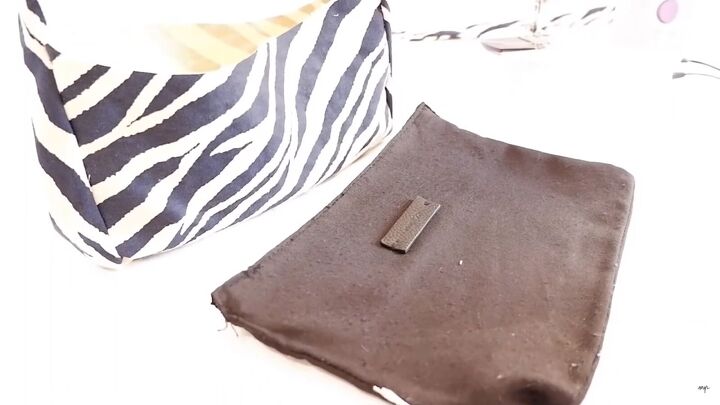
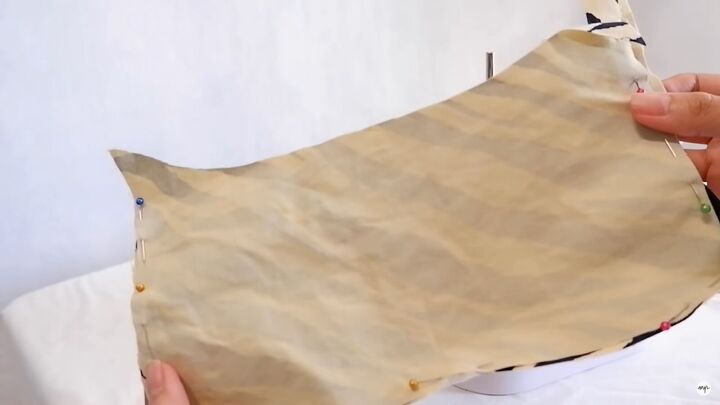
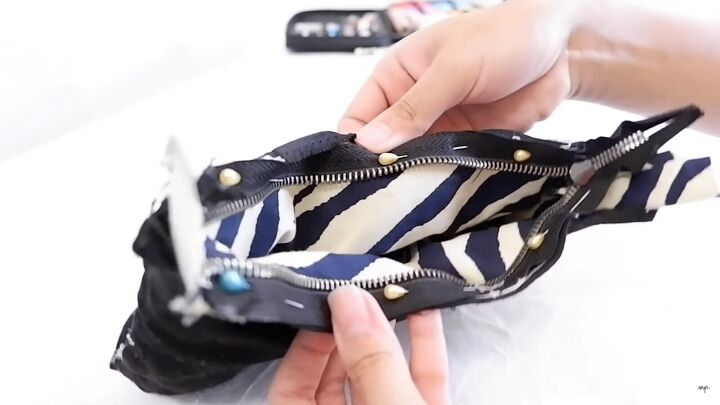
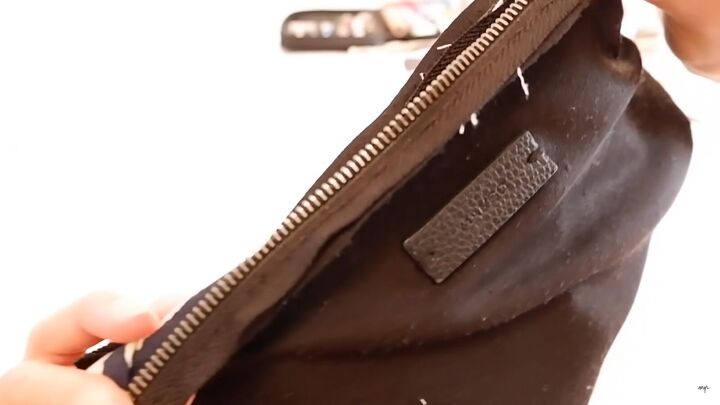
4. Add the lining and zipper
Before we add the handle, let’s add a lining to the bag itself. I have an old lining from another bag.
If you don’t you can easily make your own lining following the same steps above. Also, we will be using a zipper.
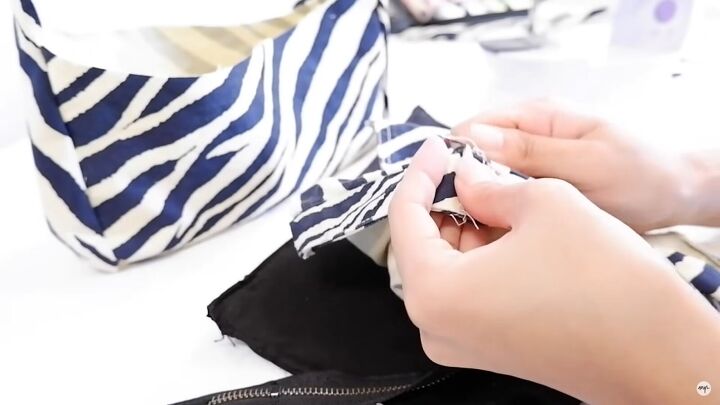
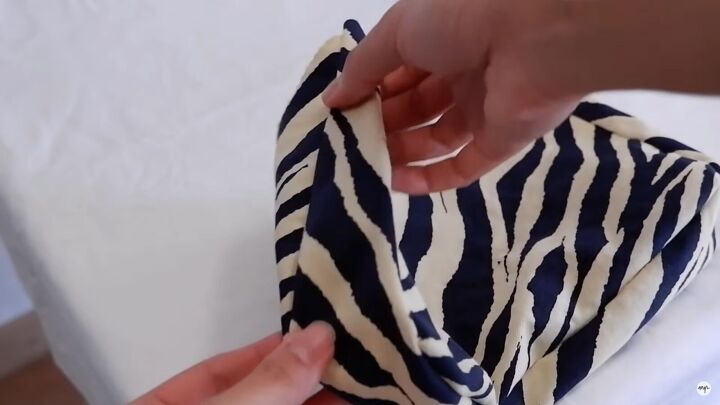
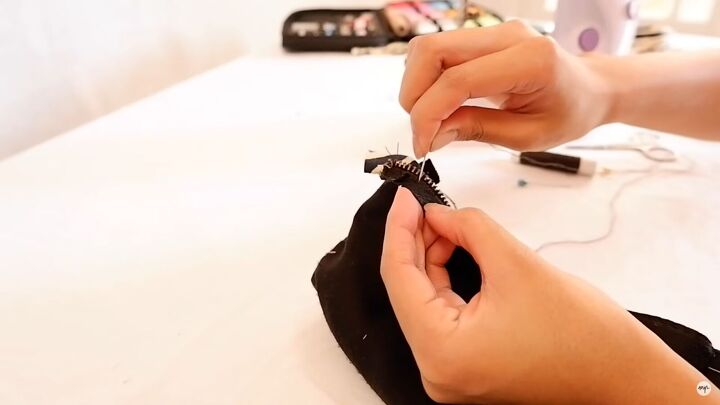
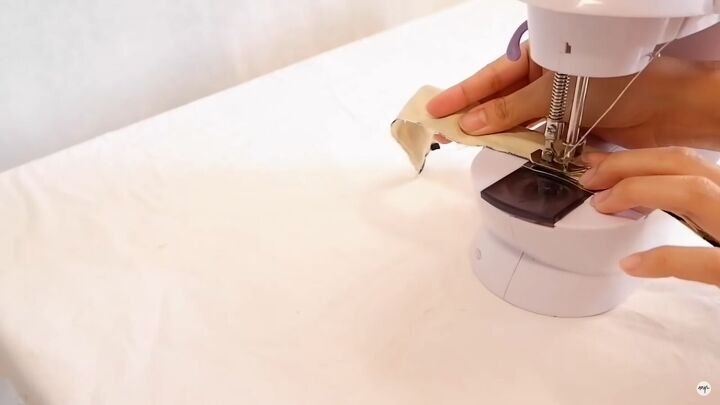
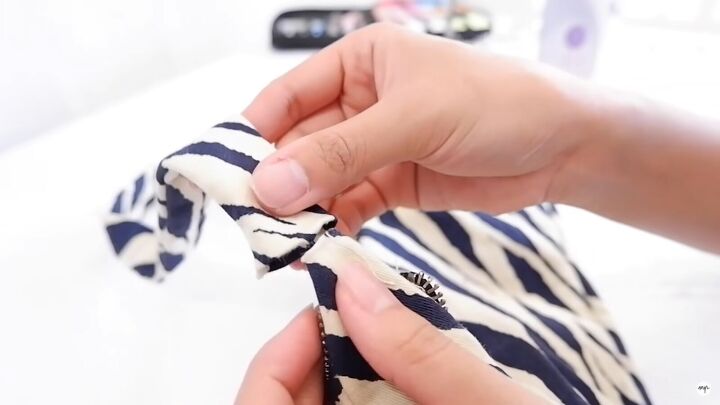
I’m seam ripping a belt slot from the old skirt. This will be a handle for my zipper.
Insert the small fabric piece through the zipper’s loop and topstitch the ends.
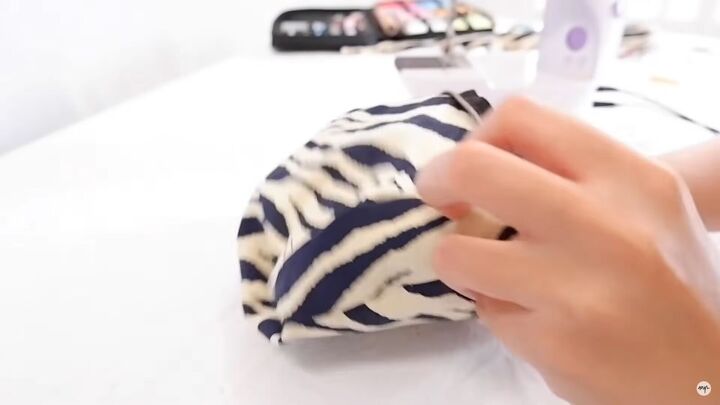
Now, place your bag inside the lining, wrong sides facing.
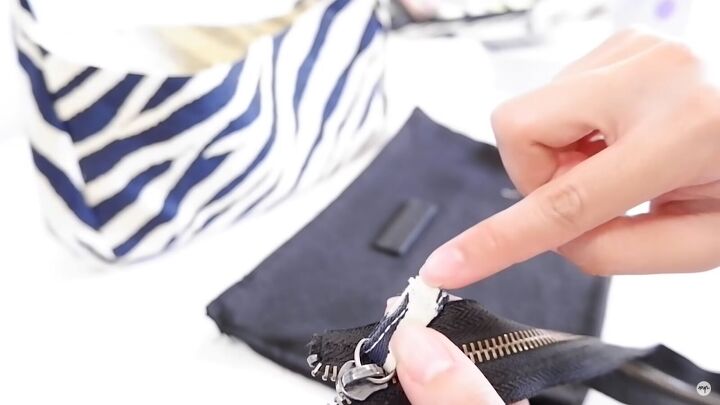
To attach the zipper, make sure the right side of the main fabric should face the right side of the zipper’s side. Pin the zipper together with the other two fabric layers on top.
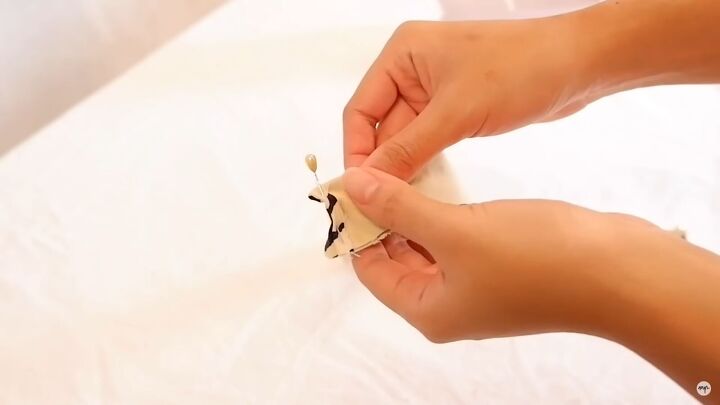
Unfortunately, my sewing machine was acting up so I had to resort to handstitching all three layers with a simple backstitch.
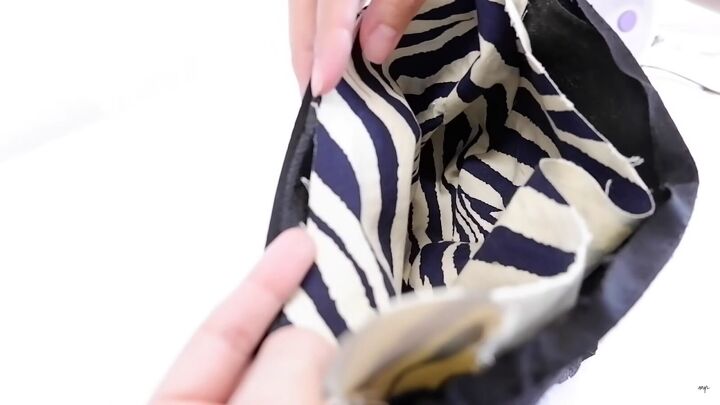
This is how it turned out.
Now, flip your bag inside out.
5. Add the strap
Fold your strap piece into two, right sides facing. Also, fold the ends of each side by ½ cm (⅕ inch)
Now, do a straight stitch along the edges and shortends.
To attach the straps, slide the upper edge of the bag into the strap itself. Next, do a topstcih on both sides and you’re done!

DIY baguette bag tutorial
I absolutely love how this DIY baguette bag turned out! It’s so quick and a great upcycle from a clothing item you no longer wear.
Now that you know how to make your own baguette bag, what color or print will you choose? Let me know in the comments below, I’d love to hear your feedback.
The author may collect a small share of sales from the links on this page.


Comments
Join the conversation
Love it!!!
Absolutely adorable and the possibilities are endless. Thank you for sharing this great project! ♥️