How to Make Your Own Cold Shoulder Top in 7 Quick & Simple Steps

In this tutorial, I’m going to show you how to make your own cold shoulder top, the easy way.
If you have an old denim dress just sitting in your closet, or you found the perfect piece at a thrift store just waiting to be transformed, you’re in the right place.
Keep reading to find out how to make a super easy cold shoulder blouse.
Tools and materials:
- Denim dress
- Pins
- Scissors
- Fabric chalk
- Fine-tooth comb
- Sewing machine
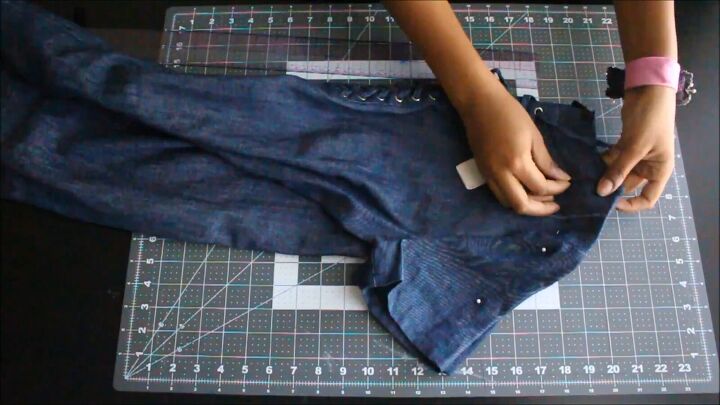
1. Line up the arm seams
Fold your dress in half and line up the armhole seam for the front and the back. Pin down for security.
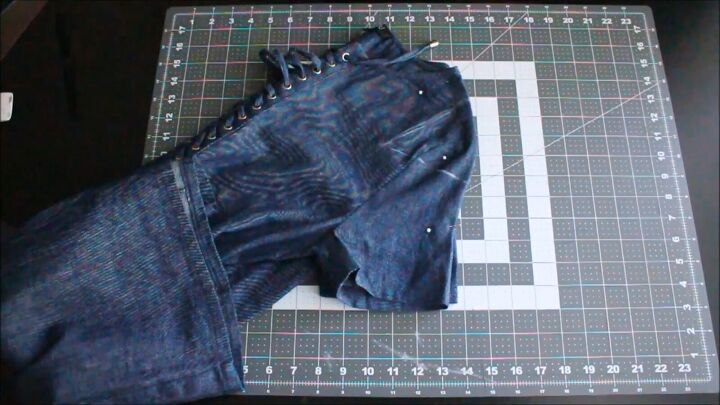
2. Mark the fabric
At the armhole seam, measure 4 inches down and mark. Then, measure 2 inches to the left of the armhole seam and mark, and then repeat for the right of the armhole seam.
Connect the first mark with the other two marks. It should look like a triangle.
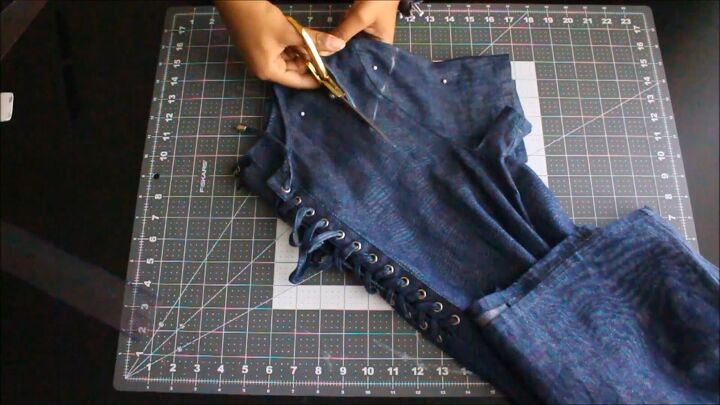
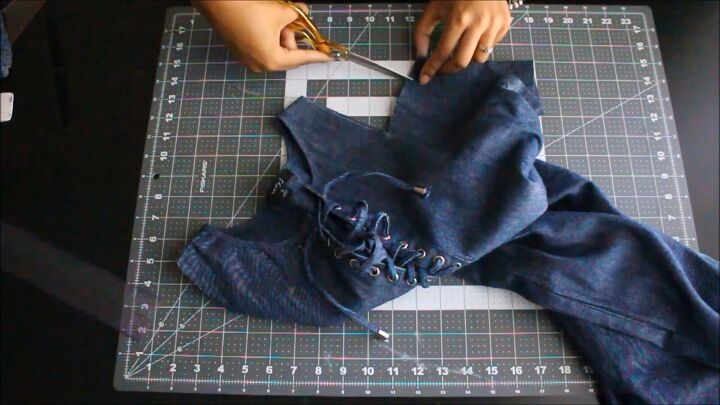
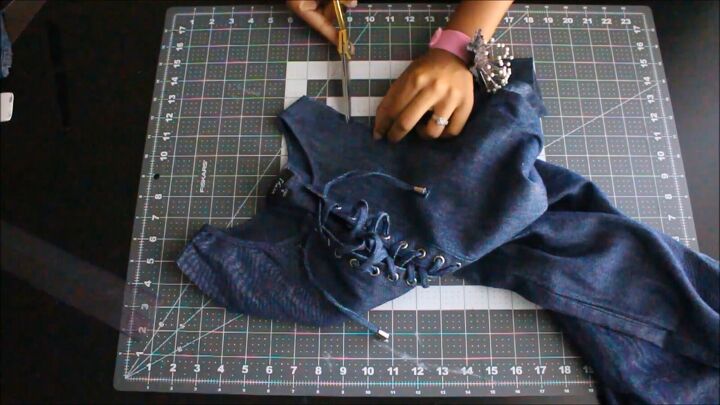
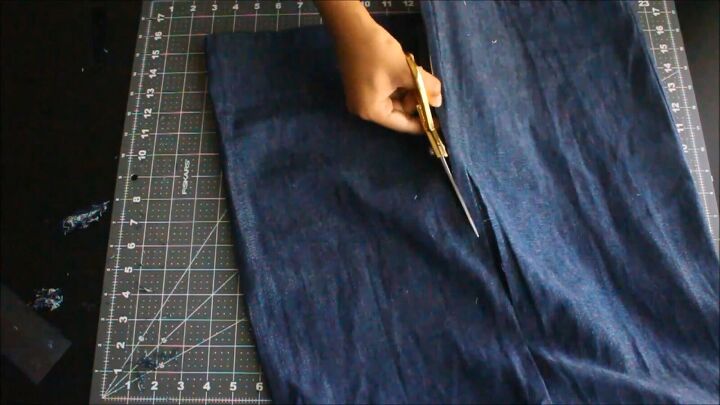
3. Cut along the lines
Now, following the line you just marked, cut out the excess fabric. You can now remove the pins.
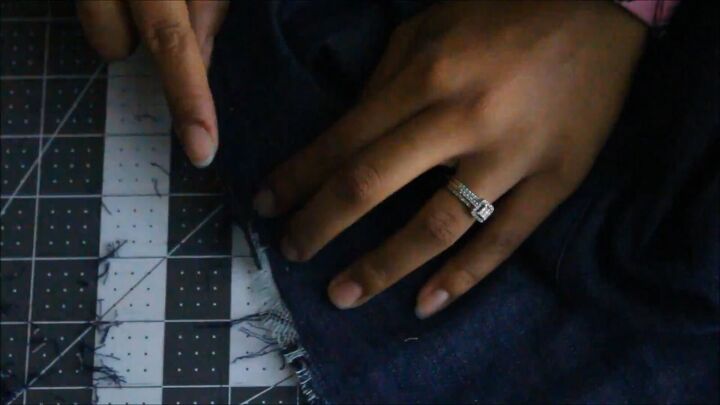
4. Fray the shoulder cut-out
Now we’re going to fray the area we just cut out. Start by unfolding the dress as you should only do one side at a time. Then, using your scissors, make small cuts all the way across the fabric.
You should do this on both corners. The cuts shouldn’t be too long and should be somewhere around ¼ inch.
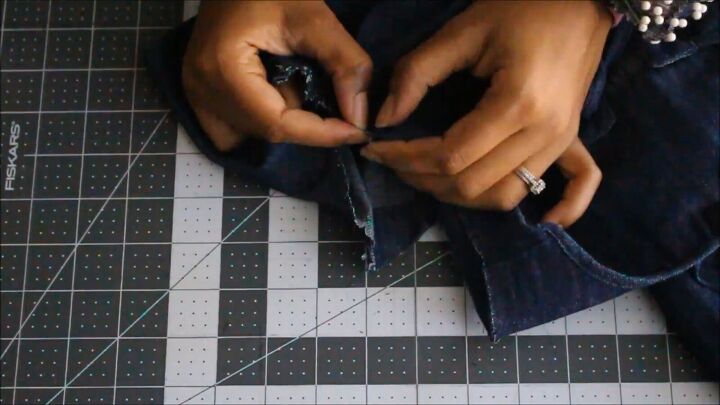
To make the fray, pull apart each slit that you just made with your fingers so the threads begin to show. Do this all the way around the area you just cut.
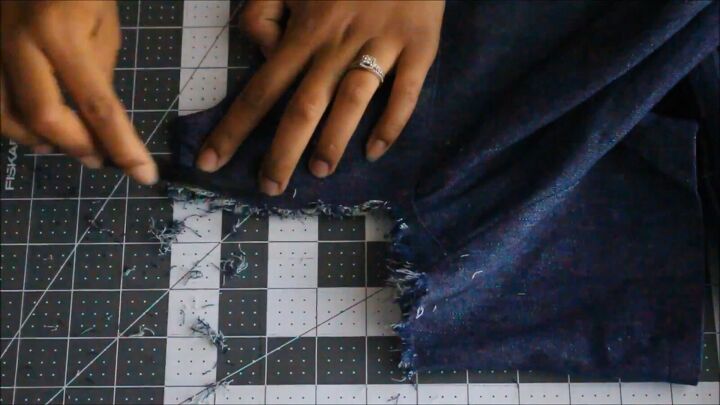
Next, take a fine-tooth comb to comb out the threads and smooth them out.
My preferred technique here is to go front-back-front-back and then brush it out. This is when you’ll really start to see the fray form.
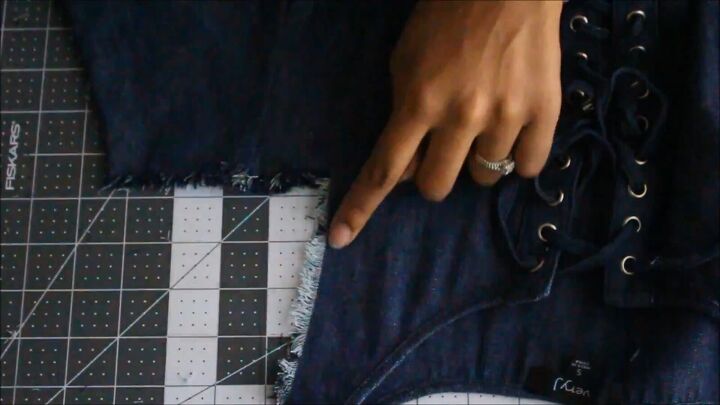
5. Sew the cut-out
Create a new seam along the shoulder cut-out by sewing it together with a straight stitch. This is going to protect your fray from completely unraveling the top when you wash it.
6. Cut a slit into the side
Turn your dress and line up the side seams. Then, cut out the side seams about halfway up the dress to create a slit and open it up.
I ran into a pocket as I was cutting out the seam and went ahead and cut it out, so remove any pockets if you have them.
7. Fray the side slit
Now, using the same technique you used with the shoulder cut out, fray both sides of the new slit.

How to make your own cold shoulder top
Your DIY cold shoulder dress is now complete! The coolest thing about this dress is, depending on how far you cut your split, you can wear it as a dress or a top.
I really liked the top look, so that’s how I decided to make it. Now that you know how to make cold shoulder sleeves, let me know how you decide to use this tutorial to transform other pieces in your closet!
The author may collect a small share of sales from the links on this page.


Comments
Join the conversation
Cute way to make a dress that’s gotten too small at the waist fit again…the waist is my biggest enemy…