How to Make a Cute DIY Scarf With Sleeves in 4 Quick Steps

Pick up a thrift store scarf and flip it into a sweater scarf and a wrap shawl with sleeves – all in one piece! Follow this tutorial to learn how to make your scarf with sleeves and how to wear both styles. Let's get started.
Tools and materials:
- Thrift store scarf
- Measuring tape
- Sewing pins
- Scissors
- Marker pen
- Sewing machine

1. Choose your scarf
Whether you are buying or making your scarf for this project, make sure it’s very long and wide and has a lot of stretch to it.
When you put it all the way around the back of your neck once, it should hang at least past your wrists and be wide enough to completely drape over your arms.
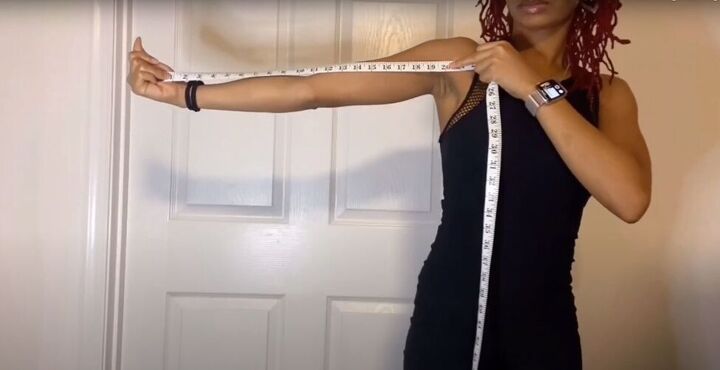
2. Measure the sleeves
Measure the length of your arm from wrist to underarm and make note of that measurement.
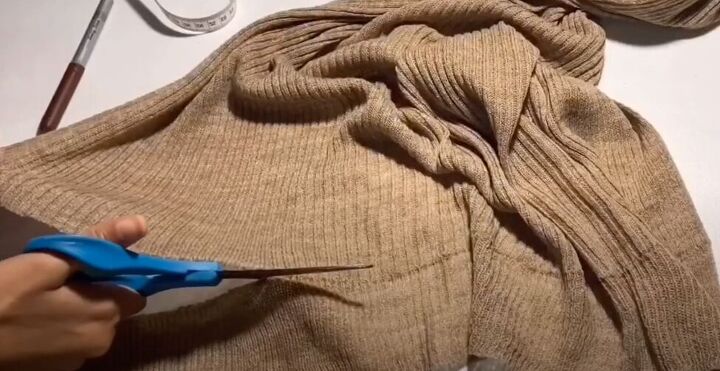
Now, lay out your scarf and check if the ends of it are finished differently than the rest of the scarf.
If they are, as in this example, then first measure that end piece and then cut it off. Set those cut-off pieces aside for later.
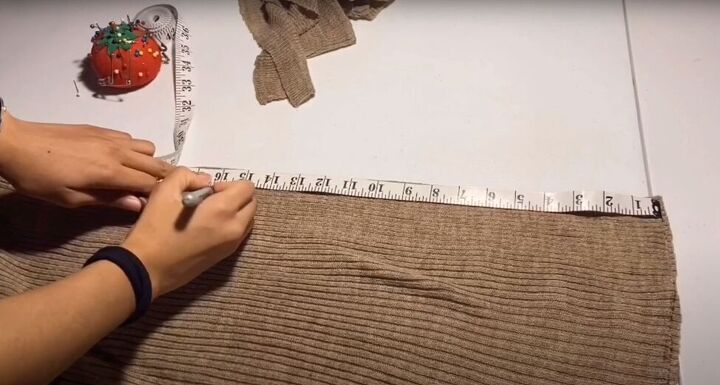
Fold your scarf in half lengthwise. Subtract the width of the piece you just cut off from the measurement you took for your arm and mark that new measurement along the open edge of your folded scarf.
So, if your arm was 20 inches long and you cut 4 inches off your scarf, place a pin at 16 inches from the new bottom of your scarf.
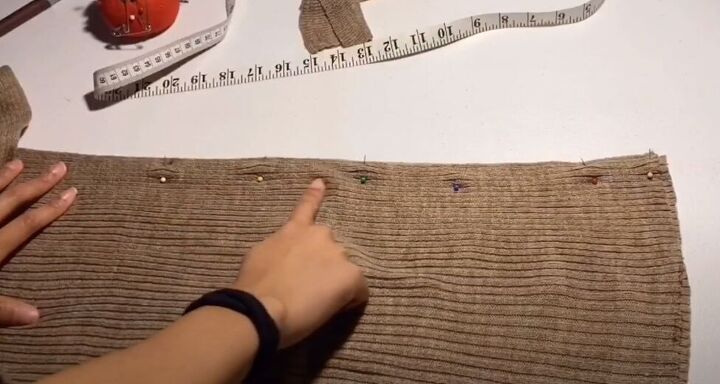
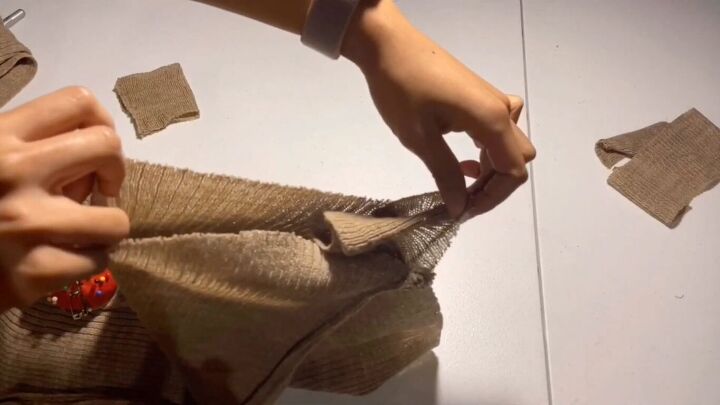
Pin the open edge of the scarf from the 16-inch point to the bottom.
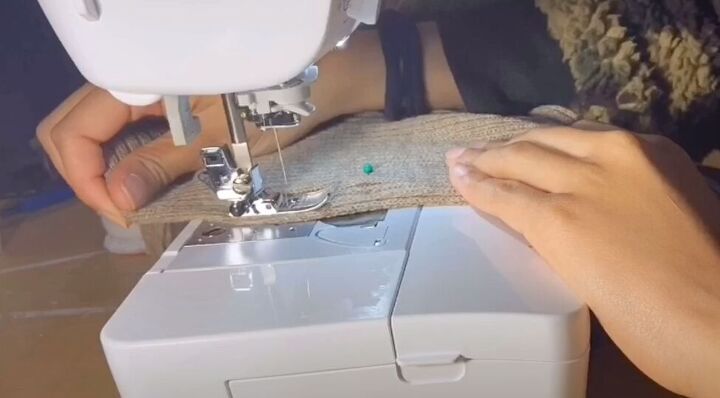
Sew the 16 inches closed using a wide zigzag stitch on your sewing machine. Start that seam a little bit in from the very end and work to your first pin.
Don’t start sewing right at the very end because the stretchy fabric may hamper the closing of the seam.
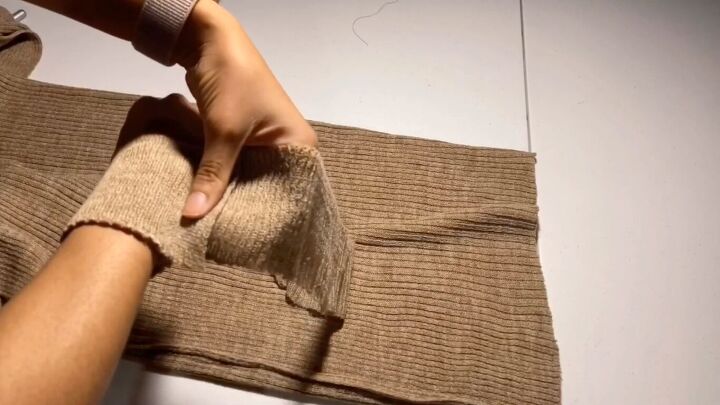
3. Make the cuffs
Using the strip you cut off the end of your scarf, drape it around your wrist to get a comfortable cuff fit. Then, take it off your wrist and pin it to the right size.
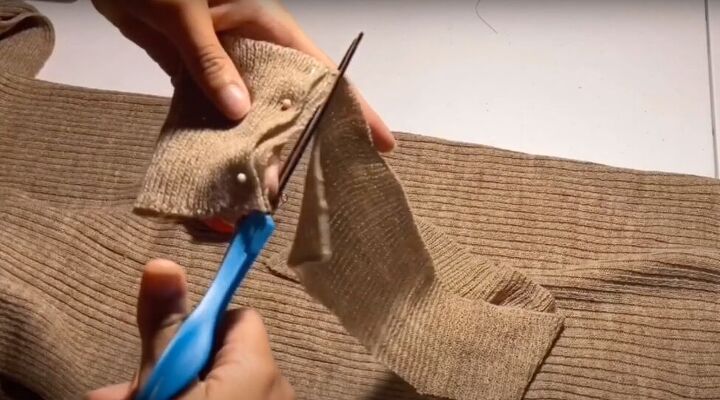
Cut the excess fabric off and then use the cuff as a template to measure and cut a second cuff. Sew along the open edges of the cuffs.
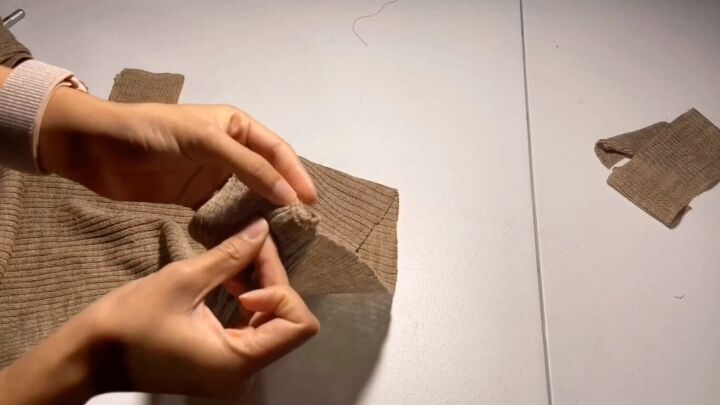
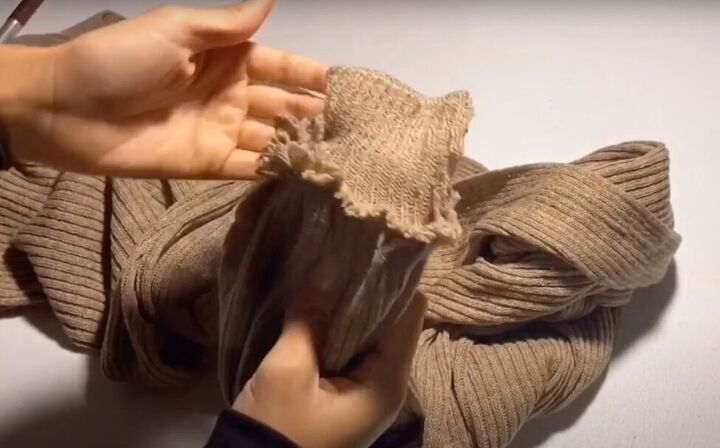
Turn the cuff inside out. The raw edge where you cut it from the scarf will be where you reattach it to the scarf sleeve.
Insert the cuff into the scarf, matching up the seam lines and the raw edges. Attach the cuff to the scarf at the seam with a pin.
Find the point on the sleeve hem that is at the very opposite of the seam, and pin that to the opposite side of the cuff. It’s a bit tricky because the cuff is so much smaller than the sleeve!
Now, using the points exactly between your two pins, pin the sleeve to the cuff in two more places. Now the cuff is pinned into the sleeve at four equidistant points.
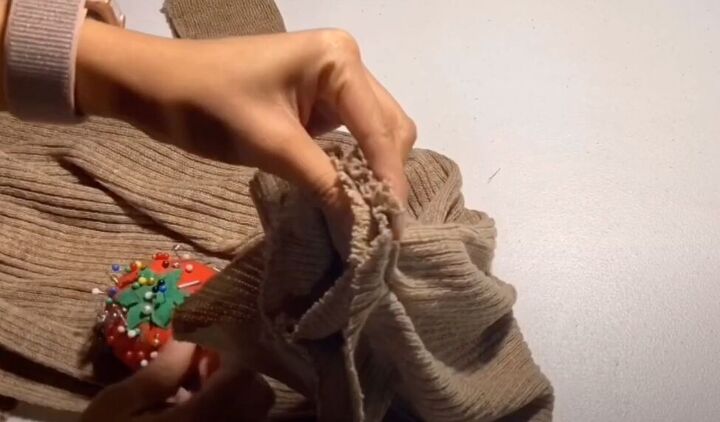
To pin the rest of the sleeve to the cuff, gather the sleeve fabric between every two pins and pin it in place.
Tip: Use long pins for this, or fabric clips, because the stretchy fabric and all the gathers will make it hard to hold it all together.
Now the cuff is completely attached to the sleeve.
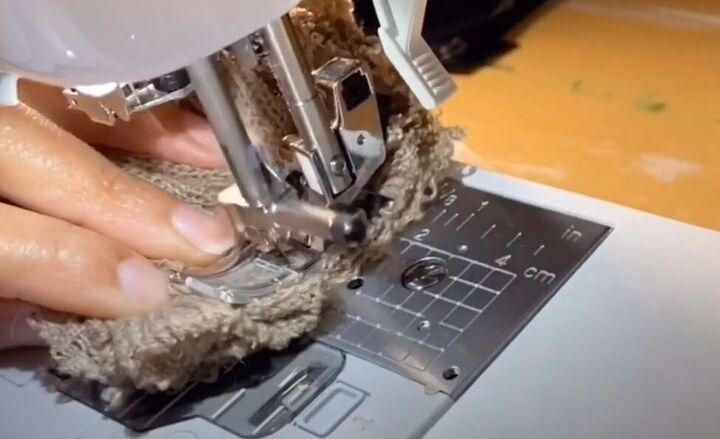
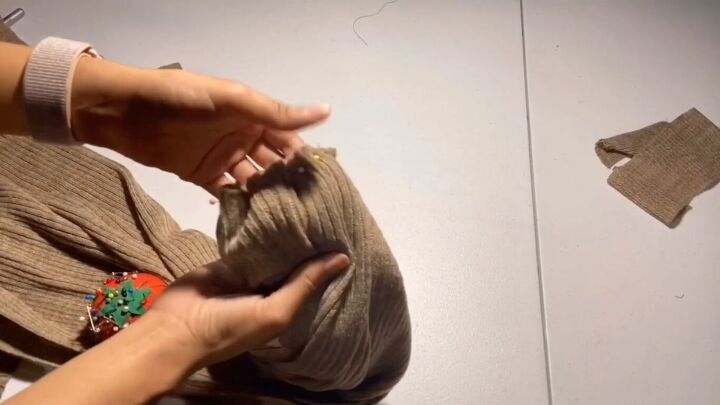
Sew the cuff and sleeve together. Go slowly and be patient, making sure the cuff stays in place.
Repeat with the second sleeve and cuff.
Here’s how it looks finished and inside out. Trim off any loose threads from the sewing.
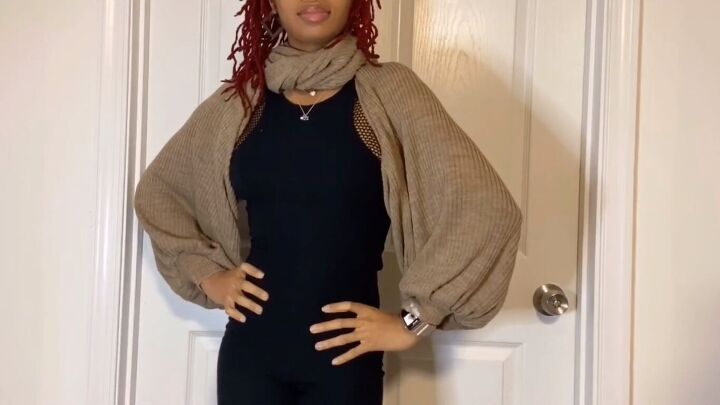
4. Wear it as a sweater or a wrap shawl
To put this scarf sweater on, put both arms into the sleeves. Then, wrap the back of the scarf around your neck once.
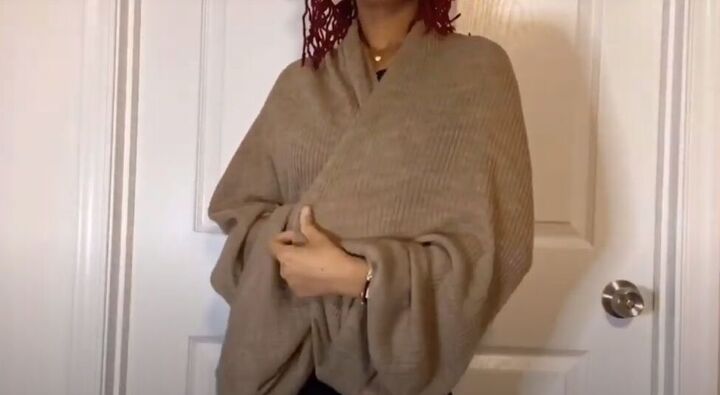
You can also wear it without wrapping it around your neck, and just as a scarf with sleeves.
DIY scarf with sleeves tutorial
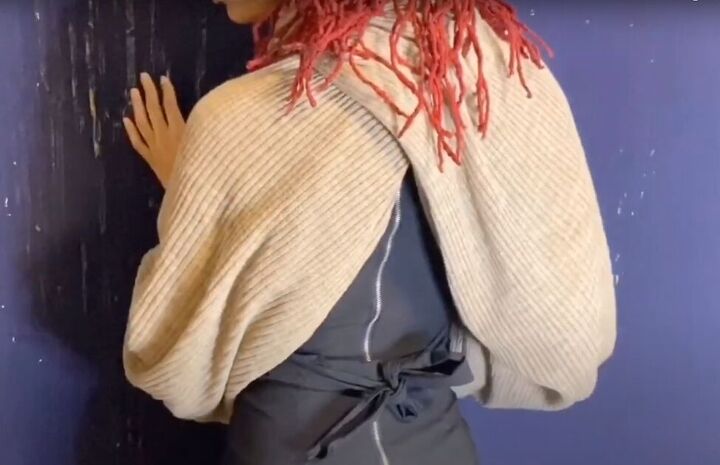
Look how cute the crossover is in the back when you wear it wrapped around your neck! You can pair this sweater scarf with sleeves with so many different looks and make it casual or dressy.
It’s so simple, yet so versatile. Leave a comment to let me know how your sweater scarf with sleeves turned out.
The author may collect a small share of sales from the links on this page.


Comments
Join the conversation
This is Adorable!! I love it!! So easy but time consuming... I'm going to go shopping for a knit scarf now.. Thank you JRenee - so clever and chic!!
Suc talent she has, n she looks adorable!!!!!!! I Love It!!!!!!