How to Make a Cute DIY Peplum Top Quickly & Easily in Just 5 Steps

I’m going to show you how to make a DIY peplum top with a shirred design. If you’re looking for a new top that is a bit different, you’ve found it here. The shirred effect of the bodice really allows the peplum bottom to pop.
Tools and materials:
- Fabric
- Scissors
- Ruler
- Tailor's wax
- Elastic thread
- Pins
- Sewing machine
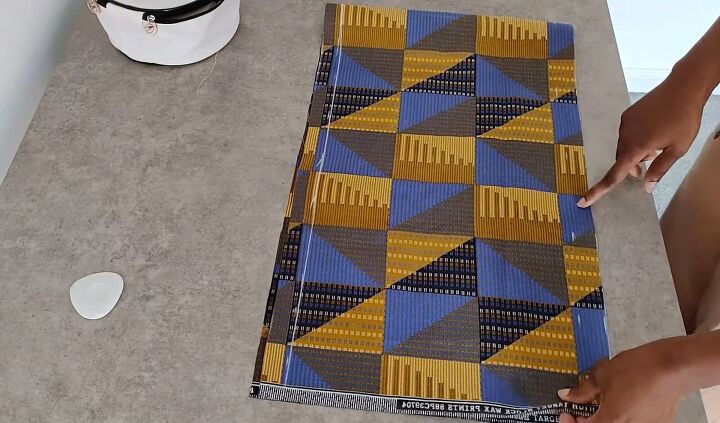
1. Cut the fabric
Start by cutting out your fabric. To get your fabric length, you want to add about 10 inches (25.4cm) to your bust size, so for example, if your bust size is 35 inches (88.9cm), you want to add 10 inches to it, which will give you 45 inches (114.3cm).
For the length, I went for 16 inches (40.6cm).
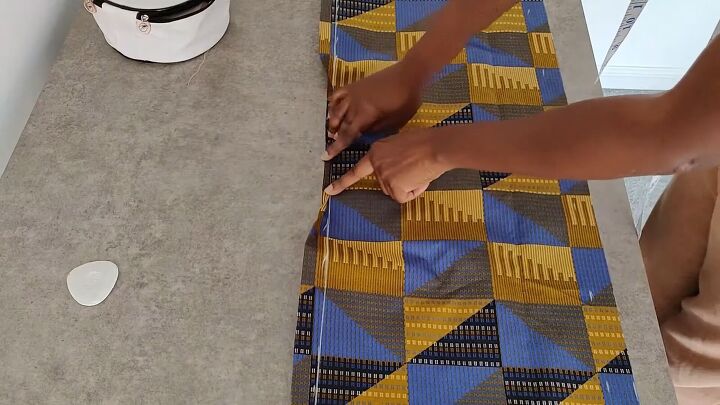
2. Sew the hems
Mark and inch at both the top and the bottom of the fabric; this will be your hemming allowance.
Connect your markings to draw a straight line and make sure that this is on the wrong side of the fabric. Fold the fabric over twice and sew it down to create your hems.
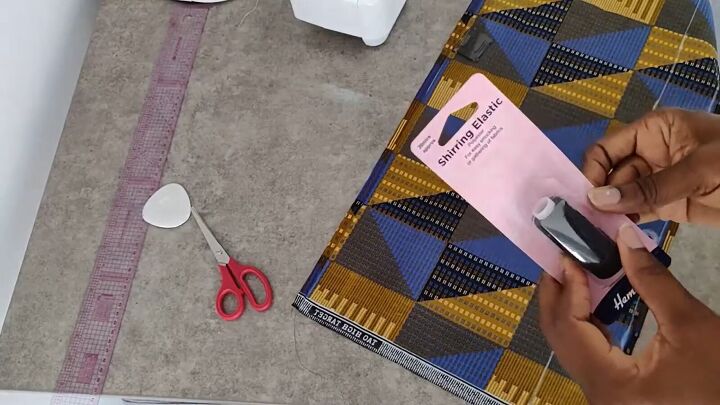
3. Wind the elastic thread
Take your elastic thread and use your hand to wind it around the bobbin. If you use the sewing machine to do the winding then it could stretch the elastic too much.
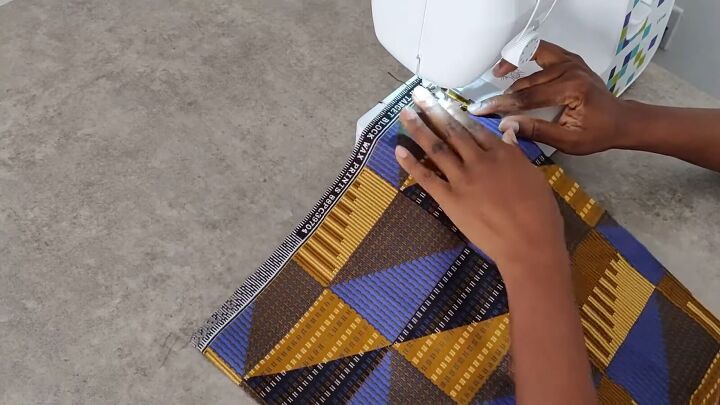
4. Shirr the top
Go ahead and sew your elastic just as you would sew a normal thread. Do this on the wrong side of the fabric.
I’m not going to sew the elastic lines all the way to the ends of my fabric; I’ve left about 4 inches (10cm) at the bottom, which will form the peplum silhouette. Make sure to mark a section at the bottom to show you where to stop sewing.
You want to find something to use as a guide for the distance between the threads because you don’t want them to be too far apart. The tighter they are together, the better the shirred effect will be.
Continue sewing until you’ve covered your desired area.
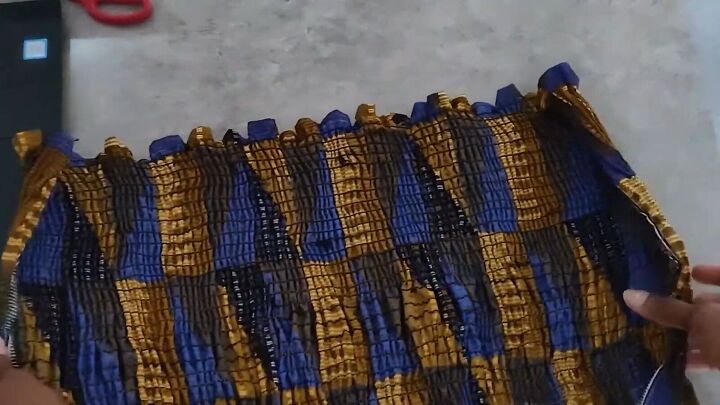
It should look like this.
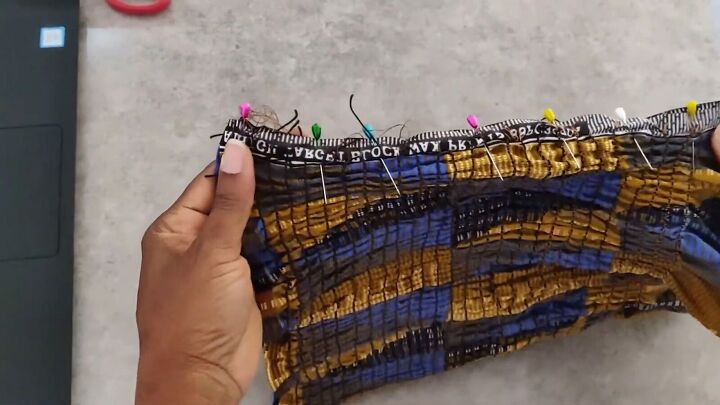
5. Sew up the sides
When you’ve finished sewing the elastic on, you want to replace the elastic thread with normal thread on your sewing machine as now you are ready to close off your fabric. Pin the sides together and then sew them.

DIY peplum top tutorial
This is the finished shirred peplum top. I love the tight fit at the top and then the flare at the bottom. The fit and flare style is very flattering and creates an overall gorgeous piece.
This DIY was so easy and only took five simple steps - I hope you’ll try it out!
The author may collect a small share of sales from the links on this page.


Comments
Join the conversation