Sew a Breathable DIY Face Mask & Stand Out From the Rest

In light of the global outbreak, I wanted to show you an easy face mask tutorial. Learn how to make your own customized DIY face mask in just under 30 minutes. You are going to adore this face mask and the best part is that you can choose any fabric you wish! I will show you a step-by-step guide on how to sew a face mask, either by hand or with your sewing machine. Get your materials ready, and let’s start sewing.
Tools and materials:
- Pattern- get your free pattern here
- Sewing machine
- Fabric
- Elastics
- Thread
- Needle
- Scissors
Make your pattern
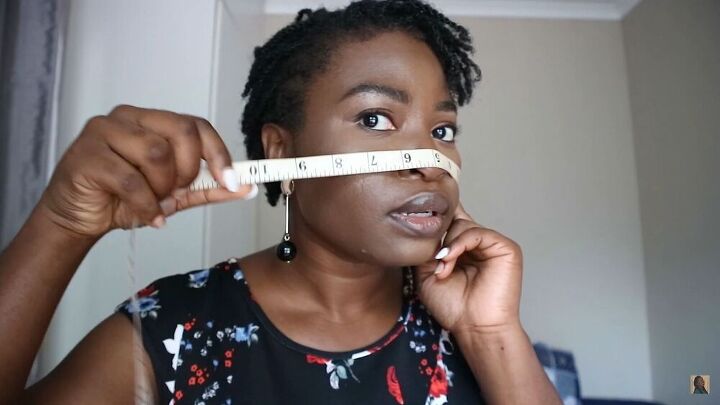
I have linked a standard pattern above, but in this step, I’m going to show you how to make your pattern by taking your own measurement. You will need to take the following measurements; from the bridge of your nose to your chin, from one ear to the other, across the face and over your nose, and from the top of your ear to the bottom of your chin. Write all those measurements so you don’t forget them.
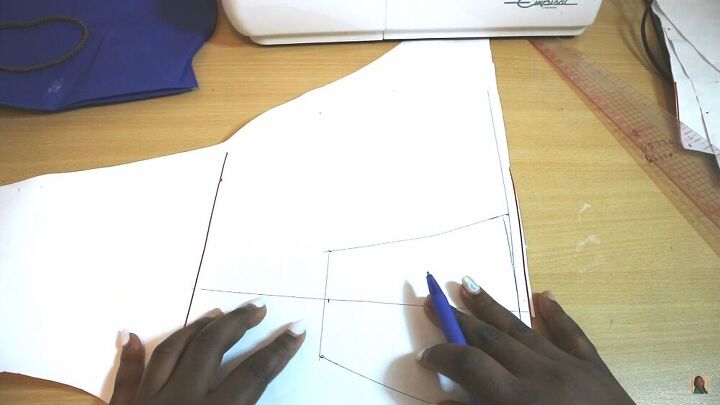
Draw out your measurements.
On a piece of paper, draw your pattern. We will be dividing the measurements into 2, as we are drawing half of the face mask as a pattern. Add your markings and connect the dots, making sure to slightly curve around the bottom. Next, cut your pattern out.
Cut and pin your fabric
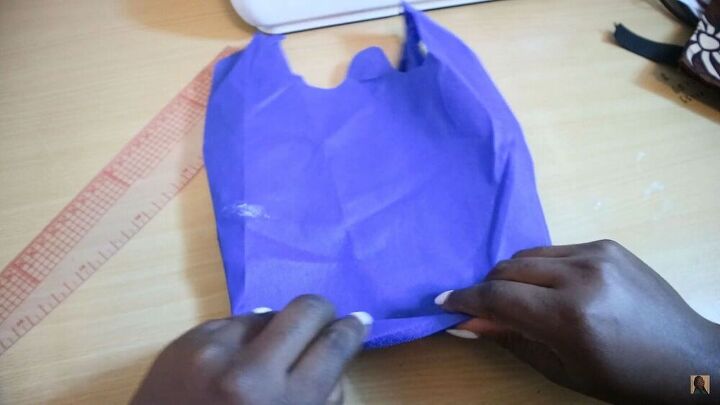
To have a good, quality face mask, you need to use non-woven fabric. Also, cotton is recommended as it’s breathable. Also, you will need a lining that can filter out the air particles. If you don’t have a lining, you can do what I did- I found a non-woven polypropylene material from a shopping bag. Talk about a great upcycle!
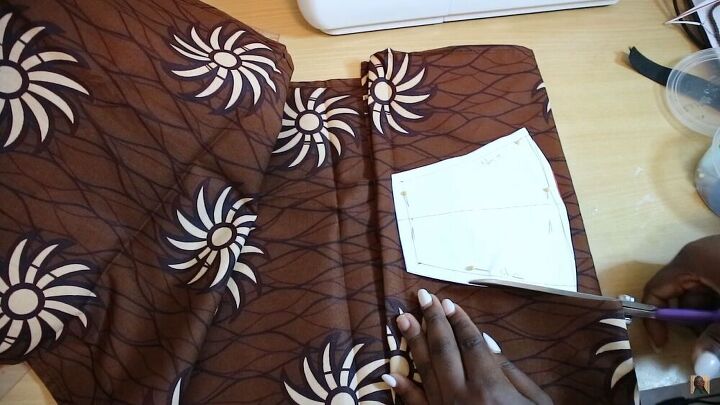
Fold your fabric into 4 layers, as you will need 4 pieces for the mask. Next, pin the pattern down and cut it around.
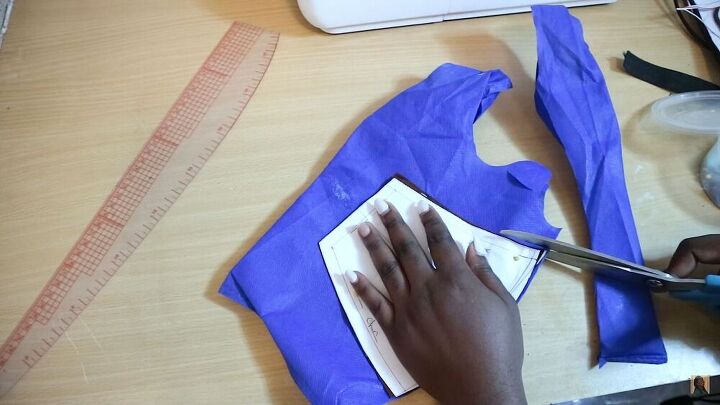
Next, pin your pattern on the non-woven polypropylene fabric, and cut around. Make sure you have 2 pieces for this.
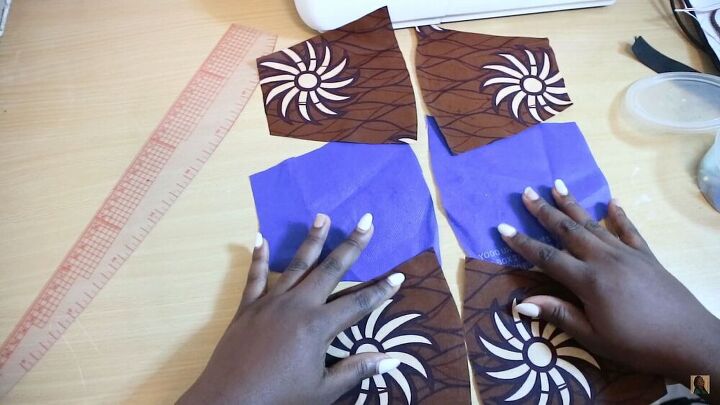
You should have 4 fabric pieces and two inner-lining pieces.
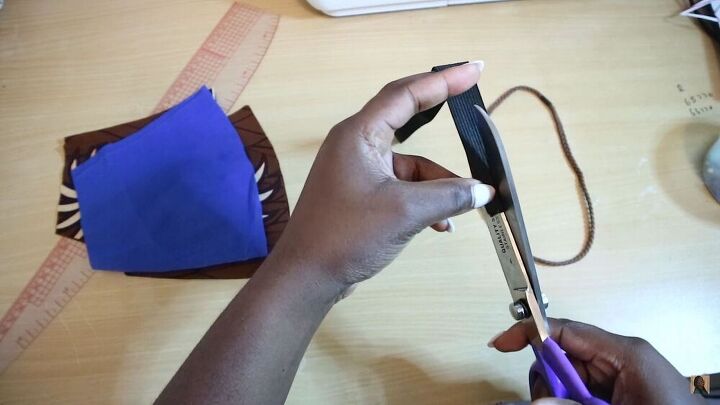
Prepare your elastic
I had a sew of small elastic, which can be hard to find. If that’s the case, take a regular, 1 inch elastic and cut it in the middle. Or, you can opt for an elastic headband and use that.
Sew the pieces
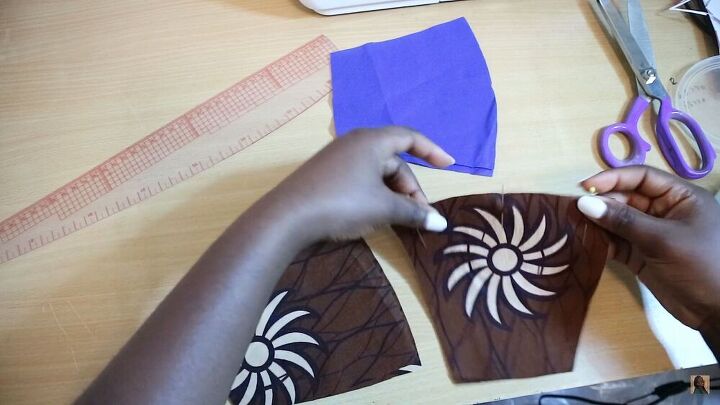
Place the right sides together, pin, and sew the masks together, in the center ¼ inch seam allowance.
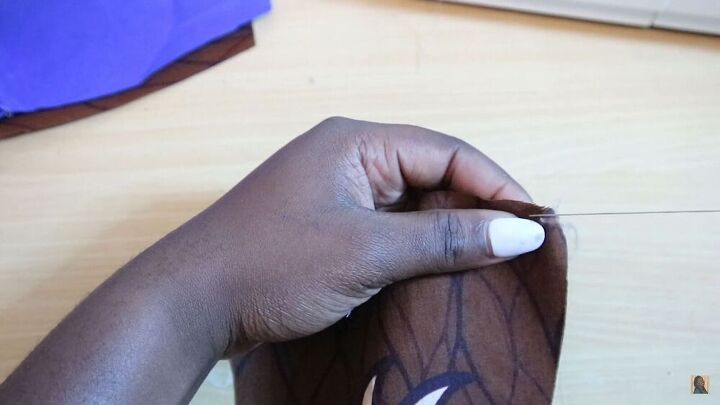
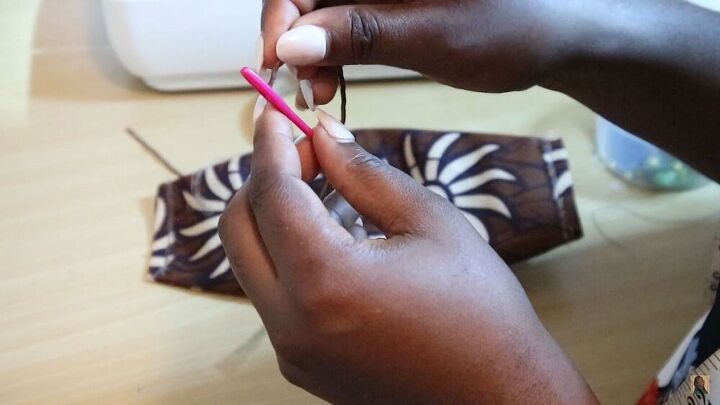
If you don’t have a sewing machine, sew this by hand, as shown.
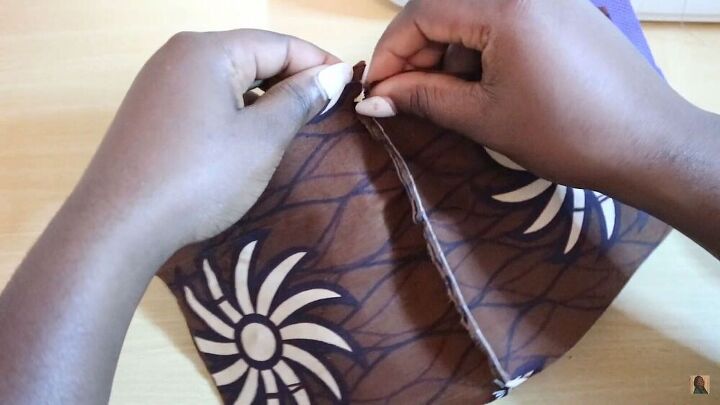
Now, assemble your sewn pieces. The two fabric face masks should be right sides together and the lining at the bottom. Pin in place and sew, leaving the sides open.
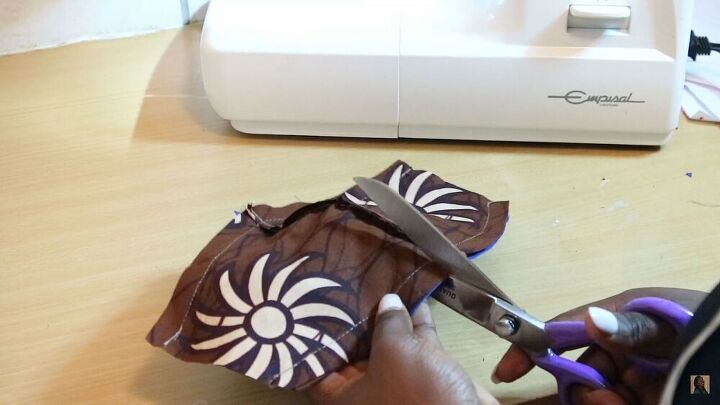
Before turning the face mask inside out, cut small slits on the side. Then, turn the facemask inside out, so that you have the lining in the middle. Zig zag the sides closed, too.
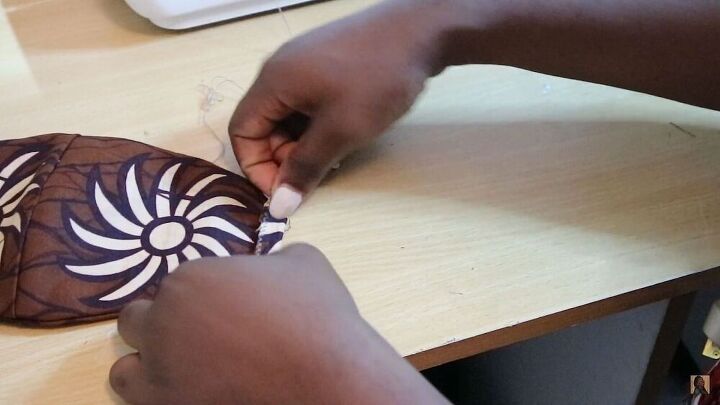
Create a channel for the elastic
Fold the sides an inch inwards and stitch. This will create a neat channel for your elastic.
Next, take your elastic, put it through a plastic needle, and feed it through the channel you created.Attach the ends together manually, or if the elastic is thicker, you can easily do this with a sewing machine.

Now you have the perfect customized face mask that fits your face just right! Isn’t this just awesome? I love that the fabric is funky and sets a unique impression from those boring masks you find at the store. Go ahead and make yourself a bunch and don’t forget to share the love with friends and family, and even medical workers! Stay safe and healthy!
The author may collect a small share of sales from the links on this page.


Comments
Join the conversation
Great job. I have made about 1,000 masks already but I am going to make one from your tutorial today. Thanks.
Paper coffee filters placed in between fabric can be used as well. I leave a slit between fabric to place filters, for an extra layer of protection. When the paper masks have torn and the elastic is dangling, cut those off and use them for a new fabric mask! I've had to cut many ear loops of too tight masks and expand the elastic so they are usable. Men's faces are larger than women's and they need the elastic expanded. I use the metal wire from coffee bags as the nose bridge they are wide and coated. Any store bought mask without a metal nose bridge, I slide a plastic coated one through the stitches and fit it in. I always save the good twist ties and now they come in handy! You can use a ruler to help straighten the kinks out of them or use the edge of a counter or drawer!