How To Fix Holes In Your Denim Jacket
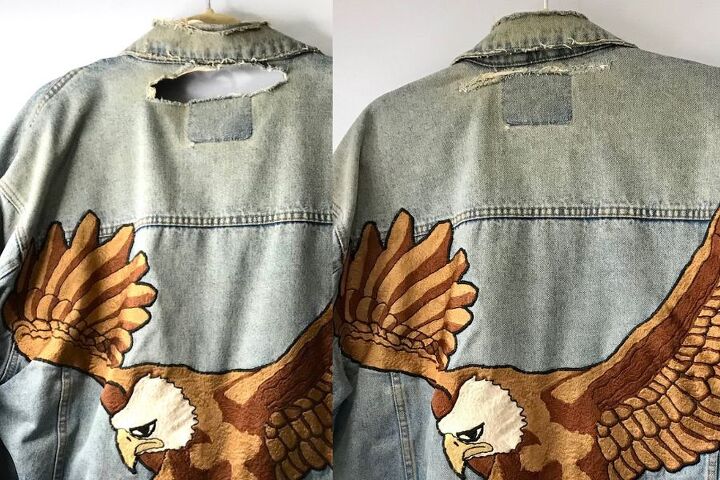
My uncle loved eagles and many years ago, I gifted him with a denim jacket that I customized for him with a very large, thread painted eagle design.
This project was truly a labor of love (there were countless hours of free-hand thread painting) and all that work was greatly appreciated. He LOVED that jacket and wore it everywhere. If the weather was cool and required a jacket, my uncle was wearing it. If it was winter, he simply layered it with a couple of heavyweight hoodies. Anytime someone asked him it he needed a warmer winter jacket, he told them he was fine. His eagle jacket was “warm enough”.
When he passed away last November, my aunt asked me if I could possibly repair 2 large holes in it to preserve its integrity. I had not seen the jacket in several years and had no idea that the holes were so large. While small holes in denim jackets are fashionable, sometimes a hole is too large and needs repaired. In previous tutorials on The Creative Sewist Blog, Carmen and I discussed various techniques to repair ripped jeans.
However, for this project, I needed to think outside the box and get creative with my repairs since the objective was to minimize the appearance of the repairs—not highlight them. This can sometimes be an impossible task, but I was up for the challenge!
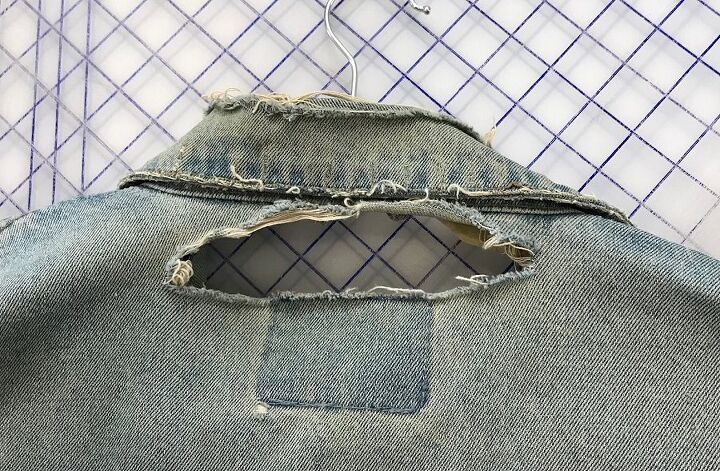
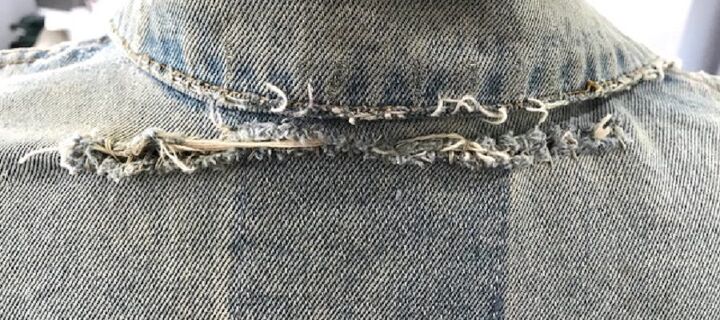
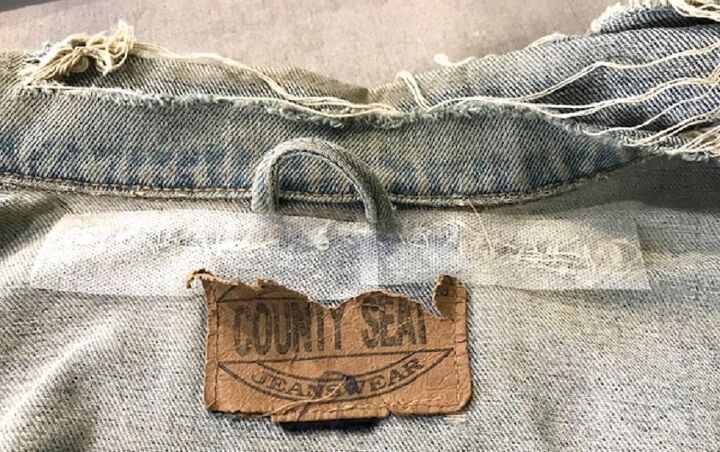
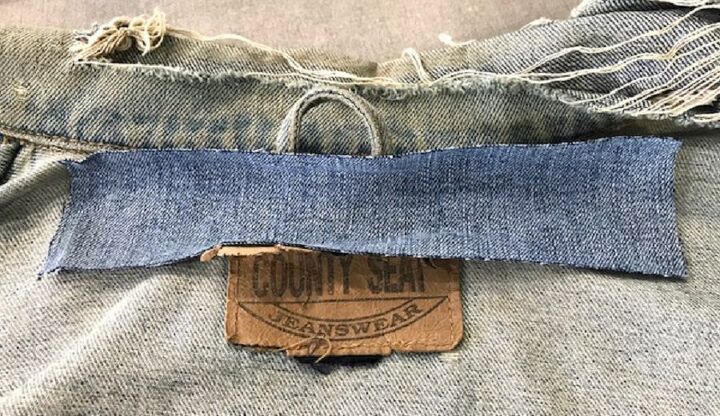
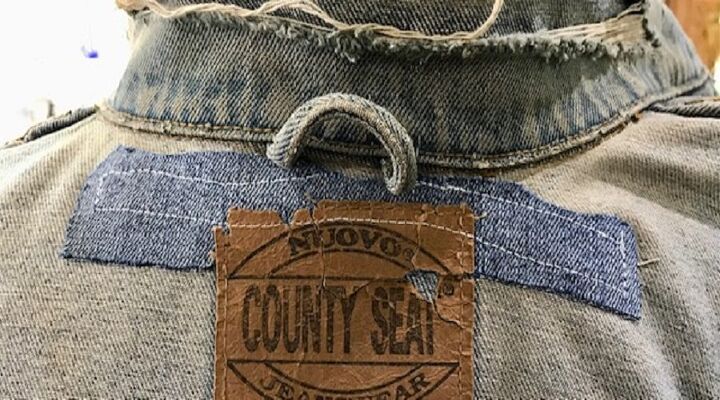
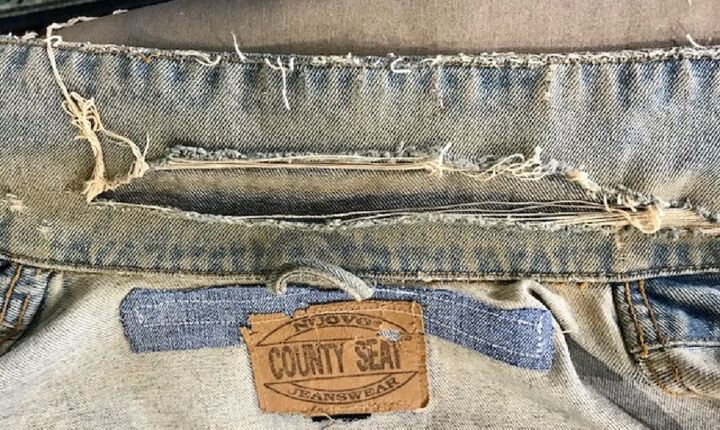
When inspecting the jacket, I located the two large holes- one in the yoke of the jacket back and the other in the center of the collar.
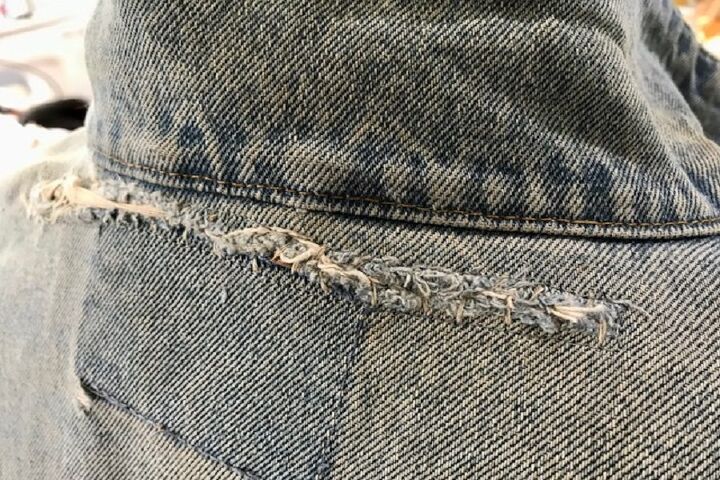
To repair the yoke hole, I decided to combine a few different techniques. First, I used upholstery thread in a neutral color to pull the two sides of fabric together.
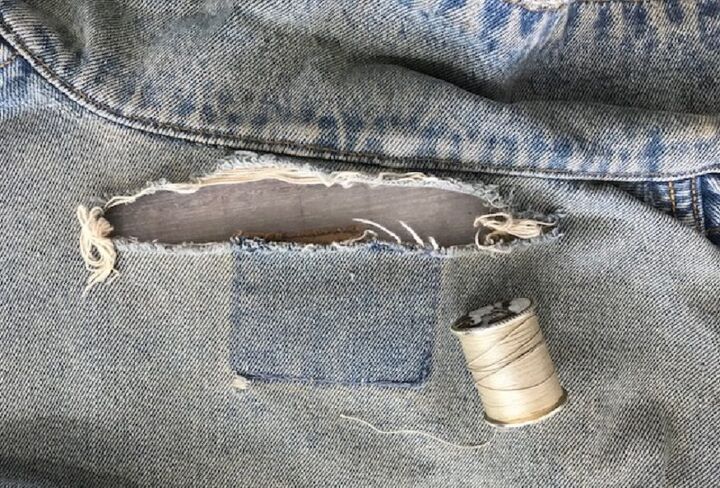
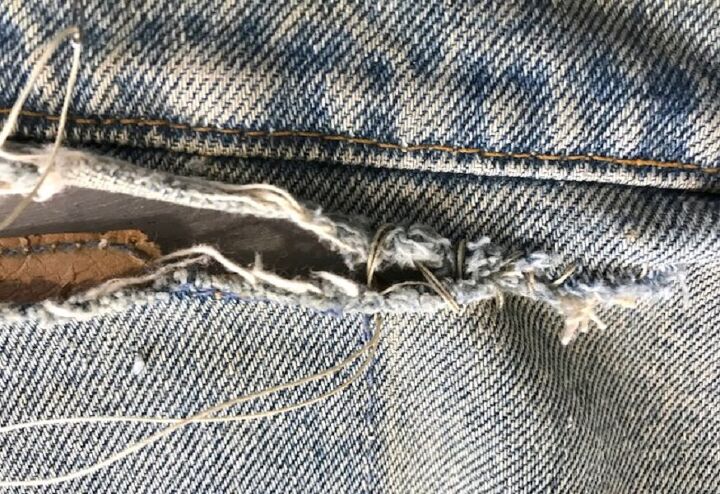
With an inverted whip stitch, I started at one end of the tear and carefully sewed towards the center of the hole. I spaced the stitches approximately ¼” to 3/8” apart. Once I reached the center, I knotted my thread, cut it, and repeated the process starting at the opposite end. Again, I worked towards the center. By sewing in this manner, I was able to minimize fabric pulling and shape distortion.
It’s important to note that I wanted to “pull” the fabric together as much as possible so I could place a patch behind it. I didn’t want to overlap the fabric or distort the jacket. Once I finished this hand stitching, I applied a single layer of Steam a Seam 2 to the back of the stitching.
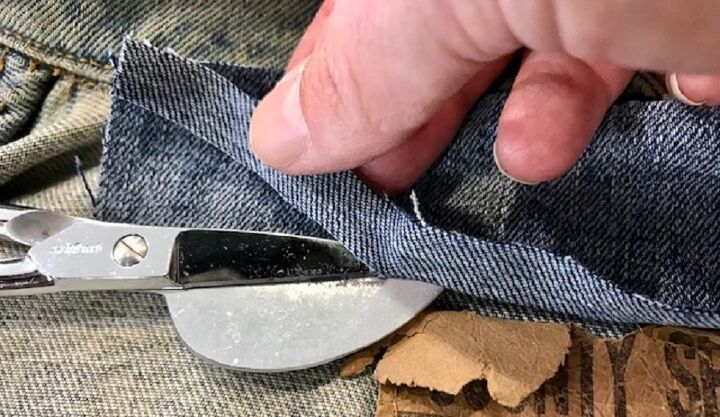
Once I had it in place, I cut a piece of denim from my old jeans stash and placed it over the Steam a Seam 2. I steamed it in place and allowed the fabric to cool. Next, I trimmed the excess denim from the patch edge with my applique scissors. These specialized scissors make it safer and easier to trim excess fabric when creating patches.
After trimming, I used a color matching, general use thread and sewed a seam around the edge of the hole with a straight stitch. This permanently secured the patch to the jacket.
Now it was time to fix the collar!
The collar’s hole was a different story. It was missing A LOT of fabric in the center; so, I couldn’t “close” the hole in the same way. Since collars are double layered, I had an idea- why not just close the hole on the layered size so that it didn’t hang open? This way, it would look like this was a deliberate design feature, rather than the result of wear and tear.
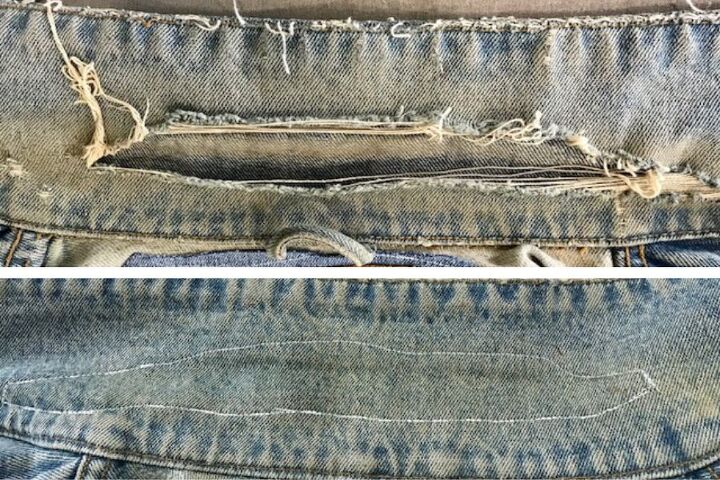
To start, I carefully steamed the collar at the ironing board. This process flattened the collar and allowed me to see the edges of the hole. I cut ¼” wide strips of Steam a Seam 2 and carefully placed them between the layers of fabric around the hole.
I also trimmed any long threads so that the edges appeared distressed-not damaged. Once I had the Steam a Seam 2 in place, I used my steamer and fused the 2 layers of fabric. This closed the hole. To stop threads from fraying further around this hole, I sewed a straight stitch close to the fraying with a general utility thread. I matched the color as close as possible to the fabric.
Once I had the collar fixed, I sewed around holes in the pocket so that if the jacket is worn, no items will fall out. I left the distressed look but secured the pockets.
Overall, I am very pleased with the results and the jacket looks great!
Hopefully this tutorial will help you when trying to repair large holes in your denim jackets while maintaining a distressed look.
If you enjoyed this article, please consider subscribing to the email list before leaving. We don’t send spammy stuff—just good sewing content!
The author may collect a small share of sales from the links on this page.


![DIY Distressing Your Own Denim! [Tutorial]](https://cdn-fastly.upstyledaily.com/media/2020/11/23/6337711/diy-distressing-your-own-denim-tutorial.jpg?size=350x220)


Comments
Join the conversation