DIY Your Own Bow Accessory - Beginner Friendly!

Coquette trends have exploded in popularity recently and I've been seeing the cutest bow details on everything! As always, I love finding ways to DIY my own accessories to customize them exactly to my liking. In this tutorial, I'm going to share a quick, easy, and super beginner friendly method to crochet your own bows!
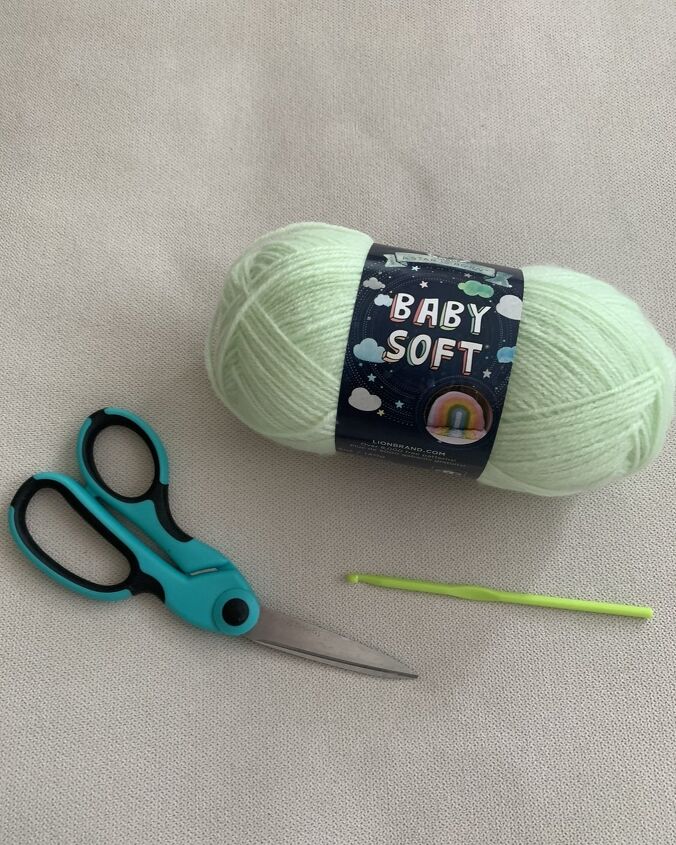
The supplies you will need for this project are:
- yarn ( I used medium weight, size 4 yarn)
- crochet hook ( I used a 4 mm hook)
- scissors
A note on supplies, you can use any sized yarn or crochet hook. Increasing the yarn size and crochet hook size will increase the width of your bow, whereas decreasing yarn size and hook size will decrease the width.
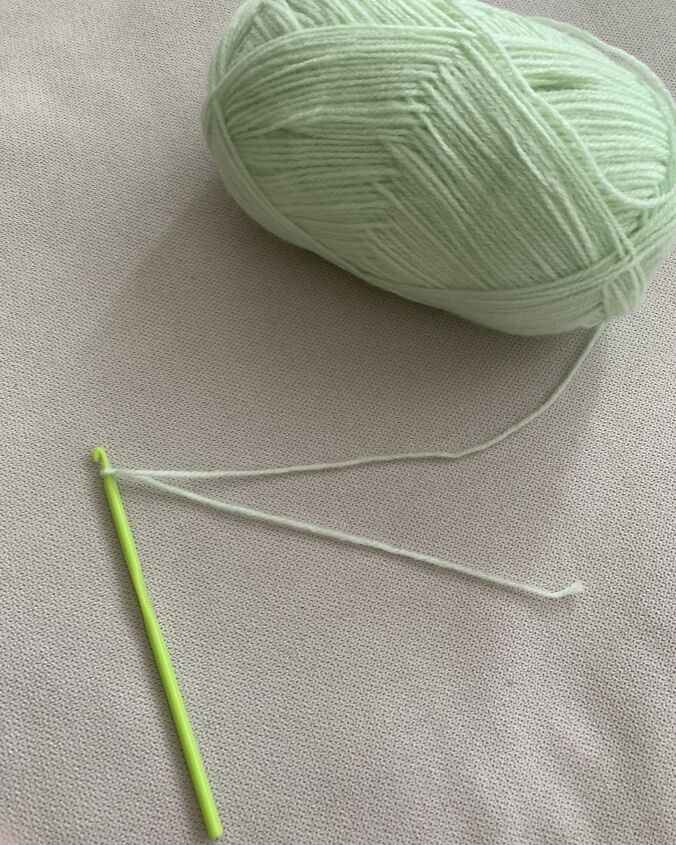
Begin by creating a slip knot. Here is a video tutorial to help you with this step. Leave a tail that is at least 6 cm long.
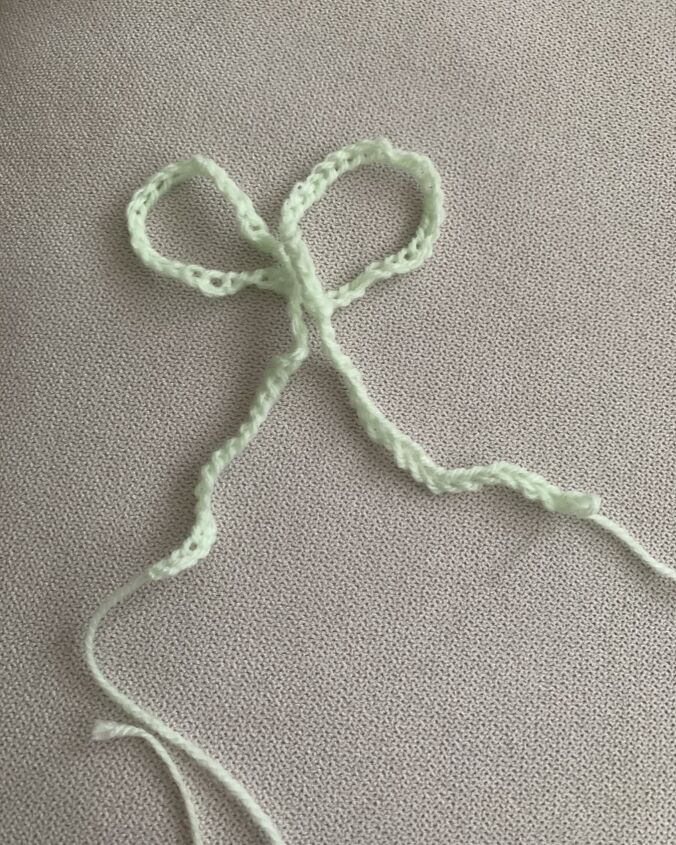
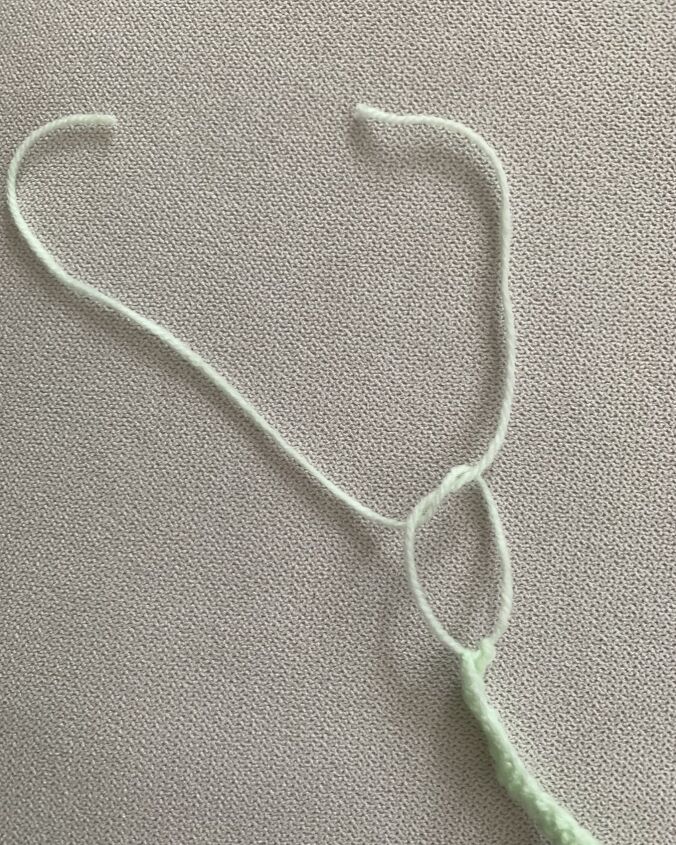
Then, chain as many stitches as you need to create the length that you would like for your bow. Here's a video to show you how to chain. Map out the shape of your bow by folding it into shape to check that the tails are long enough for your preference. Above I've shown the shape that I mapped out before I stopped chaining. For this bow I wanted extra long tails so yours may look slightly different!
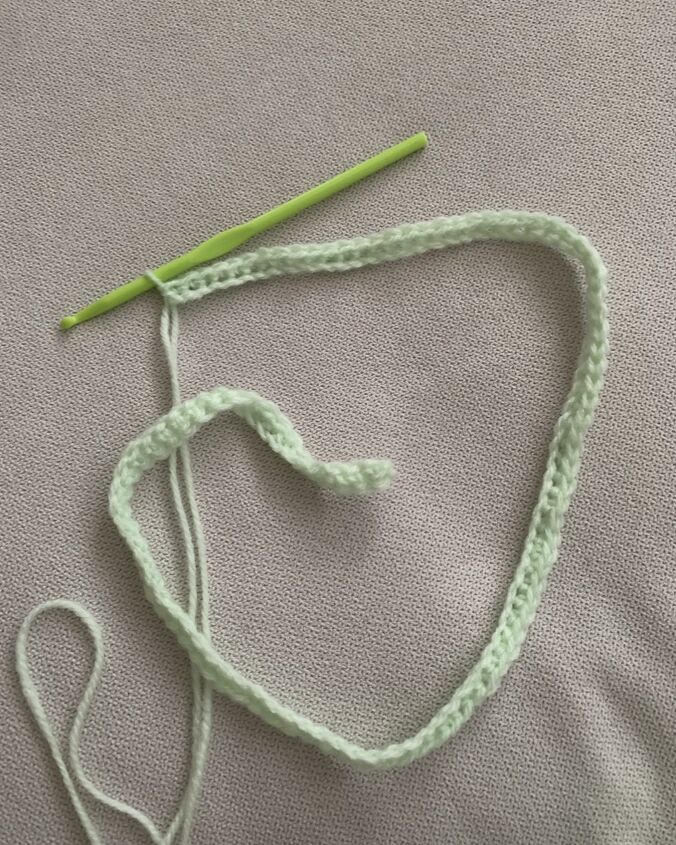
After completing chains to the desired length, simply single crochet (SC) into each stitch along the chain until you return back to the initial slip knot. Here's a video tutorial to show you how to single crochet.
The image above shows my completed base where I have completed all of my single crochet stitches.
Cut your yarn leaving at least 6 cm from your final stitch. Now tie a double knot using the two tails that you have. This will secure the yarn. Take your crochet hook and weave in the ends of both of these tails until they are secure, then trim the excess ends. Now for the fun part, creating your shape!
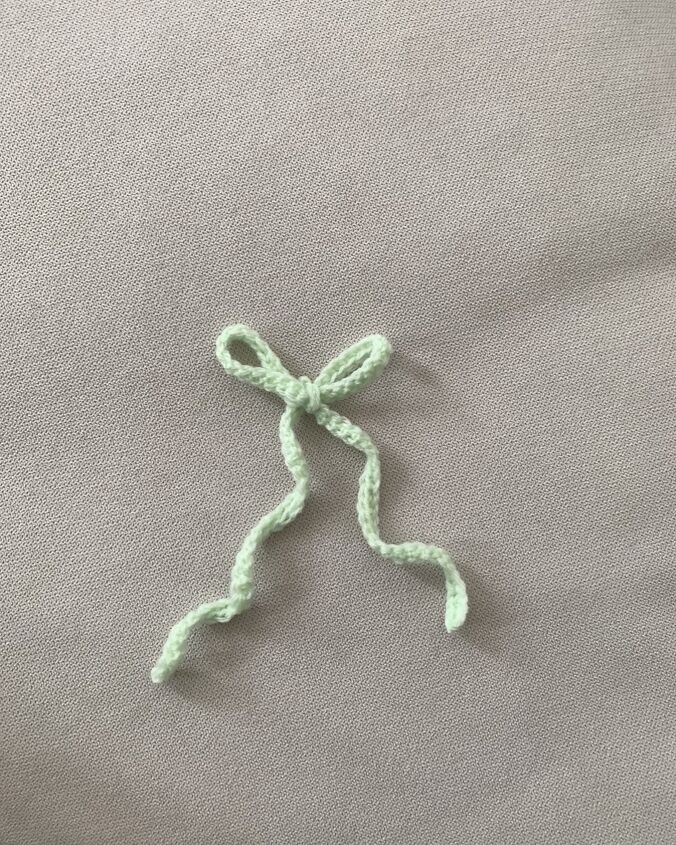
Tie your completed crochet strand in any way that you would like! Here I've created a simple bow shape with long tails.
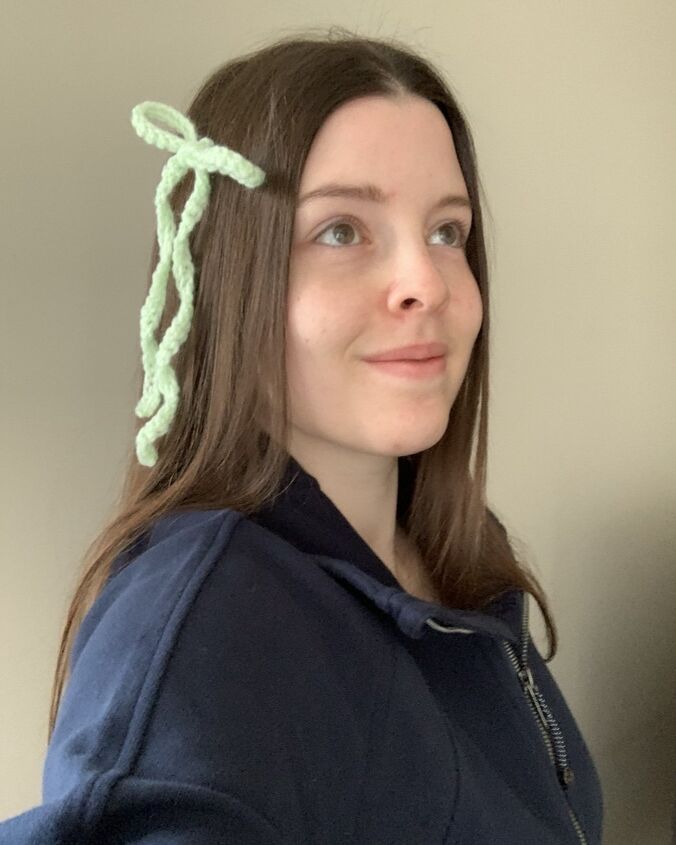
Here's me wearing the finished piece as a hair accessory! To do this, I pushed a bobby pin through the back side of the knot from the bow. You could also add a clip to the back and clip your bow to the front of a pair of shoes to add a temporary detail. Another great idea is to thread more yarn through the back and attach your bow to a sweater or a headband, for example. The great thing about this easy pattern is that there are so many ways to customize it to your preferences (e.g, colour, length, width, yarn size, etc.). Let me know if you try this out! Also let me know if there's another accessory I should try making next.
Feel free to shop similar products to what I've used for this project using the links in the text. Make sure to follow me on instagram @melissaradford and on TikTok @melissaradford for more styling tips, beauty hacks, and fashion DIYs!
The author may collect a small share of sales from the links on this page.


Comments
Join the conversation