How to Sew a Cute Velvet Dress With a Wrap Top & Long Flowy Skirt

While the summer sun beats down, savvy sewers get ready for the holidays. Nothing is more glamorous and flattering than a beautiful velvet wrap dress. This velvet dress features a wrap top and a gorgeous flared 5-panel wrap skirt.
I’ll show you how to sew a velvet dress in several easy steps with beautiful results. Sewing a velvet dress isn’t that hard and the best part is, there are no zippers and it is easily adjustable. Let’s get started on how to make a velvet dress!
Tools and materials:
- Pattern
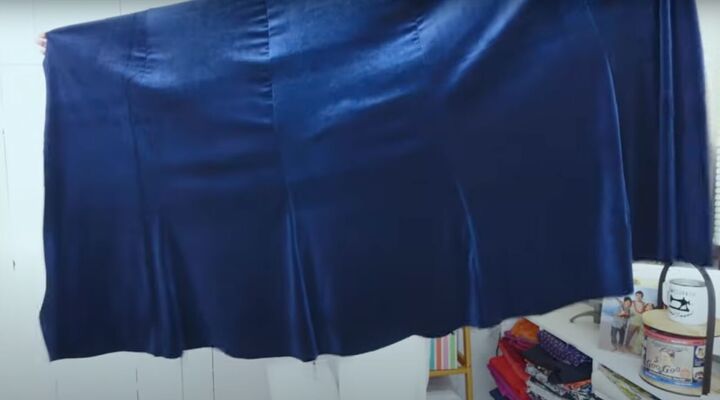
- 3 yards of 60-inch-wide stretch velvet (or more depending on your size)
- Clips/pins
- Sewing machine
- Serger
- Loop turner
- Measuring tape
- Ruler
- Tailor’s chalk
- Pattern weights
- Paper
- Pen
- Scissors
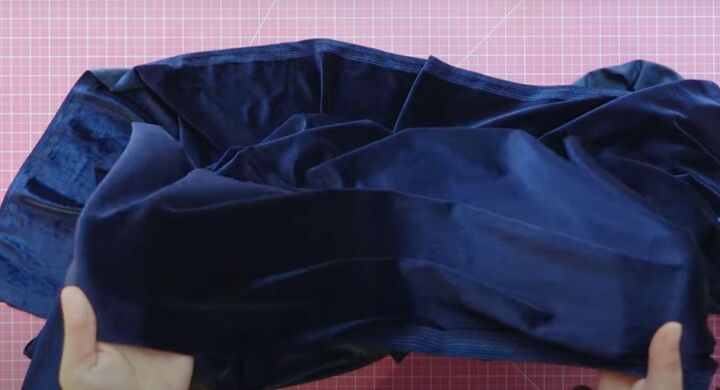
Sewing with velvet
Before cutting, stretch your velvet in the direction that feels smoother than the other.
Velvet nap also reflects light differently depending on the direction. Choose the direction you prefer but make sure that is the direction for all the pieces when cutting and stitching. Otherwise your garment will look like it’s made from two different fabrics.
If your velvet has a selvage edge, remove and save to use as bias tape for the neckline.
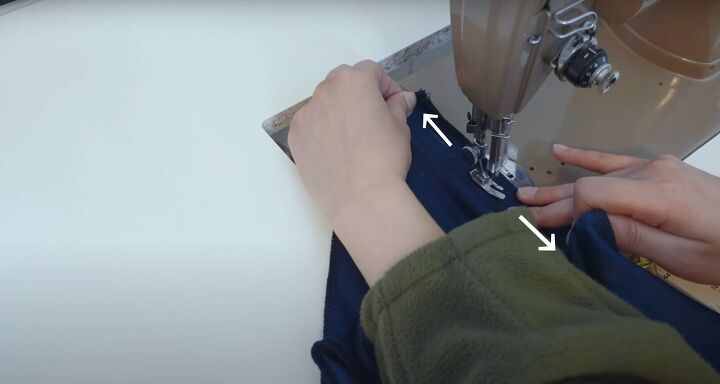
All the seams can be sewn with a regular straight stitch or small zigzag stitch if you haven’t got a serger.
If you’re sewing with a straight stitch, pull the velvet in opposite directions - in front of and behind the needle. Let the machine feed the fabric naturally. This helps keep the stitch a bit “stretchable” even though it’s a regular straight stitch.
It’s best to experiment with remnant fabric to see what works for your velvet.
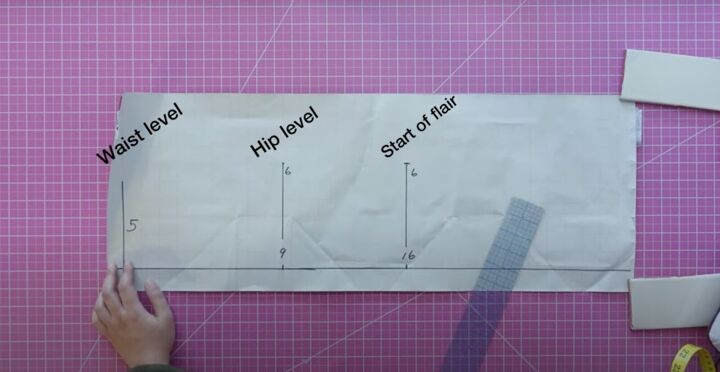
1. Make the skirt panel pattern
Watch the video from 0:20 to see how to make the waist pattern using your measurements.
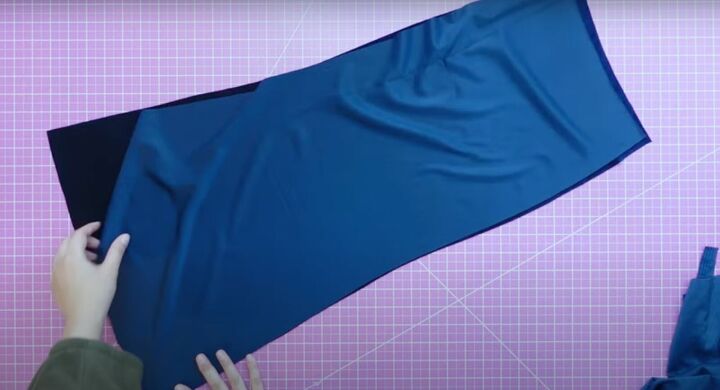
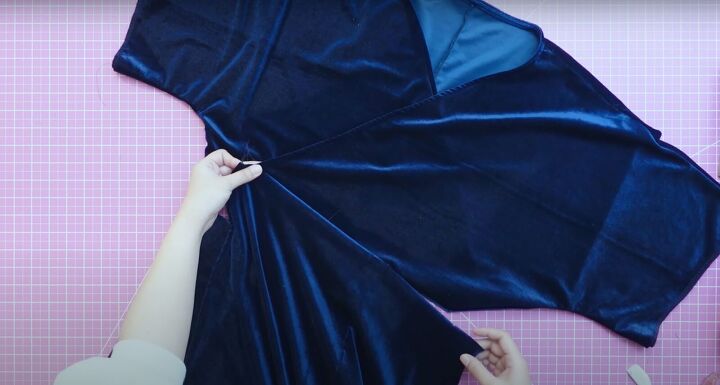
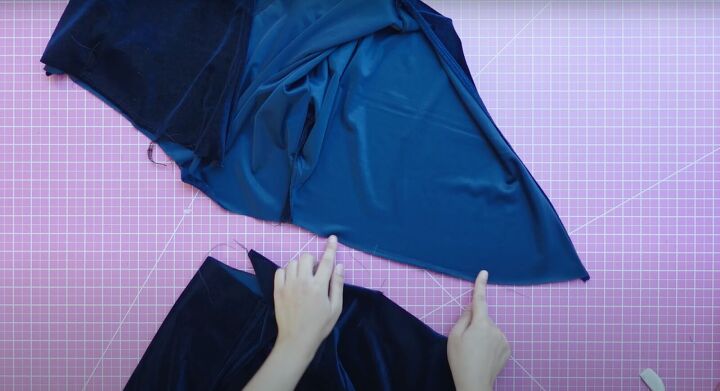
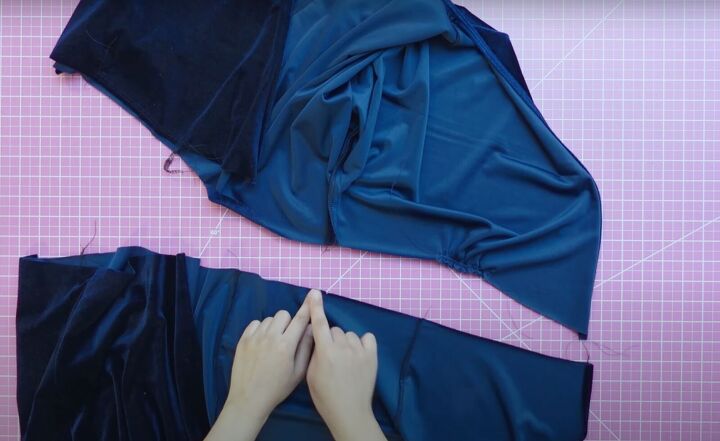
2. Sew the skirt
Connect all the 5 panels together to make one big piece with ½ inch seam allowance.
I used a 4-thread lock stitch on my serger, trimming off the seam allowance.
You’ll have one large skirt. Try wrapping the skirt around yourself to see the fit. Make adjustments as needed
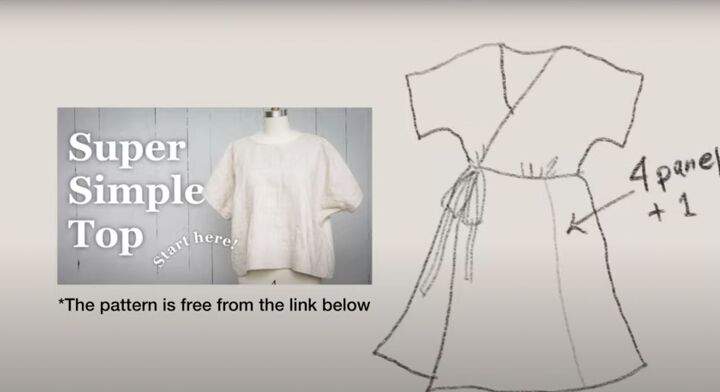
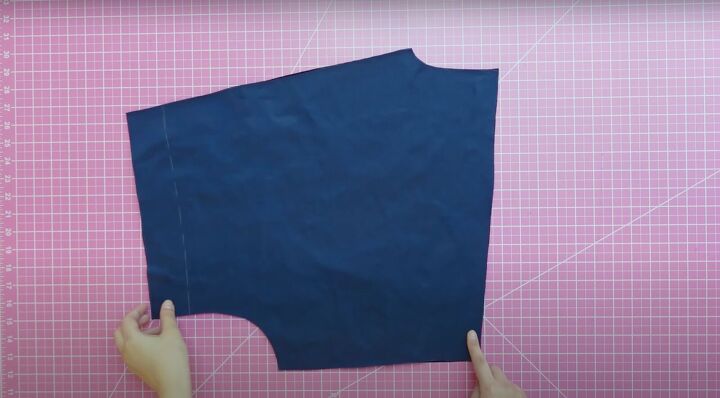
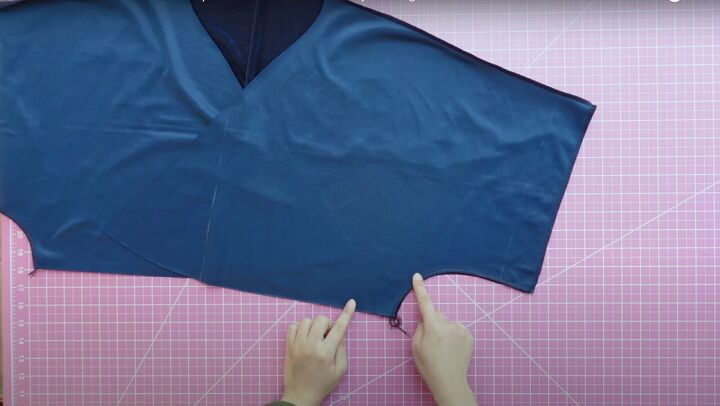
3. Make the top
For the top, use this base pattern with hemline A. Watch the video from 4:40 to see the adjustments I made to the pattern.

4. Cut the waist ties
Cut two 2-inch-wide strips from the fabric. I don’t have exact measurements but cut them quite long because you’ll determine their length once the dress is done. Set aside.
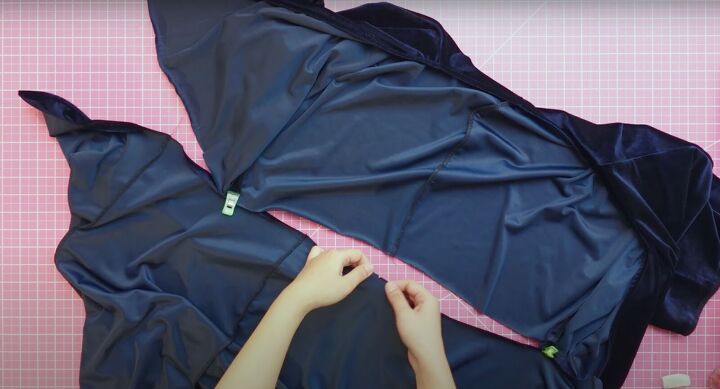
5. Sew the top
Sew the center back piece with 4-thread lock stitch with the serger, cutting off the excess seam allowance.

Lay the two front pieces on top of the back piece, right sides together. Serge the shoulder seams.
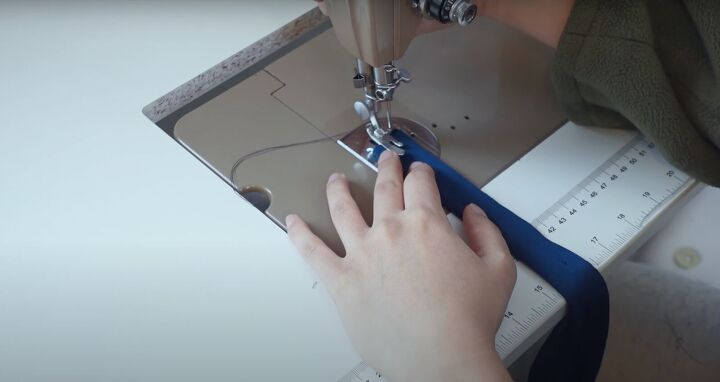
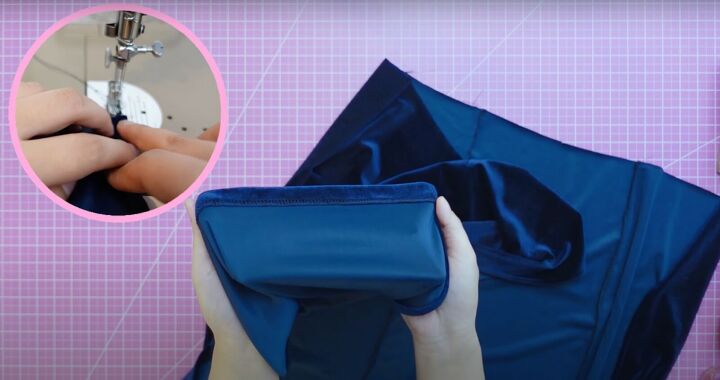
Serge the underarm seam allowance but leave a ¾-inch hole for the waist tie to go through on one of the underarm seams. Sew with a stretchy straight stitch.
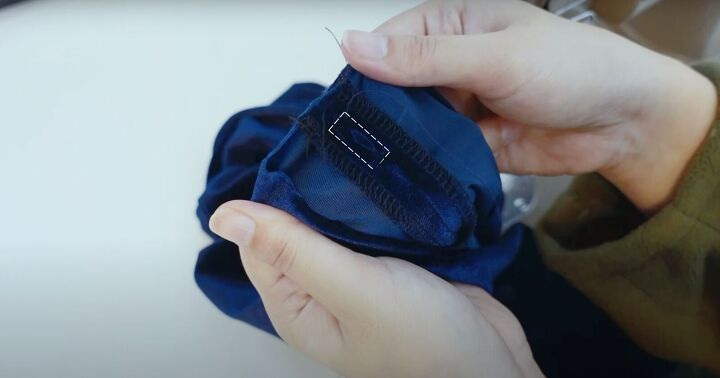
Open the seam allowance around the ¾-inch hole and stitch around the opening.
6. Stabilize the neckline
Use the 1-inch-wide selvage to bind the neckline before putting the bodice and skirt together. Pin the selvage on the right side and sew ¼ inch from the edge.
Fold the strip towards the seam allowance and stitch on the binding strip and seam allowance close to the previous seam.
Then fold the binding twice on the seam allowance and stitch down.
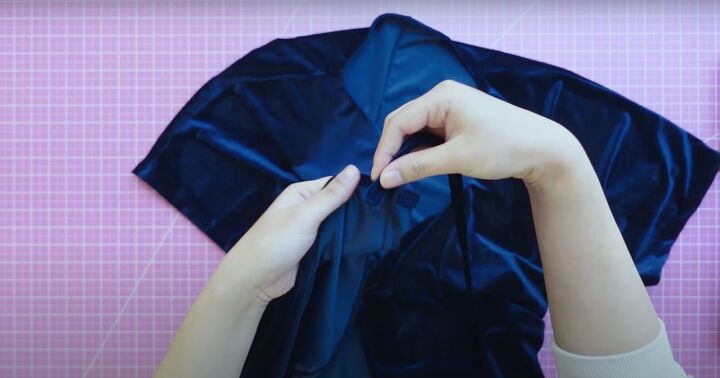
7. Make the waist ties
Fold the 2-inch strip in half right sides together. Stitch at ⅜ inch from the edge, stretching slightly under the needle along the length.
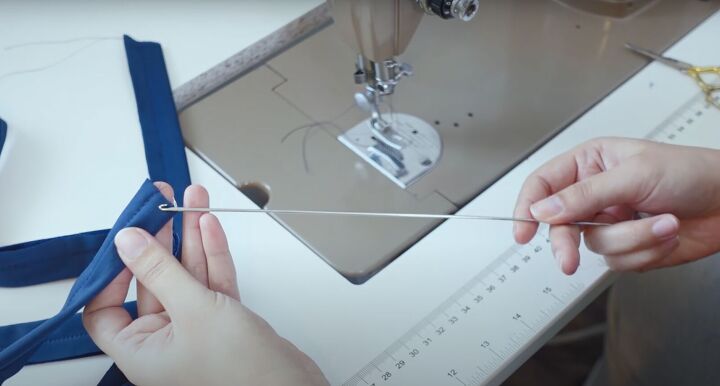
Use a loop turner to turn them right side out. Tuck in the short ends.
Stitch along the length and width. Repeat for the second tie.
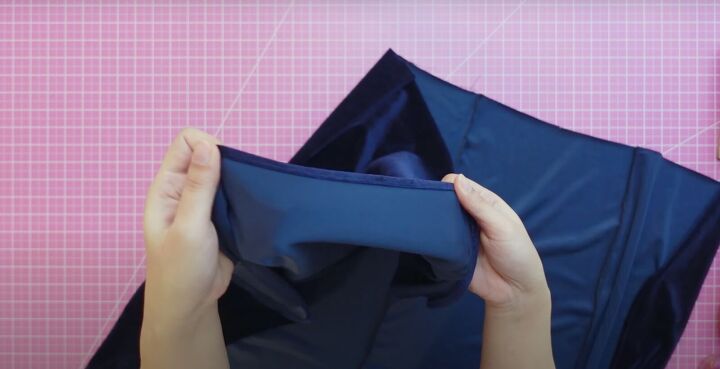
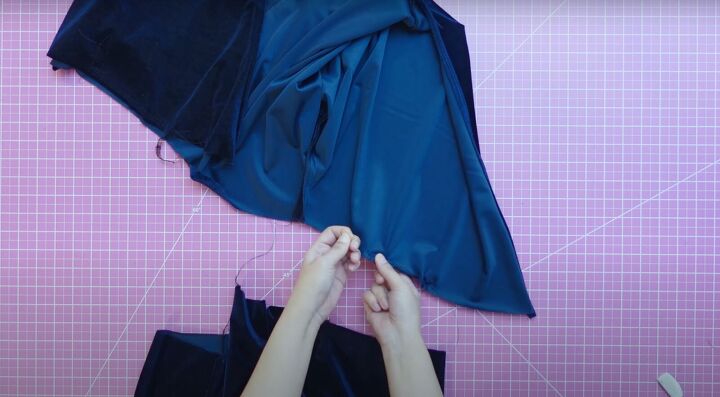
8. Hem the skirt
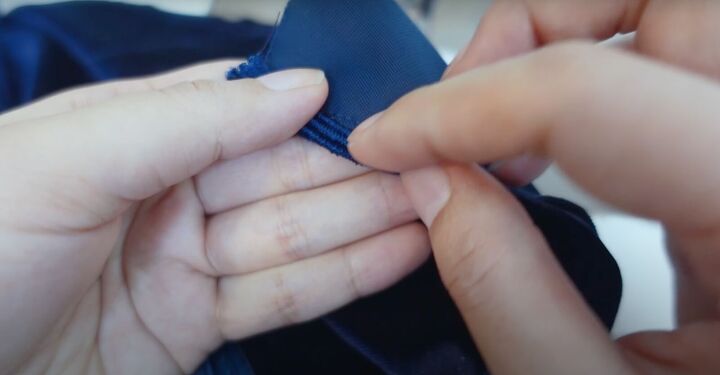
Fold the vertical raw edge of the 5th skirt panel twice and sew into position.
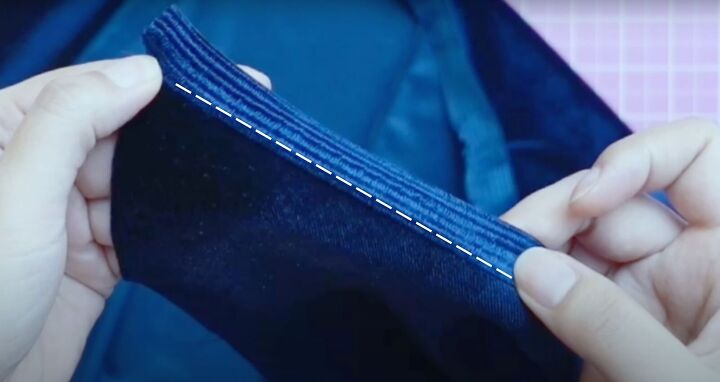
Serge the bottom of the skirt. Then turn up the skirt bottom hem up 1 inch and machine stitch into position.
9. Attach the bodice and skirt together
Fold all the skirt panels into position. Line up the first panel to the front edge of the bodice and the notch for the center of the second panel to the side seam of the bodice.
The front of the top is longer than the skirt panel. Make 2 rows of machine basting stitches either at the middle or close to the side seams of the top.
Pull on the threads.
Once the top matches the skirt panel, clip into place.
Match the center notch in the middle panel with the center back of the top. Repeat the basting stitch on the other side so both sides match.
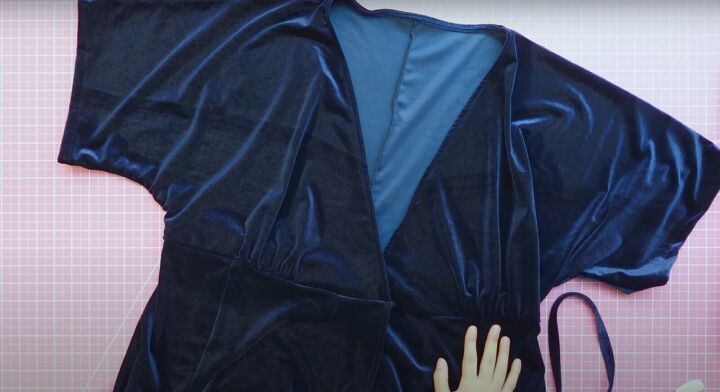
Clip everything in place and sew into position.
Attach the waist ties to both front edges and you’re done!
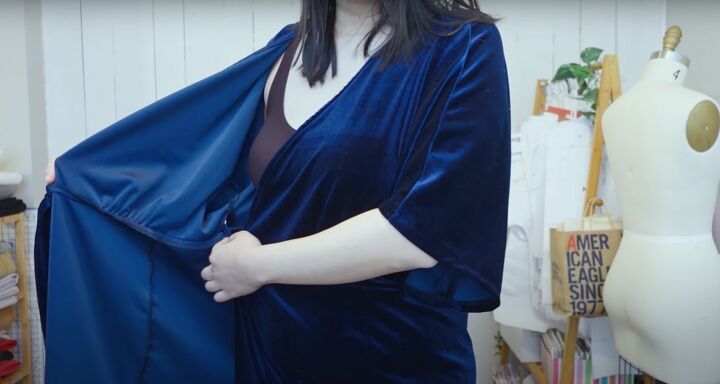
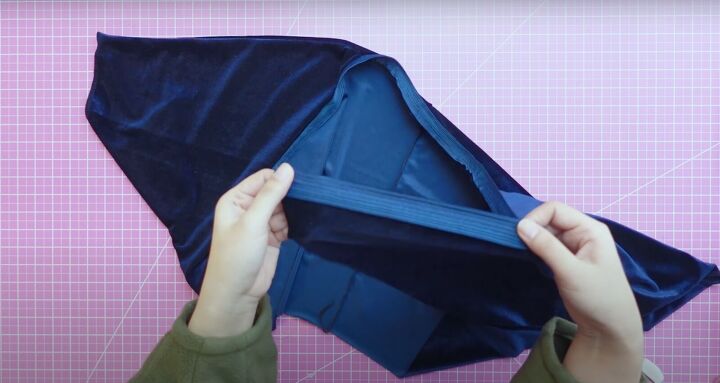
To wear the dress, insert the waist tie through the small hole on the side seam at the waistline.
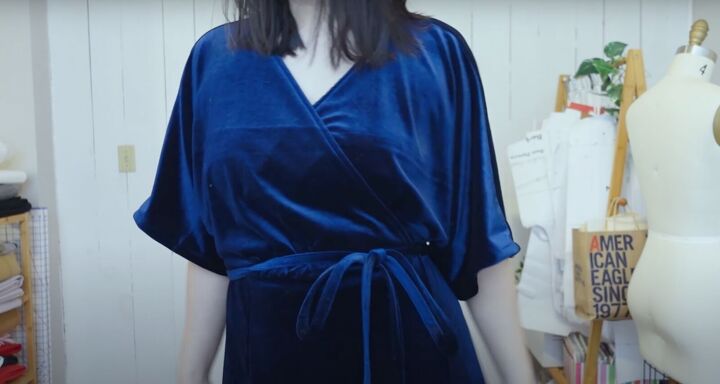
Wrap the tie around your waist and pull to close around your waist.
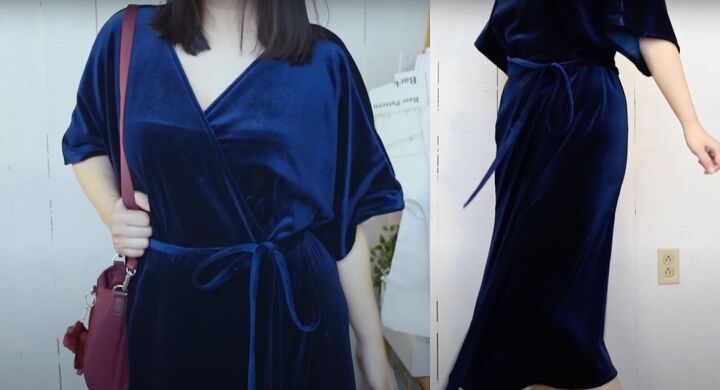
How to sew a velvet dress
This is how beautiful this DIY velvet dress looks. I love the wrap style and long, flowy skirt. Please let me know in the comments if you made this dress and how it came out.
The author may collect a small share of sales from the links on this page.


Comments
Join the conversation