Got an Old Crochet Blanket? Try Out This Granny Square Bag Tutorial

If you thought this would be a tutorial on how to crochet, think again! Because it’s not that at all. It’s really a granny square bag tutorial to learn how to turn crocheted granny squares – the kind that make up a blanket – into a granny square tote bag or purse.
Just don’t tell your granny what you’ve done!
Tools and materials
- One granny blanket you’re willing to part with
- Fabric lining
- Scissors
- Thread
- Sewing machine with zigzag foot
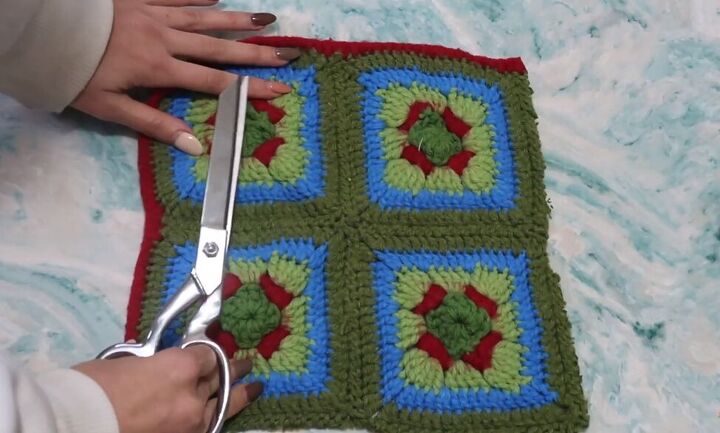
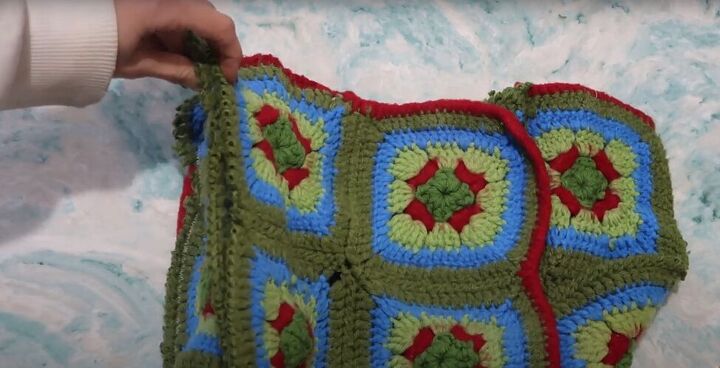
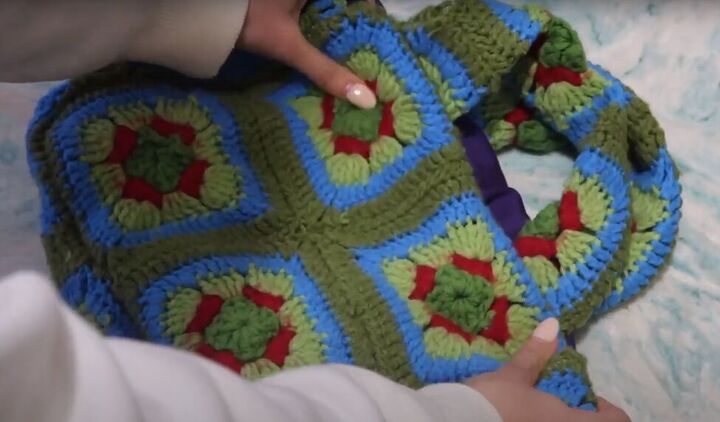
1. Cut up your granny square blanket
Consider what size you want your granny square bag to be, and then cut the necessary number of squares from your blanket.
For example, I wanted my bag to be about two squares by two squares, so I cut two pieces from the blanket, with four squares in each piece.
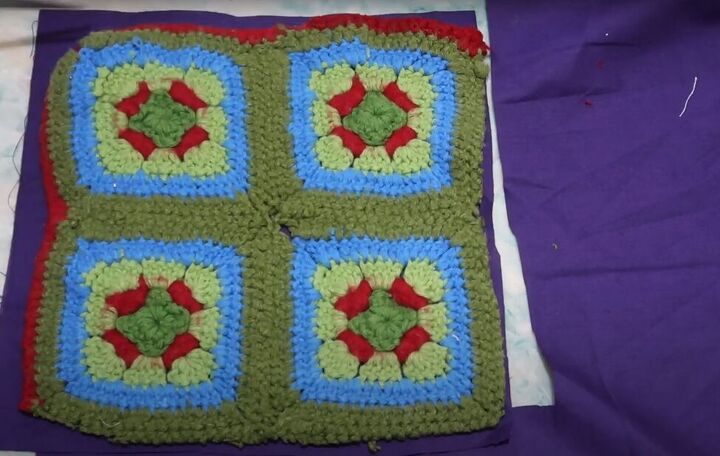
Use one of your granny square pieces to cut out two fabric lining pieces.
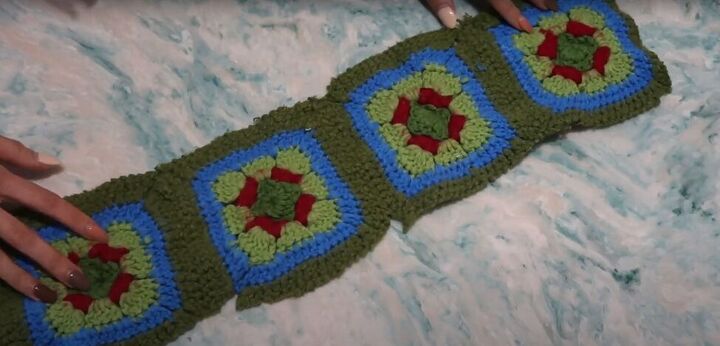
You also need to cut out 3 long strips of 6 granny squares and one matching piece of fabric lining. One long strip will be the bottom and side panels of the bag and the other 2 strips will be the handles.
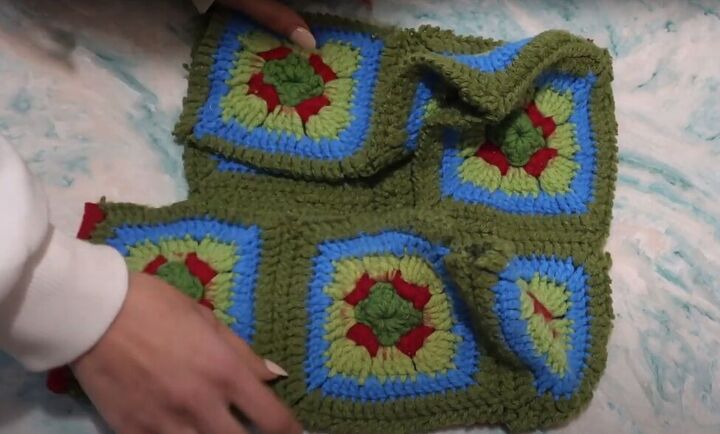
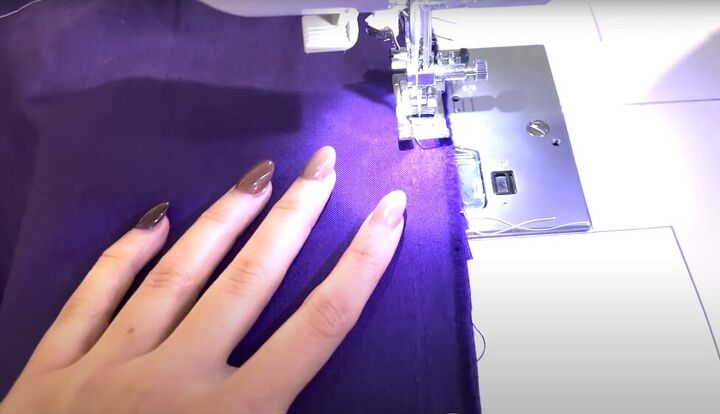
2. Sew panels together
With right sides facing in, sew one strip of granny squares to three sides of one 2x2 panel, folding in the corners as you go, so they don’t get caught in the seam.
Use a zigzag stitch for all seams of this crochet bag.
Now, with right sides still facing, sew the other 2x2 panel to the side panel strip.

3. Sew the handles
Fold one of your other long strips in half lengthwise. With right sides facing in, sew the long open side and one end together. Use a long stick to pull the handle right side out.
Repeat with your last strip for the second handle.
4. Sew the lining
Sew the two panels of lining together on three sides.
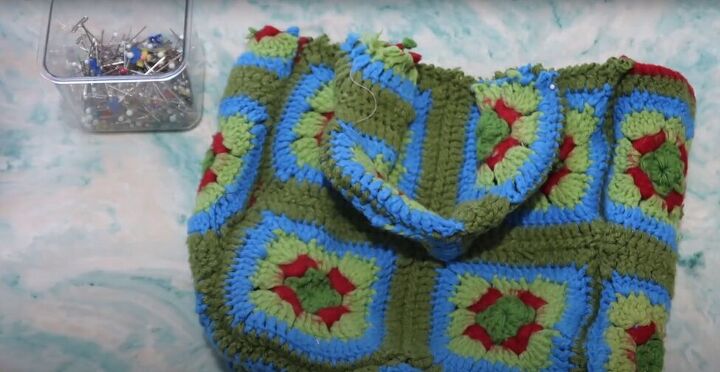
5. Attach the handles
Pin the handles to the front and back of the bag, positioning them where you are comfortable. Sew the handles to the bag with a quarter-inch seam allowance.
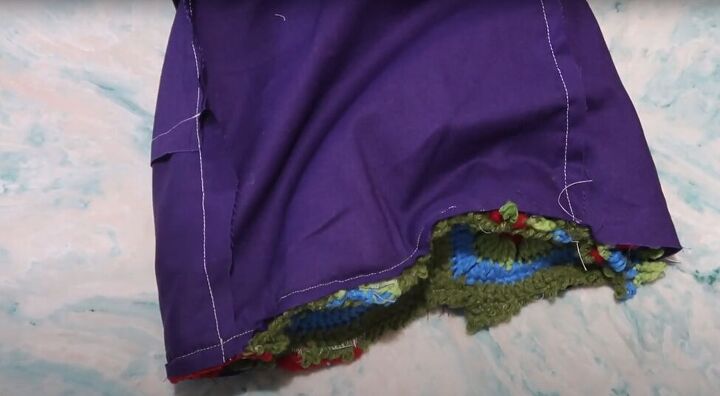
6. Attach the lining
Insert the bag into the lining, with the inside of the lining facing out and the right side of the lining against the right side (outside) of the bag. Sew around both sides and the bottom of the bag
Now pull the bag out, so it’s right side out and push the lining inside the bag.

Topstitch the lining to the bag around the inside top of the bag.
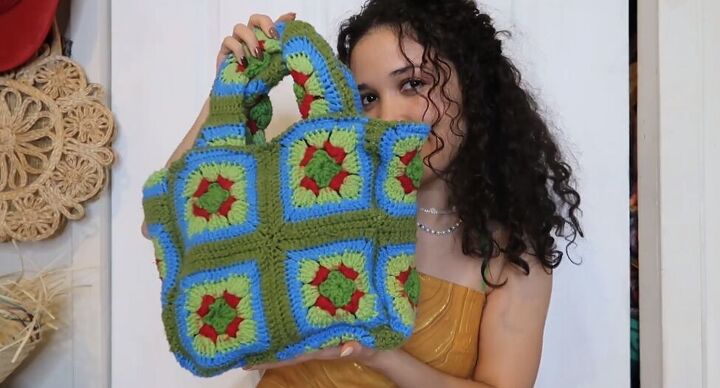
Granny square bag tutorial
Well done! Now you’re ready to go with your new granny square tote bag! It’s so pretty and versatile! Let me know how yours turned out by leaving a comment.
The author may collect a small share of sales from the links on this page.


Comments
Join the conversation
Just a comment -- as a crocheter, all this will work much better if you find out how the granny squares are attached to one another and just cut the joining itself (sometimes they're joined by a regular overhand stitch, sometimes by a crochet stitch, but if you follow the outside edge of the square without cutting it, you can figure it out). It will leave the "weave" of the square intact with an outside edge that is impervious to raveling. Otherwise, with crochet, a single thread can ravel an entire row, or two, depending on where the last yarn was tied off.
Wow, Thanks! Very Cool and Chic 🤩