How to Make Shoulder Bags at Home: Easy Step-by-Step Sewing Tutorial

A soft fabric shoulder bag is simple to make and so pretty to wear! If you’ve been wanting to learn how to make shoulder bags at home or looking for a simple shoulder bag sewing pattern, look no further.
I’ll show you how to make your own shoulder bag easily. Once you get the hang of this DIY shoulder bag, you can sew shoulder bags to give as gifts! Let’s get started!
Tools and materials:
- 1 yard fabric
- Fusible fleece/mid-weight interfacing
- Scissors
- Ruler
- Tailor’s chalk
- Sewing machine
- Safety pin
- Pins/clips
- Iron
The finished size will be 17 ¾ X 14 X 25
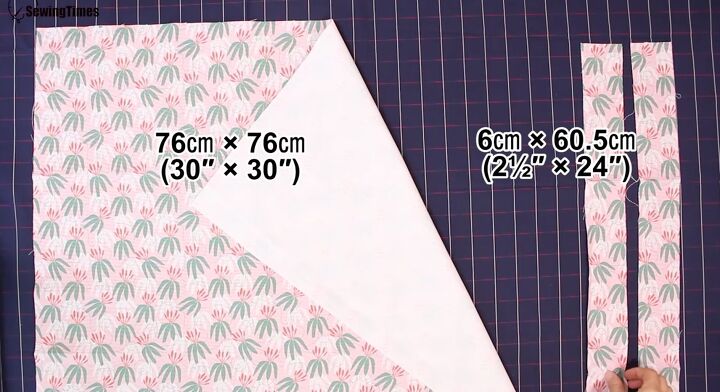
1. Prepare the fabric
Cut the fabric into one large piece that is 30 X 30 inches and two straps that are 2½ X 24 inches.
Iron fusible fleece or interfacing to the wrong side on the large piece of fabric, leaving at least 1½ inches without any interfacing at the edges.
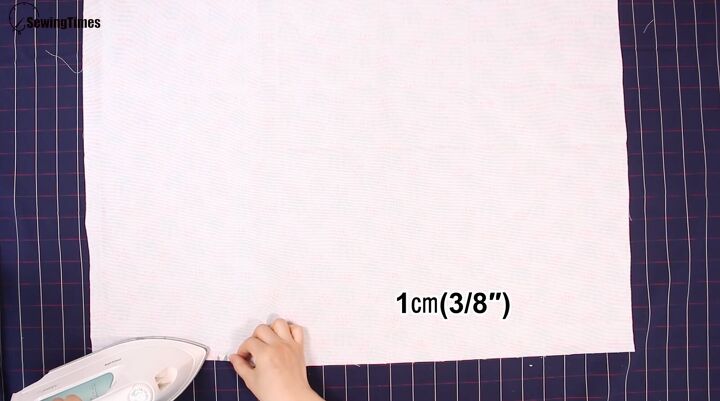
2. Fold the edges
Fold the edges in ⅜ inch and press.

Then fold in ⅜ inch again for a second fold and press.
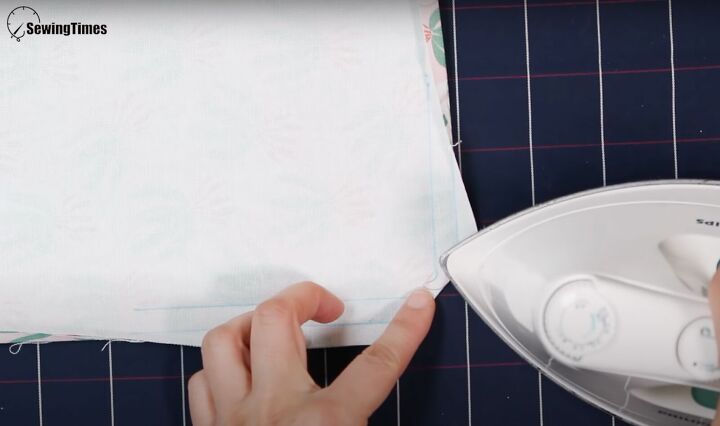
To get a clean crisp edge, cut the corners on all 4 sides diagonally. Once cut, fold in once on the diagonal. Press.
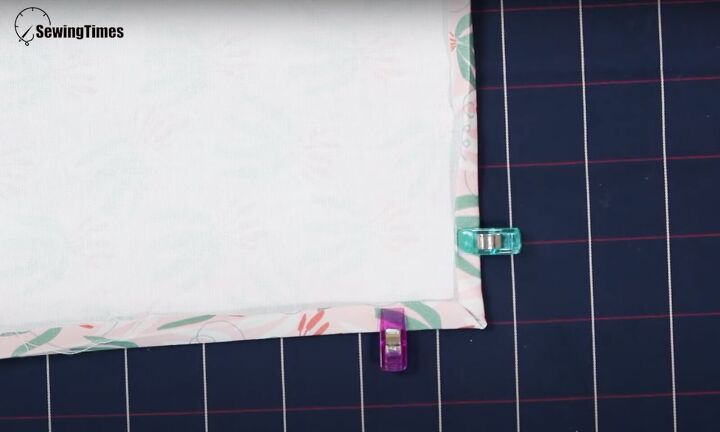
Then fold in twice on the sides. Clip in place. You’ll see lovely crisp corners!
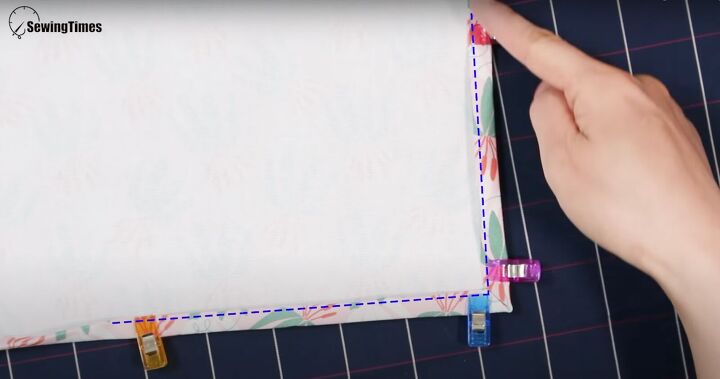
Sew right at the edge.
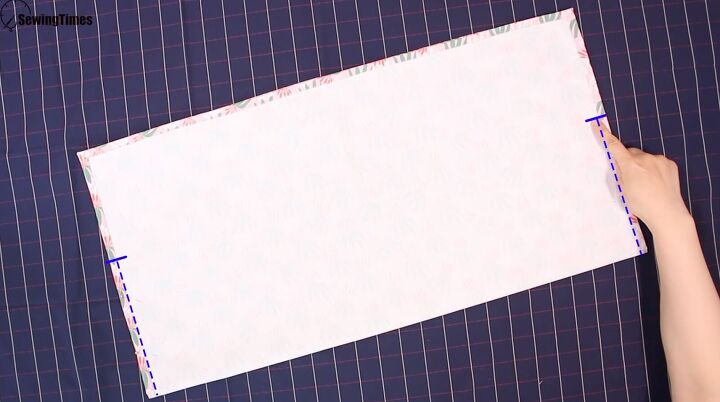
3. Make the bag
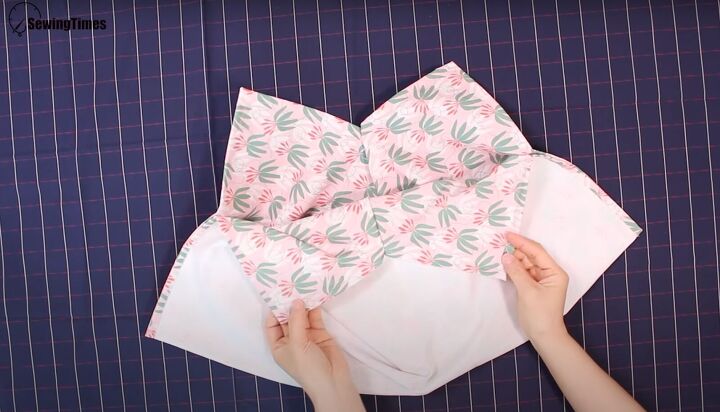
Fold the fabric in half right sides together. Measure up 8 inches from the fold on either side. Pin in place and sew.

Lay the bag so the long side faces you. Match the corner from the top layer to the other top layer corner. Match the bottom corners to each other. If you need more help, watch the video from 2:50 - 3:10.
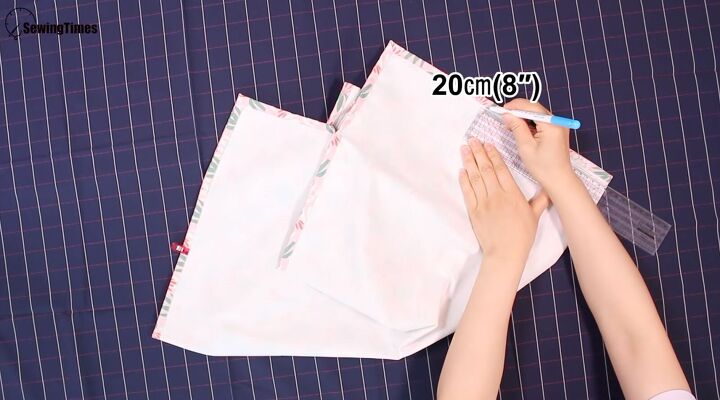
Lay the bag so all the points are facing upward. Mark 8 inches up from the bottom towards the points on both outer ends.
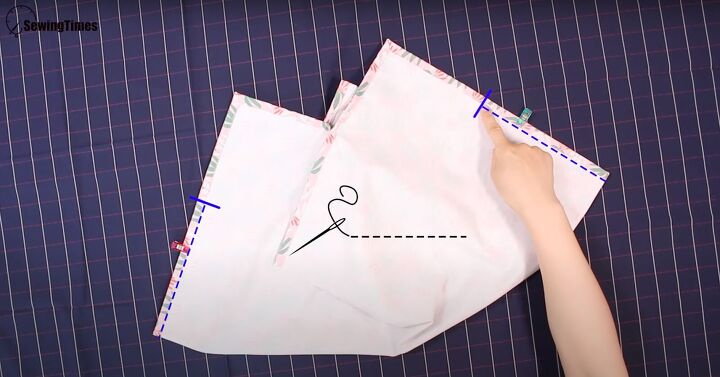
Sew these seams from the fold upward.
It will look like this.
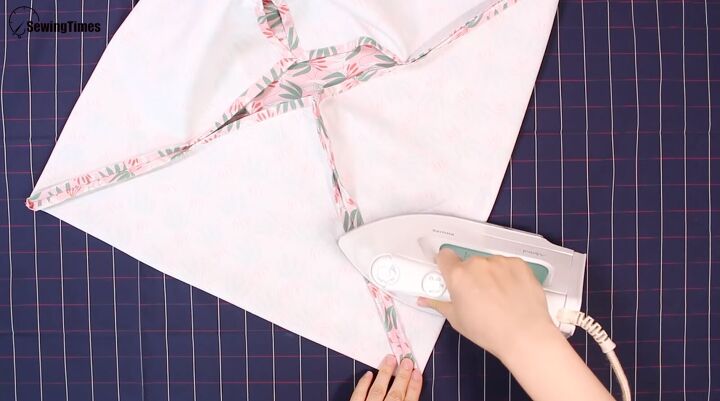
Open the seams at the seam allowance and press them all flat. Once they’re all pressed, turn the bag right side facing out. Poke out all the ends so they are nice and sharp.
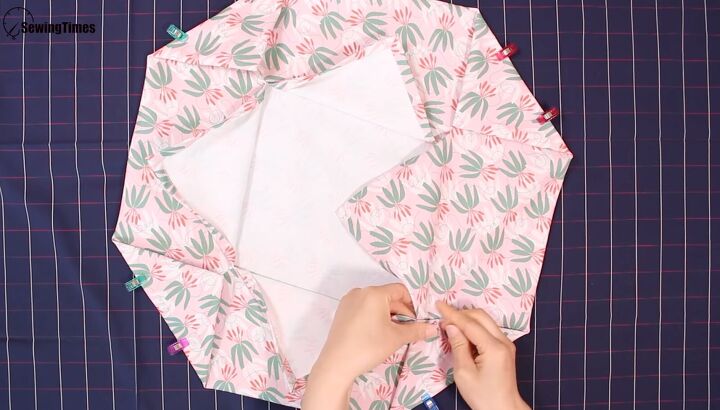
Fold the corners in. Clip them in place. Pin the fold.
Sew the corners.
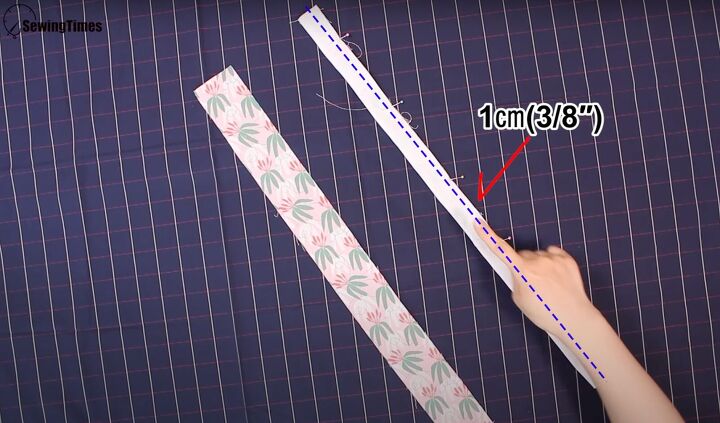
4. Make the straps
Fold each strap in half, right sides together. Pin them in place. Sew with a ⅜-inch seam allowance. Use a safety pin to turn the straps inside out. Press them as flat as possible.
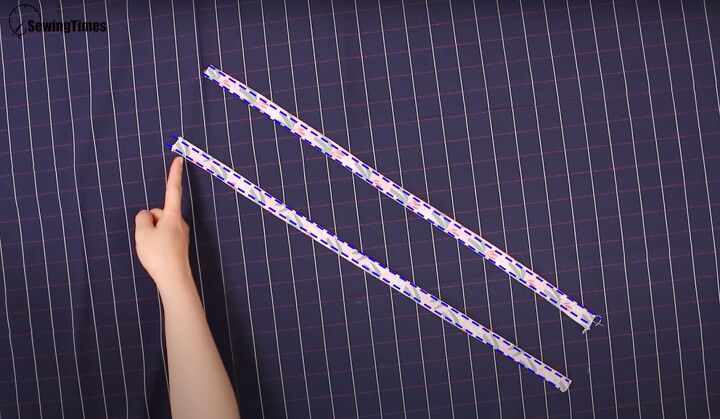
Topstitch on both ends.
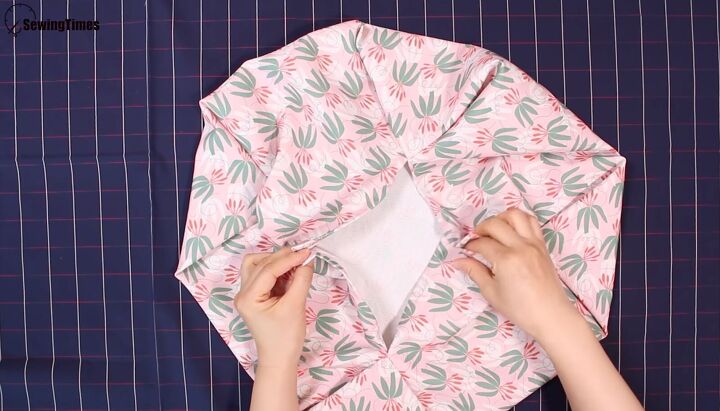
5. Attach the straps
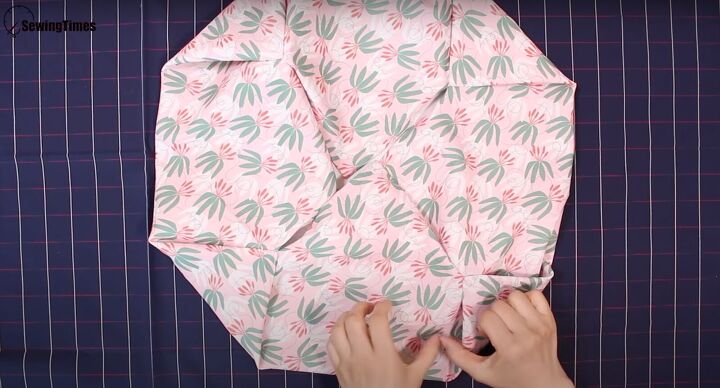
Gather two corners and pull the bag.

Fold the straps at either end in ⅜ inch.
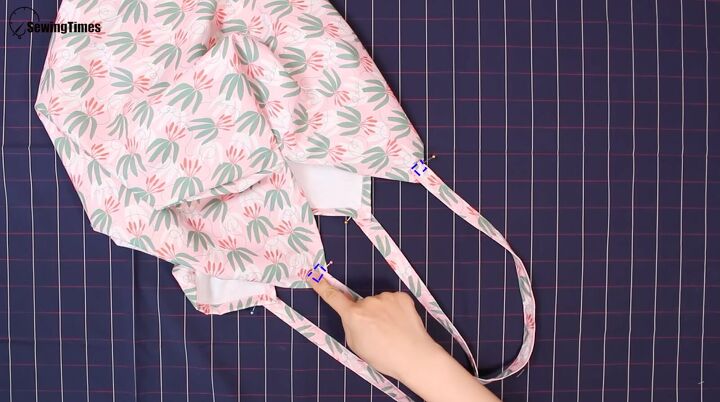
Pin the straps to the corners. Sew in a square to secure.
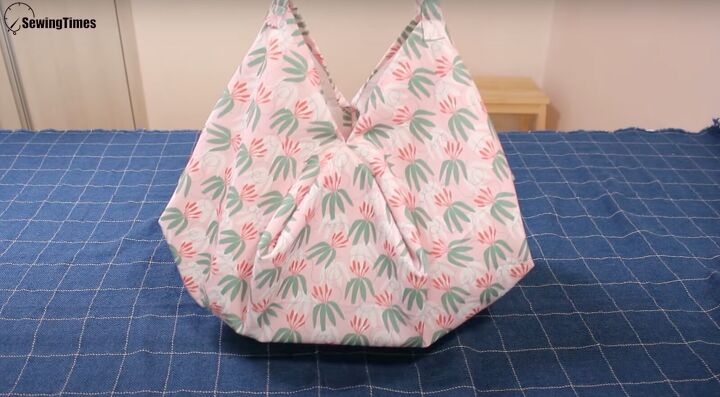
The bag full.
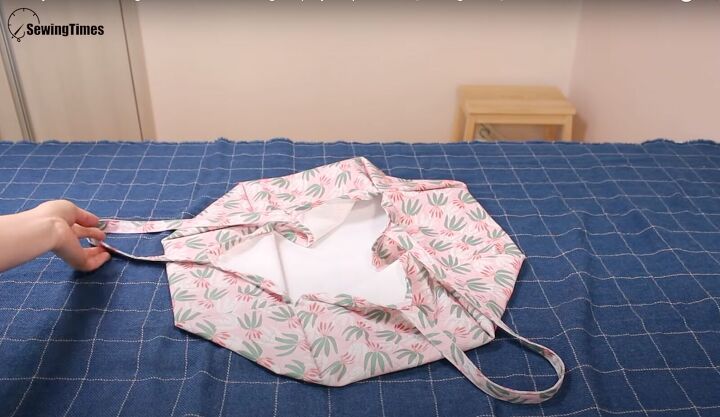
The bag laying flat.
How to make shoulder bags at home
I hope this tutorial on how to make a fabric shoulder bag helped you make your own DIY shoulder bag at home! Please let me know in the comments if you made this or share your photos.
The author may collect a small share of sales from the links on this page.


Comments
Join the conversation