How to Make a Shaker Charm - Great Stocking Stuffer

I first discovered shaker charms over on Instagram, and I was hooked. A new craft idea, sign me up! I absolutely love cute little things like this that you can totally personalize for anyone. Now for those of you that want a functional purpose for this other than just decoration, how about this? Luggage tag! I think these would make an awesome travel gift for someone. The one that I am making is very small but you could absolutely make larger ones. What would you put a shaker charm on?
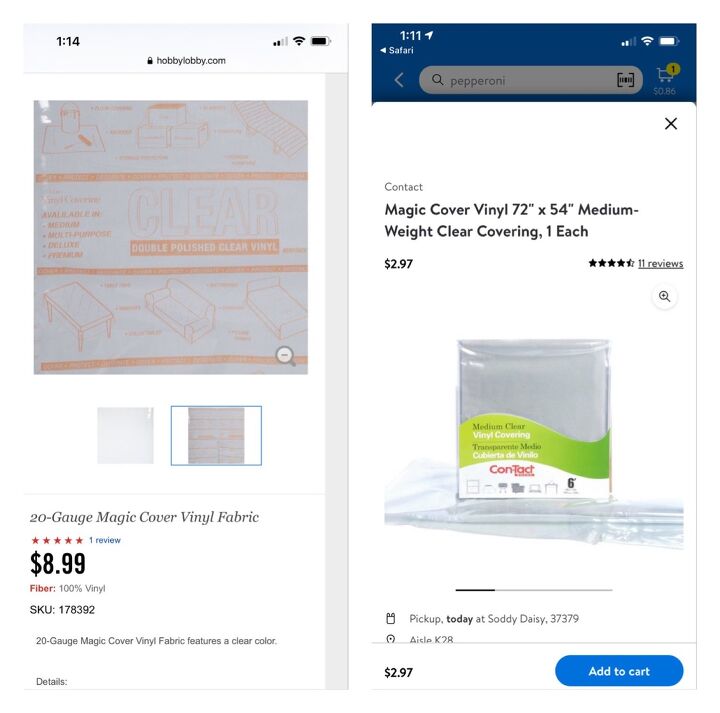
For vinyl, I used both of these. The weight between the two is very significant. I liked the heavier weight better. I found mine on the remnant shelf so it was 50% off.
This shows how the two vinyls compare.
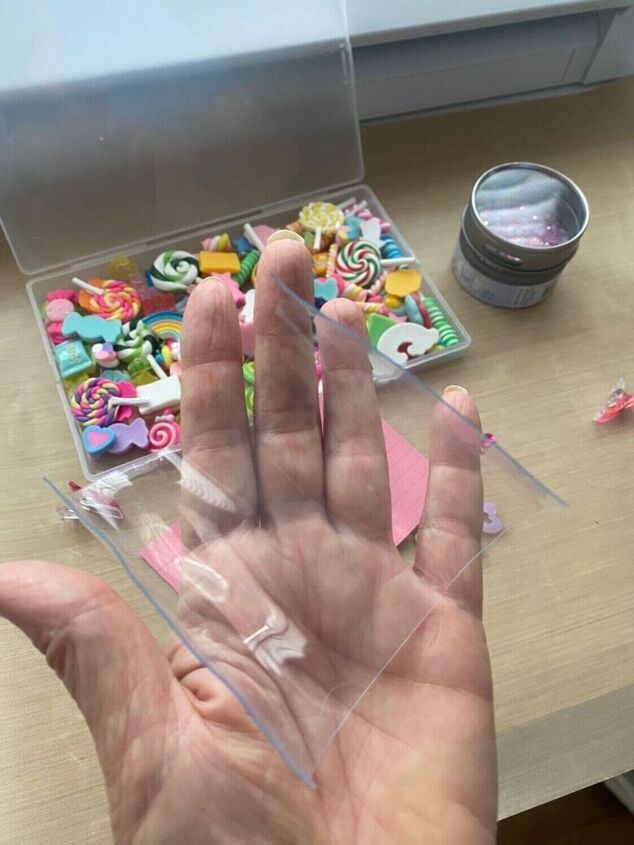
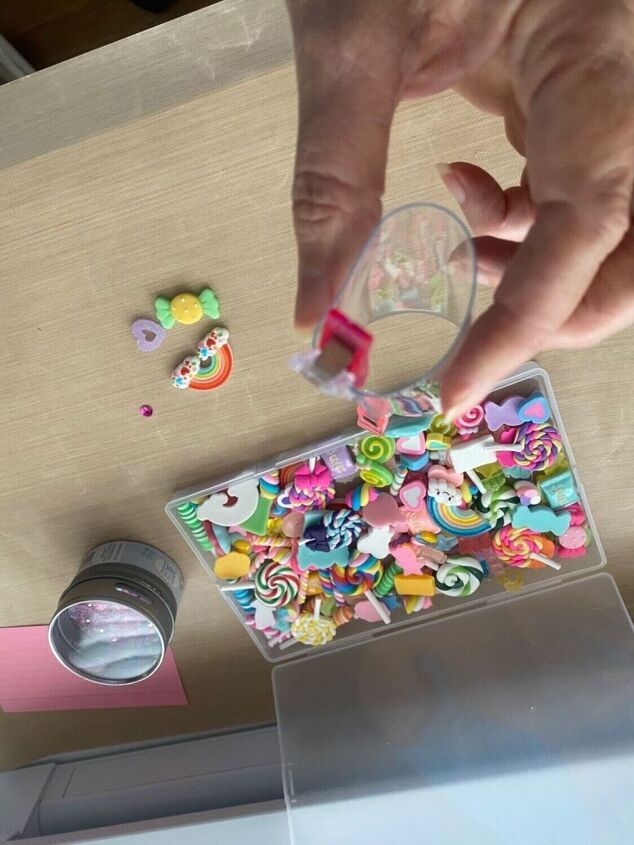
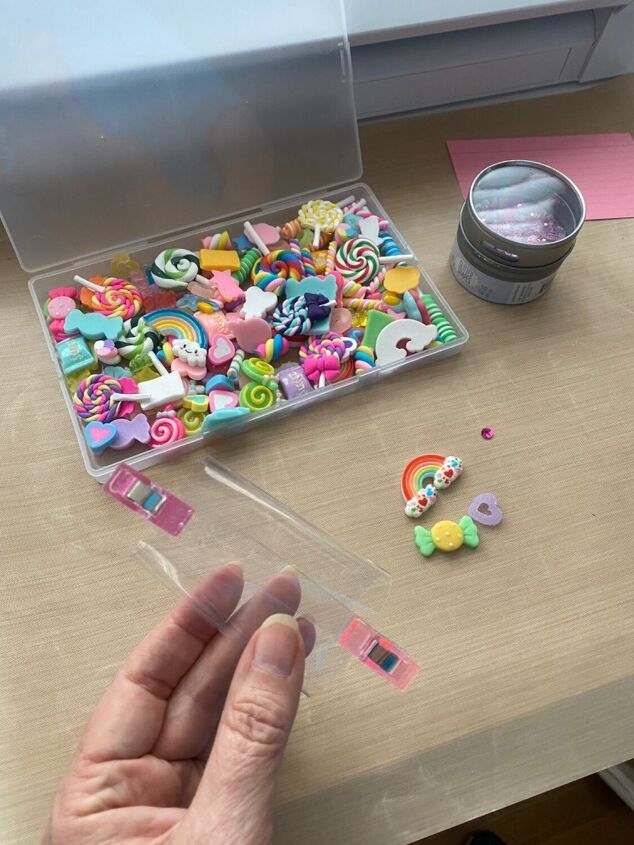
The first thing you want to do is pick what will go in your shaker. Some ideas are polymer clay doodads, sequins, glitter, beads… what would you use?
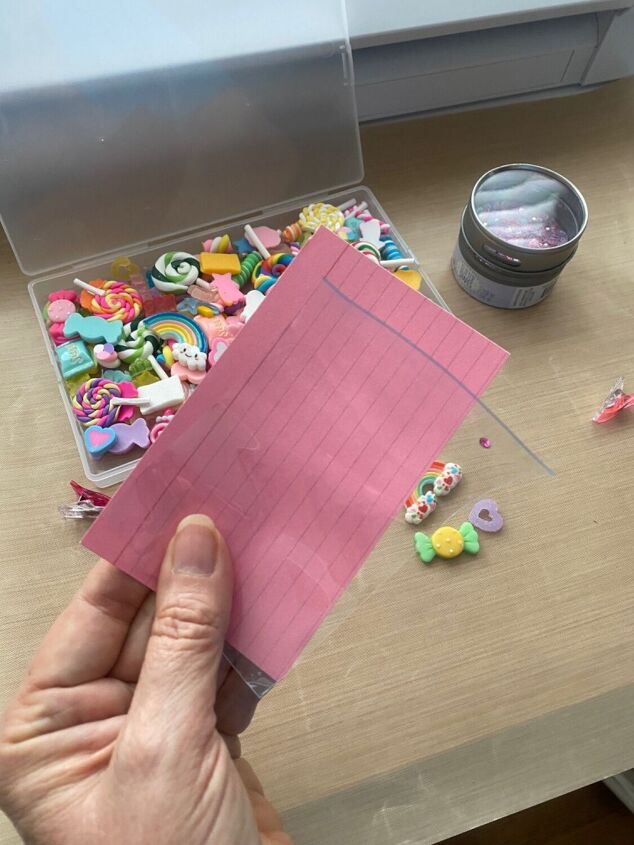
I cut my vinyl the size of an index card. The finished shaker will be roughly half the size you cut because it is folded in half.
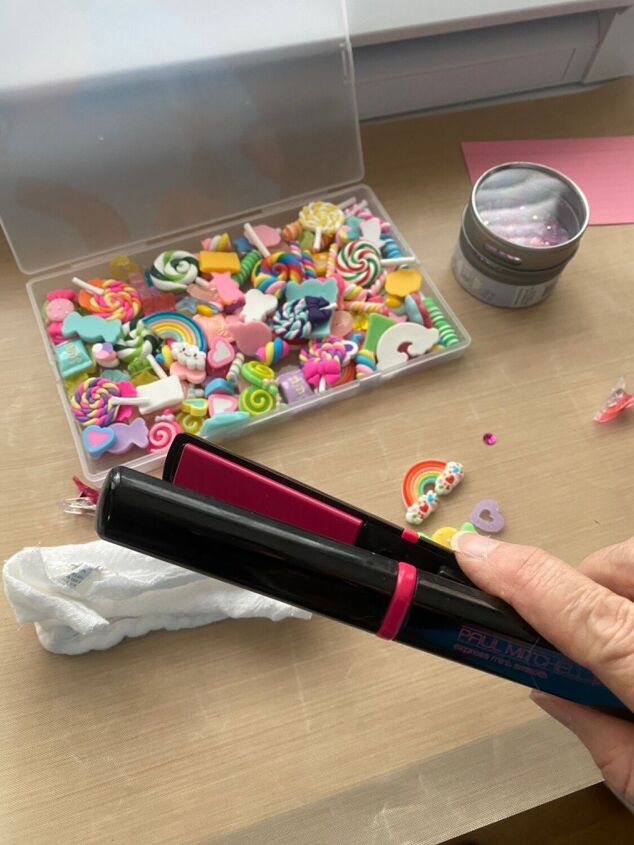
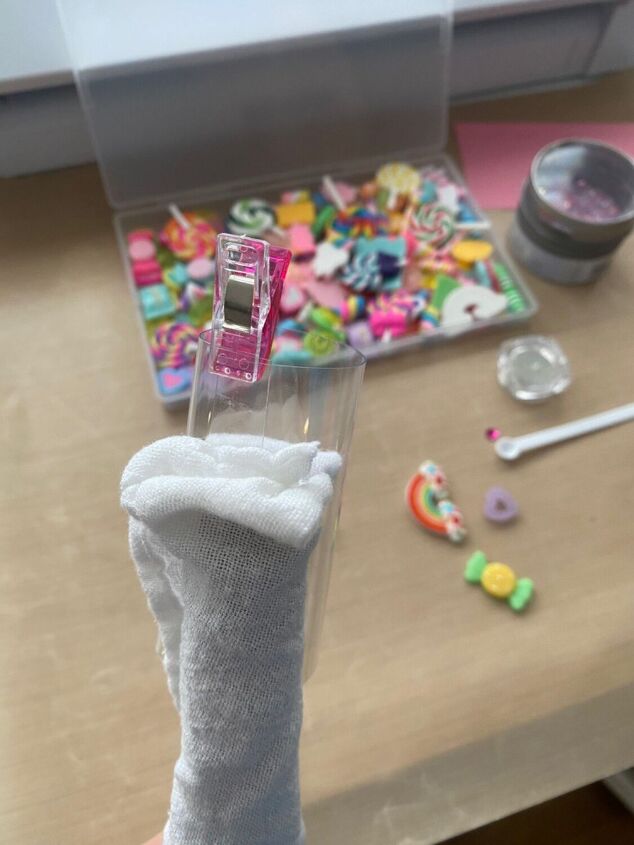
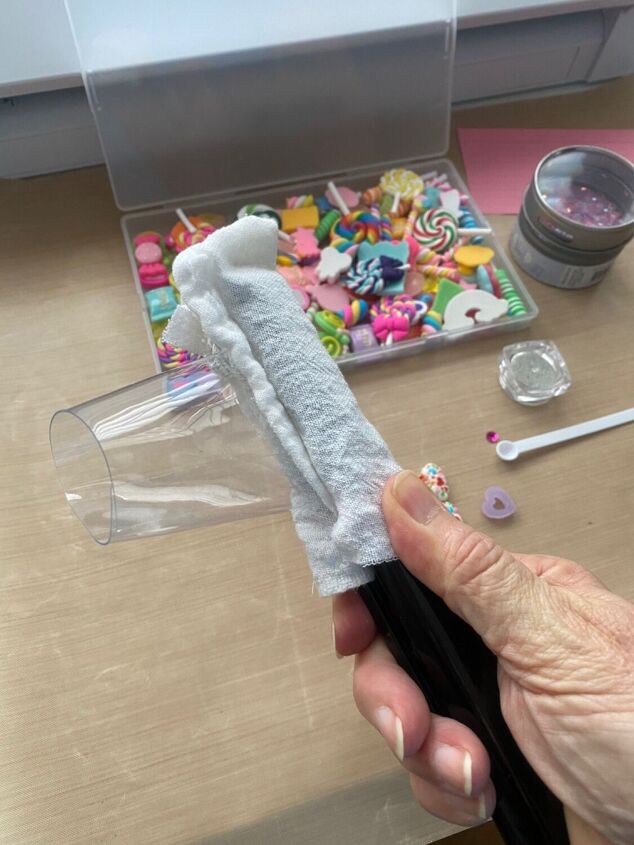
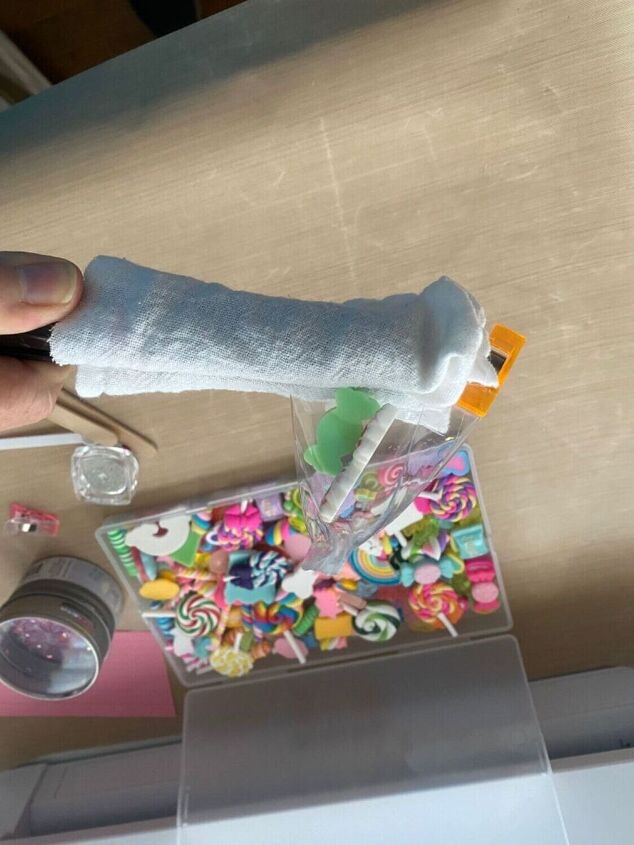
I used a small hair straightener to seal the ends and middle.
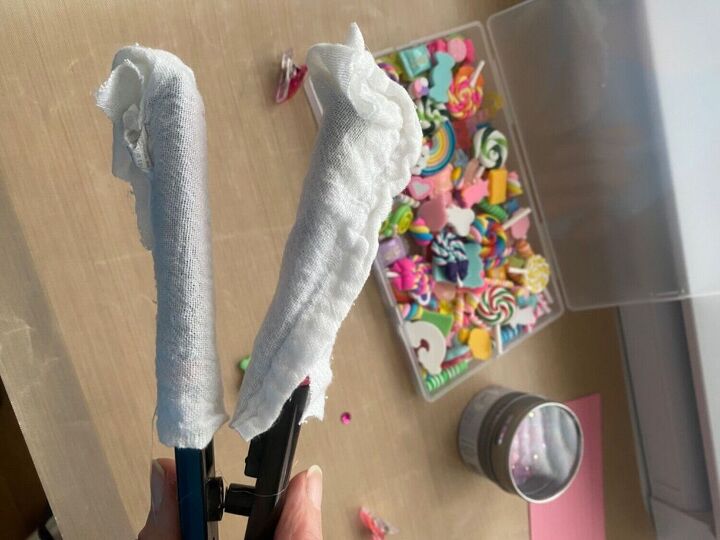
My straightener only has one temperature so I had to cover it with cloth to keep from melting the vinyl too much.
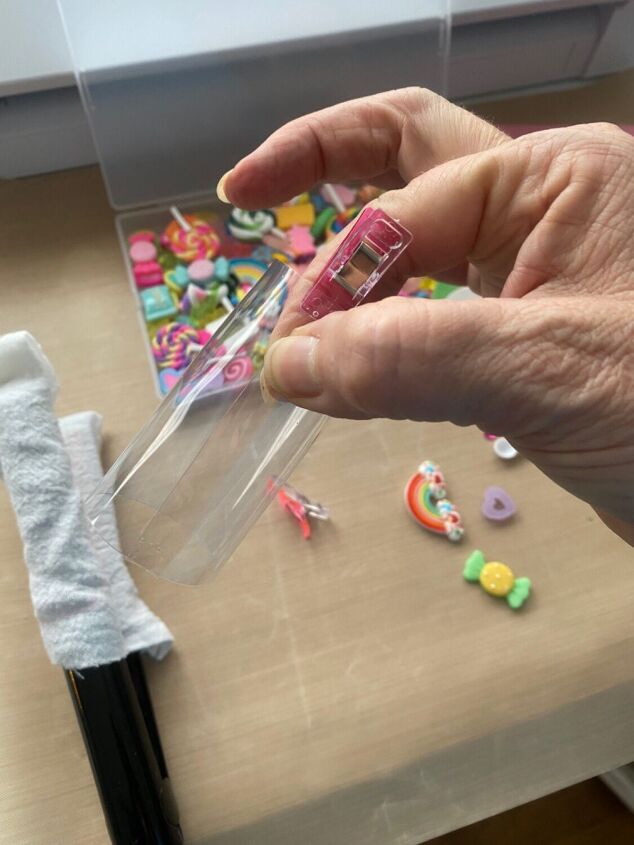
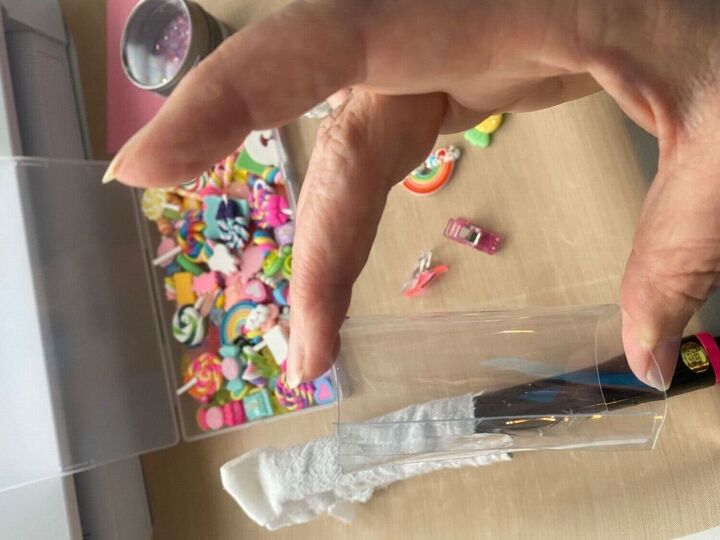
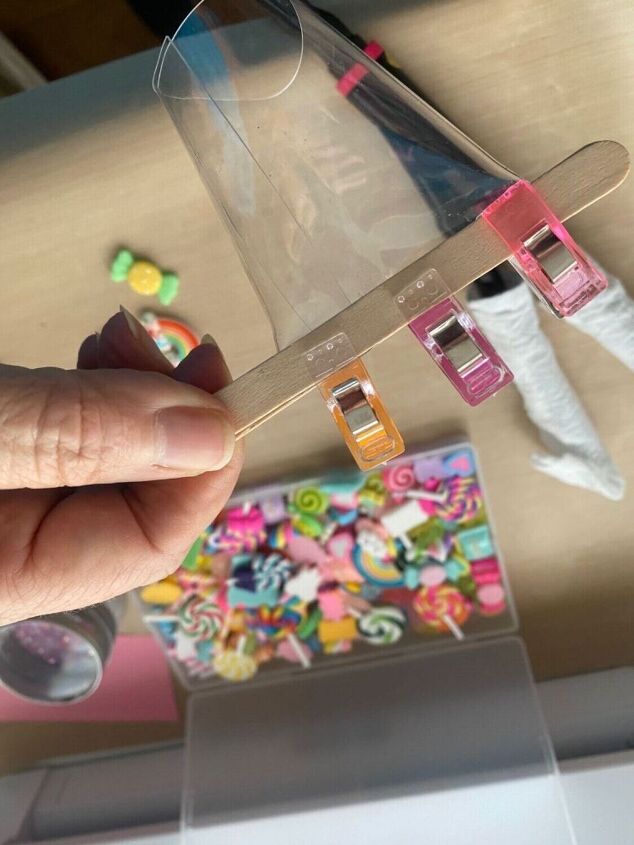
You want to make a cylinder shape overlapping the vinyl slightly. I find using clips help.
Another view…
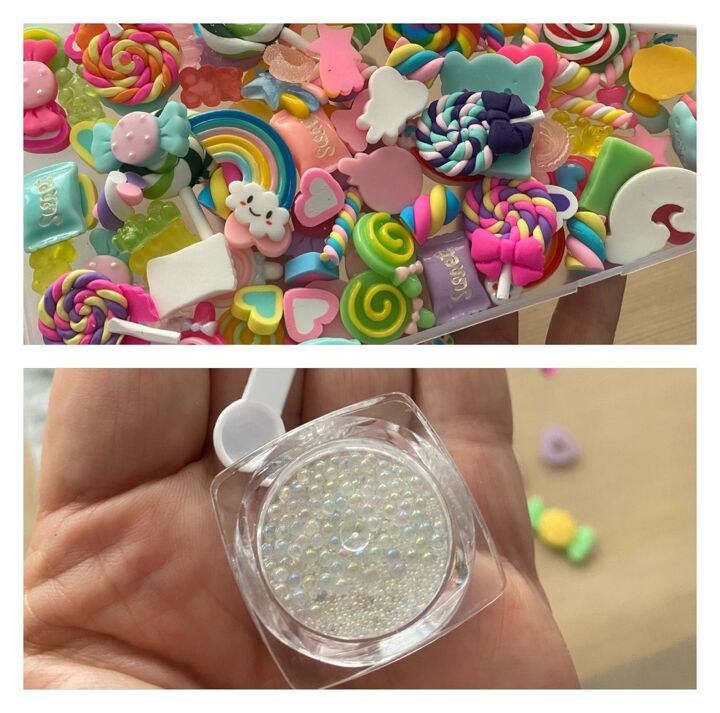
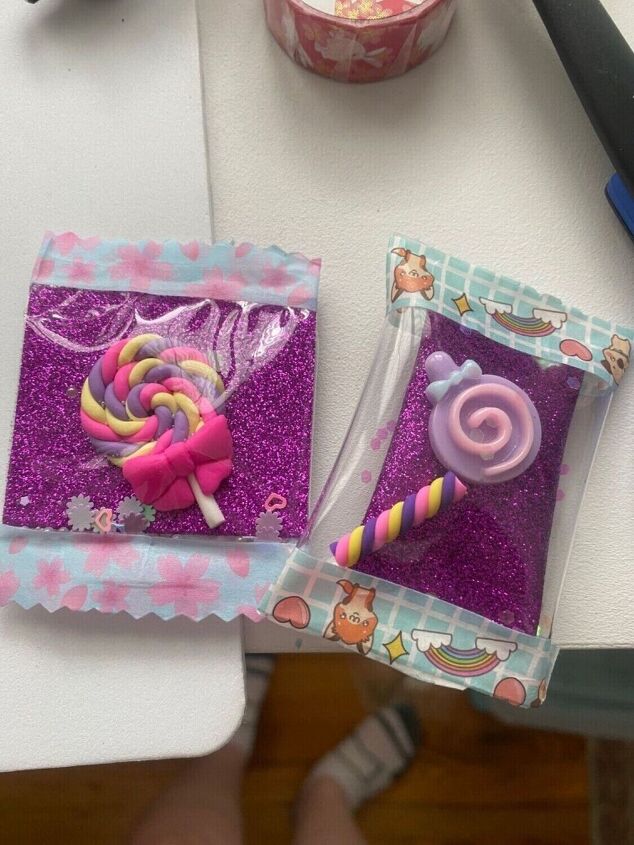
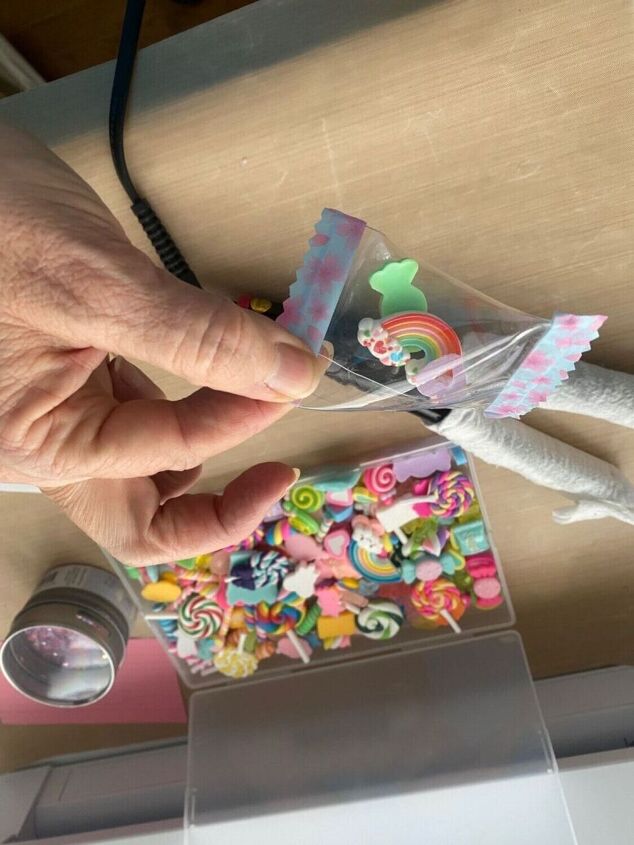
Here’s a closeup of some of my shaker items. The bottom picture is of resin bubble beads.
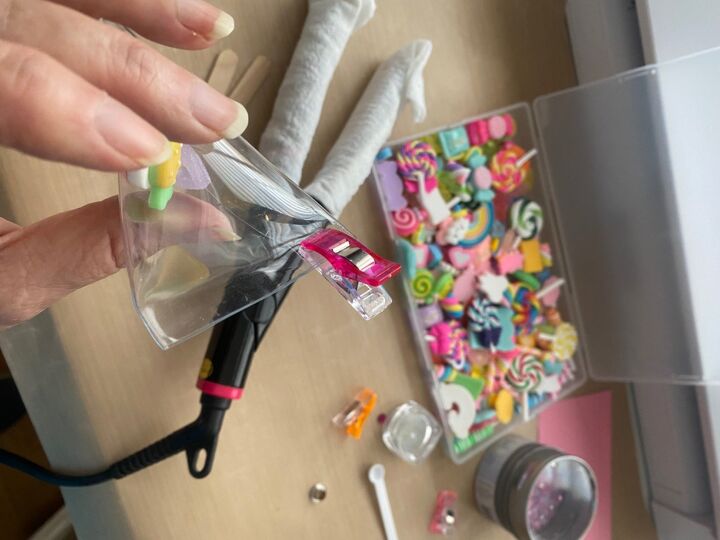
I do one half at a time. I remove one clip, using my fingers to keep it from shifting.
Every straightener will be different. I just tap lightly and check to see if it is sealing. Then clip it immediately while it cools because it will open back up if you don’t.
This is what mine looked like when finished.
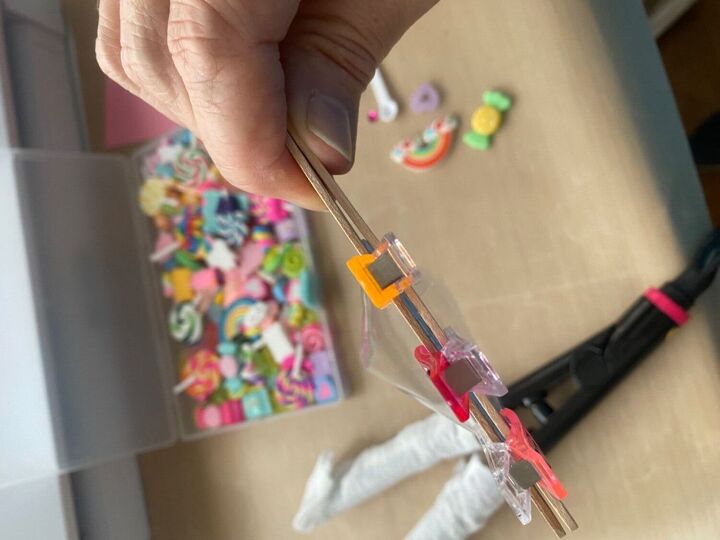
Time to close one end…
I added popsicle sticks and clips to keep it sealed while cooling.
Another view.
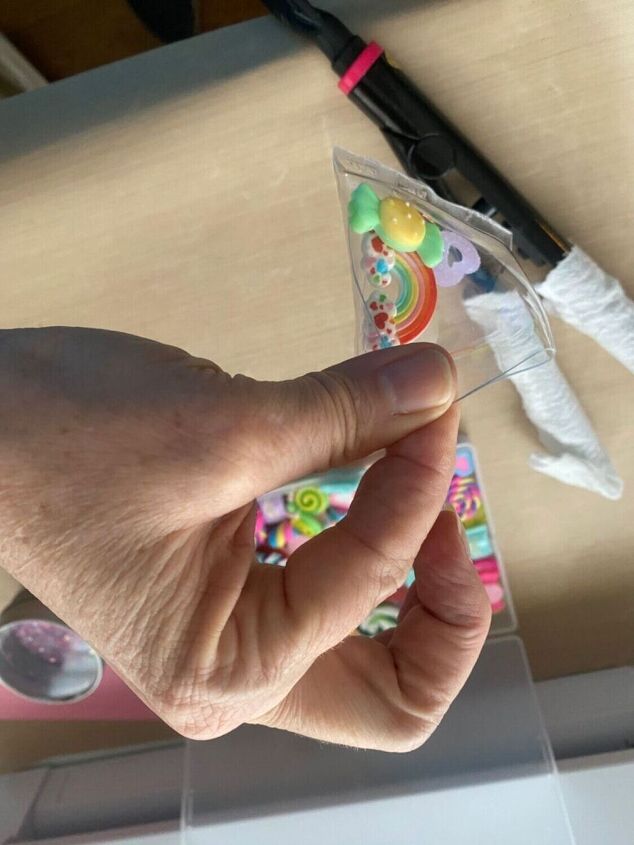
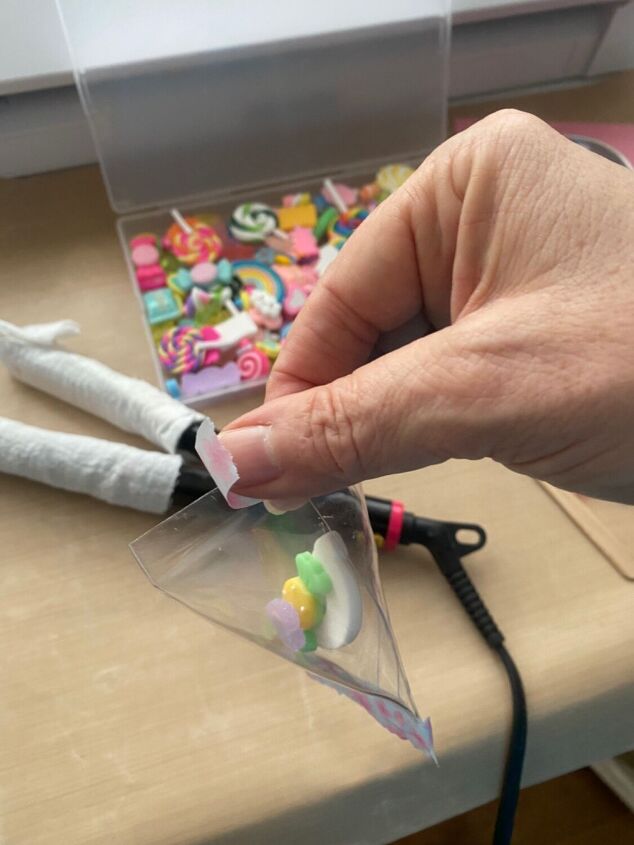
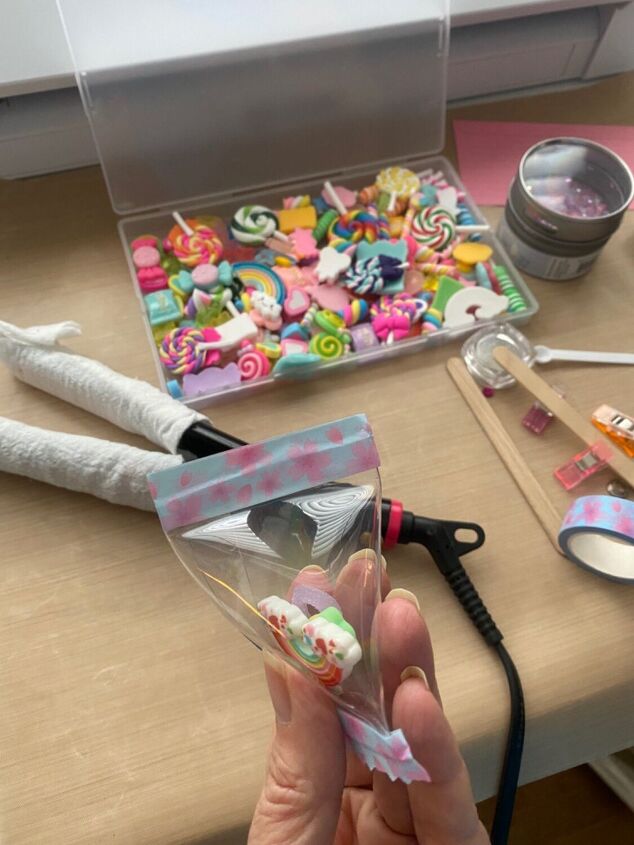
Now you add your shaker items.
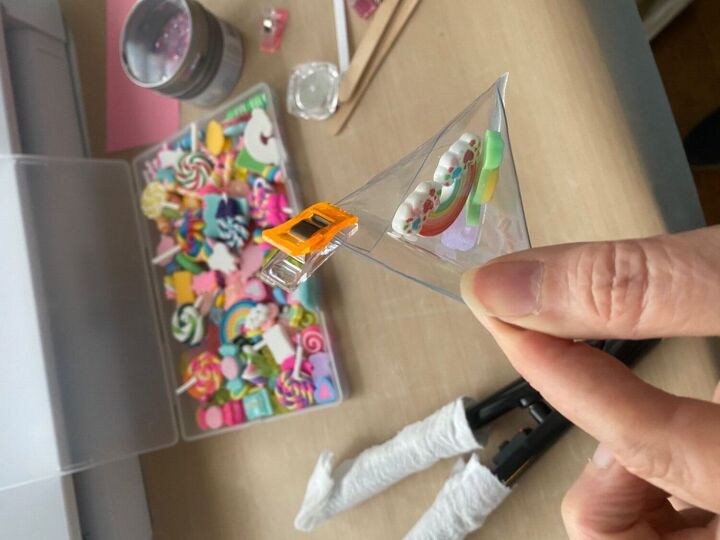
This time I will seal in the opposite direction.
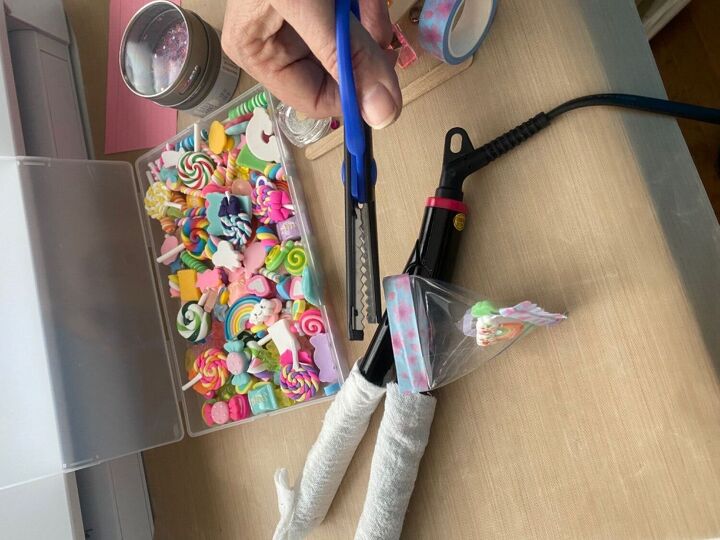
You repeat the process…
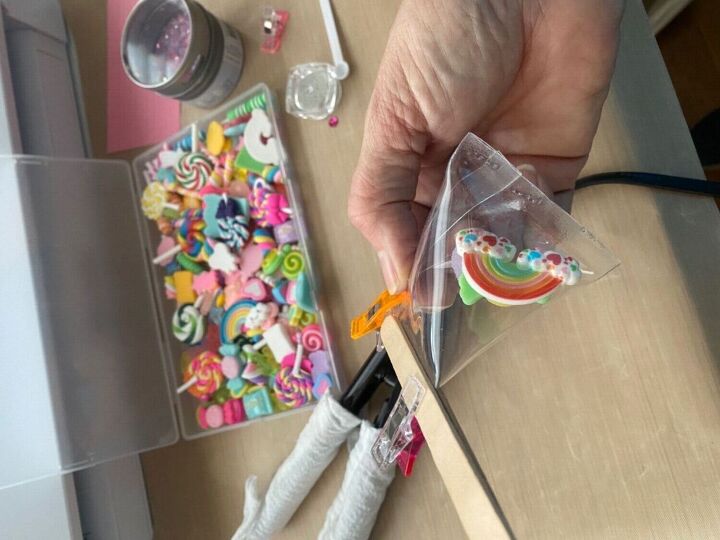
Clamping while it cools..
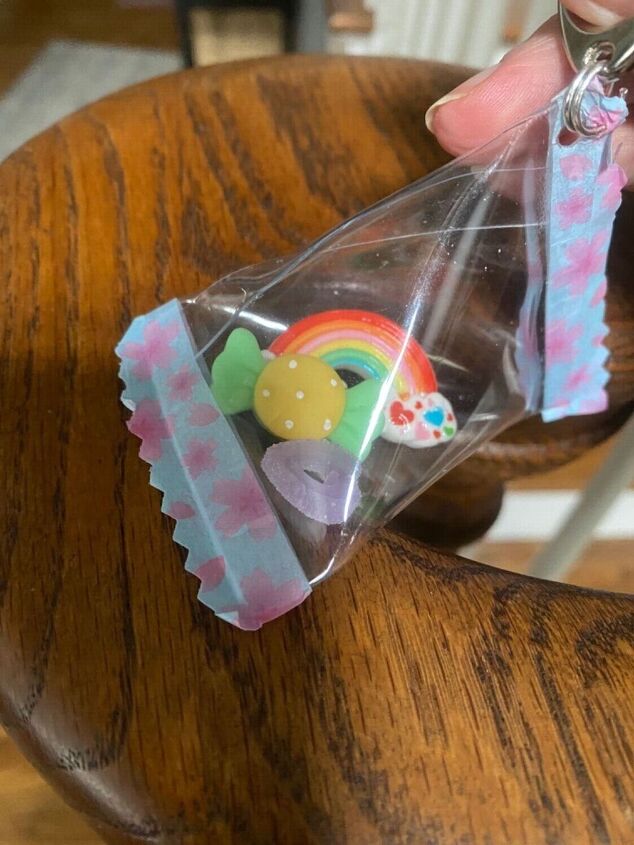
It will look like this when sealed and cool.
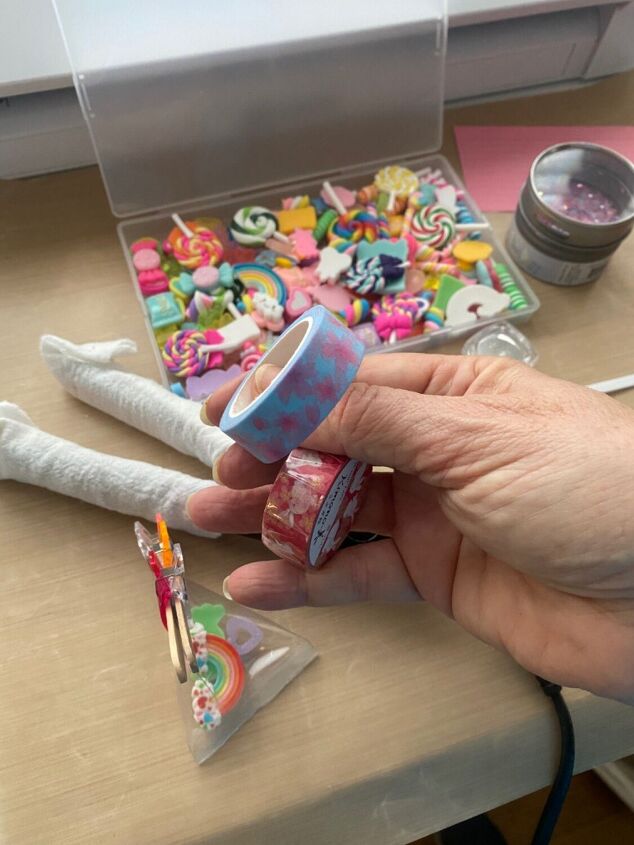
Now we add washi tape to each end.
You can cut one long piece to wrap around or two short pieces.
Some people cover the washi with packing tape before moving on. I didn’t but wish that I had. Washi tape is pretty fragile.
If you like, you can use decorative scissors on each end.
Time to attach the eyelet and jump ring.
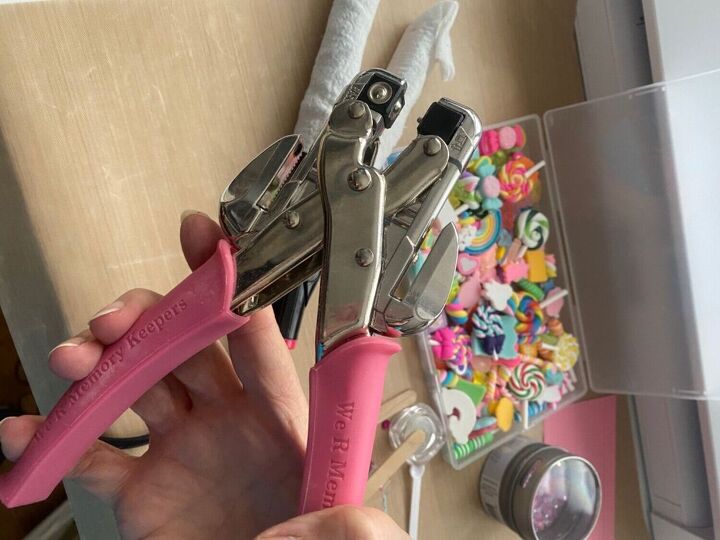
I used a crop a dile to add the hole and attach the eyelet.
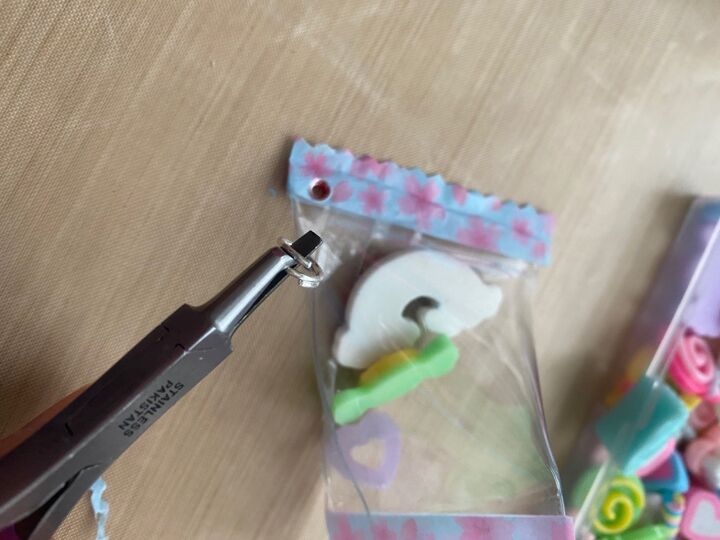
I have a handy tool for opening jump rings and sliding the through.
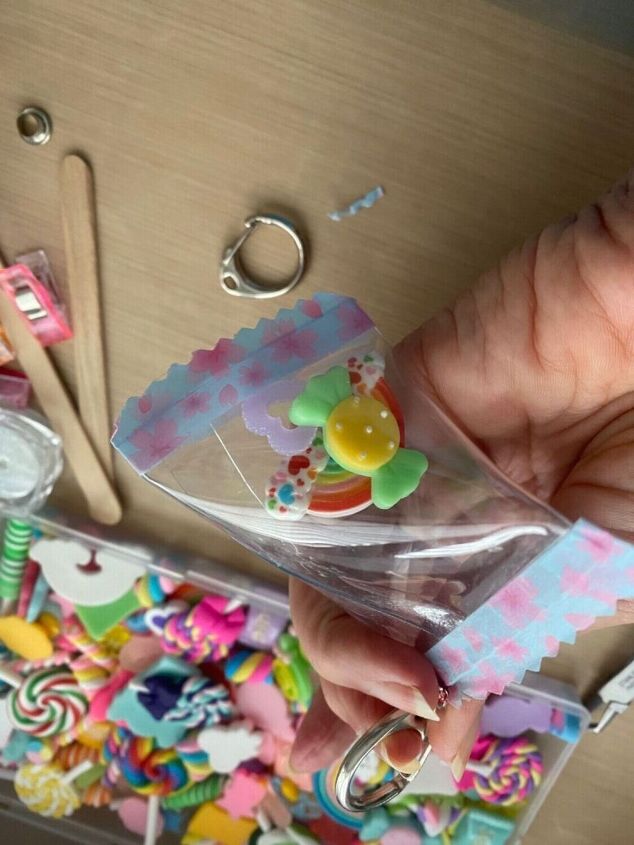
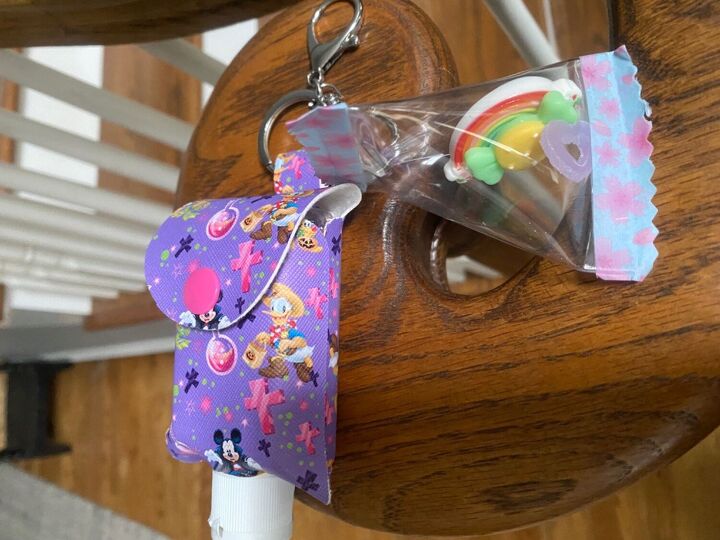
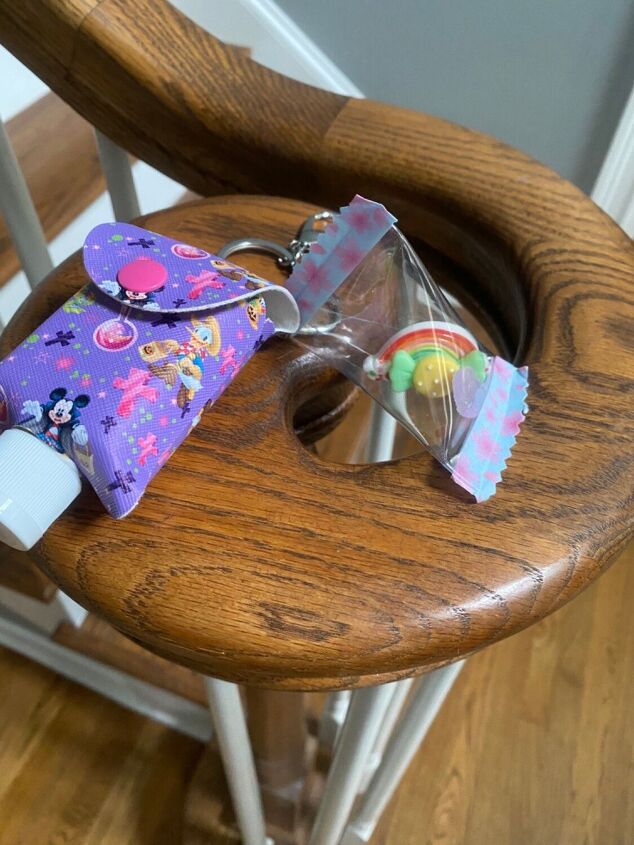
I attached a key ring and boom! You’re done.
I think it could make a cute stocking stuffer.
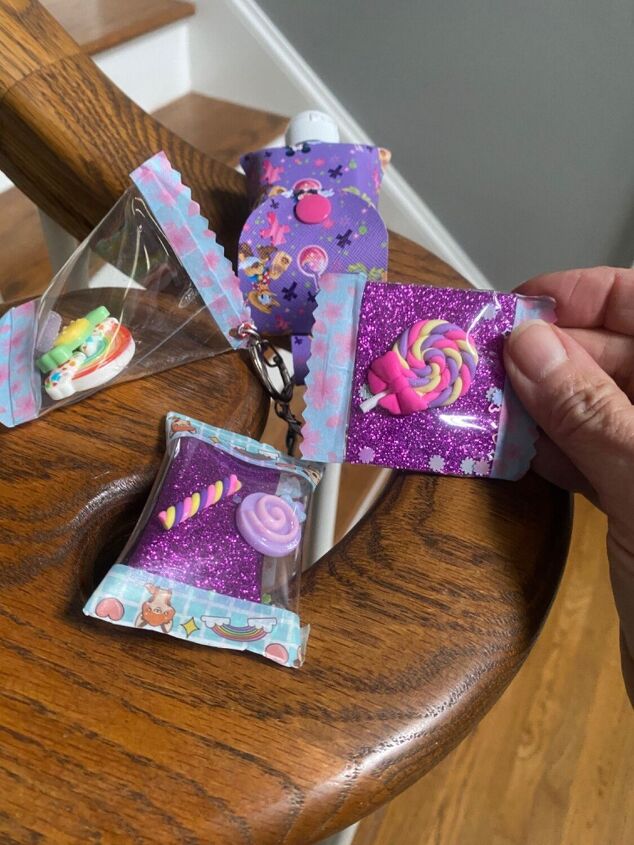
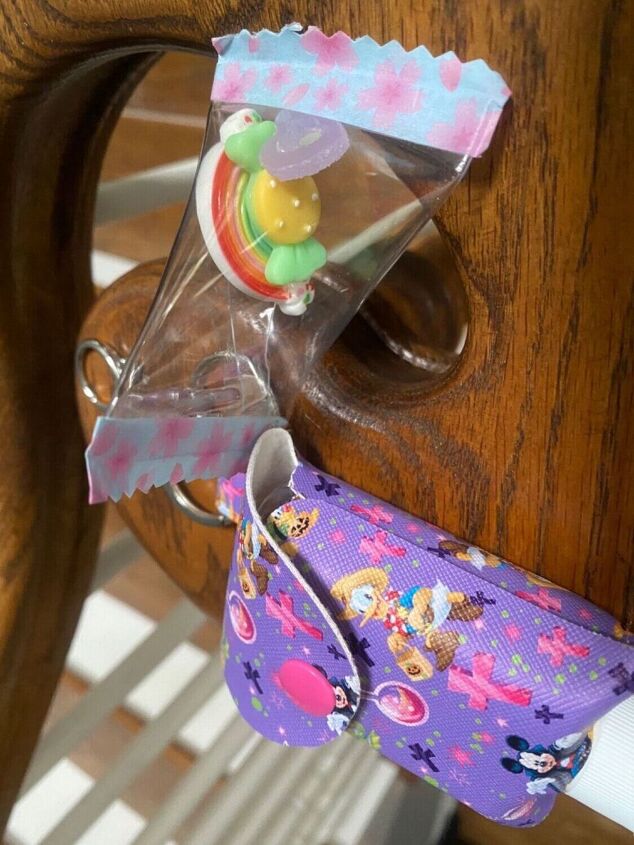
Here’s a picture of three different ones…. Different vinyl, different shapes. I must love purple…
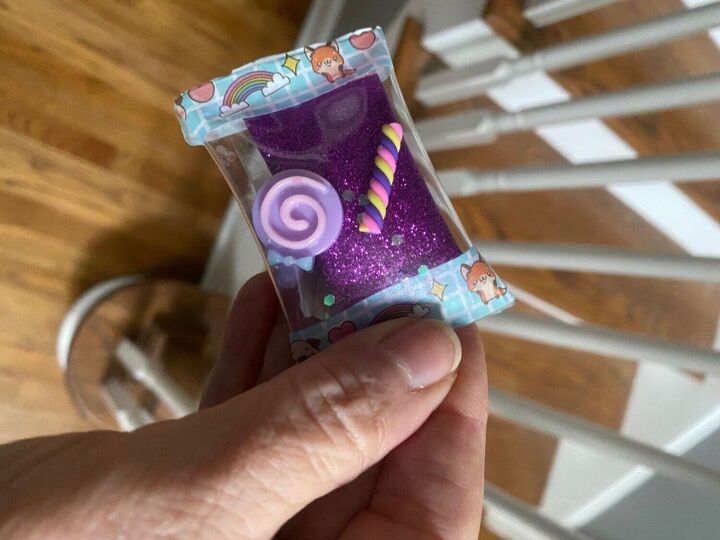
Here’s the pillow shape you get if you don’t alternate sealing the ends.
I think it is fun and I think teens and tweens might enjoy making these. Maybe a fun birthday activity idea or Christmas activity idea.
Who is game to try this and what would you put inside?
I hope you enjoy these shakers.
The author may collect a small share of sales from the links on this page.


Comments
Join the conversation