How to Remove Press-on Nails Without Damage

Hey guys! Press-on nails are a great option when you love the look of painted nails but don’t have the time to commit to a regular manicure, or if you have sensitive nails.
Follow this step-by-step tutorial to learn how to remove press-on nails without damage. It’s a lot easier than I thought and my nails are in excellent shape post-removal!
Tools and materials:
- Glass bowl
- Acetone
- Cuticle oil
- Cuticle pusher
- Buffing cube
- Cotton ball
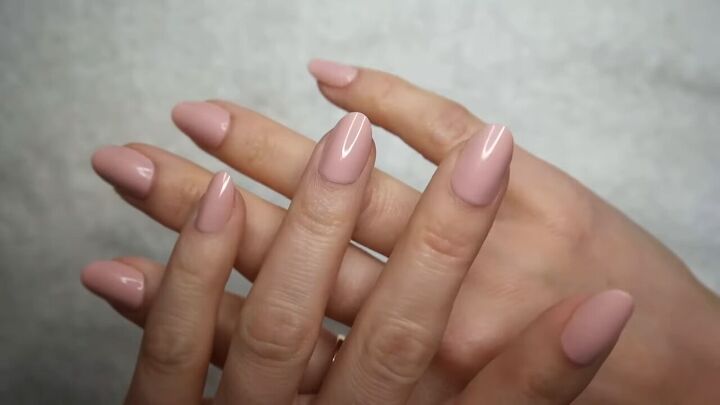
Here are my press-on nails after one week of wear.
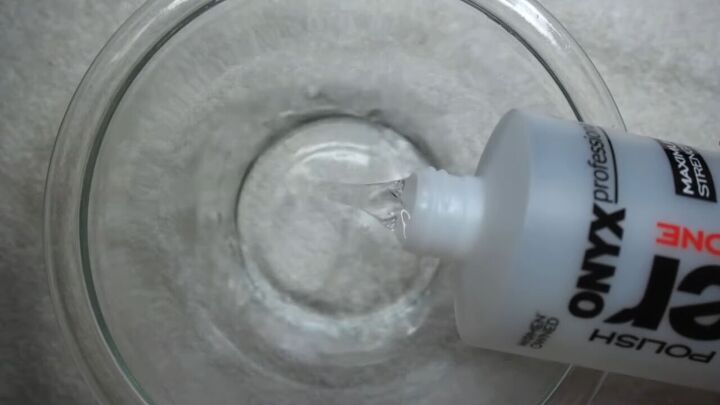
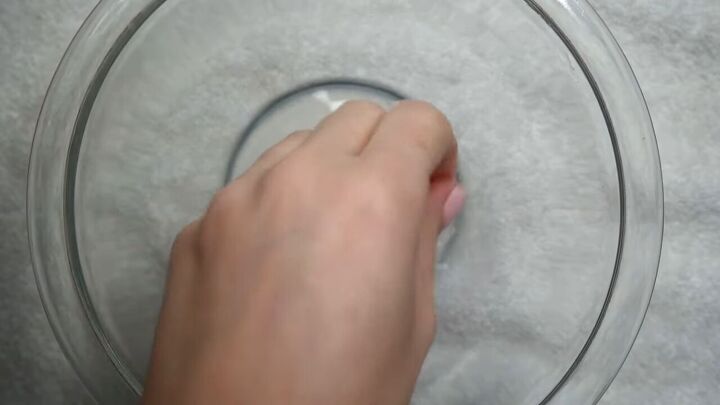
1. Prepare the acetone
Grab a glass bowl that’s large enough to fit your entire hand and fill the bottom with roughly a ⅓ cup of 100% acetone.
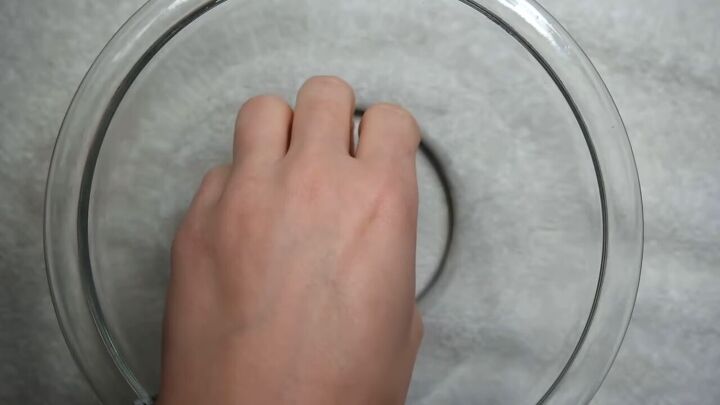
2. Prepare your nails
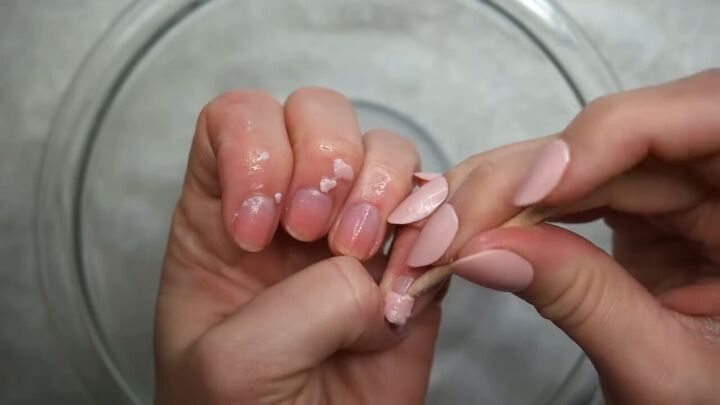
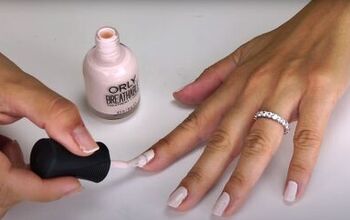
Starting with one hand, apply your favorite cuticle oil around the press-ons at the cuticle beds as well as behind them.

Then, submerge your nails into the acetone for a few minutes.
I opted for acetone for this fake press-on nail removal since they seemed to be so sturdy. I figured they’d be stubborn to remove.
You can use warm water and soap but I still recommend this method.
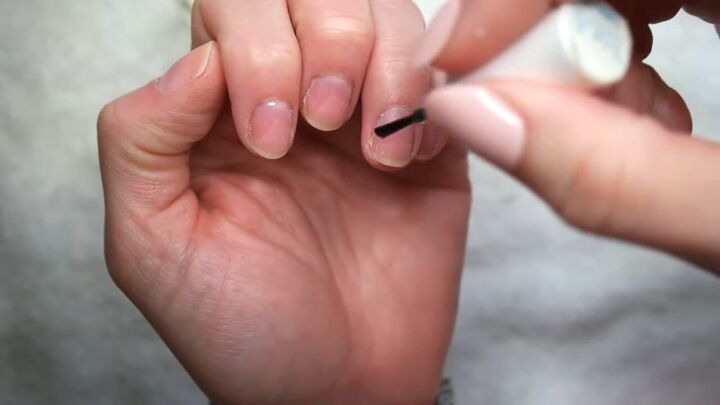
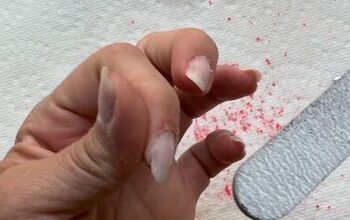
3. Loosen the press-on nails
After a couple of minutes, take a peek and you’ll notice that the press-on nails are beginning to disintegrate.
Then, use a cuticle pusher to gently loosen the press-on nails.
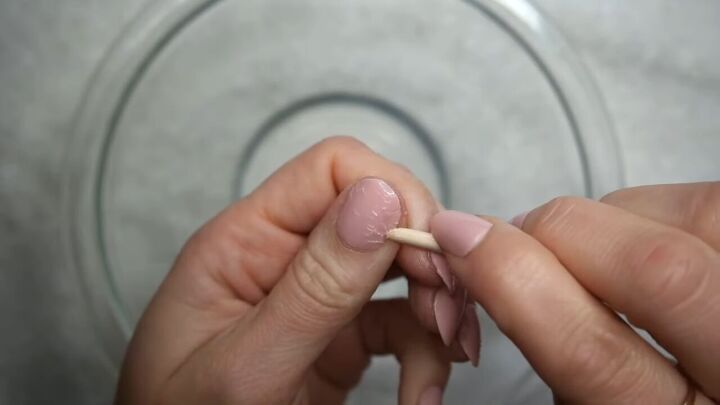
Do not use any force, so as not to damage our natural nails.
Unfortunately, removing the press-on nails this way means you won’t be able to rewear them, but it’s worth it for the health of your real nails.
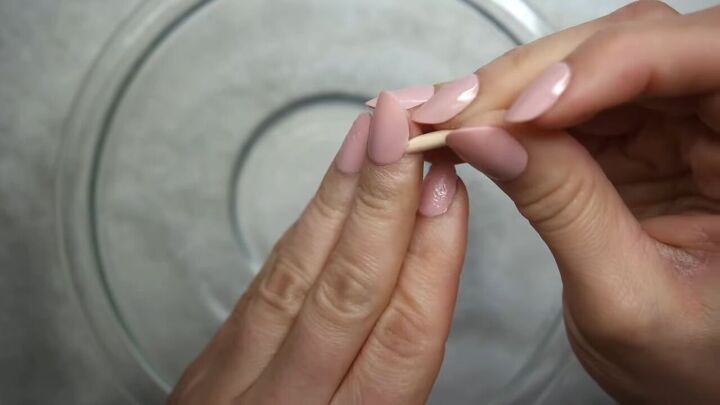
4. Resubmerge in acetone
Pop your press-on nails back into the acetone
Then repeat the process with your cuticle pusher. Use the stick to loosen and lift the press-ons.
The parts that have soaked long enough will pop right off. Don’t force any stubborn areas–just be patient so as to protect your nails.
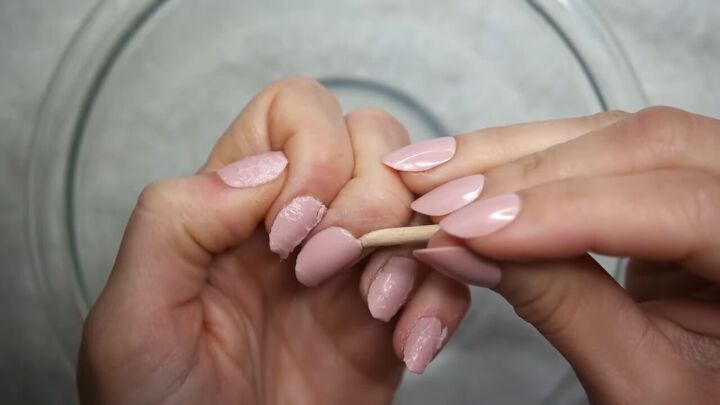
5. Repeat, repeat, repeat!
Continue the process until all the stubborn parts loosen completely.
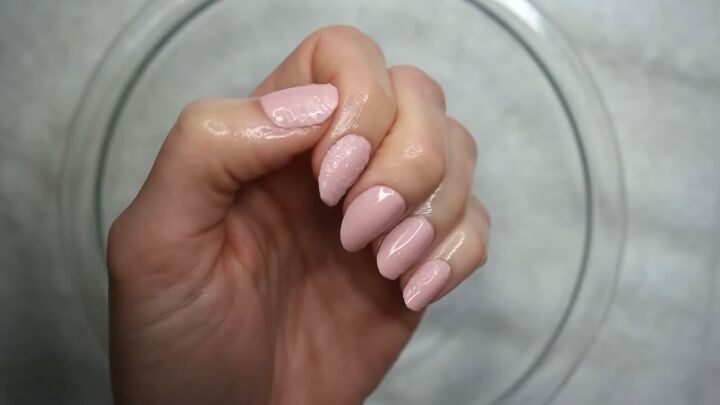
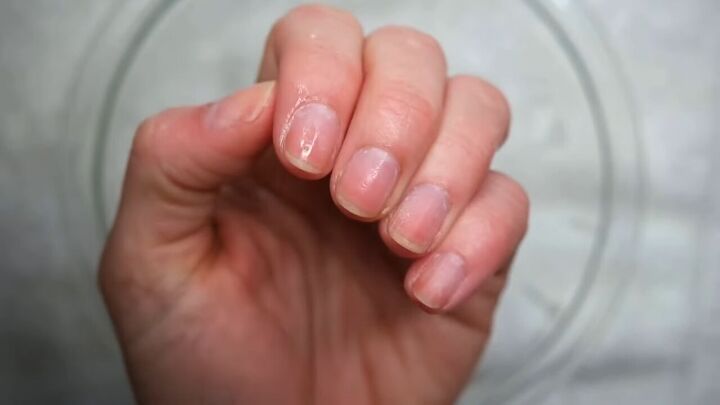
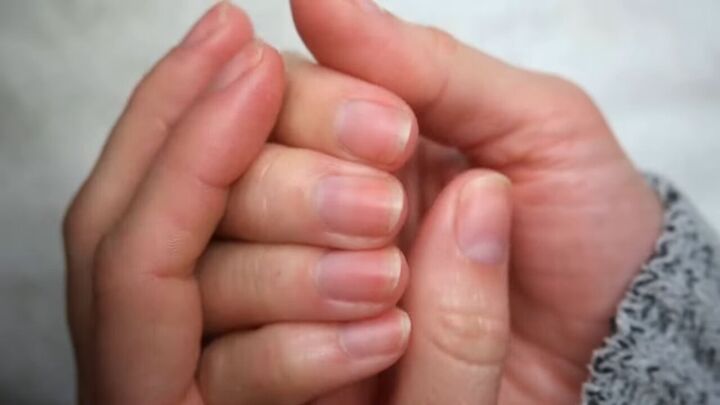
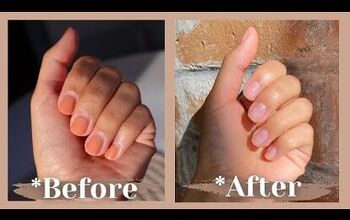
After the press-on nails came off completely, I could not believe that my natural nails were in such a good state.
The only thing I noticed was the file marks that I made when I was prepping the nails for the press-on application.
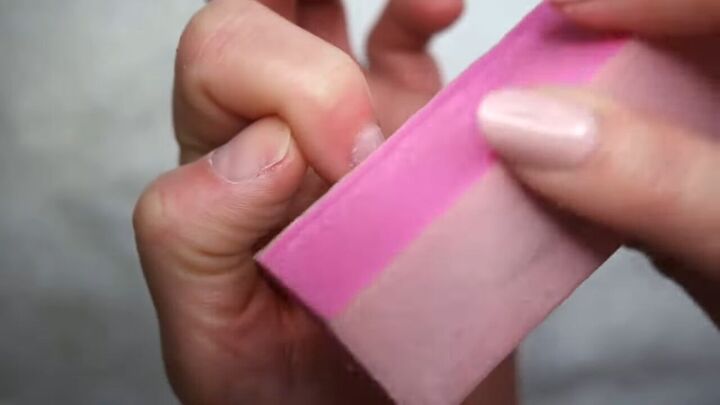
6. Buff your real nails
Once you’ve completely removed the press-on nails, use a fine buffing cube to lightly sweep over the surface of your nails.
This is going to smooth and even them out so that they’ll be ready for polish when it’s time for your next manicure.
7. Wipe nails with a cotton ball
With an acetone soaked cotton ball, run over each nail to remove any filing dust.
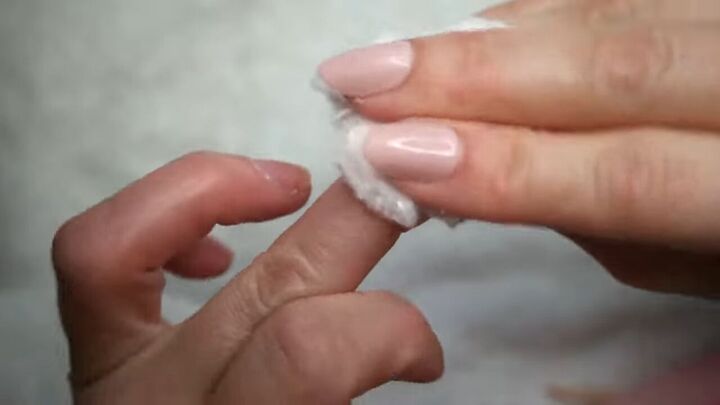
8. Rehydrate your nails
To finish off the removal process, use cuticle oil again on your clean nails to restore moisture.
9. Repeat all steps
Now it’s time to repeat the process on your other hand, from the first acetone soak to the final cuticle oil rehydration.
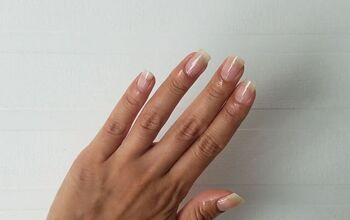
The results speak for themselves!
How to remove press-on nails without damage
I was so impressed by how easy this process was!
Now that you’ve learned how to remove glued press-on nails, I hope you will try this out. Leave a comment if you do!
Check out my post on How to Do an Easy Reverse Half-Moon French Manicure.
The author may collect a small share of sales from the links on this page.


Comments
Join the conversation
What kind of nail glue do you use that keeps your press-ons on for a week? Some people even get 2 wks from them, me a couple of days lol.