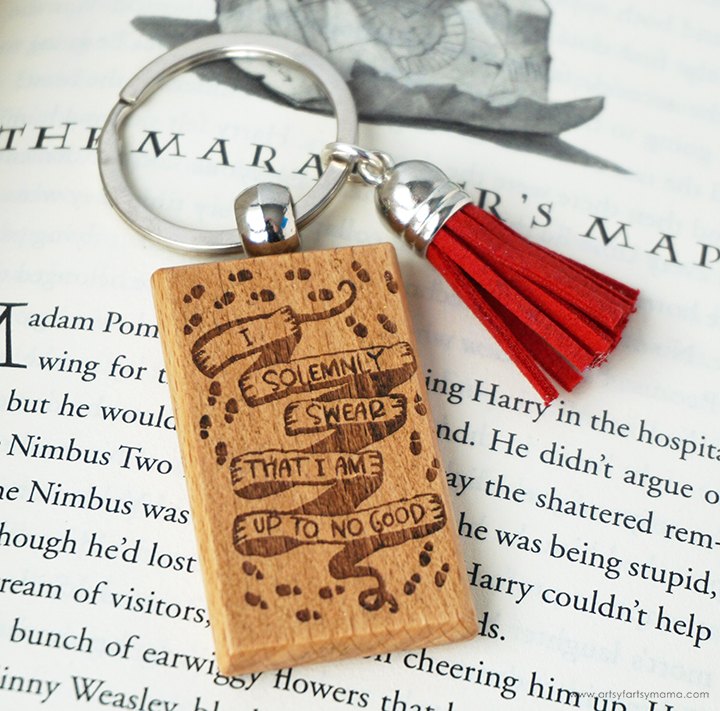
Harry Potter Marauder's Map Keychain

This engraved Harry Potter-themed Marauder's Map keychain is a magical accessory for any wizard (or Muggle, I guess).
It was only a matter of time before I made something Harry Potter-themed with my xTool M1, and I cannot love this Marauder's Map Keychain enough! Engraved with the iconic password to the Marauder's Map, this keychain is easy to make and would be a fantastic gift idea. Not only am I going to walk you through the process of making the keychain step-by-step, but I'm sharing the FREE cut file so that you can make some for yourself or your small business!
New to laser cutting? Be sure to check out getting started with xTool Laser Machine!
It's been so fun to create new projects using my xTool M1 hybrid laser machine. There are so many possibilities, and it's actually very easy to use. Honestly, the hardest part is deciding what to make first! If you want to learn more about how this incredible machine works, be sure to check out my complete xTool review.
Place a blank wood keychain in the bottom of the machine, on top of the triangular prisms. Close the lid, and wait for the real-time camera in the machine to display the keychain on your screen.
Next, upload the "Solemnly Swear" design in xTool Creative Space. Select the design and change it to "Engrave" in the menu bar on the right. Center the design onto the keychain, and adjust the size as necessary. As hard as you might try, your keychain might be a little crooked in the machine. To adjust the design to fit the same angle as the keychain, click inside the "Rotate" box in the top menu bar. Tap your up or down arrows to slightly change the angle until it's the same as the keychain.
Now that you have your design ready to go, change the Material type in the right menu bar. You can manually adjust the engraving settings, but xTool has made things easier for you by having some already preset. Select "Round Wooden Keychain" from the dropdown menu, and be sure to change the height to "Triangular Prism".
When you're ready, press the green "Process" button in the bottom right corner.
Press the large, lit button on the front of the machine, and watch the laser in action. I am so impressed with the amount of detail that the xTool can put on such a small project! I mean, look at those little shoe prints!
I learned a lot about darkening engraving when I made Wood Macrame Earrings. Wood is porous, so you need to seal it before adding anything to darken the engraving. You can do this with a thin coat of clear sealant, or clear FolkArt Wax.
Apply a thin layer of clear wax to the keychain with a paint brush, and then let it dry completely. Use a paper towel or soft cloth to rub or buff the wax down on the surface. Repeat this process again, but use the Antique (brown) FolkArt Wax this time. If you want the keychain to be even darker, you can add on another coat.
Here's a comparison of keychains before and after applying the wax. I honestly think they both look great, but notice how the one on the right is darker and has a little more color? This wax not only helps to make the keychains look their best, but they also add an extra layer of protection to the wood.
A fun way to personalize the keychains is to engrave a name on the back (use the same settings as before). Don't forget to add the wax! Last, but not least, add a tassel charm to the keyring for a pop of color!
I am so excited about how this engraved Harry Potter Marauder's Map Keychain, and would love to hear what you think! If you are looking to start a small business using the xTool M1 hybrid laser machine, these keychains would also be a great product to sell. As always, if you make any of these projects for yourself, I'd love to see your creations! Tag me on Instagram and Facebook, or leave a comment/photo on the project pin on Pinterest!
Don't forget to Pin, Like, and Share!
Enjoyed the project?
The author may collect a small share of sales from the links on this page.


Comments
Join the conversation