Transform a Pair of Pants Into a Super Cute Skirt With This Tutorial

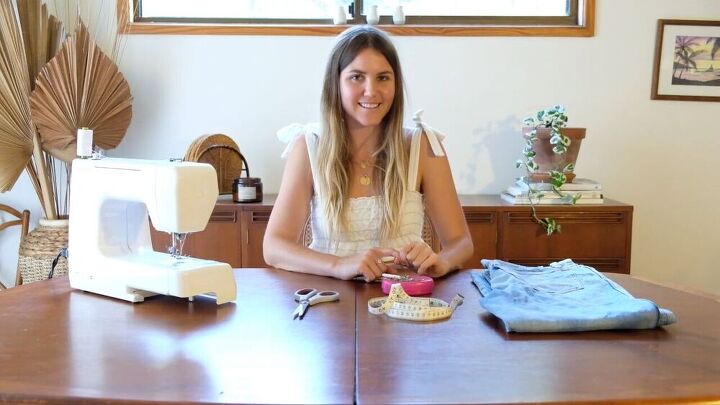
I was recently gifted a pair of men’s jeans. They were enormous on me and not something I could ever wear in their current state. So I decided to refashion them into something that I’d be able to get use out of. In this tutorial, I’ll show you how I took that pair of pants and turned them into a really cute midi skirt. This project is really easy to do, so grab any pair of pants and follow along!
Tools and materials:
- Pants
- Measuring tape
- Scissors
- Sewing pins
- Sewing machine
- Matching or contrasting thread
Prepare to cut your pants
Start by grabbing your pants and laying them flat, with the good sides facing out. The first thing you’re going to do is cut the pants open along the leg and crotch seams. You want the good sides to be sitting on the front because they end up overlapping and then you don’t need to do as much sewing.
Cut open the leg and crotch seams
When you cut the legs open, move the seams and cut on the back side. When you get to the crotch, you’ll just go straight across the seam and continue to the other leg. I prefer to turn it around and start again from the bottom on the second leg. Again, make sure you’re cutting on the back side of the seam. Once the legs are cut open, finish cutting up the crotch seam until you reach the zipper area, cutting on the bad side of the seam.
Measure the overlapping length
Before you start sewing, you need to measure from your belly button down to the point where you want the skirt to overlap until. I wanted mine to stop at around the mid-thigh area, so my measurement was 42”.
Sew the overlap
Now you’re going to take your pants, and overlap the good side onto the bad side until you’ve hit that measurement. Putting a pin at that length, continue pinning along the overlap so that the front is stuck together. You’re then going to head over to your sewing machine and sew down the crotch line until you reach the point that you pinned. Just make sure you’re only sewing the top layer. Once you’ve passed the point that you pinned, you’re going to keep sewing down on just the good side all the way to the bottom. This will make the skirt look neater. Also, remember to use a needle that’s right for the thickness of the material you’re using, so that you don’t break three needles like I did.
Determine how much you need to take in
If, like me, you’re using an oversized pair of pants to make this skirt, you’re going to need to determine how much of it you want to take in. For me, I decided that the easiest way to do this would be to just take it in along the back seam, but this meant having to get rid of the pockets. A little sad, but I liked the look of seeing where the pockets used to be, too.
Take in the pants
After putting in a pin to determine the amount you want to take in, you’re going to turn your pants inside out. Now sew down from that pin to the corner of the pants, connecting the two back pieces of fabric as you sew.
Finish the skirt
With your skirt almost done, try it on and make sure you’re happy with the fit. If you need to make any adjustments, now’s the time. When you’re satisfied with the way it looks, go ahead and cut the skirt to your desired length, then hem the edges. I actually chose to keep mine long.
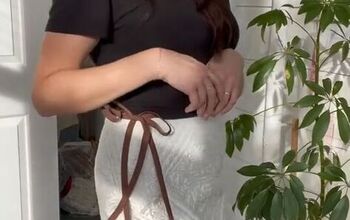
And just like that, my skirt is done! I love how this came out and am so excited to wear it. Especially since it’s getting cold now, the length and thickness will be perfect. It’s hard to believe that this cute skirt started off as a pair of oversized men’s jeans! Of course, this tutorial will work for you no matter what type of pants you use, and I can’t wait to see your versions. Don’t forget to leave me a picture in the comments after you’re done!
Enjoyed the project?
Suggested materials:
- Pants
- Measuring tape
- Scissors
- Sewing pins
- Sewing machine
- Matching thread
The author may collect a small share of sales from the links on this page.


Comments
Join the conversation
Great refashion
Love it will try