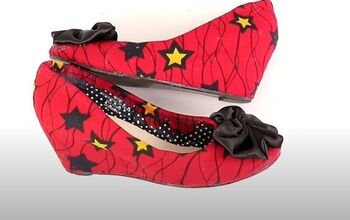
DIY Espadrille Wedges
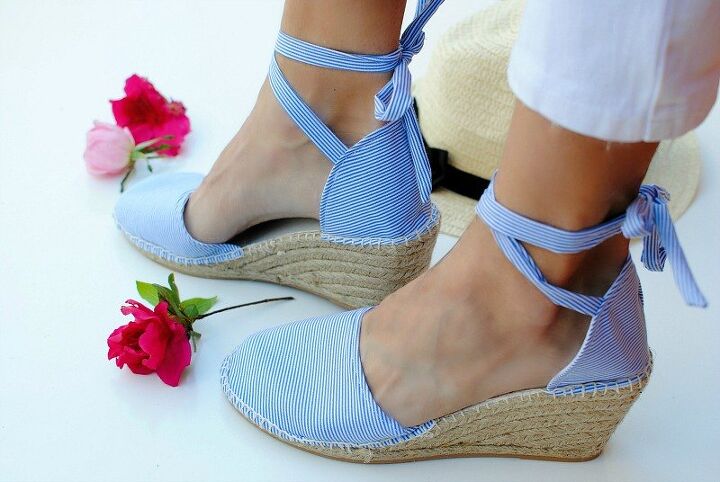
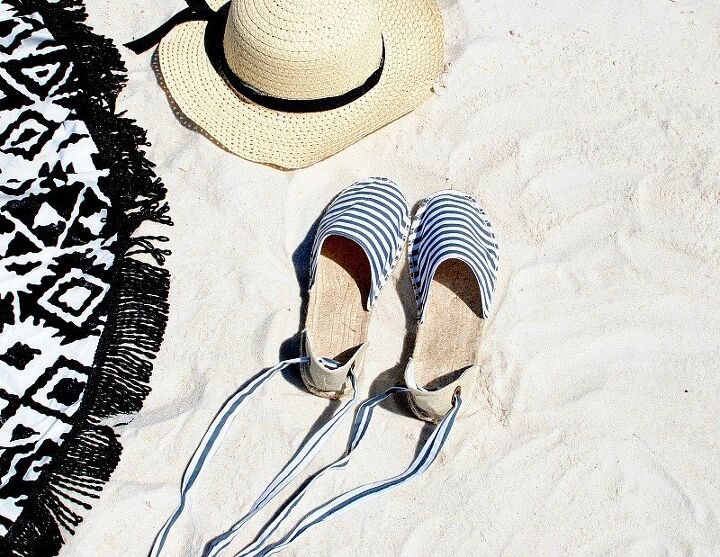
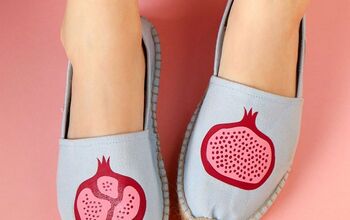
I've always loved the idea of creating shoes but never really dabbled into it until I was introduced to Dritz Espadrille Soles. Since then it has really sparked my interest in shoe design and a fun side craft to take on. My first go was when I made these upcycled sweater boots which I've been wearing a lot. So for my next pair I wanted to do a traditional espadrille for the spring and summer. I went with a wedge and a couple flats to wear to the beach. The wedge I wanted as a dressy and more comfortable alternative to a traditional heel. I did have a hard time narrowing down the fabrics and style I wanted to go with so I of course made three samples. Get the details below on how to make your own espadrilles!
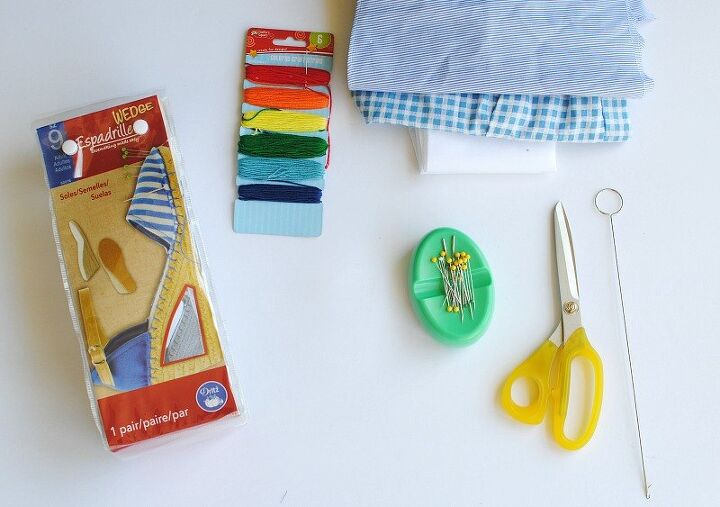
Supplies:
- Dritz Adult Espadrille Wedge Soles ( available here)
- Dritz Adult Espadrille Soles ( available to purchase here)
- Dritz Create Yarn
- Dritz Needle Puller
- Dritz Assorted Needles
- Dritz Yarn Wax
- Iron-On Stabilizer
- 1/2 yard of Outer Fabric: Medium weight/ cotton fabrics are suggested
- 1/2 yard for liner.
- Glass Head Pins
- Loop Turner
- Marking tools
- Measuring tools
- General Sewing Supplies
- Brother Sewing Machine
Pattern Layout:
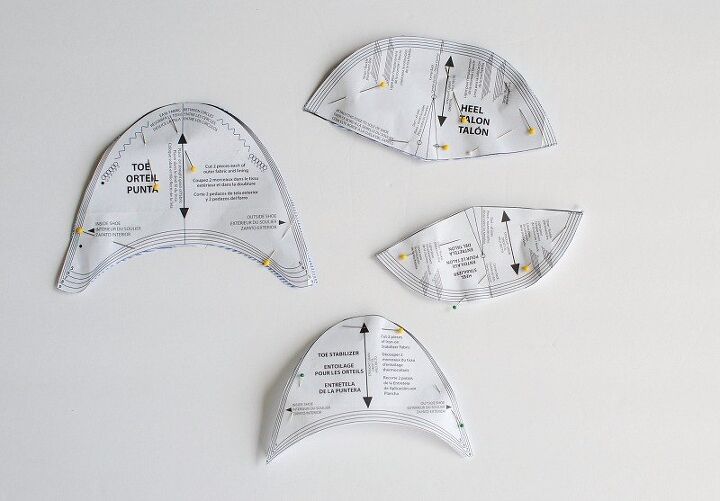
Each kit comes with a pattern and thorough instructions. Cut the pattern out according to your size. They do suggest if you have skinny feet go one size down and wider feet one size up.
Pin the pattern to your fabric and cut the pattern out.
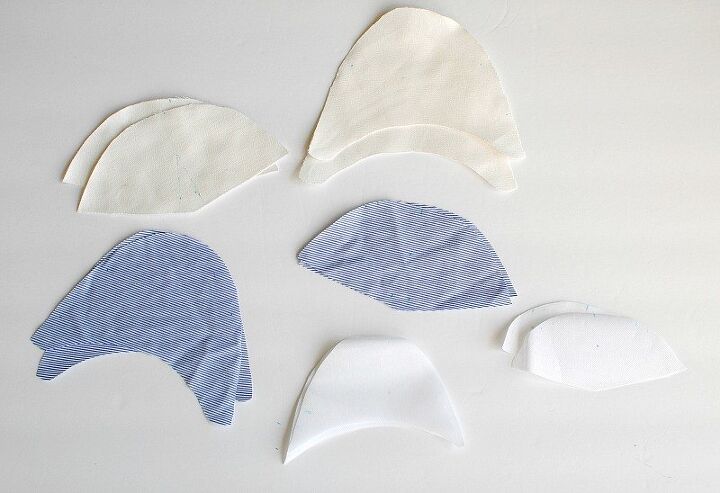
You will have a set of outer fabric, liner fabric, and interfacing for the front and heel of each foot.
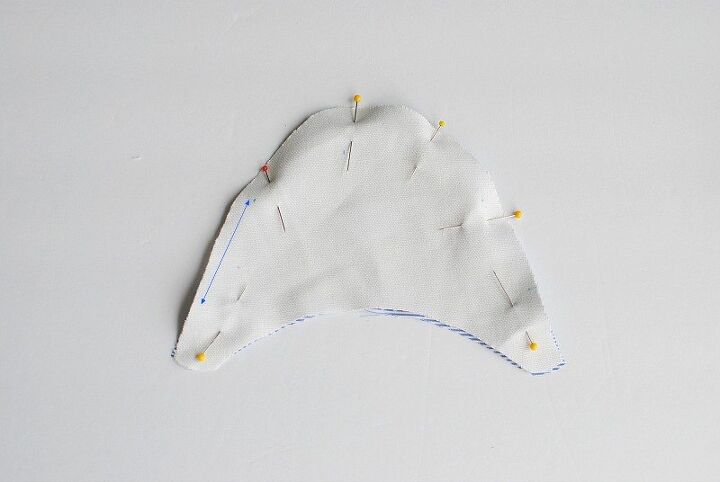
At this point mark the pattern markings with a fabric marking tool. You will need to mark the darts on both liner and exterior on the wrong side of the fabric. Mark the straps as well on the heels and the ease dots on the front outer fabric.
It's a good idea at this point to mark right shoe and left shoe pieces. They suggest masking tape and place on the outer toe fabric.
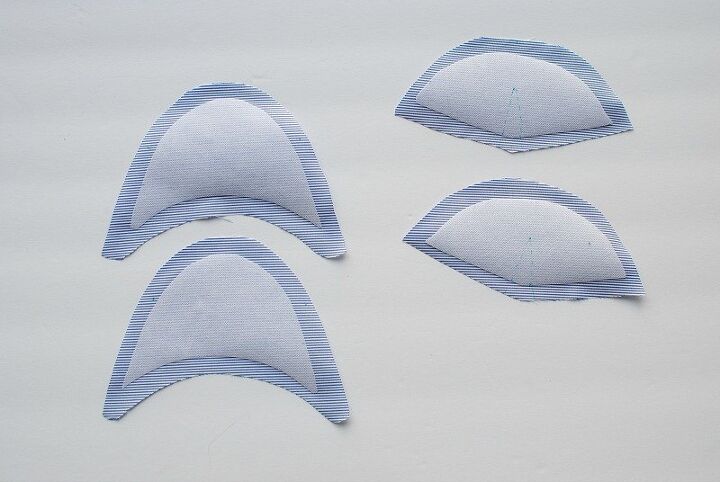
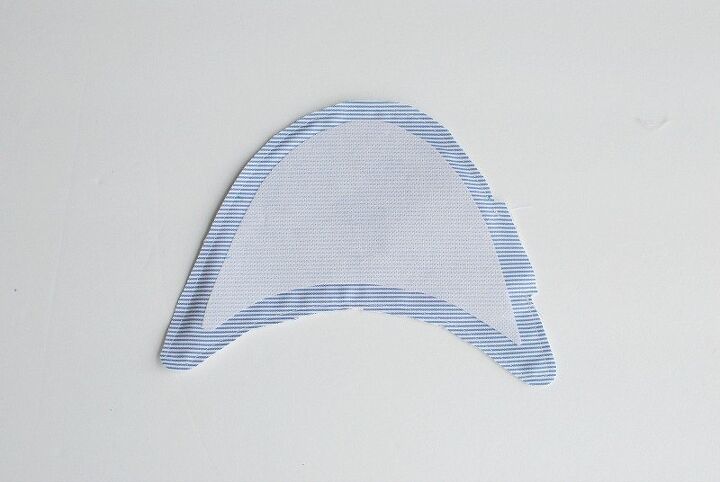
Press the interfacing to the wrong side of the exterior fabric.
Sewing:
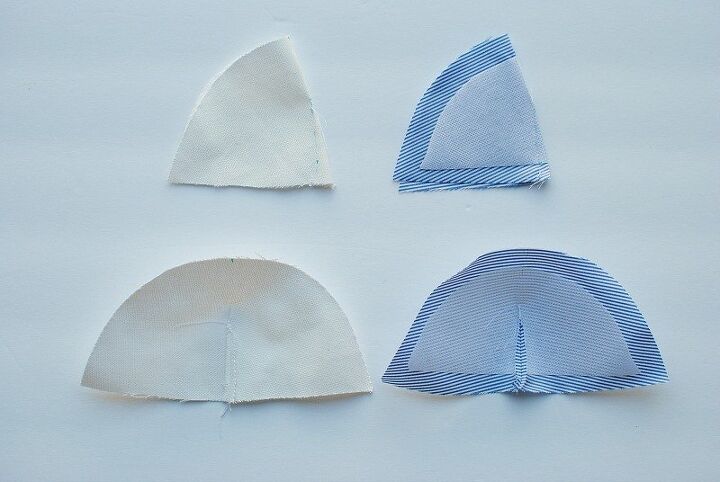
Fold over the dart points and sew each dart on all 4 sets. Cut open the dart and press seams flat.
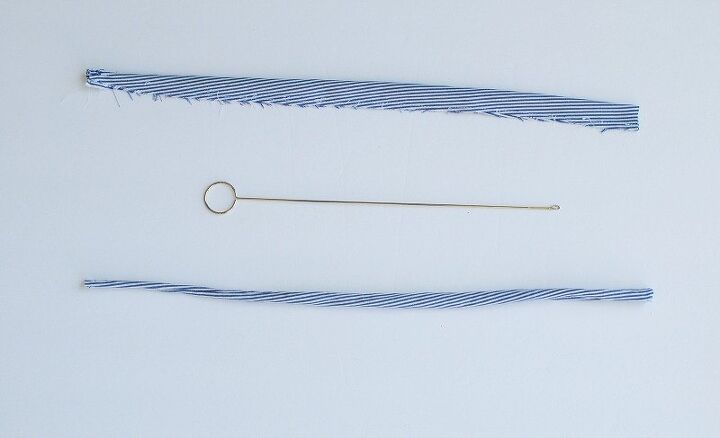
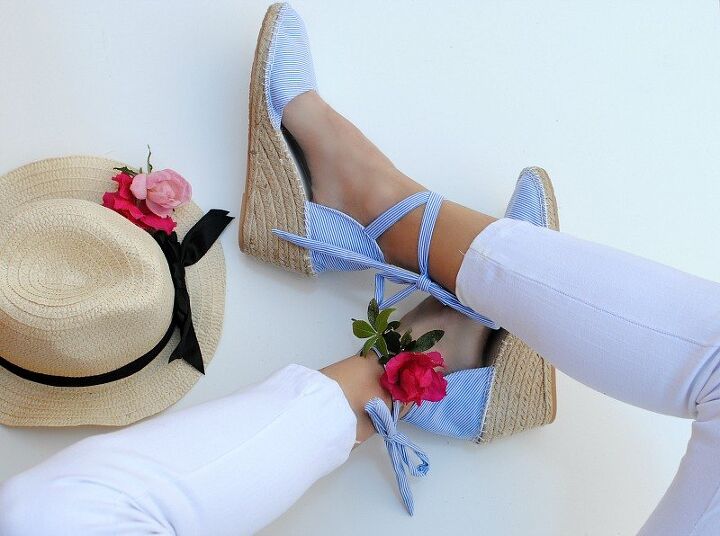
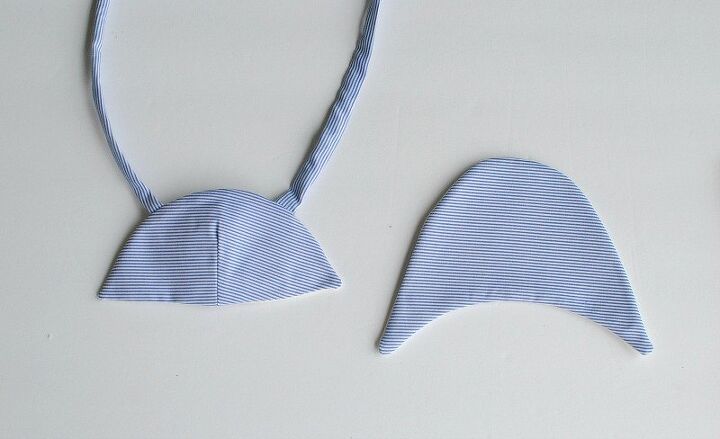
Straps: You can use any type of buckle or trim for the straps. I wanted a tie around the ankle which I made with the loop turner.
Cut a strip that measures 2" x 15". Fold the strip in half right sides together and edge stitch. Flip right sides out with the loop turner. Then press the seam to the center back.
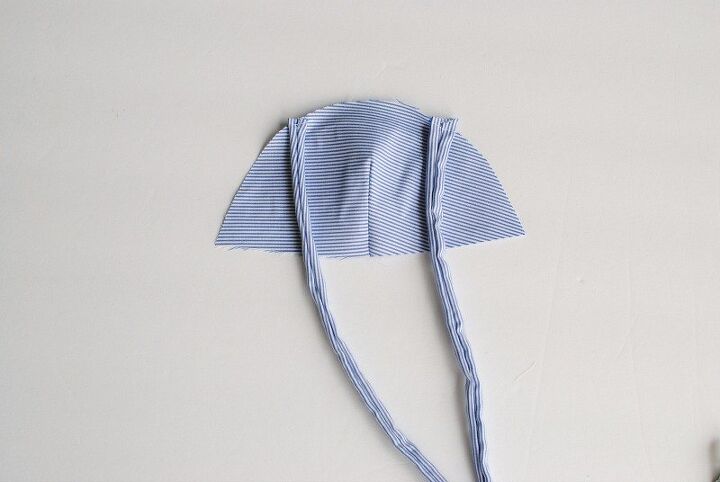
For the heels: Pin the straps on the strap marking so right sides are facing. Stitch into place.

Pin liner and exterior right sides together.
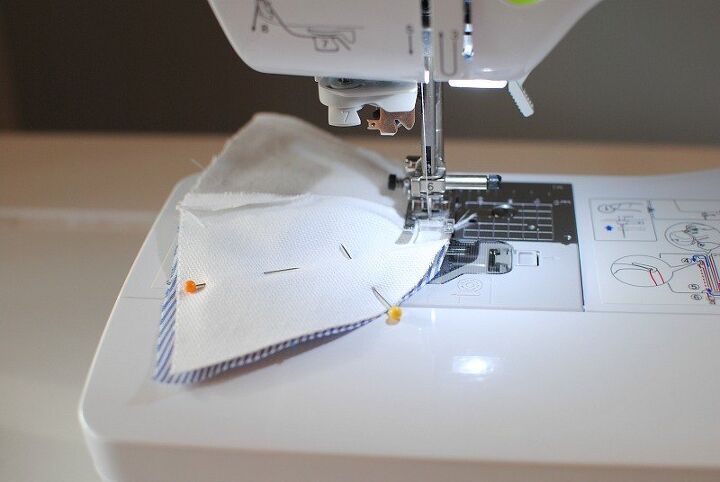
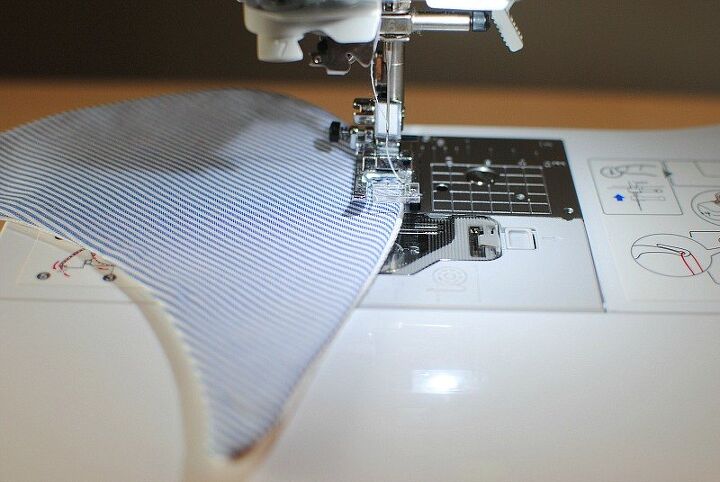
Sew 3'8" seam allowance around leaving about a 2" gap in the center with the straps hanging through.
Clip the corners and cut about an 1/8" off the edge of the seam allowance. Do not trim seam allowance at opening.
Front Toe: Pin liner and exterior right sides together. Mark a 2" opening on one side. Sew (3/8" seam allowance) around leaving that 2" portion open.
Clip corners and trim 1/8" off the seam allowance leaving the gap seam allowance.
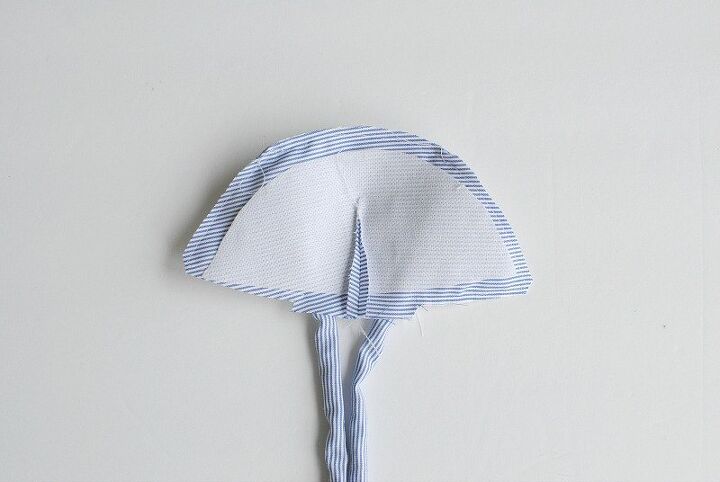
Flip right sides out through the openings. Press the unstitched opening seam allowance to the inside.
Top stitch 1/4" around the entire edge.
Attaching Fabric to the Sole:
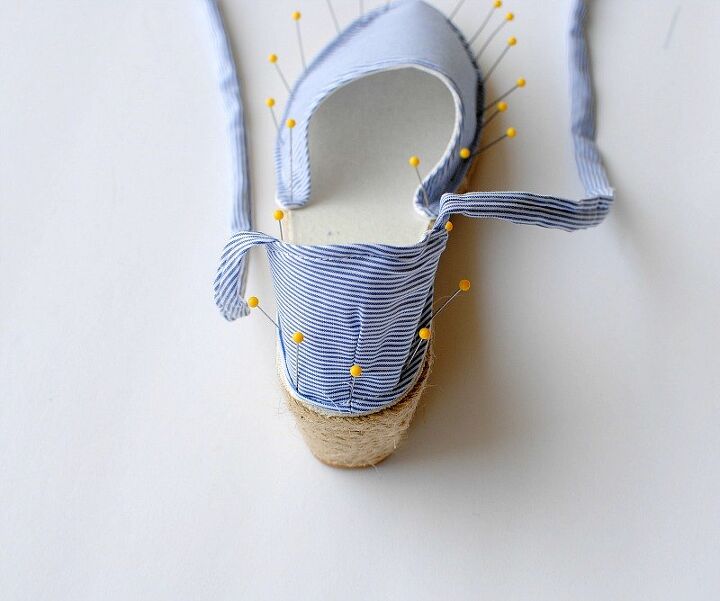
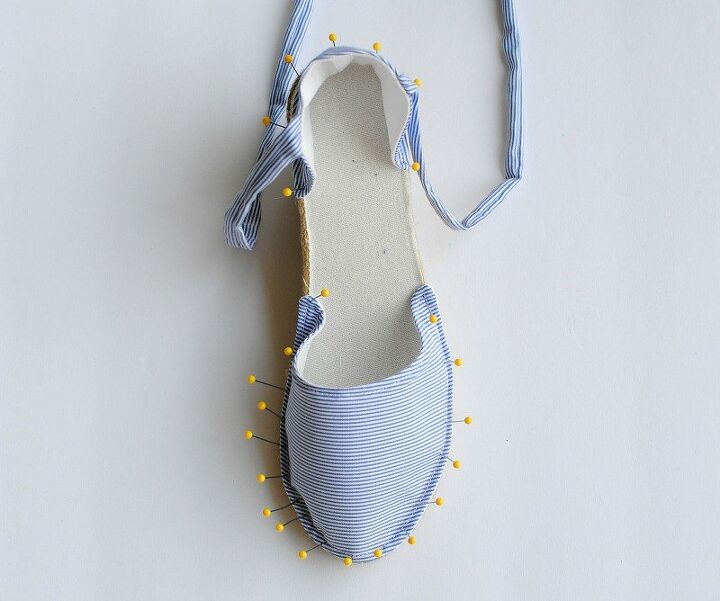
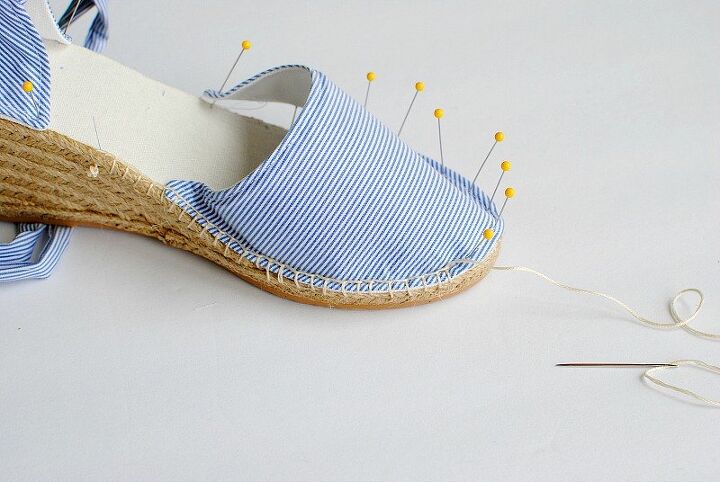
Heel: Align center of sole with darts. Pin through fabric into sole about 1/4" from the edge at center back of heel to hold fabric into place. Continue to pin around making sure it's even.
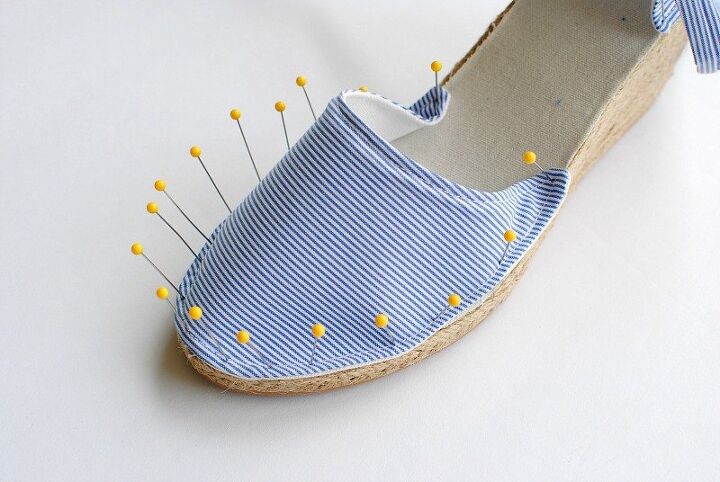
For the front: Position inner toe point at edge of sole about 1 1/2" up from start of slope. Place outer point so it's visually even with inner one. Pin each side of toe to sole for about 3". Ease the remainder of the toe to the sole pinning every 3/8". Fabric may arch slightly between pins adjust so it's even.
Blanket Stitching:
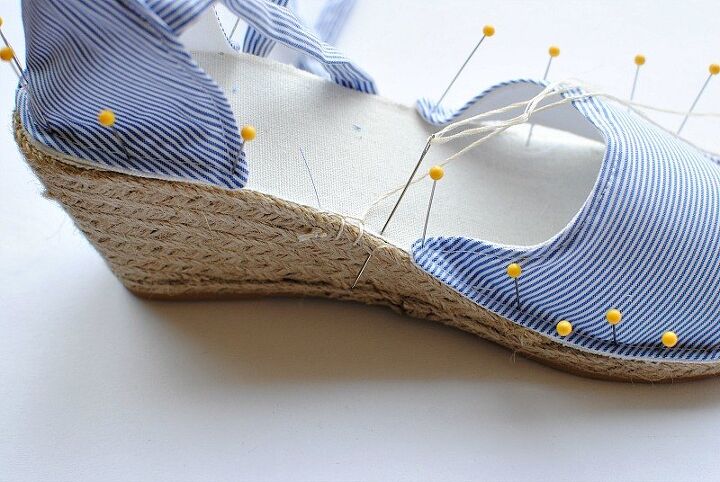
Thread your needle with yarn and knot the end. Starting at the inner, midpoint of the wedge use a blanket stitch to secure topper to sole.You will go about 1/4" over the edge and 1/4" down into the sole. Use the top stitches on the toe front and heel as a guide. It's best to keep the stitches even as you stitch.
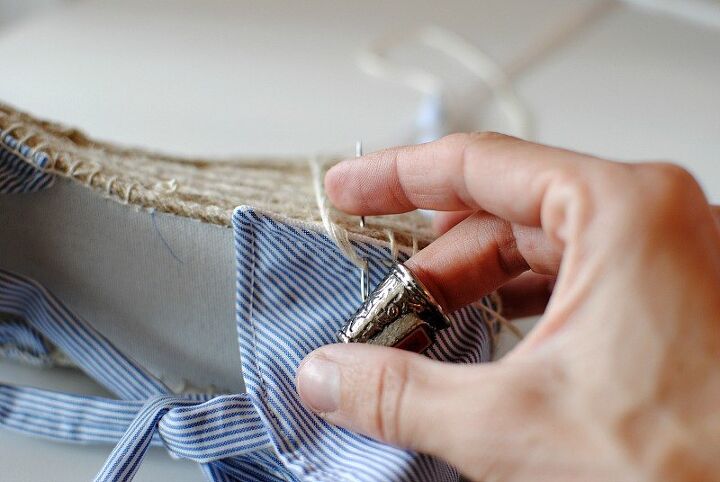
You will also need some sort of thimble or needle puller to press the needle through the sole.
Continue all the way around to the start and finish off the yarn end.
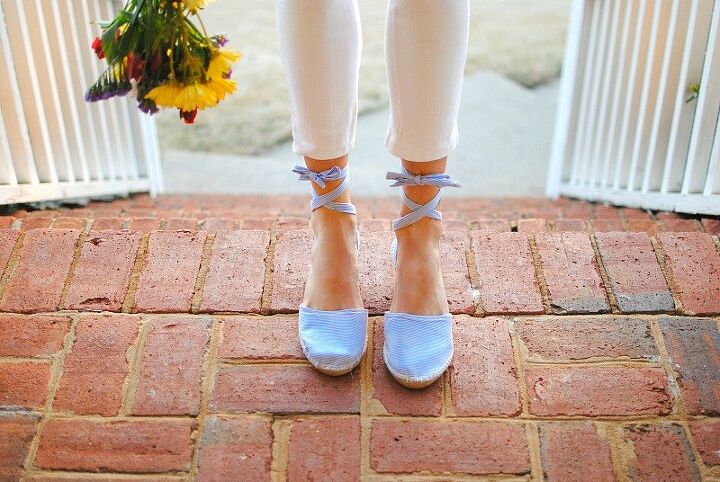
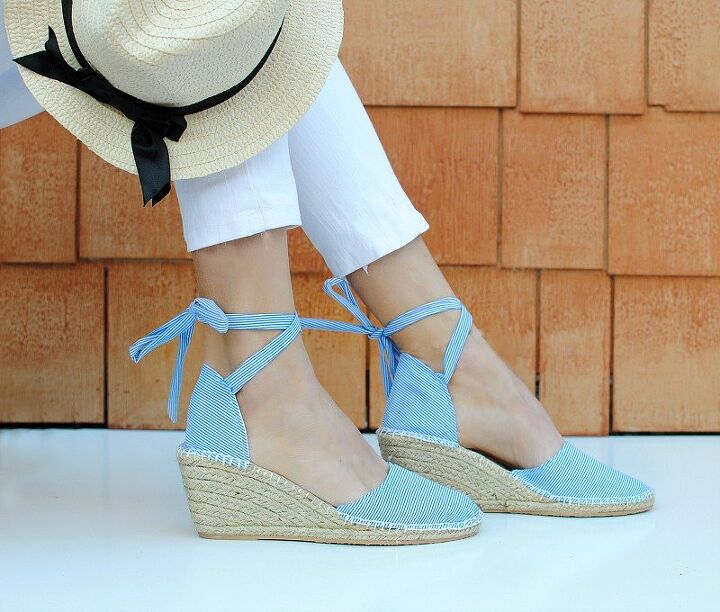
Tie in the front or back.
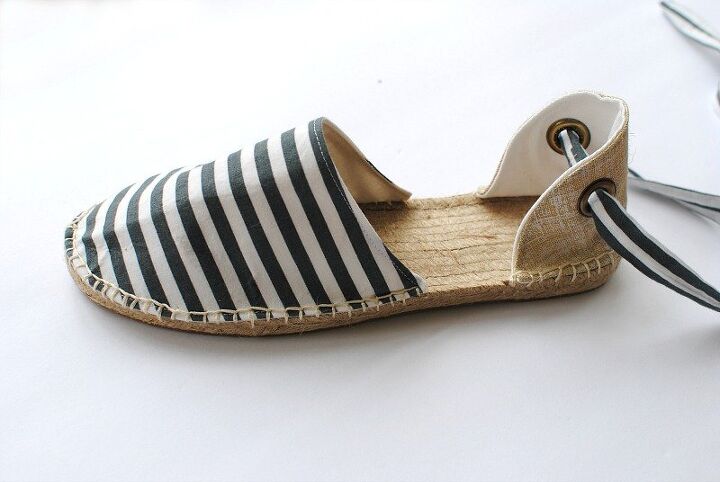
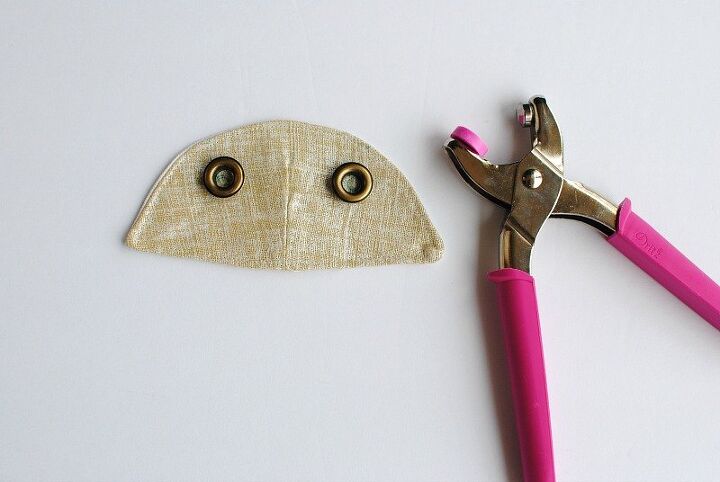
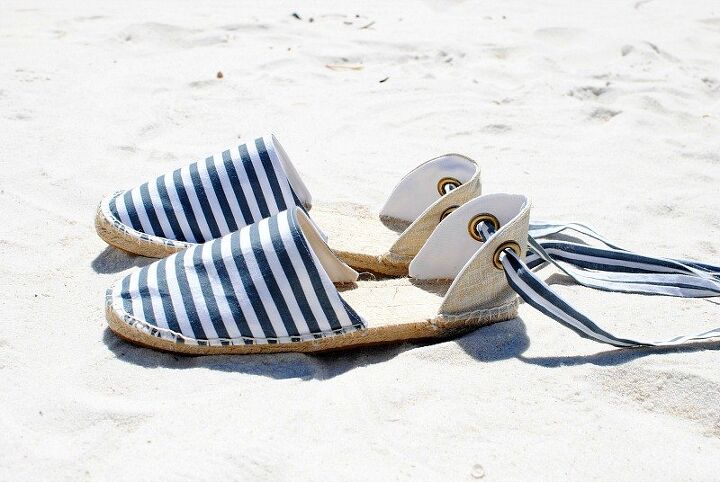
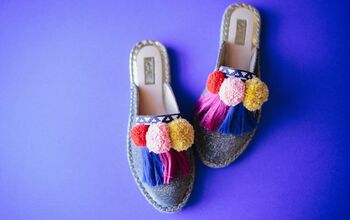
Here is another version using the flat sole and the wedge sole pattern. For the heel I used Dritz Pliers and 3/8" grommets and tied the straps through those.
Their is so much you can do with these. Try it out for yourself and you will see how easy it can be to create custom espadrilles.
*In collaboration with Dritz.
I received compensation from Dritz®, and some of the materials featured here or used in this project were provided free of charge by Dritz®. All opinions are my own.
The author may collect a small share of sales from the links on this page.


Comments
Join the conversation
You did a wonderful job in creating your shoes. You took your time it appears and your stitching looks professional. Thank you for sharing your process . Just an FYI, you can learn to make your own rope soles by researching.