Make This Easy DIY Glasses Case For Your Specs or Sunnies

This easy DIY glasses case is a favorite of mine. It’s the perfect accessory for protecting glasses or sunglasses. The pouch is lightweight to carry around and the design is 100% unique to your style. In this tutorial, I'll be showing you how to make a glasses case with my free glasses case sewing pattern.
Tools and materials:
- Fabrics
- Fusible fleece
- Magnetic button
- Iron
- A4 paper
- Marker
- Seam ripper
- Clips
- Scissors
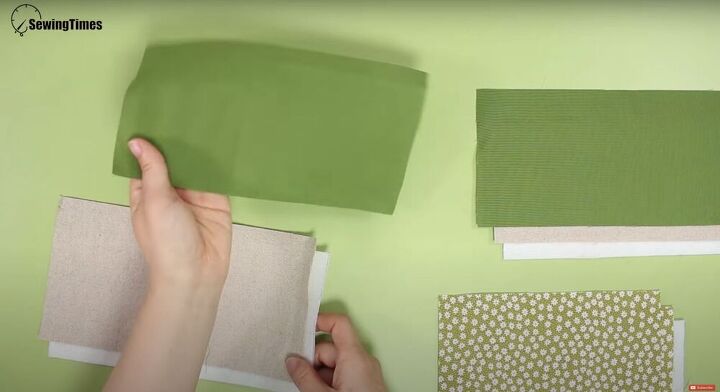
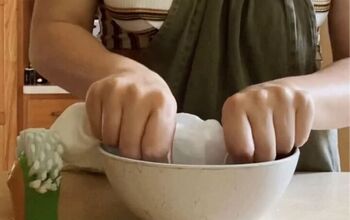
1. Prepare your fabric
Start with nine pieces of fabric: two green, two beige, two patterned, and three fusible fleece.
Your first three pieces (one green, one beige, and one piece of fleece) should be 9⅛ inches by five inches. Your second three (same colors) should be 9⅛ by 4¾ and your third three pieces of fabric (two patterned and once fleece) should be 7.5 inches by 3¾.
Prepare your fabric by placing your fusible fleece against your solid green pieces and ironing them on.
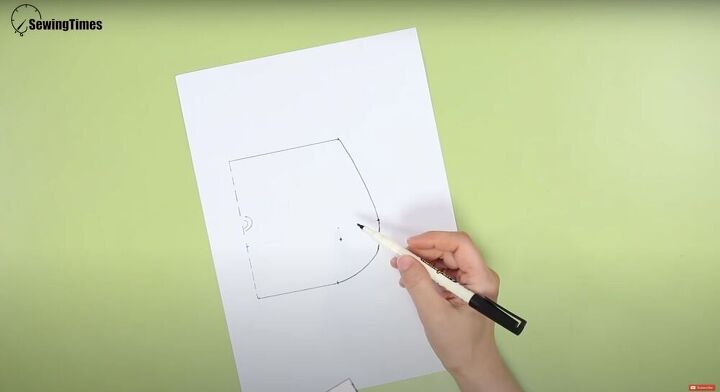
2. Draw the pattern
Watch the video from 1:12-2:23 to follow the steps to drawing the glasses case pattern yourself, or download the free glasses case sewing pattern from my website.
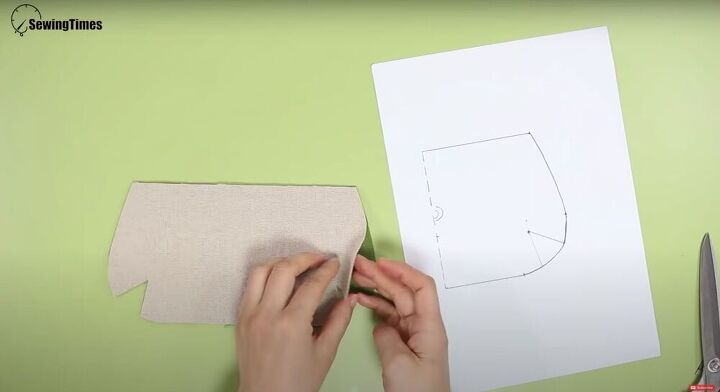
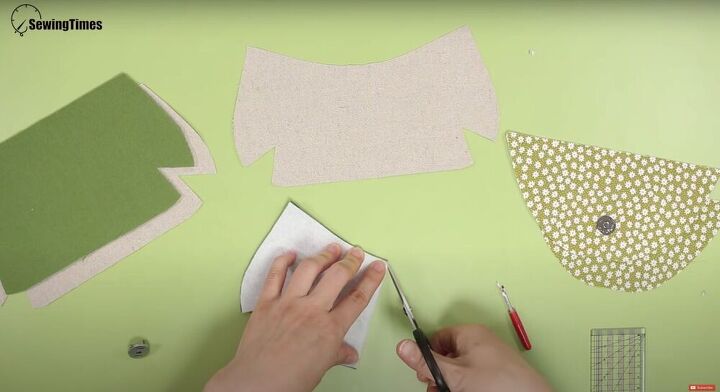
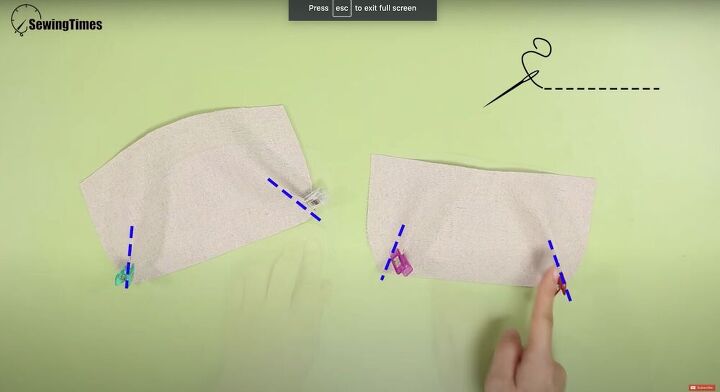
3. Cut your fabric
Use the paper pattern to cut out two shapes in both your beige and green fabrics, so four pieces total. Remember to fold the fabric over to get both sides symmetrical.
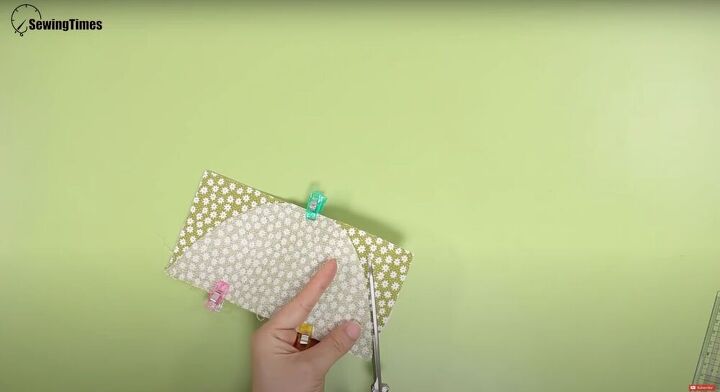
Iron your fusible fleece to one of the patterned pieces and fold the bare one in half, short ends together and right sides touching. Clip two sides, leaving one free and able to flap upwards (exposing the right side of the fabric).
Cut a curved line from corner to corner; when opened up, it should be a half-oval shape. Place the shape onto your remaining fabric piece and use it as a stencil to cut out your shape.
4. Insert your button
Fold your fleeced patterned piece in half (right sides touching) and cut snips in the corners to help the fabric lay flat. Next, measure 1.25 inches from the edge of the middle (curved end) and mark your button placement.
Use a seam ripper to create a hole. Insert your button and then repeat the process with your green piece of fabric from earlier (the one with the curved edge - see above). Place the button 2⅜ inches from the bottom.
5. Make your flap
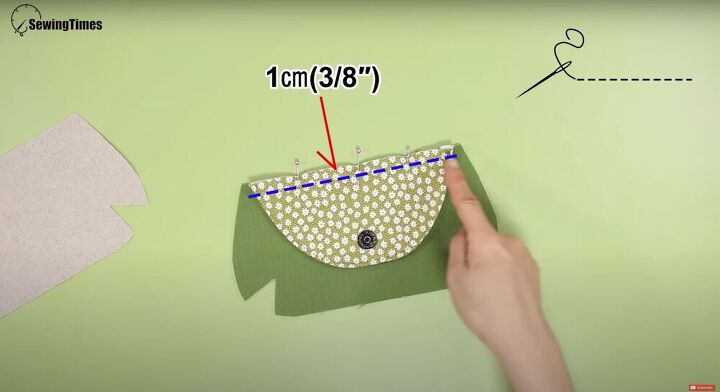
Place your patterned pieces right sides together, then clip and sew along the curved edge, leaving a ⅜-inch seam allowance. Turn the flap right side out, iron down the sewed edge, and then add a topstitch.
Next, place your flap onto the body of your bag (green piece with a straight edge). Sew along the top, with a seam allowance.
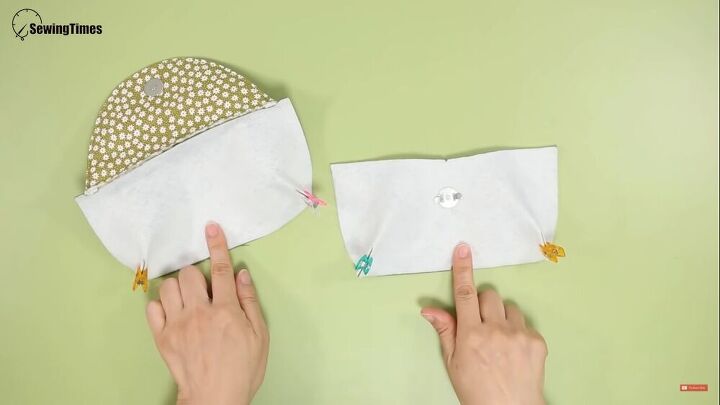
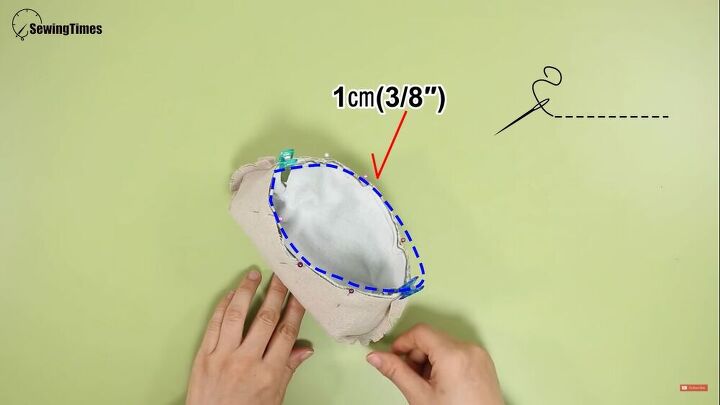
6. Assemble the glasses case
Pin the darts inwards and sew them closed. Then, put the two pieces together, right sides facing, to pin and sew them together along the curved edge.
7. Cut notches
Next, cut notches along the seam allowance around the darts, up the sides, plus one in the middle. This will help the fabric lay flat. Once you're done, turn the bag right side out.
8. Make the lining
Next, follow the same directions as the body in order to assemble the lining: sewing the darts closed and around the curved edge. Leave a small gap at the bottom of the curve, so the lining can be turned right sides out later. Cut notches in the corners, as above.
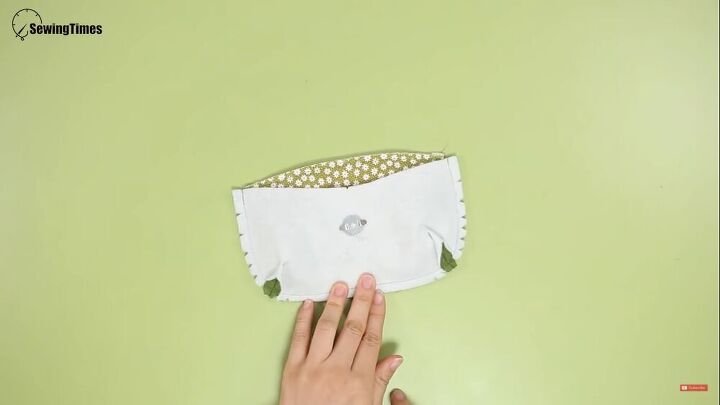
9. Sew the lining into the glasses case
Put the pouch inside the lining, right sides together. Then, pin and sew around the rim of the glasses case. Use the gap to turn the pouch right side out. Sew the opening closed and adjust it inside the pouch. Sew around the exterior opening of the glasses case to finish.
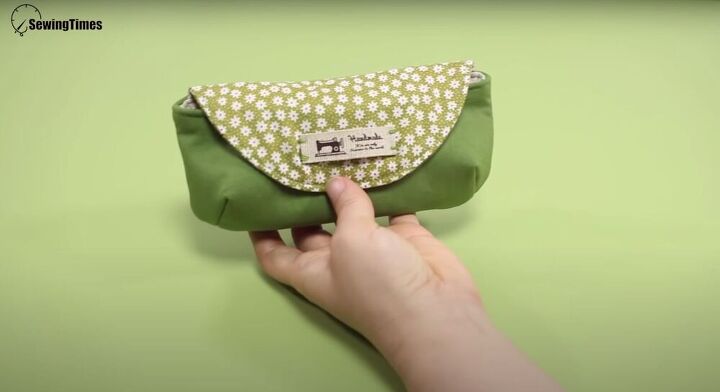
Easy DIY glasses case tutorial
There you have it! I hope you enjoyed this tutorial on how to make a glasses case. If you use my free glasses case sewing pattern to make your own, be sure to share your results!
The author may collect a small share of sales from the links on this page.


Comments
Join the conversation