Make an Elegant DIY Headband & Get Heads Turning!

Headbands are cute, and if pulled off correctly, they look absolutely exquisite and elegant. You can make a DIY headband of your own in a few simple steps. This DIY headband is the quintessential item for any accessory stash, and the puffy look just gives it a unique touch. So, what are you waiting for? Learn how to make a DIY headband with me- you’ll thank me later!
Tools and materials:
- Fabric
- Plastic headband
- Cotton
- Needle
- Thread
- Stickers or paper dots
- Pins
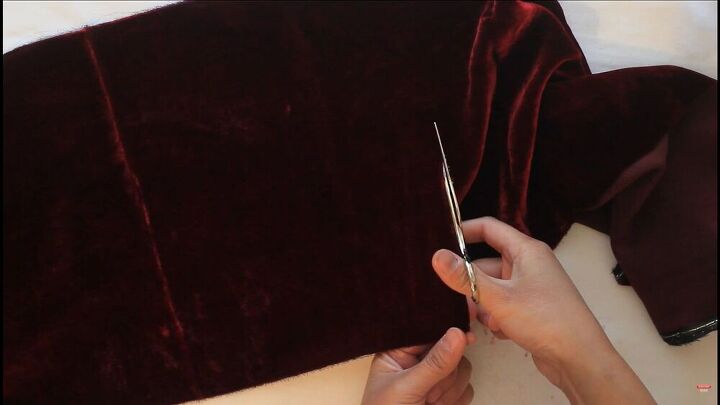
Cut the fabric
I used a velvet-type fabric for some beautiful texture. Cut a piece of fabric that measures 65x 20cm.

Make the DIY headband
I then folded it in half lengthways and then in half widthways. The fabric must be right sides facing.
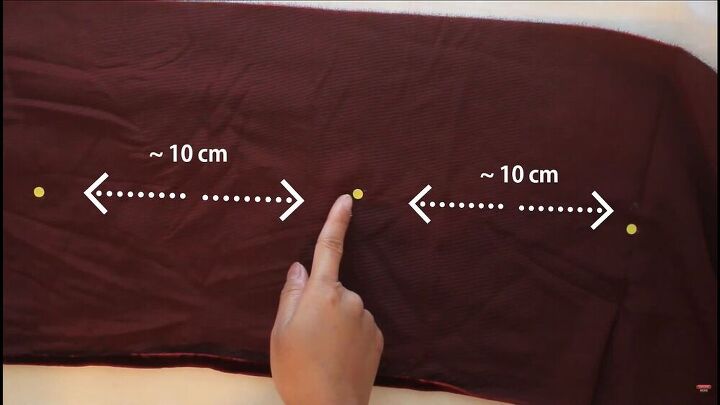
Then, mark the edge of the fold with a pen, so you have a guideline, and using some paper dots, put one sticker dot in the middle of the folded fabric, 10cm away from each other.
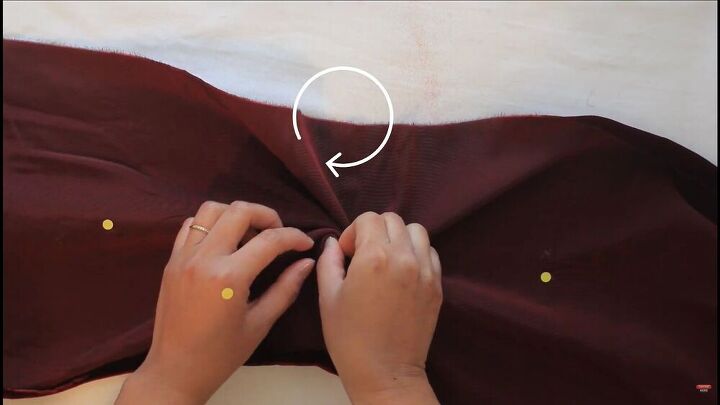
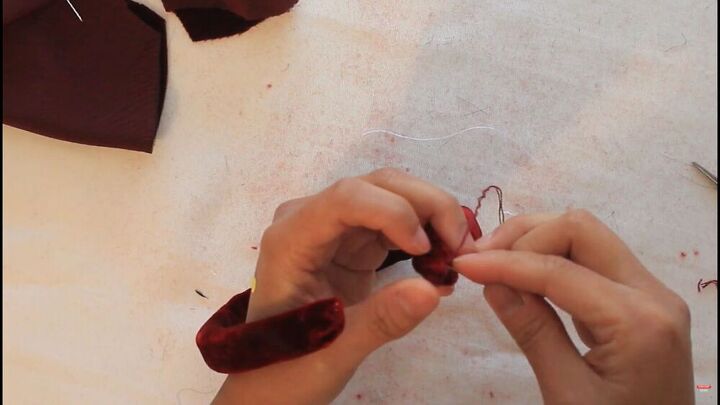
Then, this is where the fun technique comes in. On the middle dot, pinch and twist the fabric clockwise, as shown.
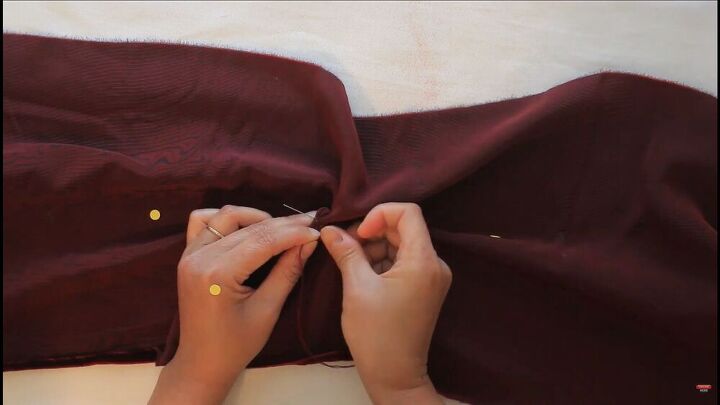
Then, manually sew the twisted fabric in the center to secure it in place.
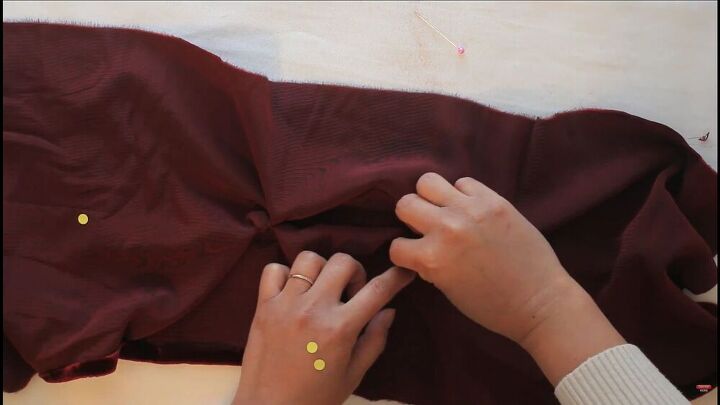
Repeat the same technique on the other two dots.
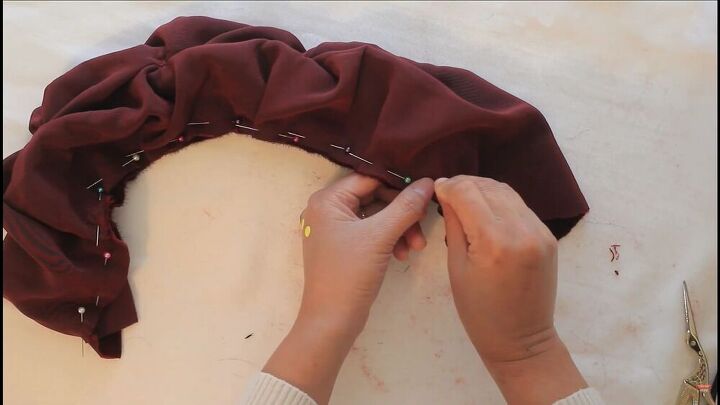
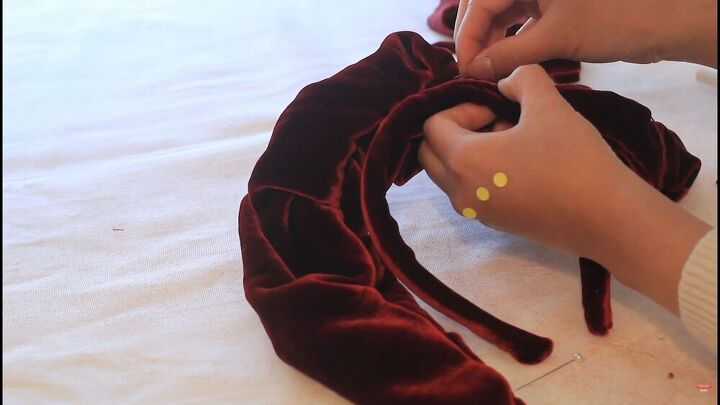
Now, fold the whole fabric piece in half and pin the sides. Make sure the fabric is right sides facing.

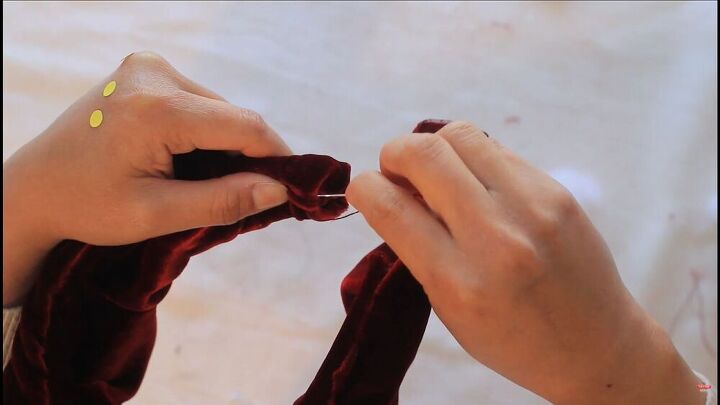
Sew the side seam accordingly.
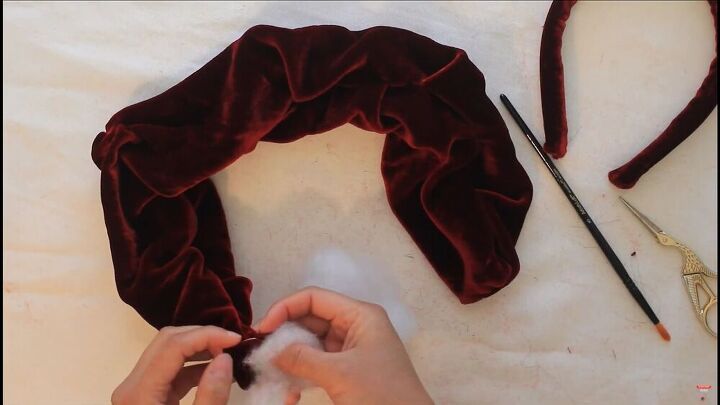
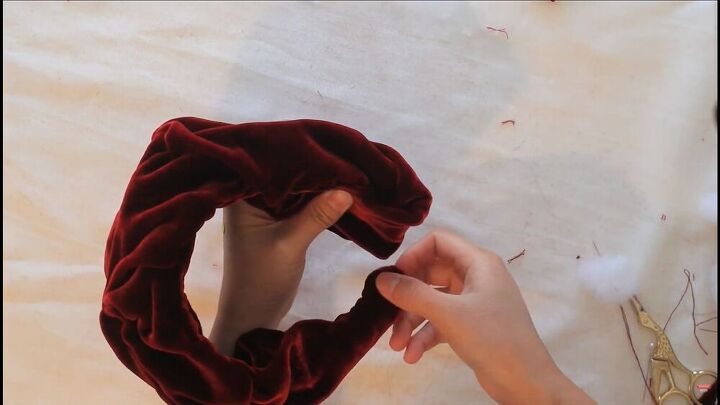
Add cotton
Turn the headband right sides out and add some cotton to give it height. Use a stick or paintbrush to push the cotton to the top. This is the secret to the puffy look.
Finish off the simple DIY headband
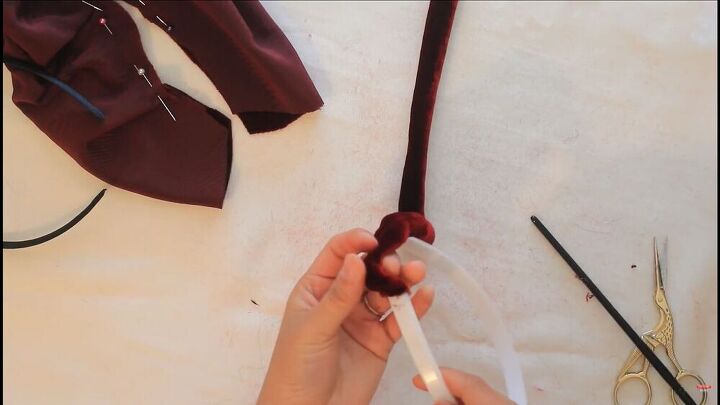
Now, sew an encasing for your plastic headband. This is easily done, simply cut a strip of fabric, fold it over, and sew the sides. Next, insert your plastic headband through the encasing.
Sew the ends of the tunnel, as shown.

Now, sew the fabric from the tunnel to the bottom part of your puffy piece.
Work all the way around your DIY headband.
Fold the excess fabric on the ends and sew accordingly. Remember, you don’t want the end of the DIY headband to be puffy; otherwise it won’t fit right on your head.
Repeat on the other end.

Alas! We are done! I told you this easy DIY headband looks unique. I love the puffy, oversized vibe, and it’s truly a one-of-a-kind DIY headband that stands out from the crowd. Thank you for tuning in.
The author may collect a small share of sales from the links on this page.


Comments
Join the conversation