Learn to Draw Your Own Pattern and Make This Easy DIY Linen Shirt

I love a good linen T. Not only are they super trendy right now but they are so comfy and easy to wear. If you are ready to learn how to draw your own T-shirt pattern and then make the most amazing linen T, this tutorial is just up your alley! Follow a few easy steps and get started on making this stunning piece! You can dress this T up or down and wear it for any occasion. Get ready to learn the ins and outs of creating the perfect linen T from scratch!
Tools and Materials:
- T-shirt
- Measuring tape
- Pens/pencils
- Paper scissors
- Sheet of paper
- Fabric
- Sewing machine
- Pins
- Fabric scissors
A note about scissors
As I'm sure you've noticed, I mentioned two types of scissors above. In order to keep your fabric scissors as sharp as possible, it's important to use them only for fabric, so I've specified one pair of scissors for paper and on fabric in the tools and materials needed for this project.
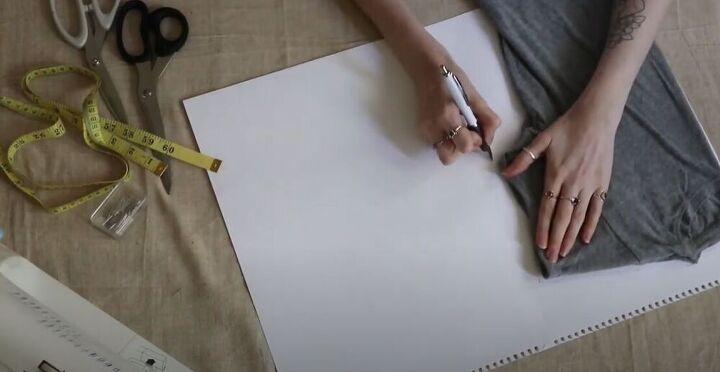
Before getting started on making this stunning linen T, I want to show you how I made my T-shirt pattern. I started by folding a T-shirt in half and tracing it onto a sheet of paper. I made sure to mark the neckline, the underarm, and the length of the sleeve. I also took my own chest measurement and marked it on the width of the chest.

I made sure to add a little extra space because I would be working with linen which doesn’t have much of a stretch. I also marked my deep v which is a gorgeous element of this linen T-shirt.
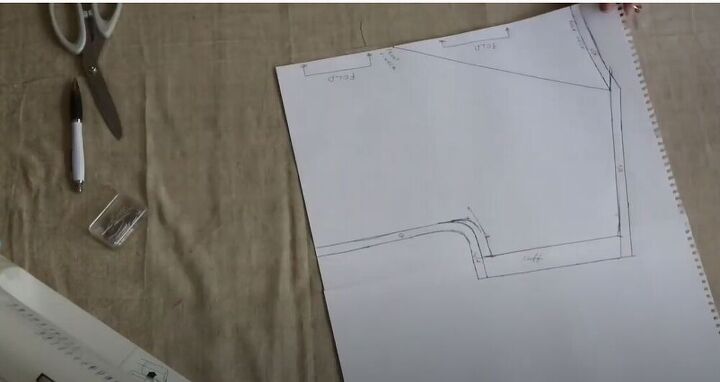
I added some seam allowance around the entire pattern and also marked the front and back necklines. This pattern would be used for both the front and back pieces of the T-shirt
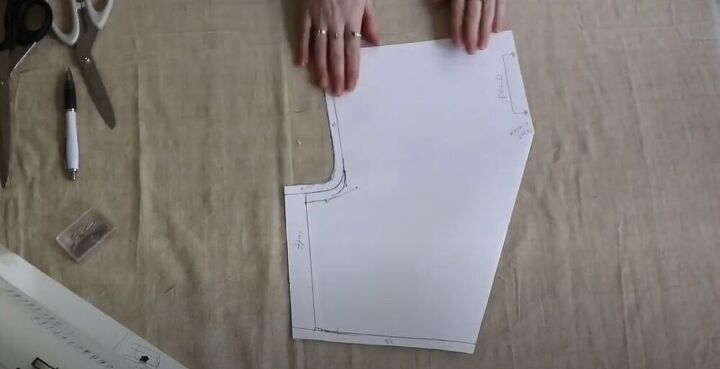
Next, I cut out my T pattern and made a fold along the V neck so that I could use the pattern for both the front and the back pieces.
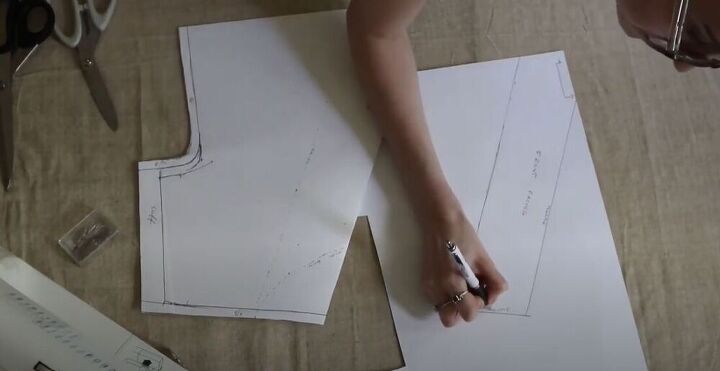
It was important that I made a facing to give my piece a perfect finish. I traced the front and back necklines adding 4 inches width of a facing.
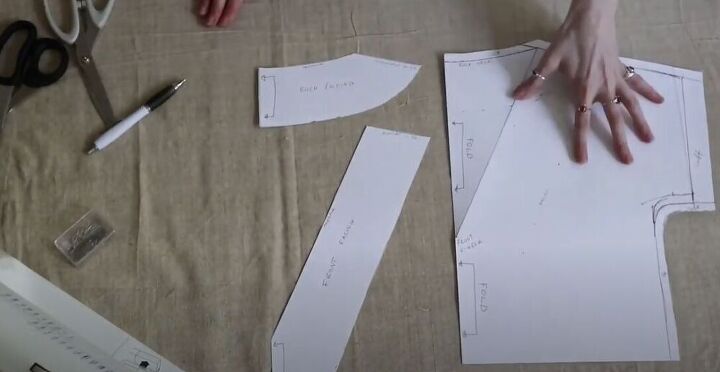
I ended up up with three patterns. The front and back piece, the front facing, and the back facing. I was ready to start making my linen T!

With my pattern pieces at the ready, I cut each of them out, making sure it was cut on the fold of the fabric.
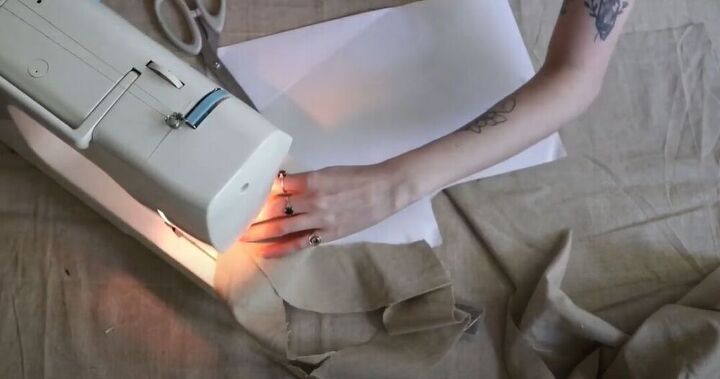
I hopped on over to my sewing machine and joined the front and back facing together at the shoulder seam.
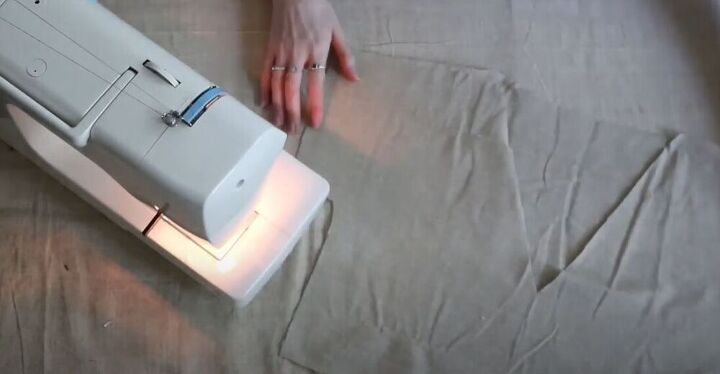
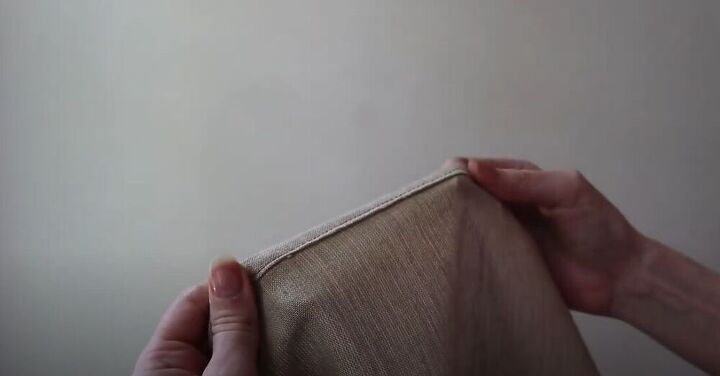
I then got started on sewing the shoulder and side seams of my front and back pieces together. I love how simple and easy it is to make this T! After sewing a straight stitch, I turned the top inside out and sewed another seam to keep things nice and neat. An overlocker or zig-zag stitch will work just as well! I am a perfectionist so I love keeping my pieces neat and making sure there will be no fraying!
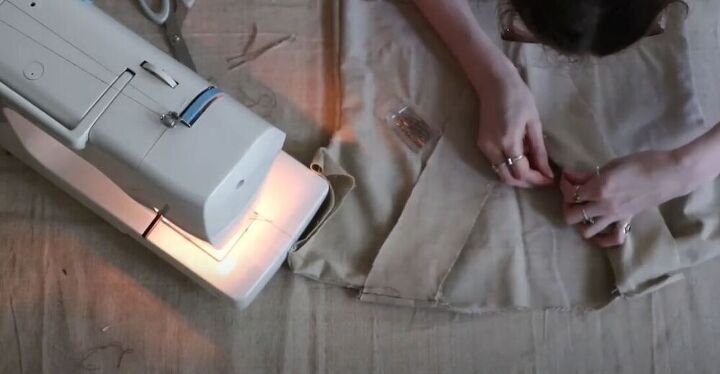
I was then ready to pin the facing onto the T. I placed the pieces right sides facing each other and pinned the facing in place. I sewed the facing on with a straight stitch adding a 1 cm seam allowance and once again made sure to secure my stitching with an overlock.

I turned the facing inside the shirt and I topstitched it in place. I love sewing a topstitch because it helps hold the fabric inside the top. Another great tip is to press the fabric to make sure the facing stays inside the T.
I made sure to hem the bottom of my top as well as the sleeves! I couldn’t wait to see what this shirt would look like!

I am so in love with this linen T! How would you style this piece? Let me know in the comments below!
The author may collect a small share of sales from the links on this page.


Comments
Join the conversation