Are Your Eyebrows Getting a Little Unruly? Try This Easy Brow Tutorial

Hi, guys! Today, I’m going to show you my favorite brow routine that I’ve been loving to do lately. If you’re on the lookout for a good brow tutorial, especially a brow tutorial step by step, then this is the one for you. Let’s get started!
Tools and materials:
- Spoolie
- Eyebrow tweezers
- Trimming scissors
- Brow palette
- Makeup brushes
- Brow pencil
- Concealer
- Eyebrow gel
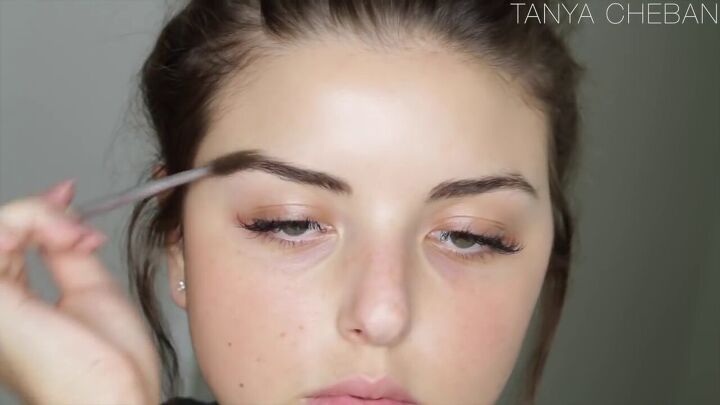
1. Brush your brows into the desired shape
Before I start tweezing, I always use a spoolie and brush out my brows just to make sure they’re all facing the same direction and I know what kind of shape I’m going for.

2. Tweeze your brows
Next, tweeze your eyebrows. Make sure you invest in a really good pair of tweezers. A good pair won’t be as dull and it’ll be easier to take out all the stubborn, tiny brow hairs you have that you never really knew existed. Not only that, they won’t just break your hair, they’ll rip it out from the root.
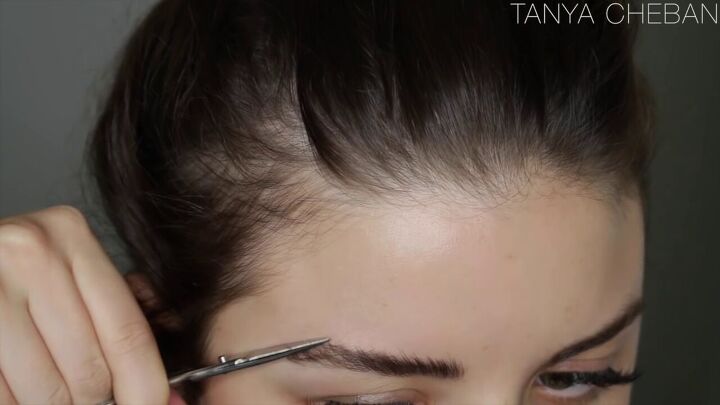
3. Trim your brows
Now, brush all your eyebrows up and get a pair of trimming scissors. Make sure your scissors are straight and avoid ones with an angled blade, like the ones you’d use for a manicure.
Use them to trim the hairs that are a little bit too long. Brush them down and repeat.
I find that trimming your brow hairs every once in a while really freshens up your brows. If you’re not comfortable doing this step, you can go to a professional.
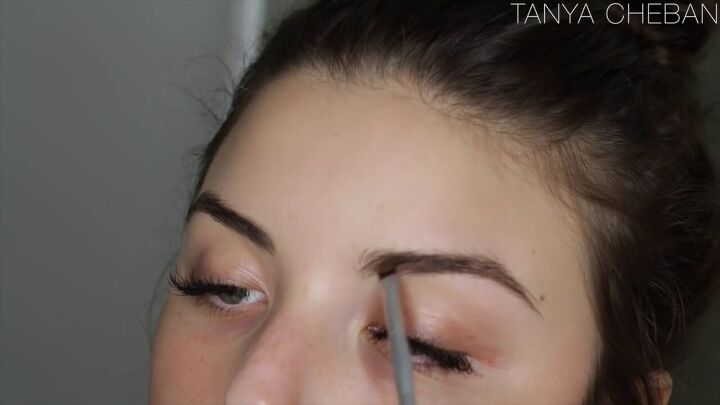
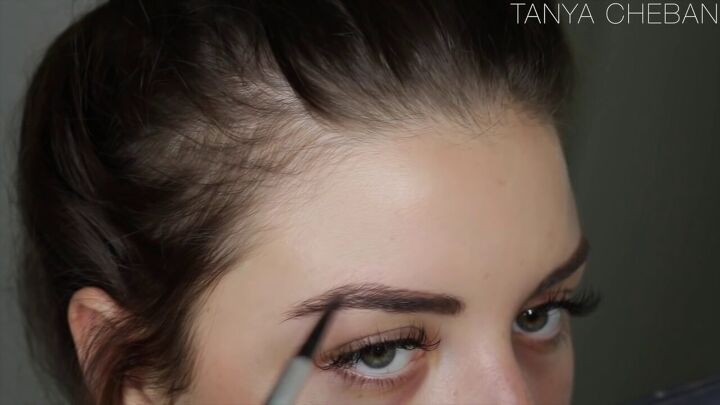
4. Define and shape your brows
For this step, you’re going to want a brow palette, preferably one with a wax and powder form. The wax is really nice for shaping your brows and the powder is really great for setting the wax.
Use an angled brush to shape your brows. Angled brow brushes are great for helping your brows appear really neat as they pick up just enough product without making your brows look cakey.
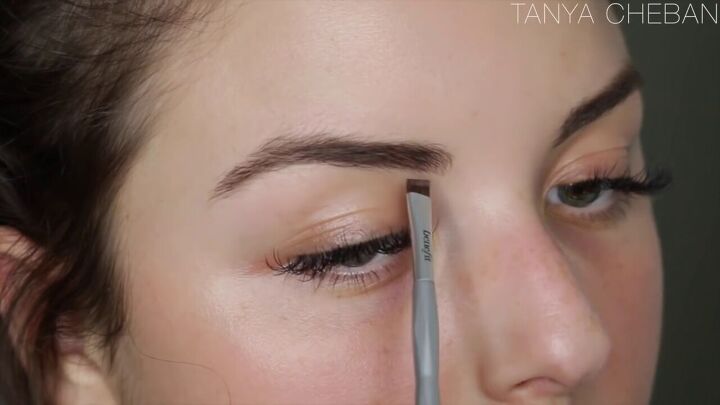
Start at the front of your brows with the gel. The area here is typically pretty sparse, so make sure you keep the underline very nice and defined as this is what’s going to give you a lot of shape.
It also really helps to have a dense angled brush, because if your brush is very flimsy, you’ll get a messy application and it’s not going to look as neat and clean.
Tip: The denser the brush, the more control you have over where the product goes.
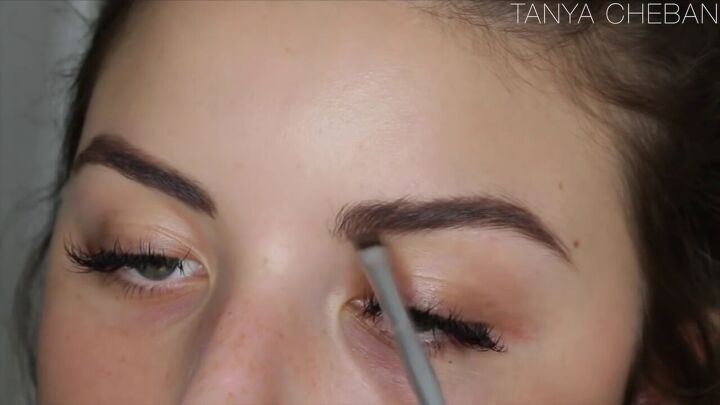
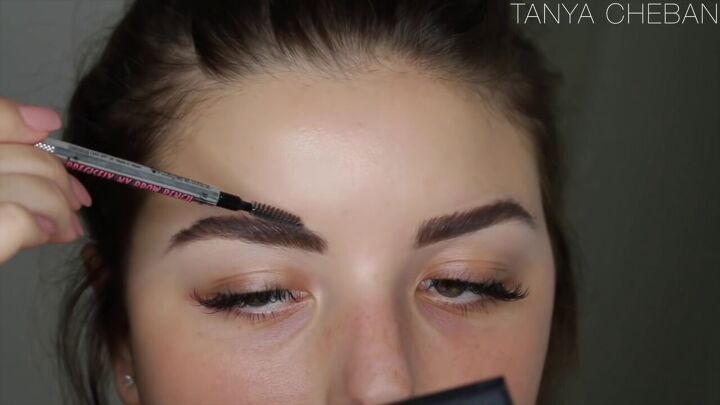
5. Fill in gaps or sparse areas
Next, go in with a brow pencil. You can get away with just doing the previous step, but a brow pencil is good for filling in any extra gaps or sparse areas you have because the pencil is so thin, it’s perfect for drawing in little hairs.
Finish up with the powder part of your palette to further fill in and define your brows. I like to brush my brow hairs down when shaping the top of my brows and then brushing them back in place.
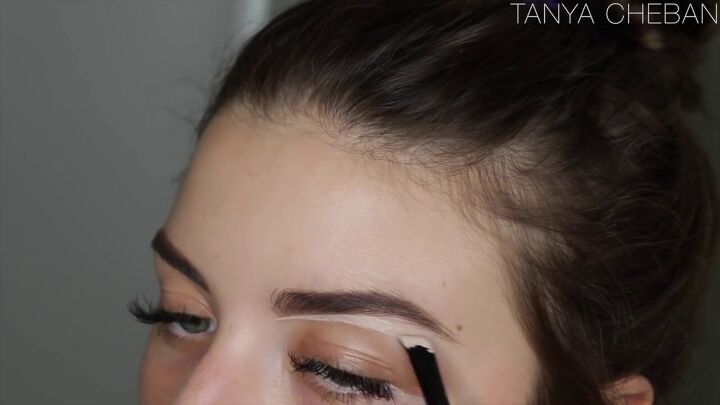
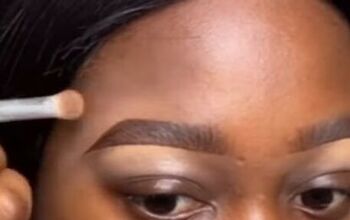
6. Clean up with concealer
Use an angled brush with a thick, creamy concealer to clean up under your brows. Start from the beginning of your brows and work your way out. Then blend with a small, fluffy brush.
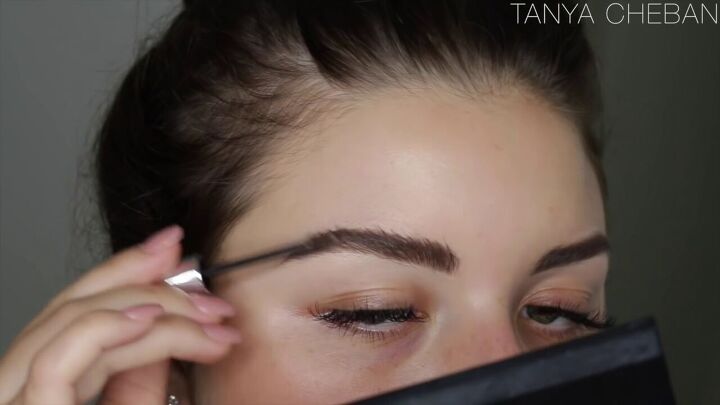
7. Set your brows
To set the brow hairs, go in with a brow gel and brush the hairs up because this gives the look of a fuller brow.
Then, take a spoolie and shape the rest of your brows for a full, messy but still neat, put-together look.
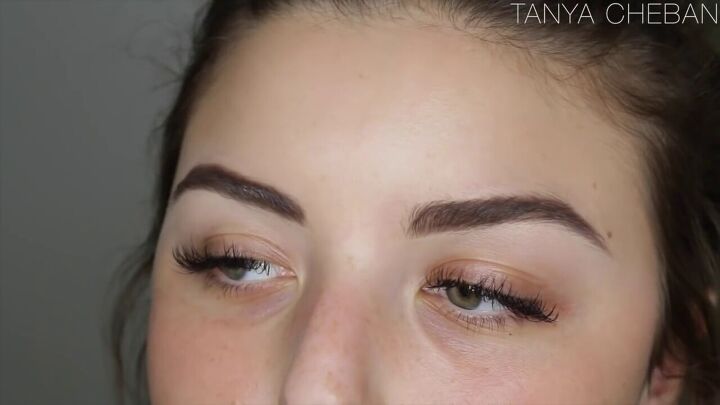
Brow tutorial
That’s it for this brow tutorial! Here’s the finished look. I hope you guys enjoyed this brow makeup tutorial! Let me know if you decide to try it out and how well it works for you.
Products used
Brow Zings
Precisely My Brow Pencil
Gimme Brow
Angled Brow and Spoolie Brush
Benefit Tweezers
Mac Studio Finish Concealer NW15
The author may collect a small share of sales from the links on this page.


Comments
Join the conversation
Any suggestions on buying good tweezers? I’m having a difficult time finding ones that are sharp, every pair I buy are so thick at the tip that I can’t get a grip of the hair.