Style and Secure: Sew-on Snaps

Today’s tutorial will teach you how to sew a snap onto a garment. Snaps can be used on lots of different garments, it just depends on what kind of material you have and what the application is for. Snaps are great for securing garments without losing functionality.
Tools and materials:
- Snaps
- Wax thread
- Needle
- Tailor’s chalk
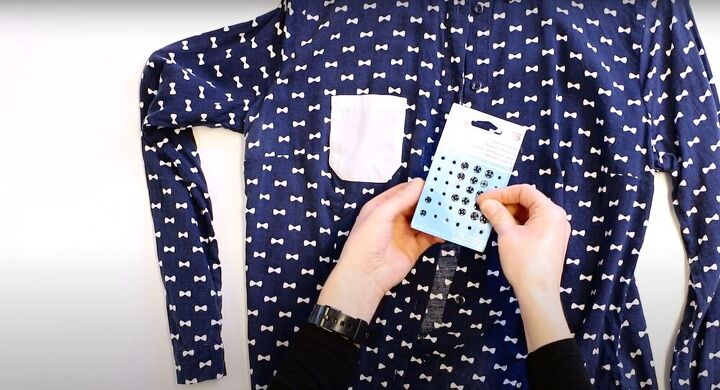
Pick your snap
For this tutorial, I'm going to be sewing a snap to the opening of a button-down shirt. Snaps are a great way to invisibly make your garments more secure without losing functionality, or can add a decorative touch. They come in a variety of colors and sizes to fit whatever application you’re looking for, but the technique for attaching them is the same.
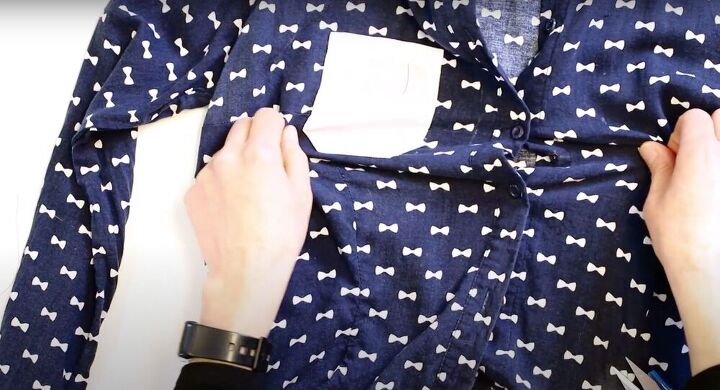
Find your placement
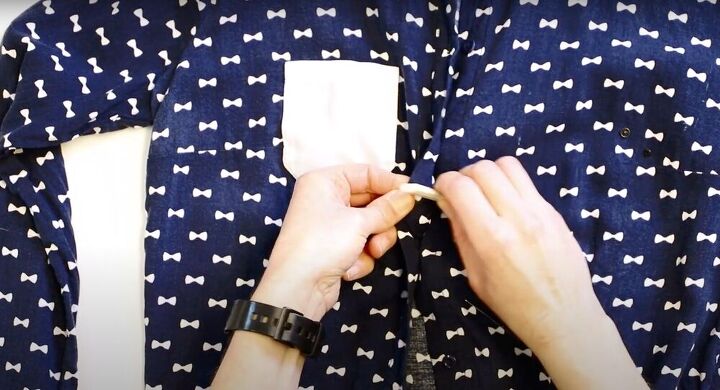
To start, figure out where you want to place your snap. Because it’s going between two buttons, button the garment and then mark with your tailors chalk on either side of the shirt where the placement of the snap will be. Remember, it’s important that the snap be aligned so that the fabric doesn’t bunch to one side or the other once you're done.
Prepare your needle
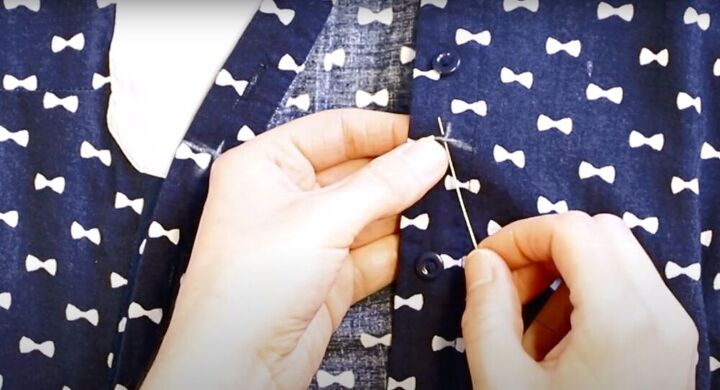
Snaps have two pieces: the female piece and the male piece. The male piece has the prong. When sewing a snap, you always want the male piece to be put facing away from your body.
So, starting with the male piece, place the snap on the side where the buttons are. Cut about 2-3 feet of thread, and thread onto the needle. Tie the two thread ends in an overhand knot. This means you’ll be sewing with two strands at once, saving time and adding durability. Once your thread is secure, slip your needle through the center of your marking to begin sewing.
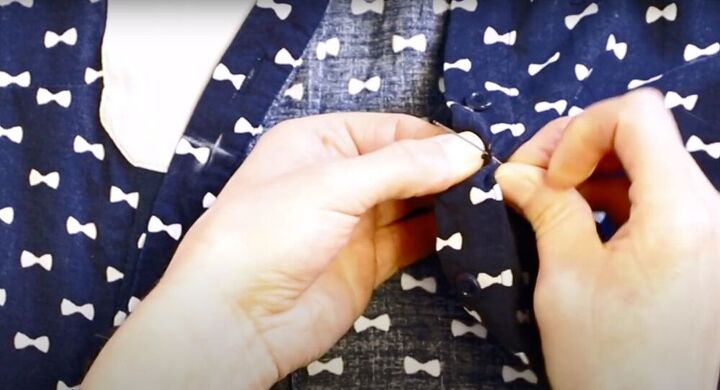
Connect the male piece
After you’ve pulled the thread through (so that the knot meets the fabric), slip your needle through one of the four holes in the snap. Let the snap fall to the fabric. To secure the snap, insert the needle in and out through the holes of the snap and into the fabric until it is securely wound.
The number of passes you do will have to do depends on the size of your snap. Smaller ones will need three or four passes, bigger snaps might need more, depending on the thickness of the thread. Keep in mind that overwinding it can keep the two halves from being able to connect. Once you've done enough passes in the first hole, angle the needle to next hole. When all the holes have been stitched, insert the needle underneath the snap and push the needle out the underside. This will put our thread under the snap and will hide the knot used to secure the thread ends.
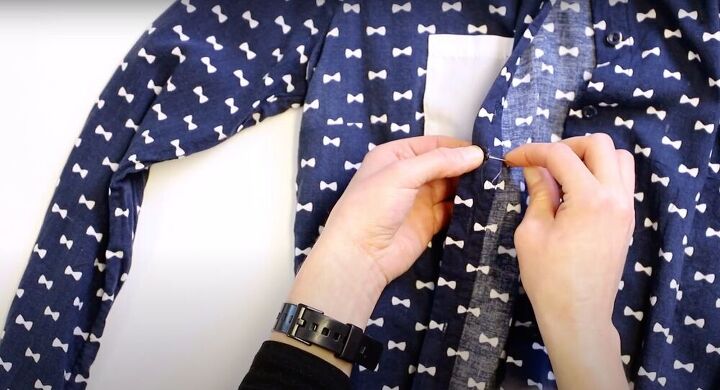
Connect the female piece
To do the other side, secure the end of the thread with an overhand knot again and insert the needle through the center of the marking and pull the thread until the knot meets the fabric. Next, slip the snap onto the needle and let it fall down to the shirt. Next, loop the thread through each hole about three or four times before going back through the shirt to angle to the next hole. Finally, once you’ve gone through all the holes, secure the snap by inserting the thread under the snap. Cut off the excess thread so that you’re only left with three inches and tie a couple of overhand knots. Cut off the excess again, and you’re done!
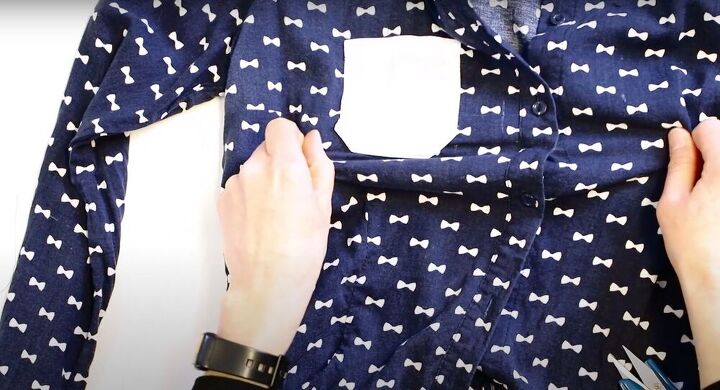
Give your snap a little test run. Make sure the fabric lines up, check to see that the snap connects properly, and fall in love with how much better your shirt stays in place! This sew-on snap button is the perfect answer to any pieces that just won’t sit right. Give yourself a little extra security!
The author may collect a small share of sales from the links on this page.


Comments
Join the conversation
Perfect for those low cut shirts that tend to open