How to DIY a Shearling Moto Jacket

I was inspired by Instagram and Pinterest to make a shearling moto jacket. I made the jacket twice, the second time in a heavier material.
For the second jacket, I added all the lower shearling trims after inserting the sleeves, instead of as I completed each piece. Use fabric clips instead of pins on faux leather.
Tools and materials:
- Jacket weight faux leather
- Shearling/sherpa fabric
- Lining fabric
- Jacket zipper
- Interfacing
- Jacket for pattern
- Commercial pattern for collar (optional)
- Fabric clips
- Scissors
- Tailor's chalk
- Sewing machine
- Teflon foot (optional)
- Zipper foot
- Leather sewing needles
- Hump Jumper (optional)
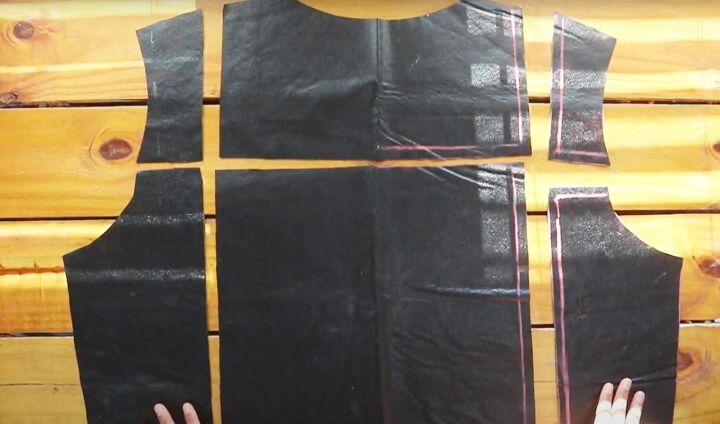
1. Create the moto jacket pattern
I used a jacket I already had to make my pattern. See the video at 1:41 for how I did it.
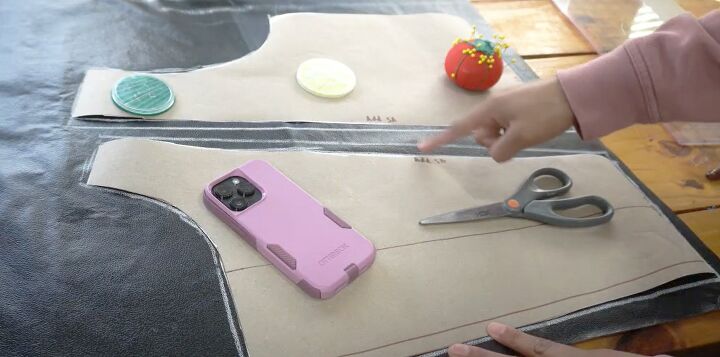
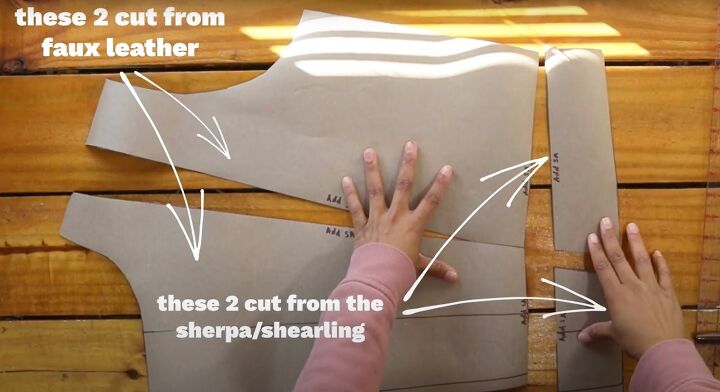
2. Cut the fabric
Cut the sherpa lining pieces first, then add the seam allowance and cut the main fabric.
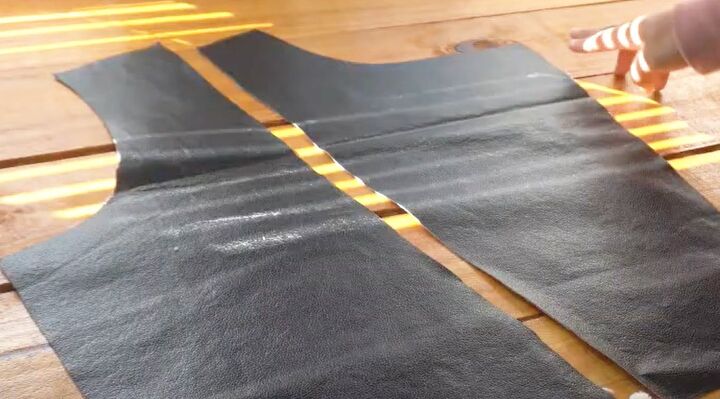
3. Sew first front piece
Join the front pieces together on one side and top stitch. Use a teflon foot if you have one and a long stitch.
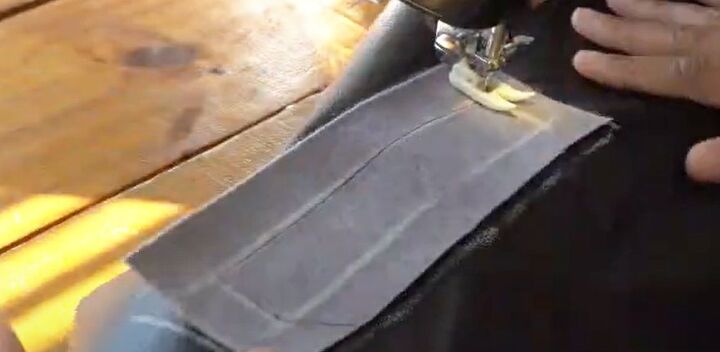
4. Make pocket welt
Cut two pieces from faux leather or lining fabric, each 3 inches by 8 inches. Chalk a rectangle in the center measuring 1 inch by 6 inches.
Place the piece on the jacket front, right sides together, and stitch around the smaller rectangle.
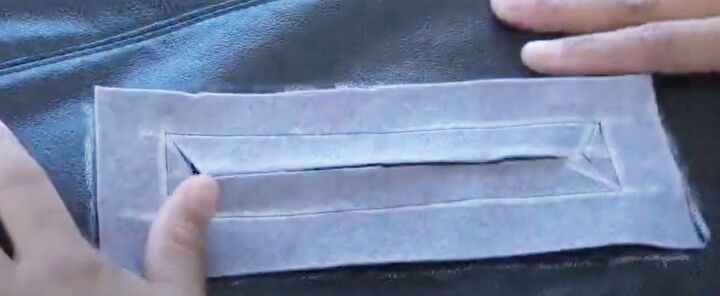
Cut down the center of the stitched area and into the corners and fold the flaps to the inside.
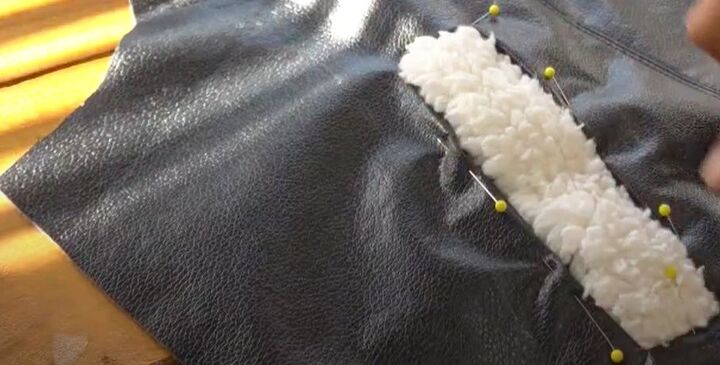
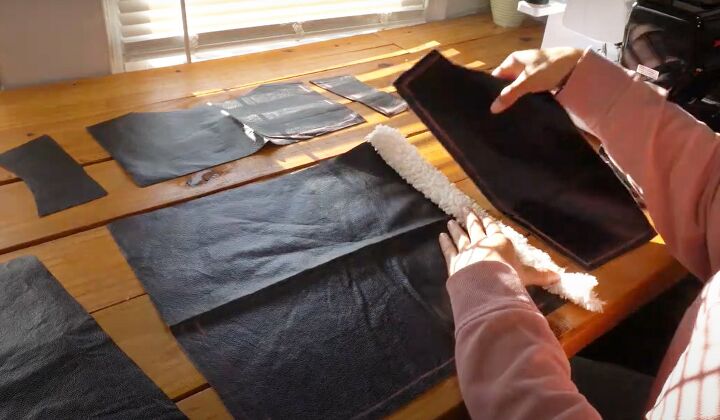
Cut a strip of shearling fabric 9 inches by 5 inches.
Fold it in half lengthways, wrong sides together, and sew the long edge.
Pin or clip the strip behind the pocket opening and sew around the opening on the right side.
5. Make pocket bag
Cut 2 pieces of lining fabric, each 8 inches by 13 inches. Sew one piece to the bottom and side edge of the pocket welt.
Fold the lining up to match the top edge of the faux leather welt and sew around three sides.
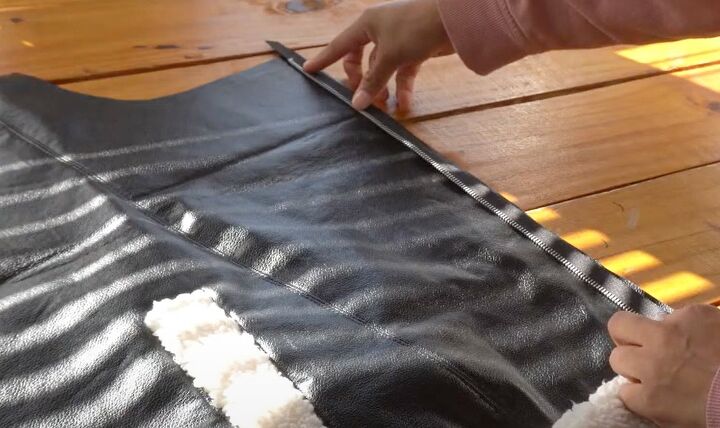
6. Insert zipper
Open the zipper and sew one side to the inner front edge, right sides together, using a zipper foot.
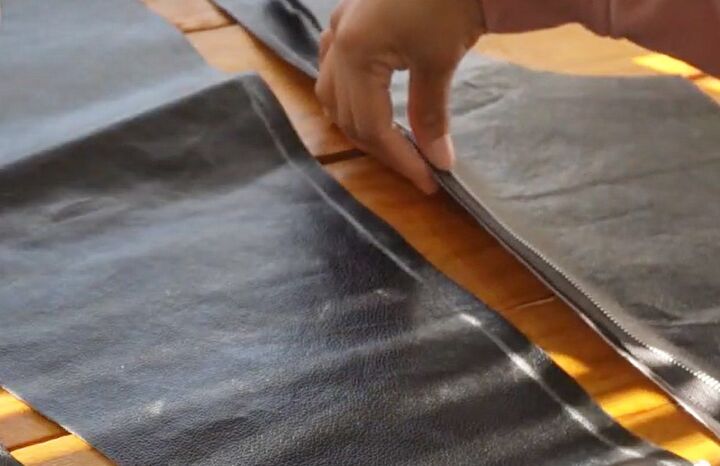
7. Sew second front
Complete the second front in the same way, attaching the second side of the zipper to the long edge of the armhole piece.
Close the zipper and join the outer front piece. Push the seam allowance towards the armhole and top stitch. Make the pocket as before.
8. Jacket back
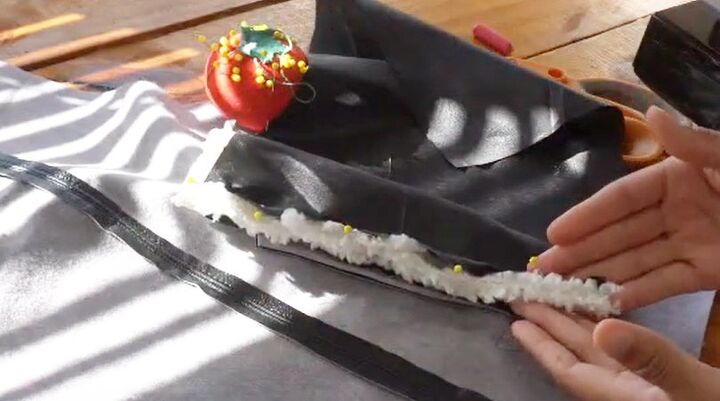
Cut a 2-inch strip of the shearling fabric.
Sew one edge to one of the long back seams, right sides together.
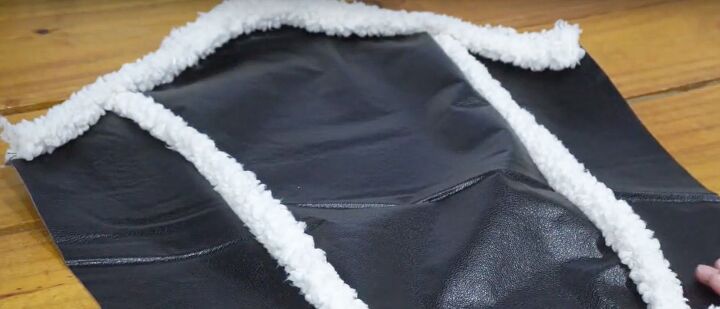
Fold the shearling in half lengthways and place the matching back section on top, right sides facing, so the shearling is sandwiched between the faux leather pieces. Stitch all four layers together.
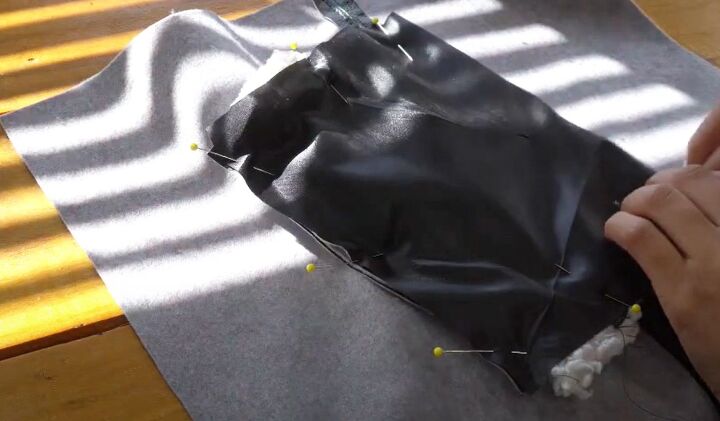
Join all the back sections in the same way. Sew the shoulder seams.
9. Sleeves
Trace around the pattern jacket sleeve and transfer the shape of the sleeve head to the paper. See the video at 9:25 for how to mark the seams.
Add the shearling strips to join the sleeve pieces as before.
Sew a strip of shearling to the sleeve head, fold the strip in half and sew it in place.
Insert the sleeve into the armhole edge.
Close the side and sleeve seams.
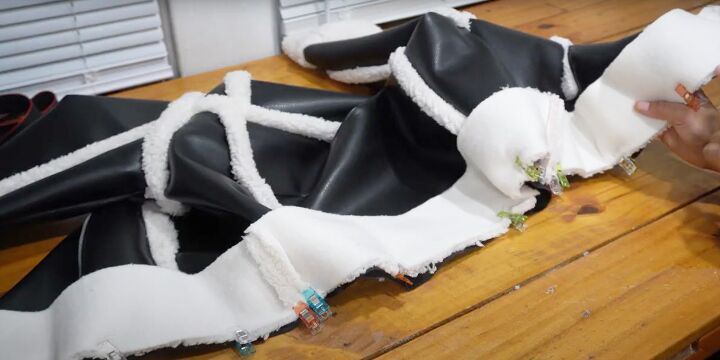
10. Add lower trim
Cut shearling trims for the fronts, back and sleeves. Join the cuff ends and sew them to the sleeves, right sides together.
Join the front and back pieces together. Sew them to the edges of the jacket, adding interfacing for more structure if required.
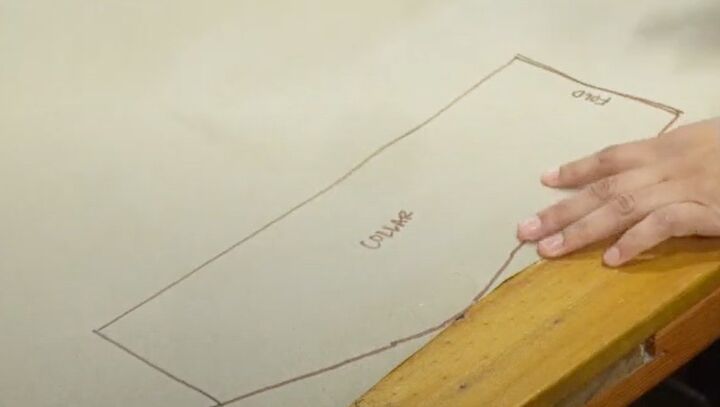
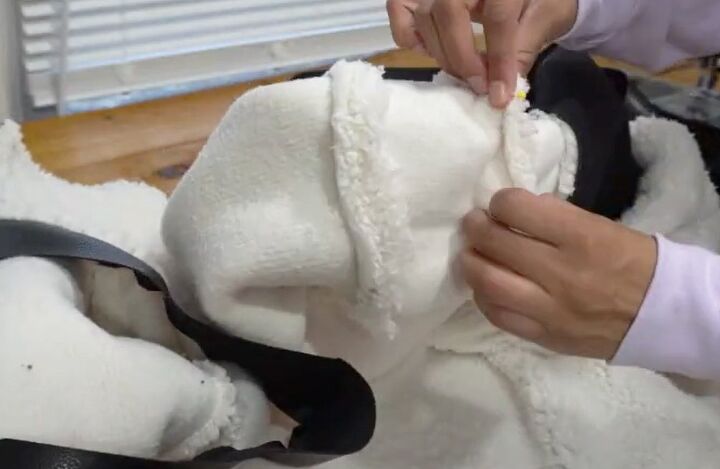
11. Collar
I adapted a coat pattern for the collar. Trace half the collar pattern on to your paper and cut one from the faux leather and one from the shearling.
Sew them together right sides facing along the top and side edges, snip off the corners and turn them right side out. Top stitch around the edges and sew the collar to the neck edge.
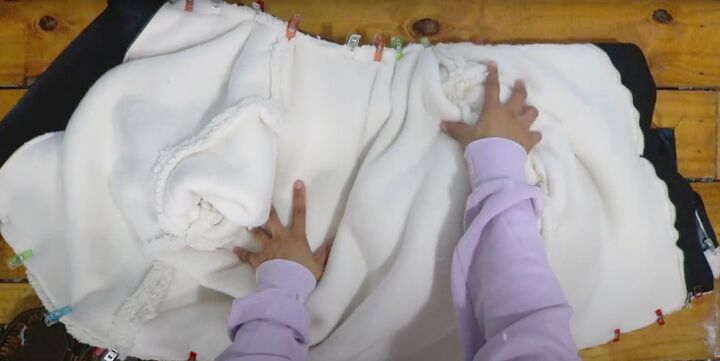
12. Lining
Sew the sherpa lining together. Stitch it to the outer jacket along the neckline and bottom edge, right sides together.
Sew the cuffs of the lining and outer jacket together to make a tube. Push the sleeve lining inside the sleeve.
Sew the lining to the jacket along both zipper edges, leaving an opening to turn the jacket right side out. Top stitch the opening closed.

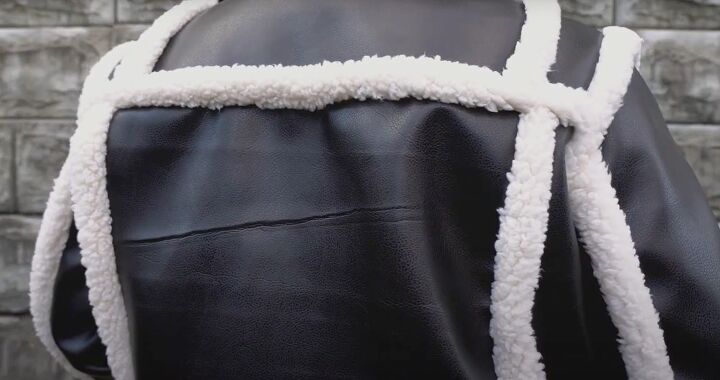
Shearling moto jacket
I’m really glad I made the second sherpa moto jacket in the heavier fabric. It feels like a winter jacket now and is much more structured.
It’s an advanced project, but I do hope you give it a try - the result looks fabulous, I think. Please let me know in the comments how you get on.
The author may collect a small share of sales from the links on this page.


Comments
Join the conversation