How to DIY Confetti Nails for New Year's Eve

In this nail tutorial, I’m going to show you some confetti nails that are perfect for New Year's Eve.
If you’ve got your outfit planned for New Years’ and just need a killer nail look to finish it off, I have just what you’ve been looking for. Let's get started.
Tools and materials:
- Nail polish
- UV light
- Top coat
- Glitter
- Fine brush
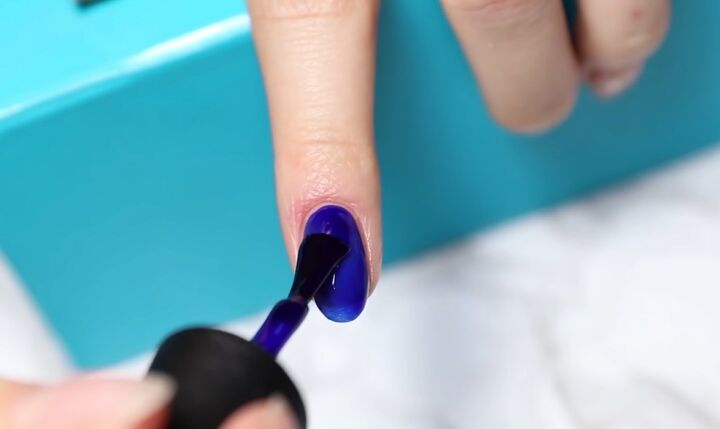
1. Apply blue nail polish
First, paint your nail on your index finger with electric blue nail polish.
Apply as much polish as you need to to get the intensity of color that you want.
2. Cure nail
Then cure your nail under a UV light.
3. Repeat
Repeat this on your ring finger.
4. Apply glittery nail polish
Then go in with some glittery silver nail polish on your baby finger. Cure under the light when done.
5. Apply glittery nail polish to tip
Also, apply this glittery nail polish to the tip of your ring finger that you painted blue.
6. Apply clear top coat
Proceed to apply a clear top coat to all of your nails, including your middle finger that you haven’t painted. Do your middle finger last.
7. Add confetti
Using a fine brush or a pair of tweezers, place pieces of silver confetti onto your middle finger while the top coat is still wet.
Use a variety of sized confetti.
8. Repeat
Once you’ve put the confetti on, go over the middle finger with another clear coat.
Then, while it is still wet, apply even more confetti and apply a clear top coat again.
Finally, paint the nails on your other hand, and you’re done!
DIY confetti nails
Here we have the finished nails. They are so glam, so extravagant, and so perfect for New Year's Eve.
I love how each of the nails has a different design, but they are all coordinated with one another.
I haven’t shown you a thumb design, but you could replicate one of the nail designs on your thumb or create another similar design that builds on the same theme.
If you enjoyed this tutorial, leave a comment down below.
Enjoyed the project?
The author may collect a small share of sales from the links on this page.


Comments
Join the conversation