How to DIY an Easy Hair Cream From Shea Butter

Here is an all-natural DIY hair cream made from shea butter, aloe vera and coconut oil, that is safe for kids. You probably already have those ingredients at home!
Follow along to learn how to use shea butter on your hair, and why shea butter is good for your hair.
This cream packed with moisture and vitamins, can also be used on your skin.
Tools and materials:
- All-natural raw shea butter
- Aloe vera gel (from a bottle or natural leaf)
- Cold-pressed coconut oil
- Heat-resistant bowl
- Glass bowl (to make double-boiler)
- Small plastic spatula
- Electric or battery-powered whisk
- Air-tight container
- Soft comb or brush
- Fine-tooth comb
- Scrunchies
1. Make your styling cream
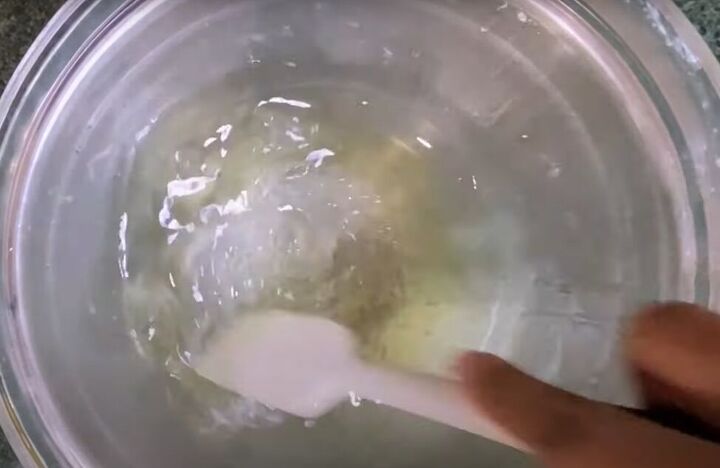
First, put a glass bowl over a metal bowl of boiling water to create a makeshift double-boiler.
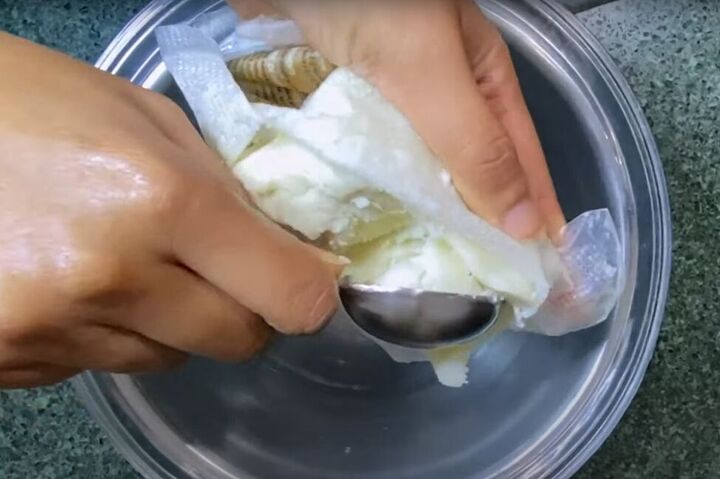
Then, add 2 tablespoons of shea butter to your glass bowl.
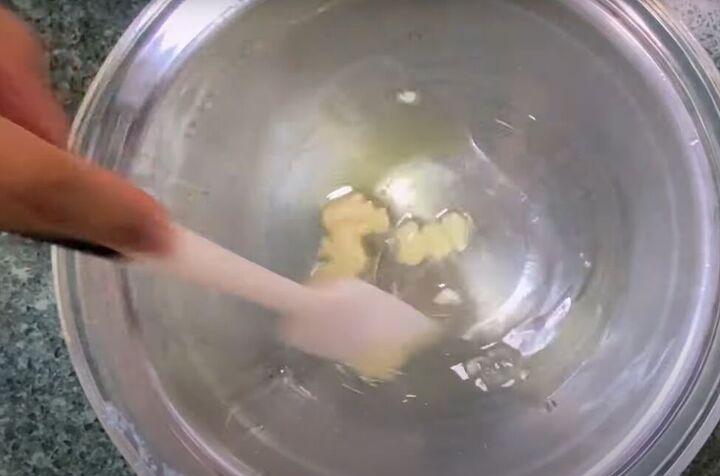
Use a small plastic spatula to move around the shea butter to allow the heat from the boiling water below to melt it into an oil.
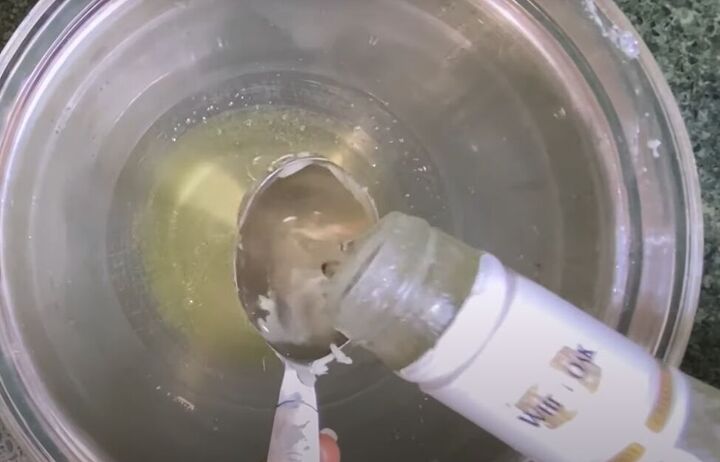
Now, add 2 tablespoons of coconut oil.
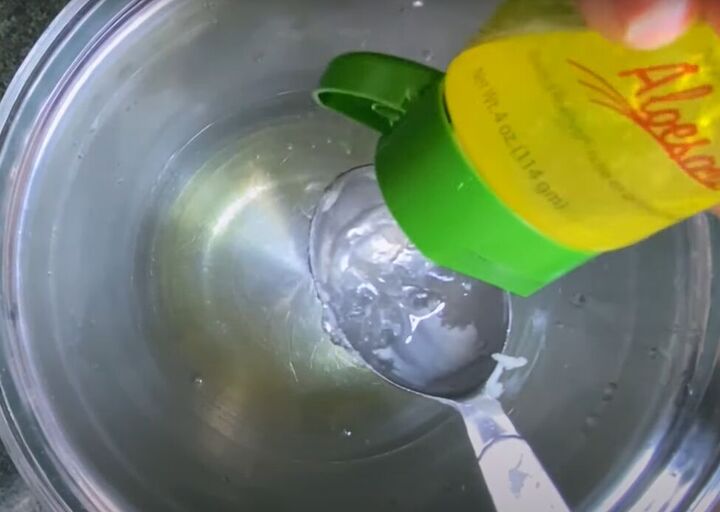
Then add 2 tablespoons of aloe vera gel.
Stir to fully combine the ingredients in your bowl.
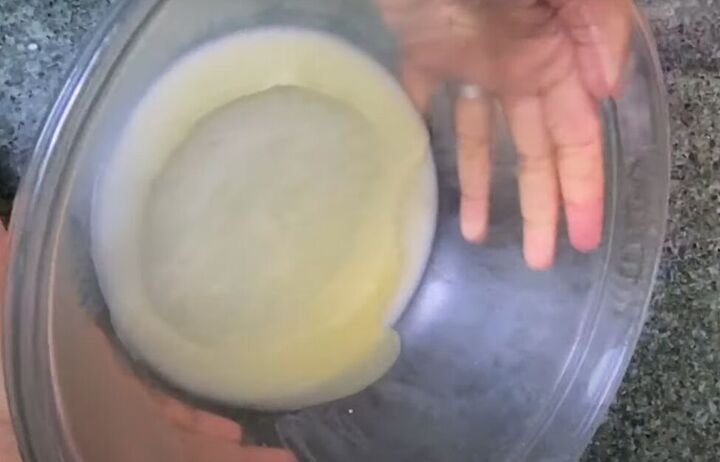
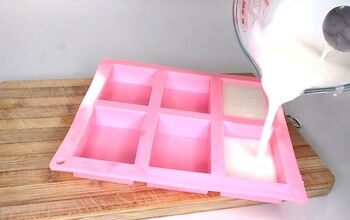
Let the mixture cool in your refrigerator until it is about 50% set.
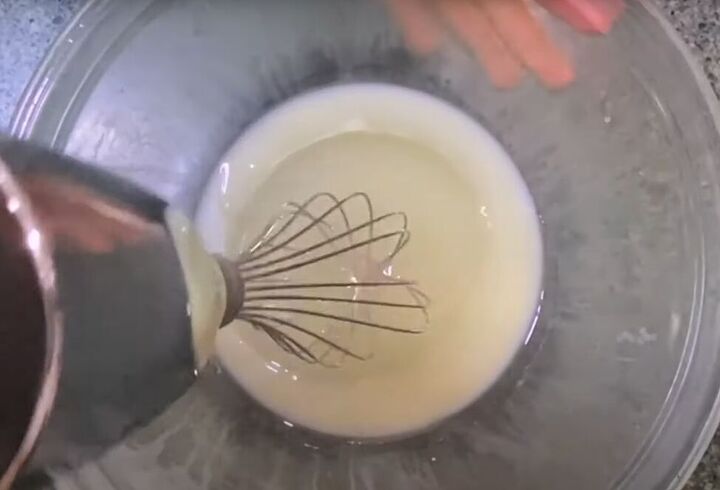
Whisk the mixture on a high speed, adding as much air to it as possible.
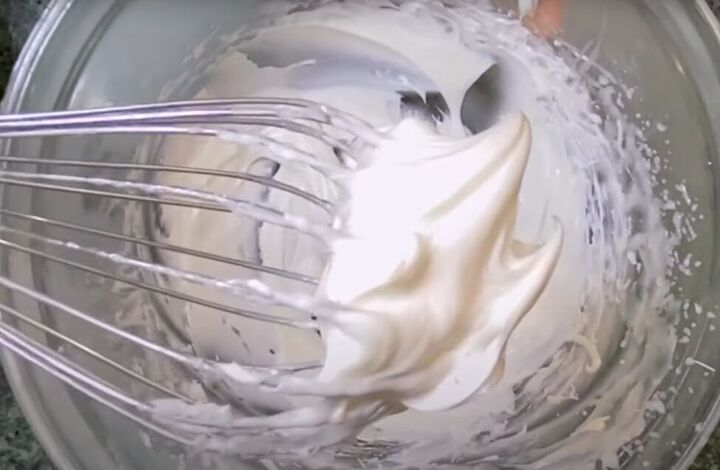
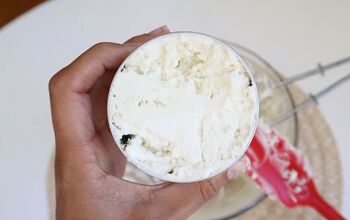
Keep whisking until the mixture resembles whipped cream.
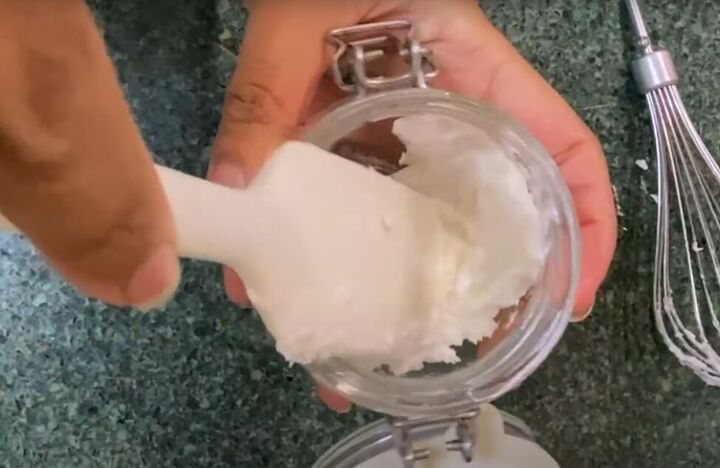
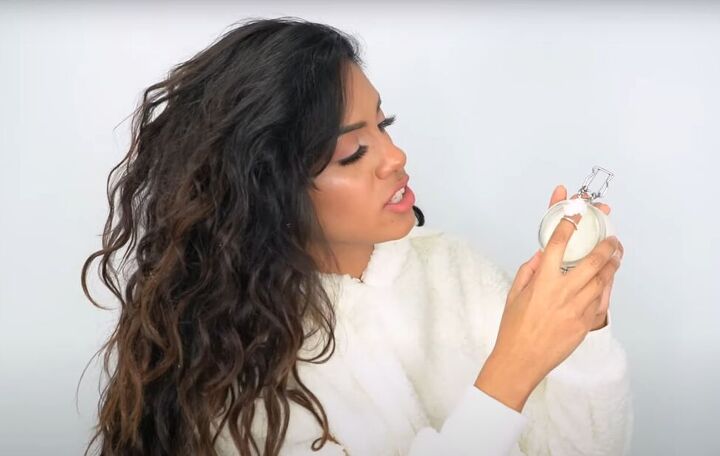
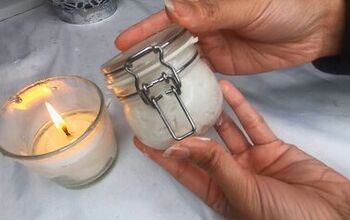
Transfer the whipped mixture into an airtight container.
2. How to use the styling cream in your hair
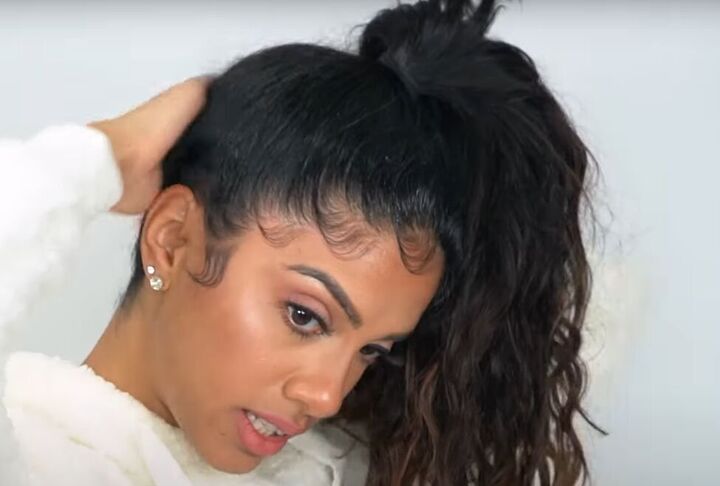
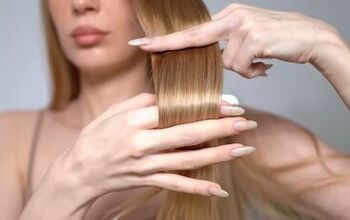
This cream is great for getting a sleek, clean look, especially if you are putting your hair up.
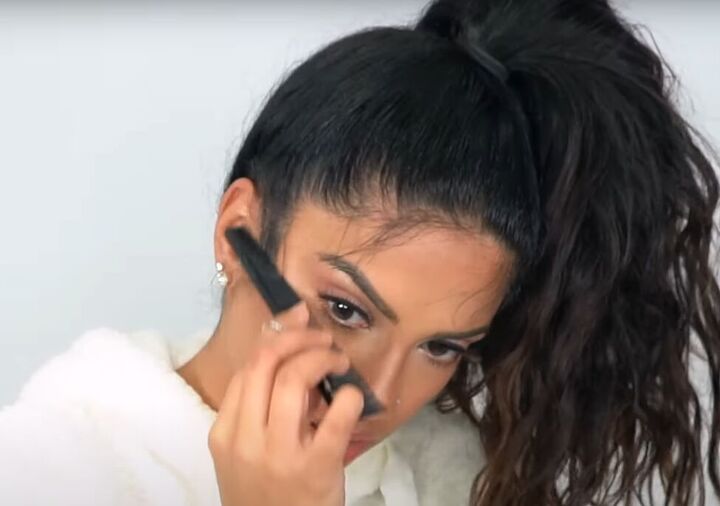
Use the top of your fingertip to remove a bit of cream from the jar. A little bit of this styling cream goes a long way!

Rub the cream between the palms of your hands.

Rub the cream into your hair around your hairline.
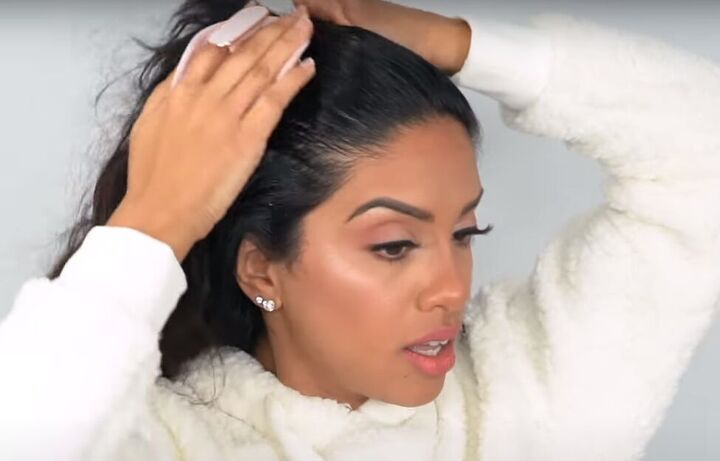
Use a soft comb or brush to smooth your hair and gather it up.
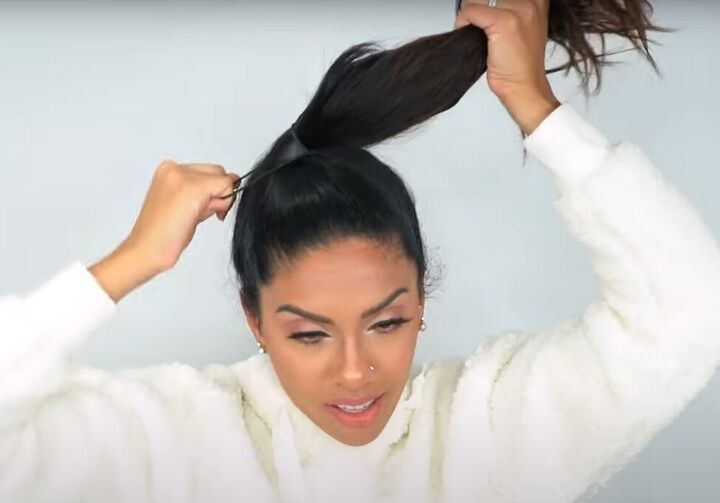
And tie it your hair in a ponytail.
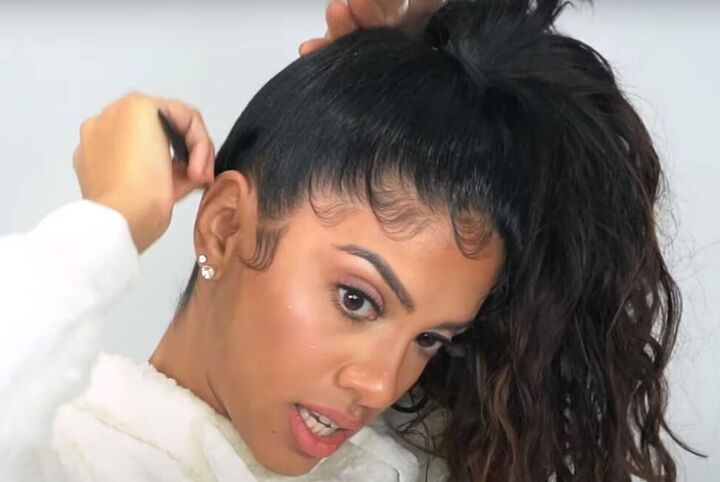
Comb your baby hairs at the edges of your hairline forward.
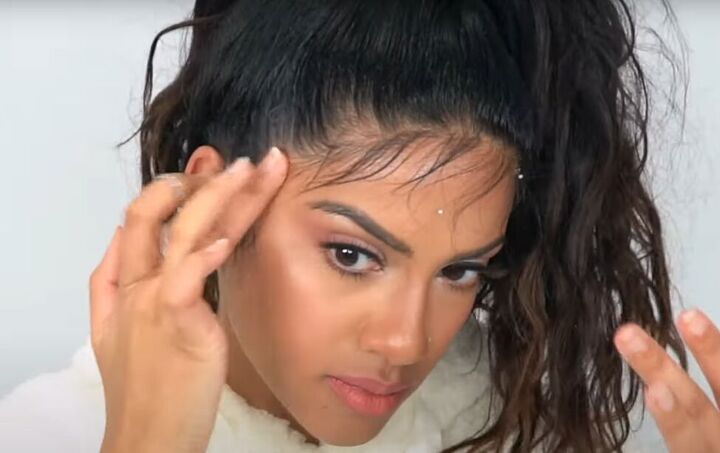
And smooth down the baby hairs with your styling cream.
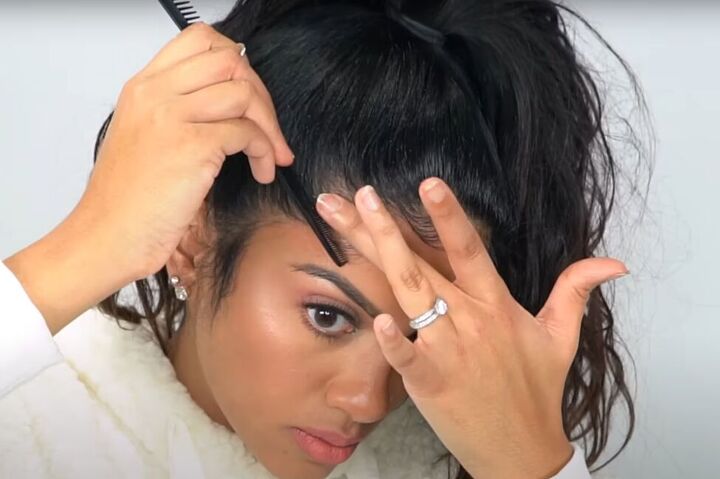
Now you can use a fine-tooth comb to swoop the baby hairs back into your hairline, using your fingertips to keep them lying flat against your forehead.
That gives you some very pretty, styled edges.
Smooth down the back of your hair using a little more styling cream.
Finish smoothing the back with a fine-tooth comb.
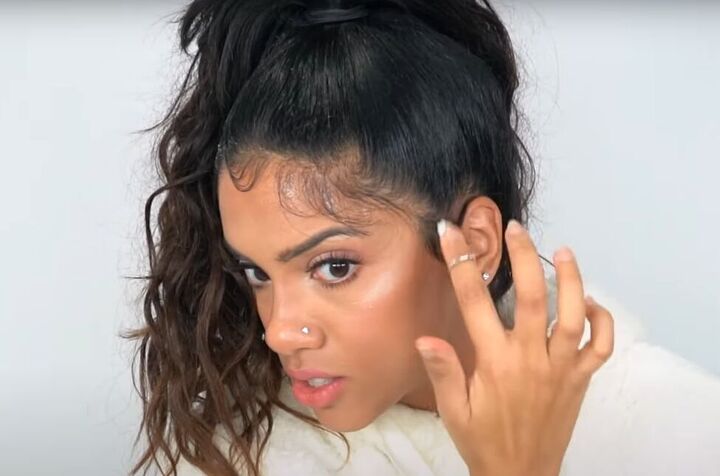
Repeat smoothing out your baby hairs on the other side of your head.
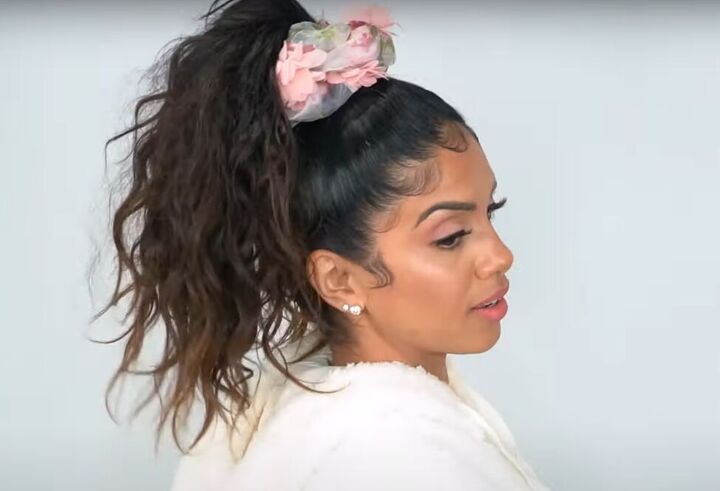
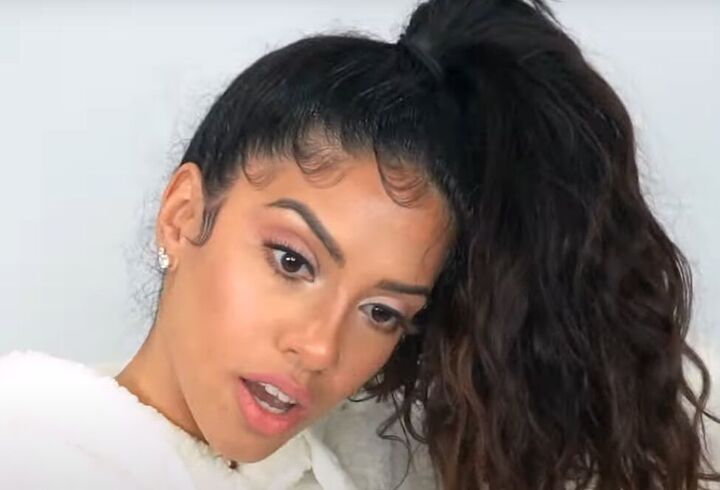
This is the result, with the addition of a beautiful scrunchie.
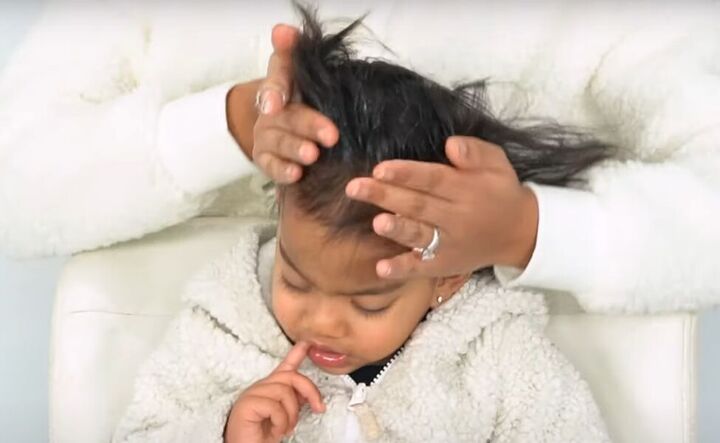
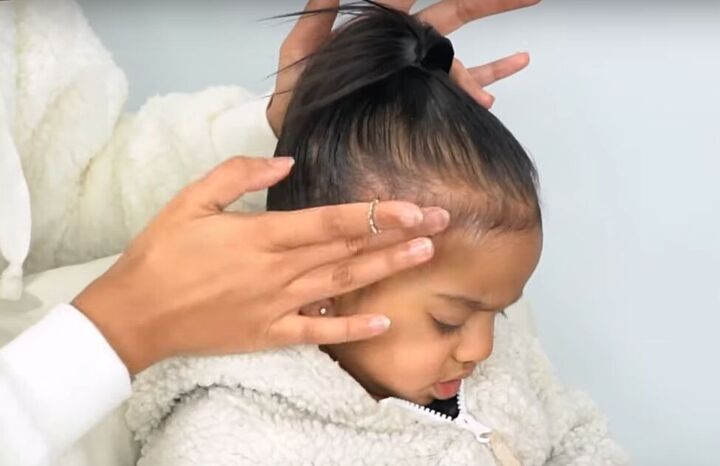
3. How to use the styling cream on kids
Rub the styling cream between your palms and apply it to the child’s hairline.
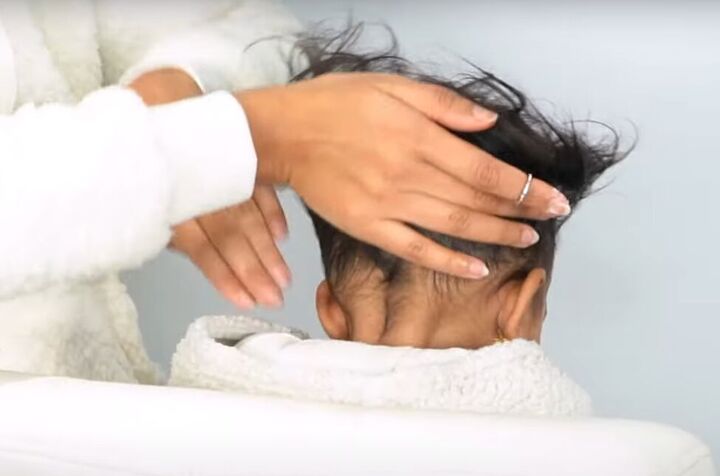
Apply it to the back of their hairline as well.
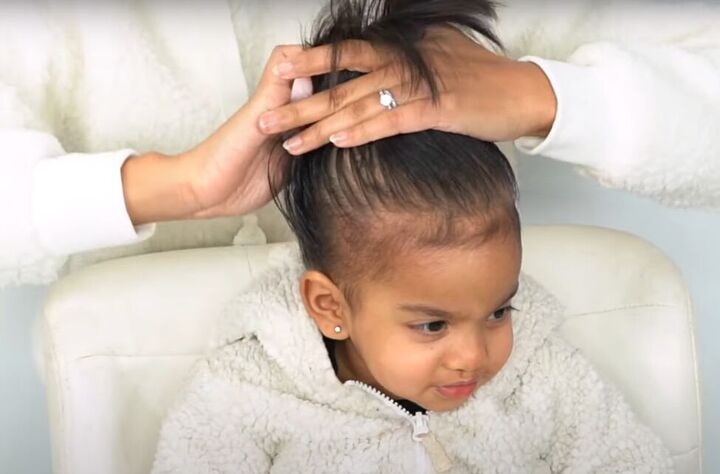
Use a soft brush to gather all the hair together.
And make a ponytail.
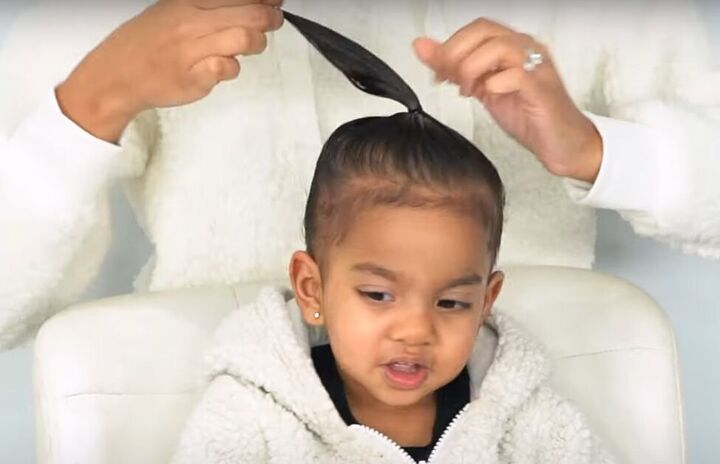
Apply a little styling cream to the fine baby hairs.
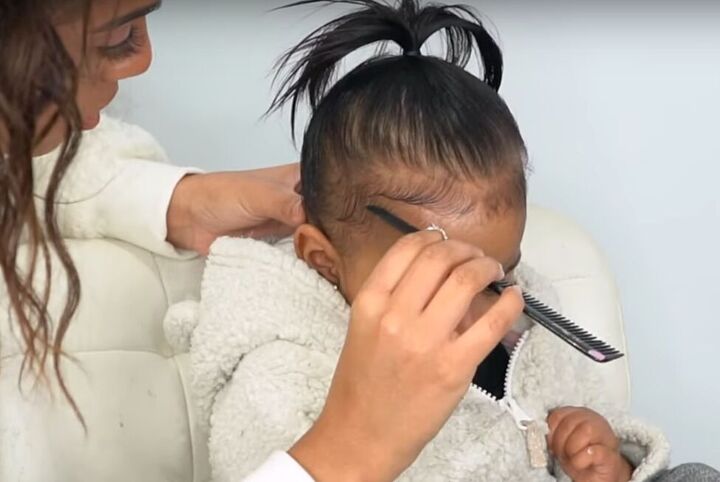
Use a fine-tooth comb to style the baby hairs into the hairline as you did on yourself.
With this styling cream, her hair actually stays nice and tidy all day!
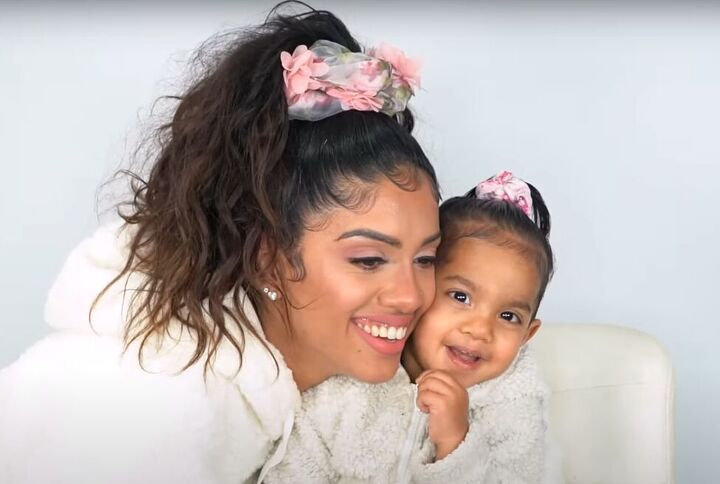
Top her off with a matching scrunchie, and you make quite a pair!
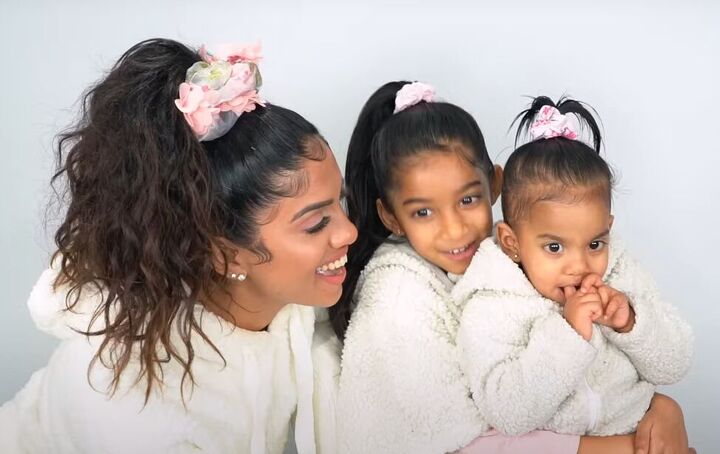
The technique works just as well on older kids too!
DIY hair cream
Give this styling gel recipe and technique a try, and leave a comment to let me know how you liked it.
Next, check out this Easy Super Second Day Hair Hack.
The author may collect a small share of sales from the links on this page.


Comments
Join the conversation