How to DIY a Shea Butter Curl Cream for Gorgeous and Bouncy Locks

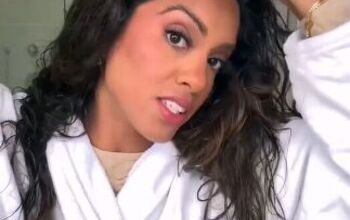
Hi guys! My name is Ariba, and I'm going to show you how to make your own shea butter curl cream.
I love the texture of this cream. I've been playing around with it, and I finally got the proportions correct. Now it’s ready to share with you guys.
Tools and materials:
- Flaxseed
- Aloe
- Shea butter
- Cocoa butter
- Storage jar
- Blow dryer with diffuser
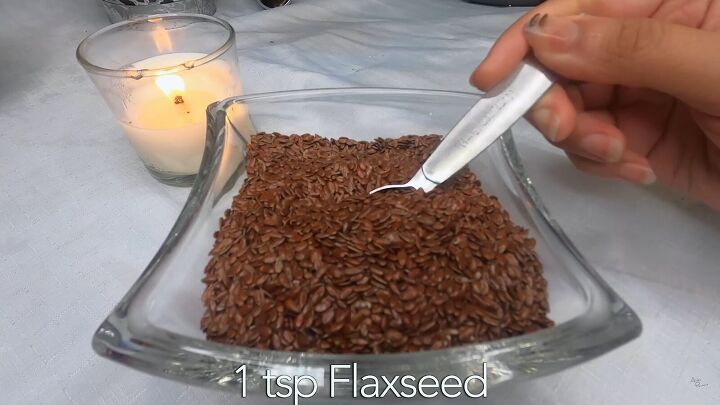
1. Make flaxseed gel
Boil one cup of water, and one teaspoon of flaxseed.
Once the water is boiled, add the flax seeds, and let it boil for eight to ten minutes on high heat. Strain and set it aside.
Once it cools it'll start to feel more gel-like.
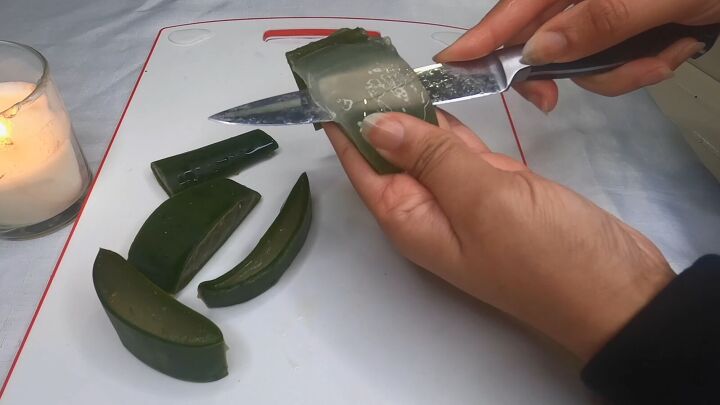
2. Blend up some aloe vera
You're going to need about a fourth of a cup of aloe. Chop it up and blend it on high until it's as smooth as you can get it. Set this aside.

3. Measure your butters
You need a total of six tablespoons of butters. I'm using cocoa butter and shea butter. You can also use shea butter alone. I like adding cocoa butter because it gives a nice consistency.
Measure two tablespoons of cocoa butter and four tablespoons of shea butter. If you’re just using the shea butter, measure 6 tablespoons.
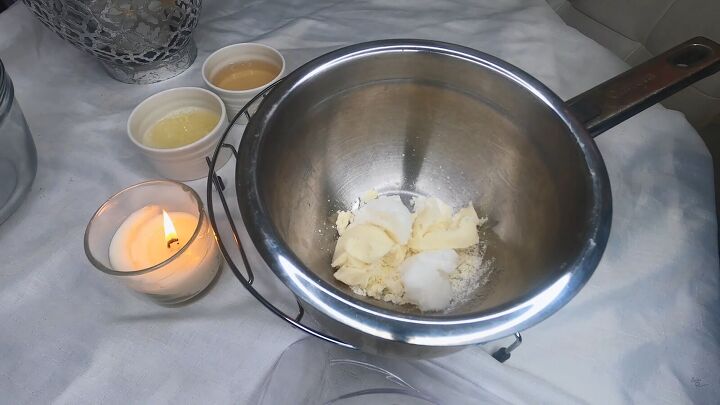
4. Add coconut oil
Measure two tablespoons of coconut oil and add that to your butters.
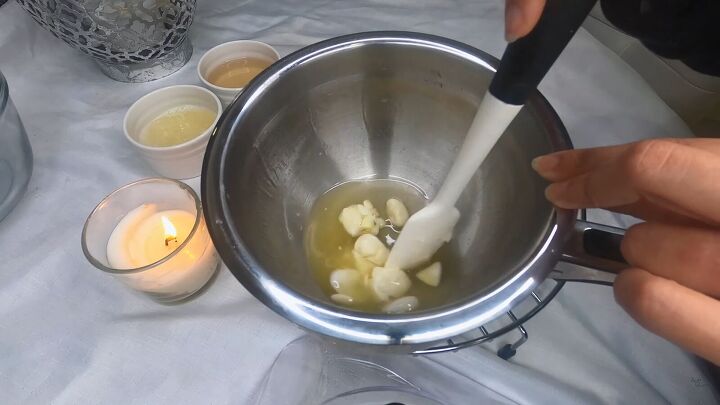
5. Melt with double boiler
Melt your butters and oils down using the double boiler method.
To do this, place your bowl on top of some boiled water and stir your butters and oils around until they melt.
Once it looks like an oil, transfer it into another bowl to start the cooling process.
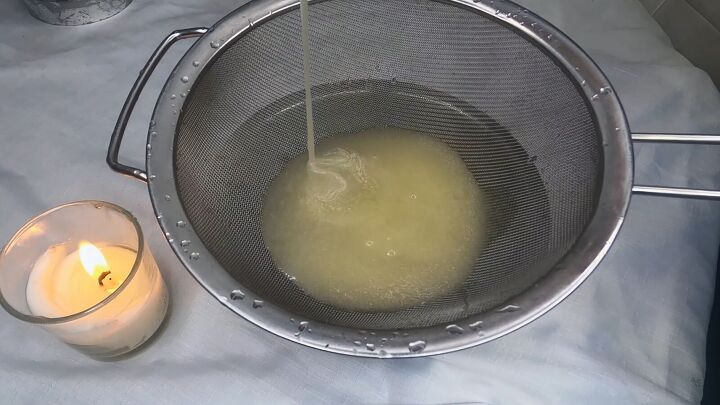
6. Combine all ingredients and strain
You will need to strain the mixture, so you don’t end up with chunks of aloe vera and butter in your hair. The liquid should be nice and smooth.
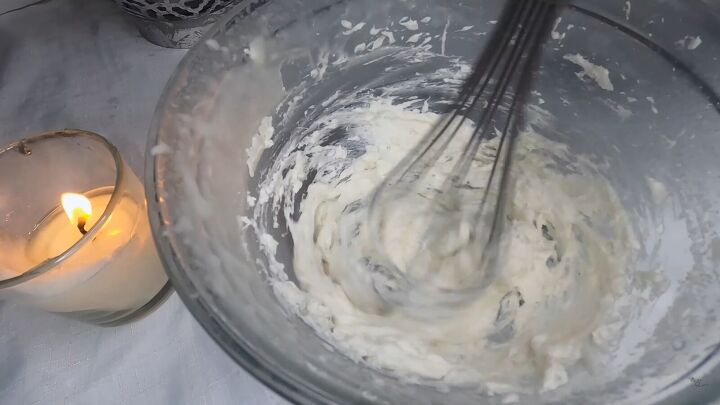
7. Whisk
Whisk on high until it goes from translucent to opaque. This could take anywhere from five to ten minutes on high.
Once it looks fluffy, like whipped cream, transfer it quickly into the container that you're going to store it in before it has a chance to harden.

Use an airtight jar to give it a longer shelf life. The cream will be good for seven to fourteen days in the fridge.
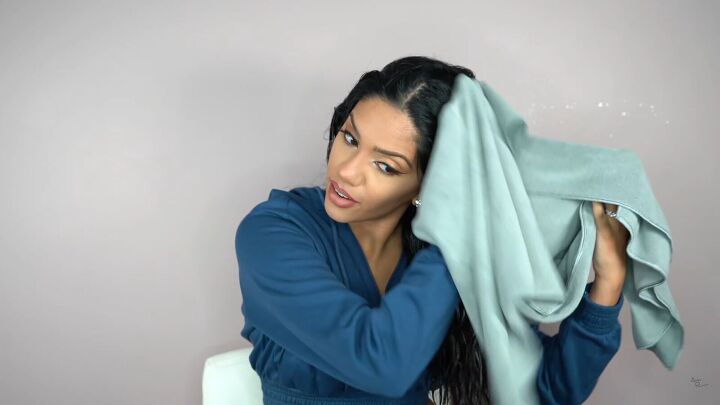
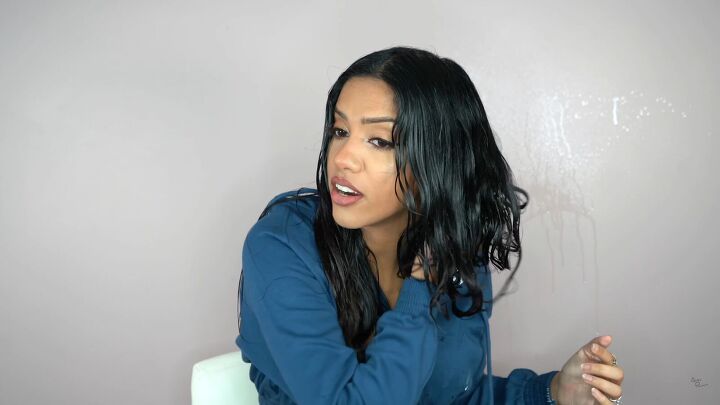
8. Wet your hair
Wash your hair and use a microfiber towel or a cotton t-shirt to remove any excess water.
Your hair should still be very wet when you apply the cream.
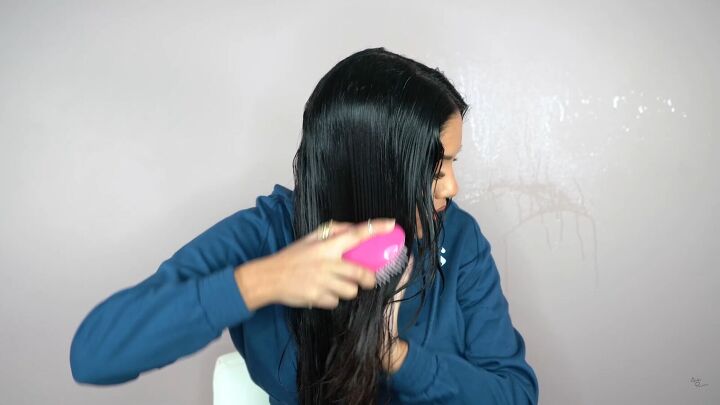
9. Detangle
Brush your hair to get out all the tangles. If your hair is not so wet, add some water to it before you start styling.
10. Begin applying the cream
A little goes a long way with this cream so start with a small amount and add more if you need.
Rub it into your hands and start applying it at the bottom of your hair.
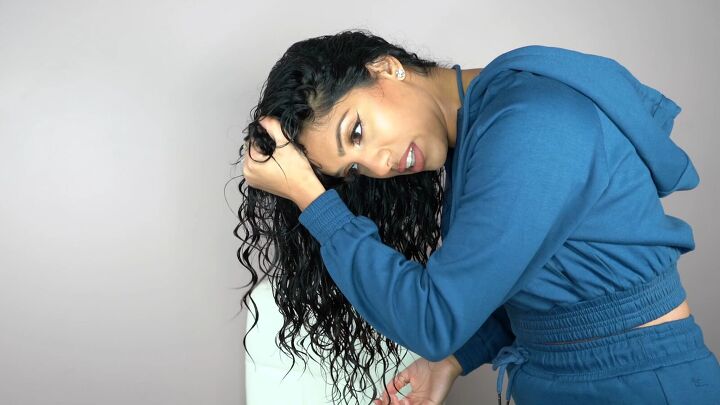
11. Squeeze and scrunch your hair
Grab each section and squeeze it tight. That's what's going to give you that definition in your curls, so take your time.
Make sure your hair is still nice and wet. You really want to saturate your hair when curling it.
Tilt your head in every direction to apply the product thoroughly.
Getting the product in your hair correctly is a key factor in making sure your curls come out nice. If you're finding your hair starting to dry, grab a water bottle and spray those areas.
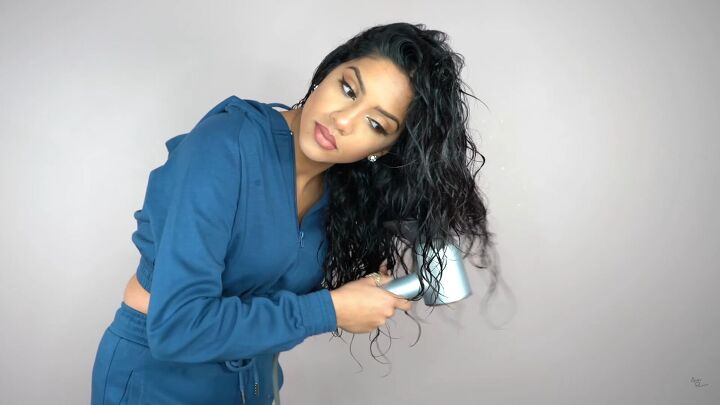
12. Diffuse
Diffuse your hair starting at the bottom and work your way up. Blast your blow dryer on high heat and high air.
You only want to dry your hair about 50% to 80%, depending on how frizzy your hair gets. When you start seeing frizz, stop blow-drying and let the rest of your hair dry naturally.
Tilt your head to the side and start diffusing at the ends of your hair, working your way up to the roots.
Once you get to the top, hold it there for a couple of seconds before you release. Flip your head to do this step in every direction.
Make sure your roots are standing up while doing this to get the maximum amount of volume.
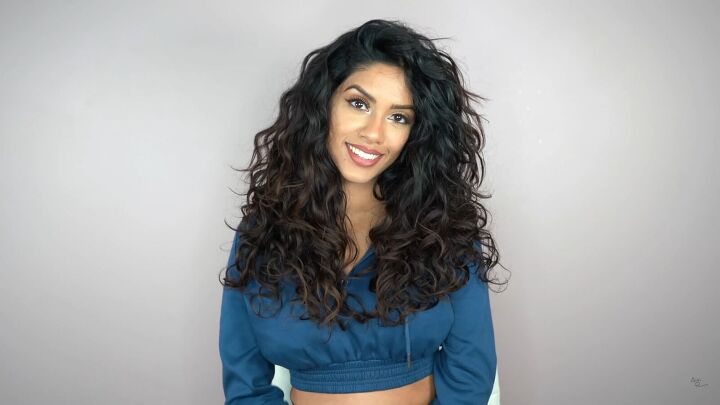
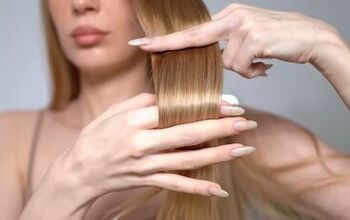
DIY shea butter curl cream
This is what the end results look like!
You can see that the curls are a lot more defined, and they're nice and separated. The curls don't look wet, greasy, or like there's gel in my hair. They look plump, fresh, shiny, and defined. Best of all there's no frizz.
Leave me some love in the comments if you enjoyed this tutorial.
The author may collect a small share of sales from the links on this page.


Comments
Join the conversation