This DIY Tinted Moisturizer is a Quick & Easy Way to Use Up Old Makeup

Today, I’m going to show you how to make DIY tinted moisturizer at home using products you already have lying around.
Due to the pandemic, we’ve all been spending much more time at home and a lot of time on video calls! If you’re working from home, or spending more time at home these days, you probably don’t want to wear a full face of makeup.
On the other hand, you don’t want to look washed out or unprofessional on video calls. One great solution is to wear minimal makeup, such as a tinted moisturizer. So, here’s an easy step-by-step tutorial on how to make a tinted moisturizer at home.
Tools and materials:
- Moisturizer
- Foundation
- Highlighter
- Empty container
- Spoon
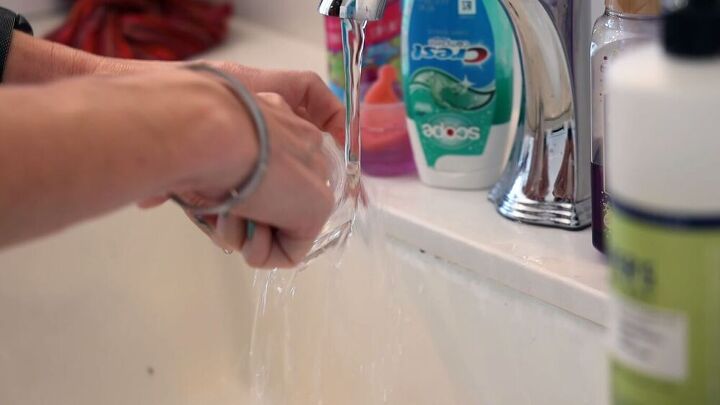
1. Clean out an old container
First, find a container you can keep your tinted moisturizer in. Make sure it’s small and that the top closes well - you don’t want your homemade tinted moisturizer to dry out.
You may have a container lying around or a product that’s come to the end of its life. Wash out the container thoroughly and use it for your new tinted moisturizer.
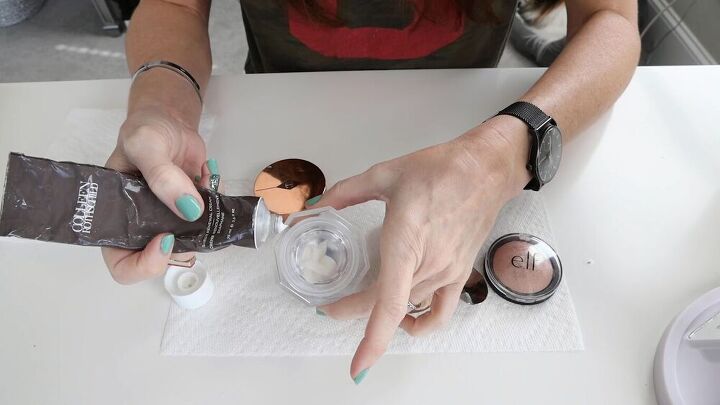
2. Add your moisturizer
Add some moisturizer to the container. Start with a small amount at first, as you need to mix it with foundation, and then adjust as you go.
If you have some old moisturizer or a barely-used product, that’s great. Remember to use a moisturizer that should be used on the face.
Don’t be tempted to use a serum instead. Serums should be applied before moisturizers and they work slightly differently. I wouldn’t advise adding in extra products that may affect the consistency or color of the tinted moisturizer.

3. Add the foundation
Next, add in some foundation. If you have a foundation that’s a little dark on you, or that you tend to use in the summer when your skin is tanned, that’s even better. You’ll be thinning out and sheering out the makeup with moisturizer, so it will come out lighter anyway.
Add the same amount of foundation as you did moisturizer. This will help you figure out which you need more or less of.
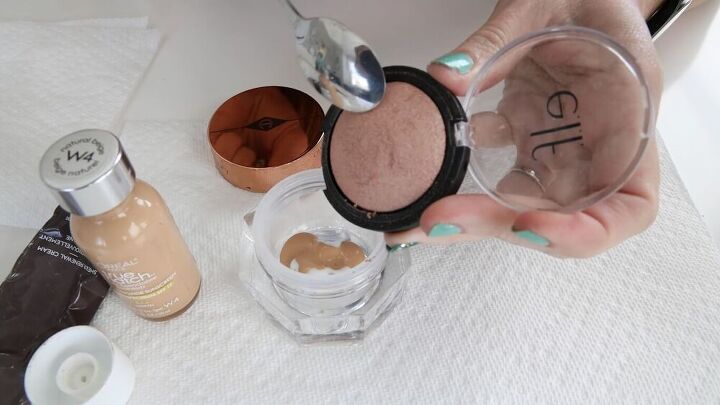
4. Add the highlighter
Highlighter gives the tinted moisturizer a glow and turns it into an illuminating product.
My highlighter is a sheer, neutral color, which is perfect for this DIY. You don’t want anything too dark or colorful. It’s a powder, so I just gently scraped off a little with my spoon. You don’t need a lot.
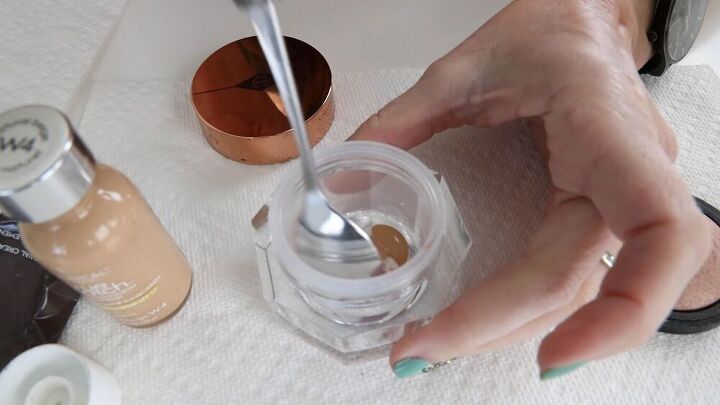
5. Mix everything together
Mix all the products together with a small spoon.
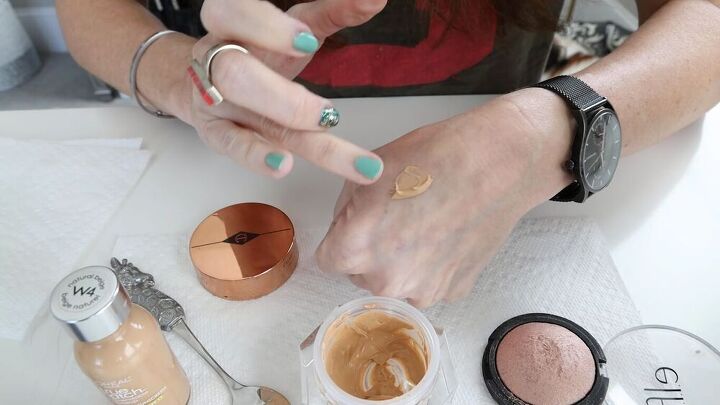
Test the tinted moisturizer on your skin to check for color and consistency. Adjust the amounts as necessary and mix again.
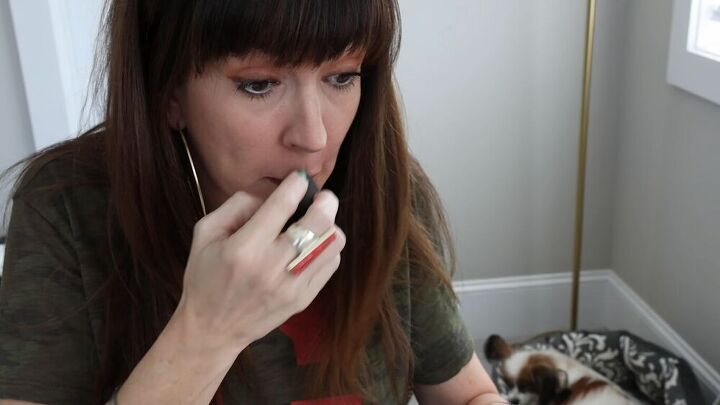
6. Apply your tinted moisturizer
Now that your DIY tinted moisturizer is ready for use, apply it how you wish. You can use your fingers or a sponge.
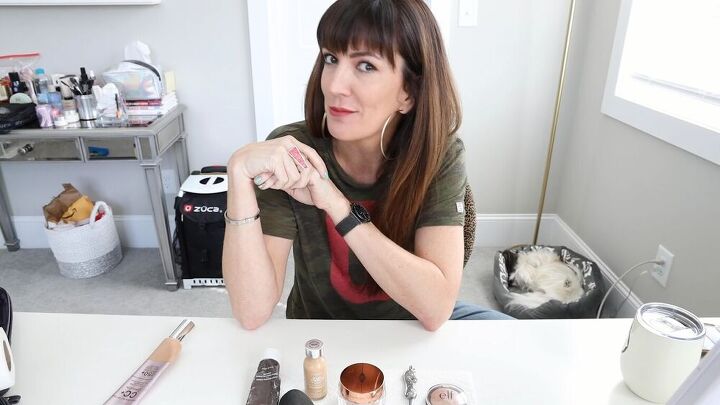
DIY tinted moisturizer tutorial
It’s that simple! I’m wearing my homemade tinted moisturizer right now. Although it may give me the same flawless skin as full foundation coverage or concealer, I feel like it looks better than it would if I went bare-faced… especially on camera!
Let me know what you think of this tutorial and whether you’re going to try out making your own DIY tinted moisturizer at home.
The author may collect a small share of sales from the links on this page.


Comments
Join the conversation
i can do this!
I have been doing this for a few years, I also put sunscreen in mine. To prevent skin CA.