You’ll Love the Feel of This Magical Fit and Flare Dress!

Want to add a fit and flare dress to your collection? This timeless fashion piece never gets old and is the ultimate dress for any fashion enthusiast. It can be worn elegantly or even casually! That’s the beauty of this DIY fit and flare dress- it’s unbelievably versatile. If you want to know how to sew a fit and flare dress, then you’ve come to the right place. Join us as we take you through each step to achieve this amazing dress style.
Tools and materials:
- 1.5-2 yards fabric
- Fusible stay tape
- Matching thread
- Measuring tape
- Pins
- Scissors
- Pattern- get it here
- 4-thread serger
- Sewing machine
Cut the pattern pieces
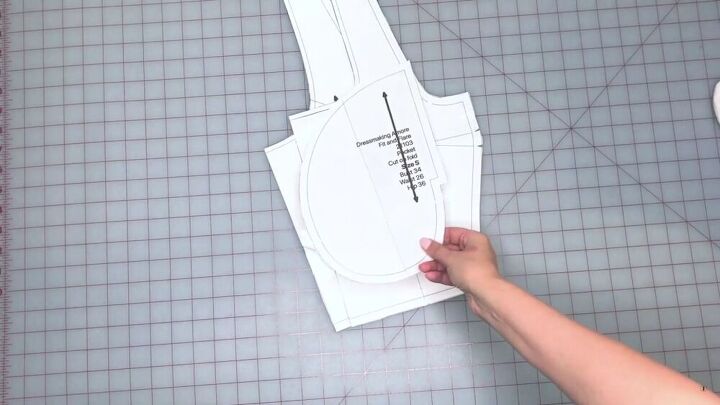
With your pattern pieces, go ahead and cut out each pattern on your desired fabric.
Make the bodice
On the bodice front, pin the bust darts and sew.
Straight stitch the front and back neckline, as well as the armholes.
Layer the front and back bodice pieces right sides together, pin, and sew the shoulder seams as shown.
Then, press the shoulder seams facing the back.
Serge the neckline and armhole edge.
Fold the serged edge to the wrong side and pin it around the neckline and the armhole. Pinning around the neckline helps evenly distribute the neckline without it twisting.
Press the folds before topstitching the edges of the fold. Afterward, press the seams again.
Pin the side seams of the bodice and sew. Press the seams when you're done.
TIP-
Hide the serge allowances by pulling them through and under the stitches.
Apply fusible stay tape
Put a strip of fusible stay tape to the skirt pocket openings. The tape should lay about ½ an inch over the mark on both ends of the pocket opening. Press it down to ensure it stays in place and repeat on the other side.
Sew the skirt
Place the two back pieces of the skirt together, pin, sew the center seam, and press the seams.
Place the pocket piece to the skirt's pocket opening, matching the notches accordingly, and pin.
Sew the pocket linings to the skirt and serge the edge.
Next, understitch the pocket lining so that it helps to keep the seam allowance in place.
Now, pin and sew the side seams of the front and back pieces, matching the edges of the pockets. When you're done, serge the edges.
Press the side seams towards the front.
Also, reinforce the pocket opening.
Assemble the DIY fit and flare dress
Mark the center front of and back of the skirt and mark the center front of the bodice.
Place the bodice inside the skirt, right sides together, matching the side seams and the center marks.
Then, sew the waistline in place and then serge the edges.
TIP-
Make sure your thread is stretchy; the seam shouldn't pop!
Finally, try on your fit and flare dress and check the length. If you're happy with the length, go ahead and hem the skirt by firstly serging the skirt's edge.
Then fold the serged edge to the wrong side and stitch.
Give your dress a finishing press.
So, if you wanted to know how to sew a fit and flare dress, then now you do! Wasn't that fun and easy? The process and the pattern combined to give this lovely fit and flare dress a professional touch. It's such a youthful and beautiful dress with a simple design. Thanks for watching, and I hope you enjoyed this fit and flare dress tutorial.
Enjoyed the project?
Suggested materials:
- Fabric
- Fusible stay tape
- Matching thread
- Measuring tape
- Pins
- Scissors
- Pattern (https://www.etsy.com/listing/1000842836/pdf-sewing-pattern-square-neck)
- 4-thread serger
- Sewing machine
The author may collect a small share of sales from the links on this page.


Comments
Join the conversation