Make Your Own Canvas Bucket Bag With a Fun Drawstring Insert

Bucket bags are so useful and versatile. They’re great for a weekend getaway or a fun day at the beach. I wanted to create my own bucket bag and I decided to add a fun pop of color with a drawstring insert that can be removed if needed. This gives you two bags for the price of one! I have a video with everything you need to make the pattern for this bag HERE https://www.youtube.com/watch?v=Hu4-3K6B_zI . Once you’ve watched that one, follow along here to learn how to put it all together!
Tools and Materials:
- Canvas (I used two colors, a plain canvas color and a navy color)
- Bucket bag pattern
- Weights (I use rocks)
- Scissors
- Sewing Machine
- Chalk (or whatever you use to mark your patterns)
- 2 D rings
- Clasp
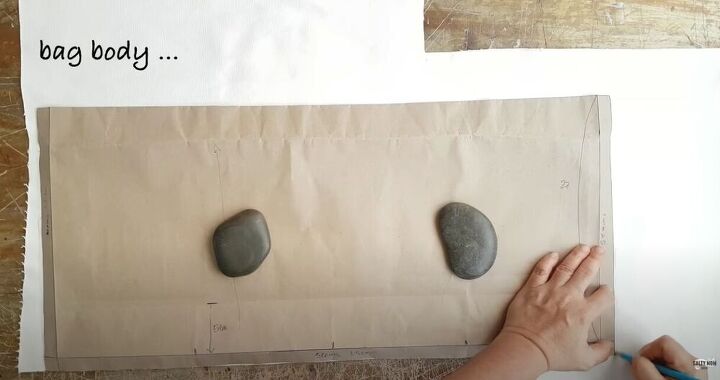
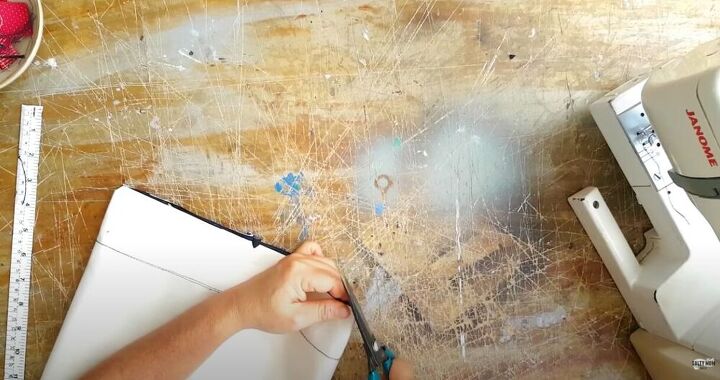
To get started I cut out the pattern for my bucket bag.
Don’t forget to leave room for a seam allowance as well.
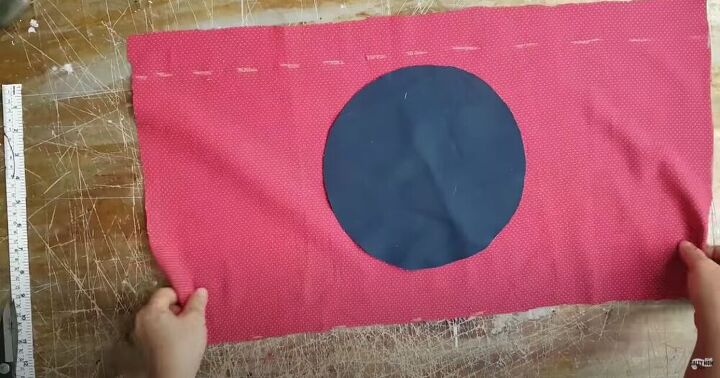
I traced the pattern for the body of the bag onto the blue canvas fabric. Once I had traced all of my pieces I cut them out.
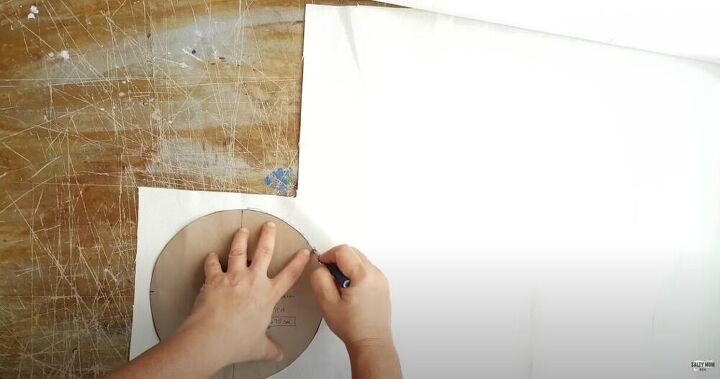
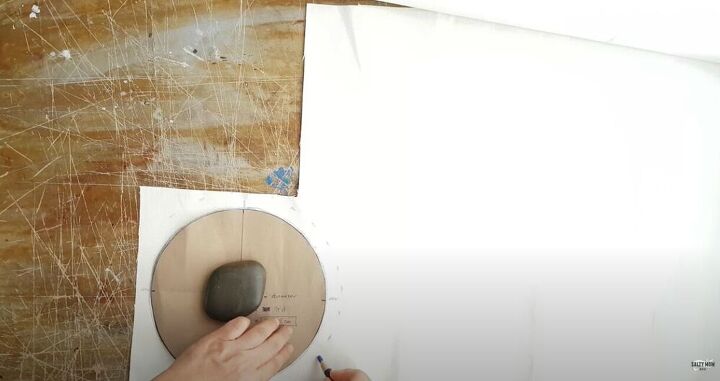
I pinned the two pieces of the bottom of the bucket bag together.
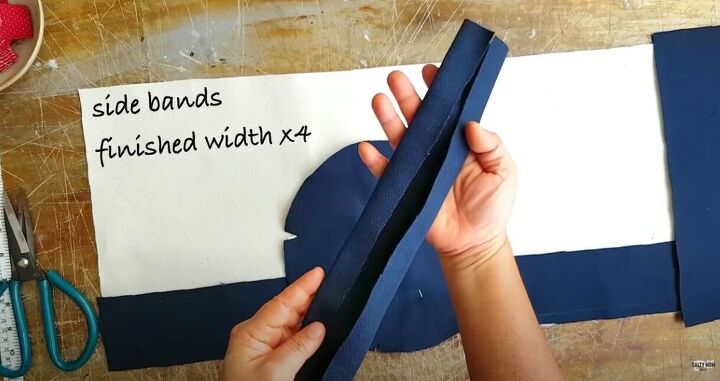
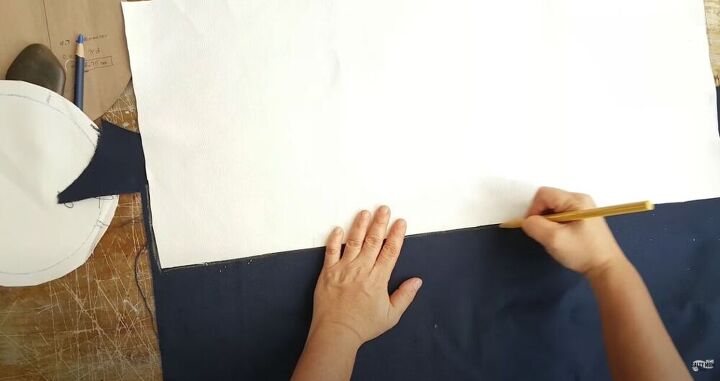
I also cut out the pieces for the side bands of the bag. They needed to be four times the width I wanted, as I would be folding them over themselves twice.
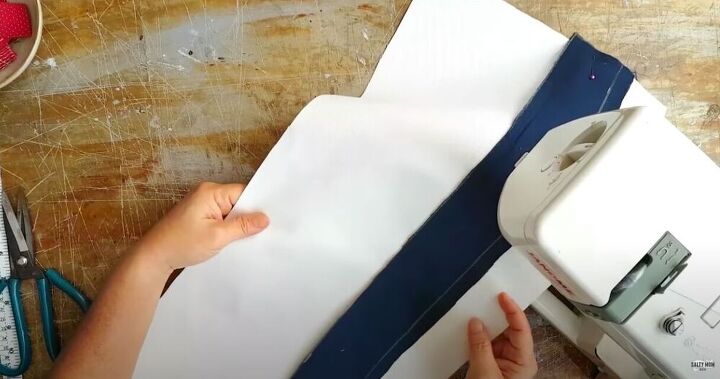
Next, I started sewing the pieces together. I sewed the border onto the body of the bag.
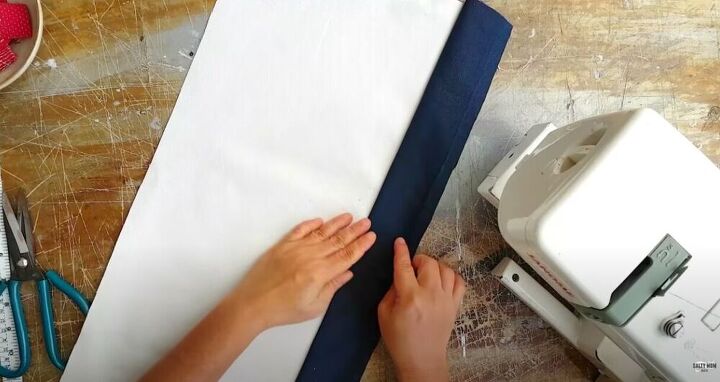
Then I folded the border down and added a top stitch along the folded edge to hold it in place. I added a zig zag stitch along the raw side edges of the fabric to prevent any fraying.
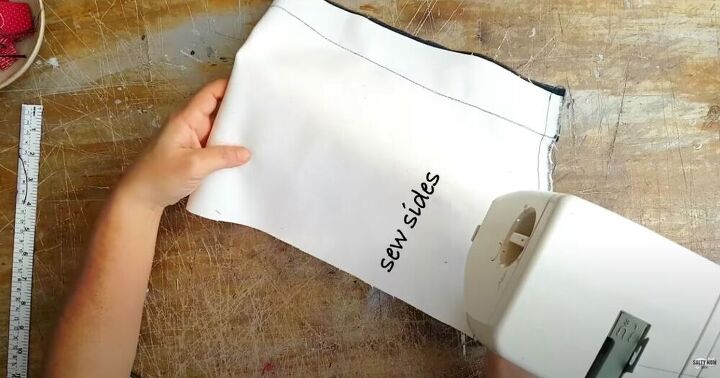
Next, I folded the fabric over itself and sewed the sides together.
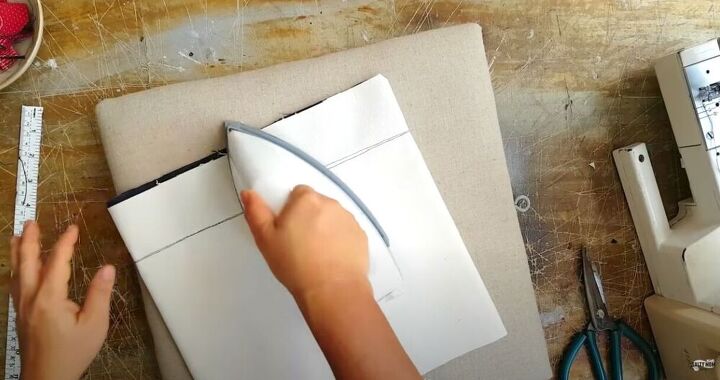
I cut the tips off of the corners of the bottom of the bag. This would allow me to easily line it up evenly with the base later, which also had the same notches.
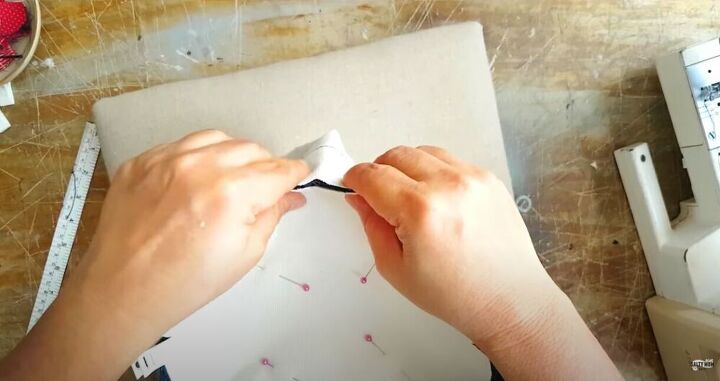
Then I ironed the body of the bag to make the inner hem lie flat and removed a bit of it to lessen the bulk.
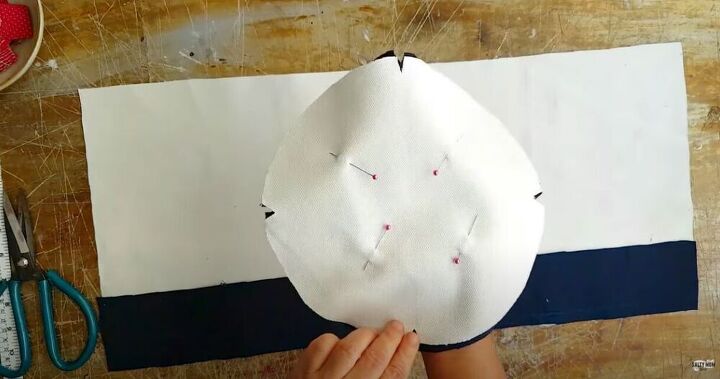
I lined up the notches on the body to the notches on the base of the bag and clipped them together.
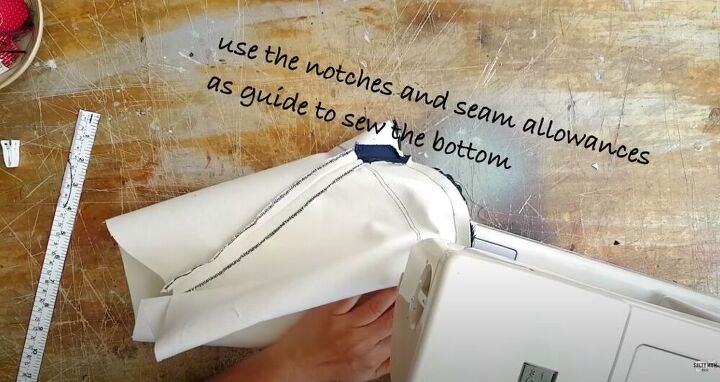
Then I sewed them together using the seam allowance marks as a guide.
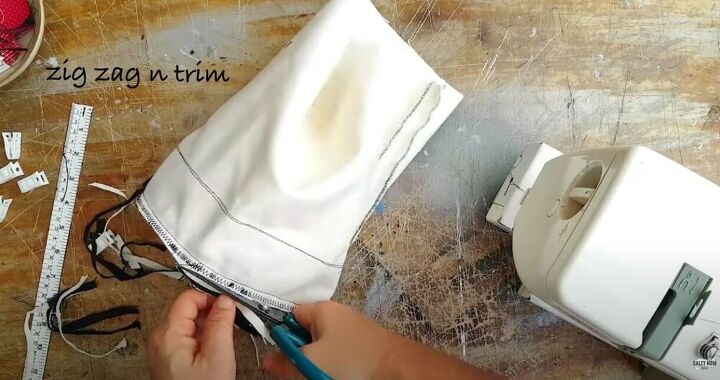
Next, I added a zig zag stitch to the bottom of the bag and trimmed away any excess material.
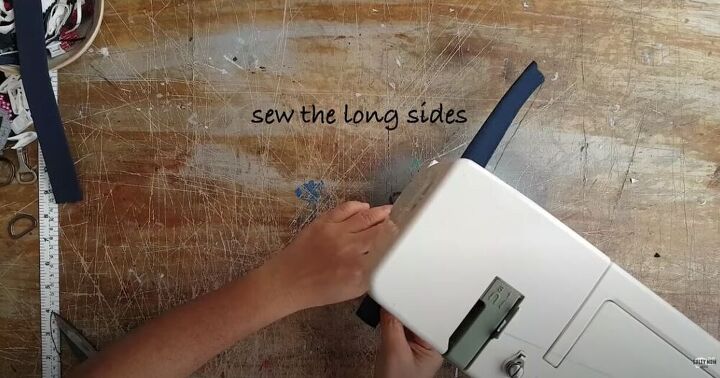
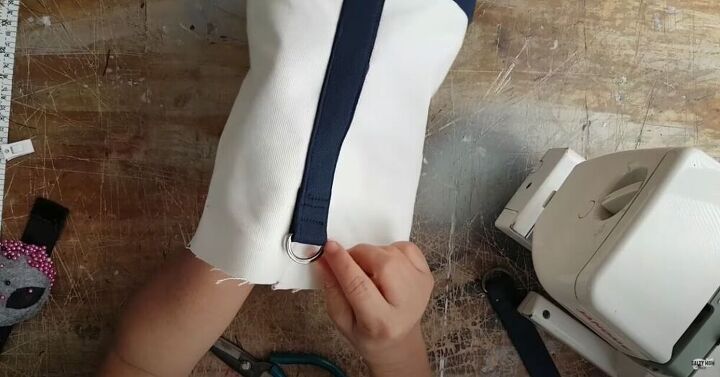
I folded the straps over twice and sewed the long sides. I repeated this with the second strap.
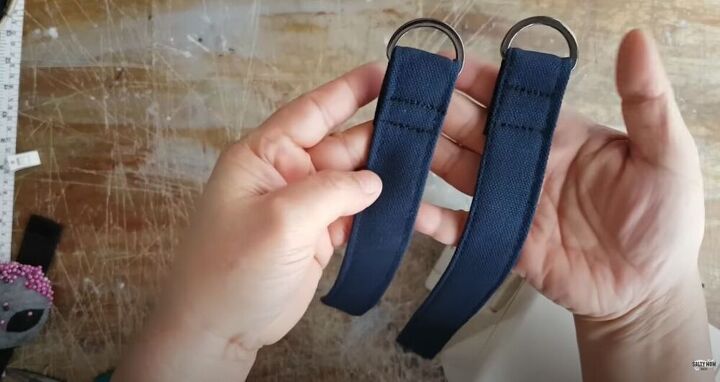
Then I slipped the end of one of the straps through the D ring and folded it over the flat side and sewed it down. I did this with the other strap as well.
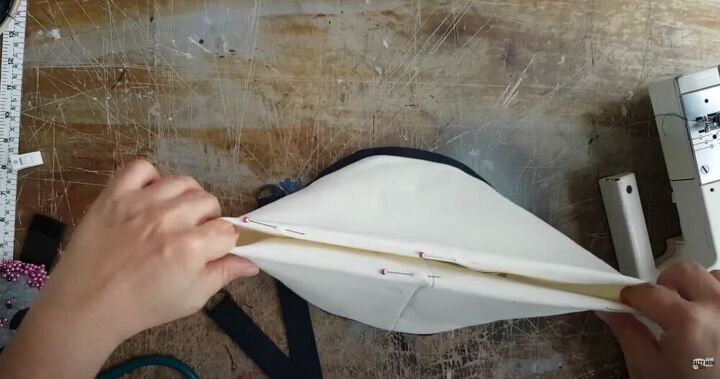
Next, I folded over the top of the bag so that it was at the height that I wanted it to be in the end.
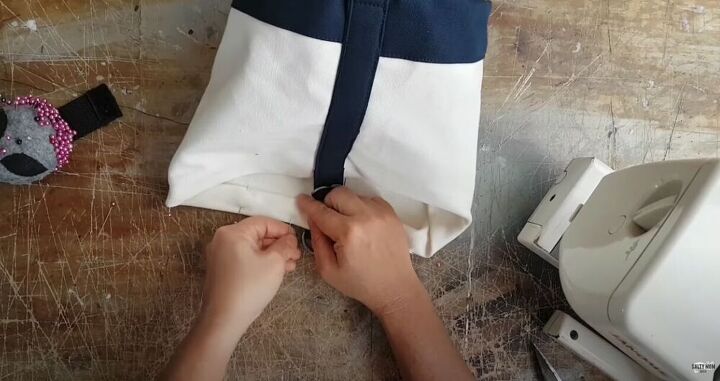
I pinned the straps with the D ring sitting right at the top of the bag. I folded the excess strap under itself at the bottom and opened the top of the bag. It’s important to remember to open the top part that you folded over because you don’t want to accidentally sew it down with the strap here. Then I sewed them down and added a rectangle of stitching at the top to make sure that they were secure.
If you want you can line the bag at this point, but I chose not to. I folded the top of the bag over on itself twice and sewed it down. I also cut out a bit of fabric at the center seam to remove some of the bulk.
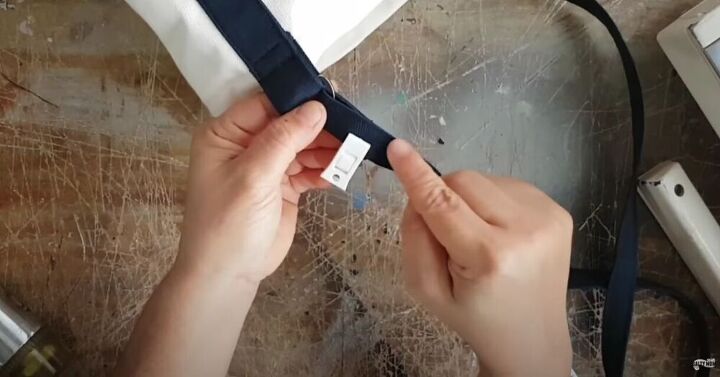
Then I sewed the clip onto one end of the long strap and sewed the other end onto the D ring on the other side of the bag.
I cut out the pattern piece for the drawstring insert.
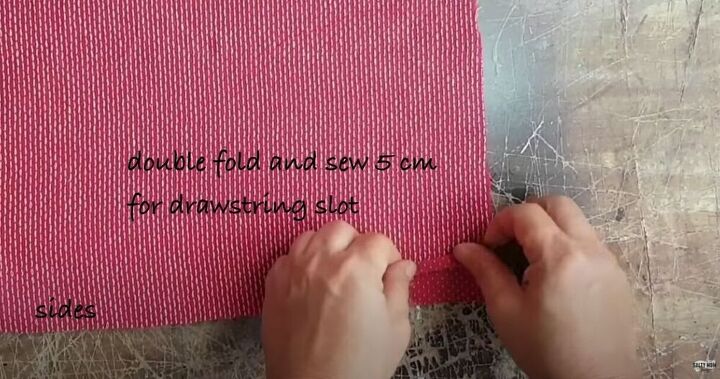
Then I double folded the top 5 centimeters of the fabric for where I would be inserting the drawstring.
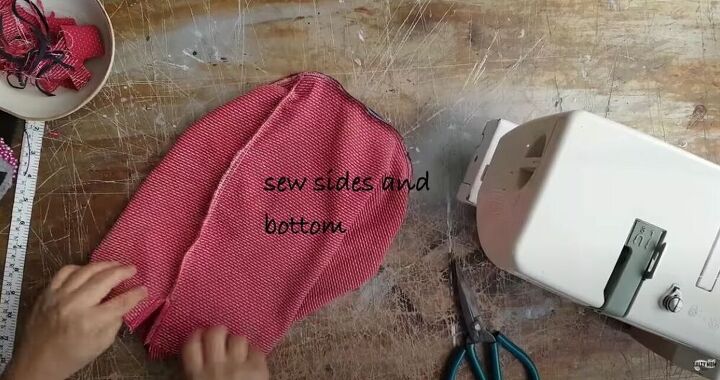
I sewed the sides together and sewed the bottom onto the base I had cut earlier.
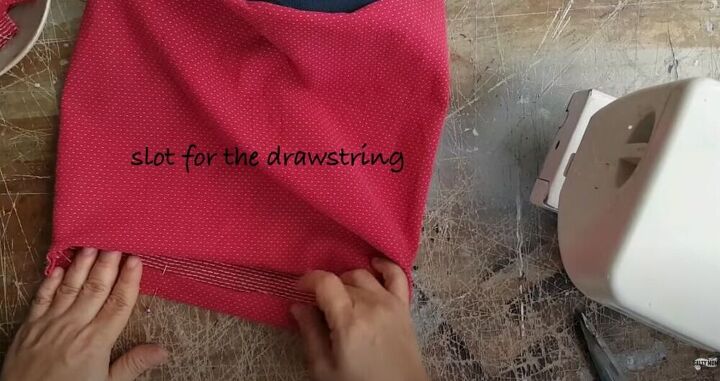
Then I inverted the bag, folded the top down into the bag to create a slot for the drawstring, and sewed it in place.
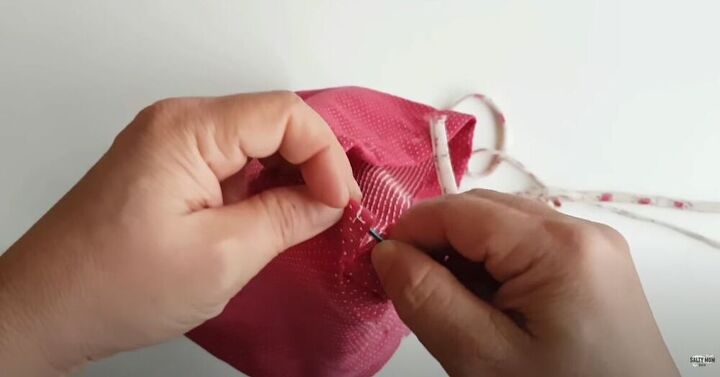
I attached a bobby pin to the end of the drawstring and pushed it through the hole I had just created. Then I added knots at the end so that it wouldn’t slip back through the hole.
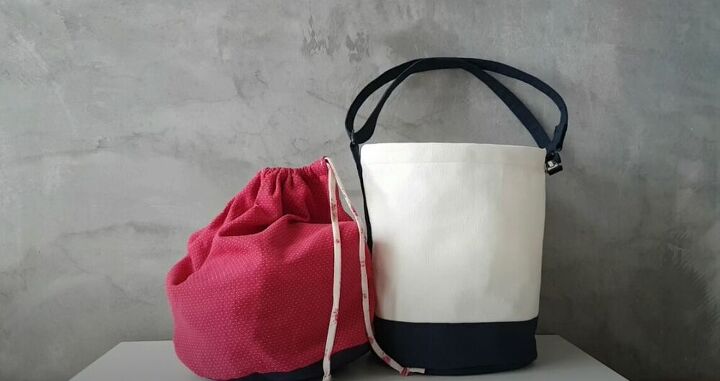
Now all I had to do was slip the drawstring bag inside the bucket bag and I was good to go! What would you fill your bucket bag with? Let me know in the comments below!
The author may collect a small share of sales from the links on this page.


Comments
Join the conversation