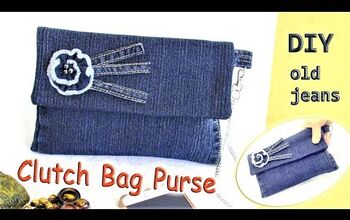
DIY Purse From Old Jeans Tutorial

In this simple sewing tutorial for beginners, I will show you how to make a crossbody bag out of old jeans. You’ll love this creative DIY purse because it is just the right size to carry your essentials, without being bulky. And you’ll love this tutorial, because it’s super easy and fun.
Tools and materials:
- Old jeans
- Scrap fabric
- Scissors
- Fabric chalk
- Strap, rope or cord
- Magnetic bag clasp or Velcro closer
- Thread
- Sewing machine
1. Cut up your jeans
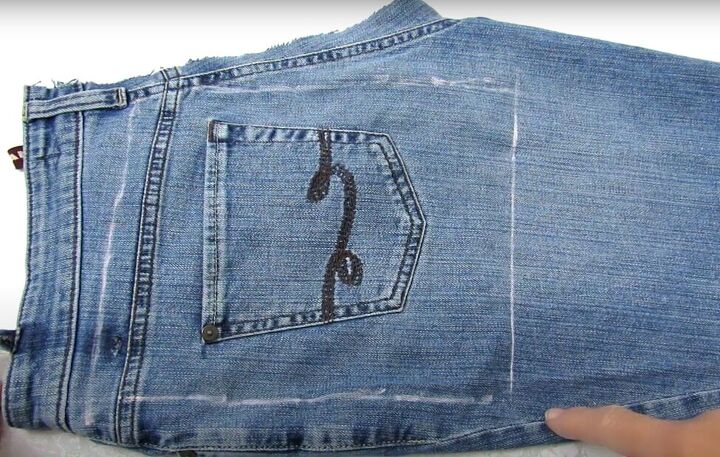
Cut one pant leg off your jeans and lay it flat on your work surface with the back pocket facing up.
Then chalk in a square, the size you want your denim bag to be, on the top part of your jeans. Position your square so that the back pocket is in the middle of it.
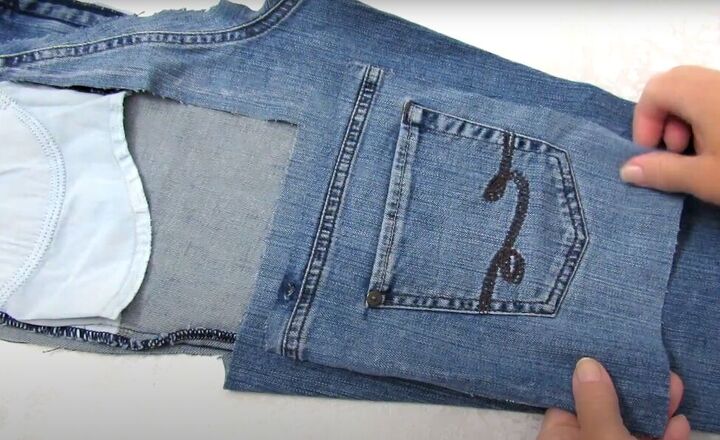
Cut that square out of just one layer of your jeans and lay it back down on your jeans below the cut-out section.
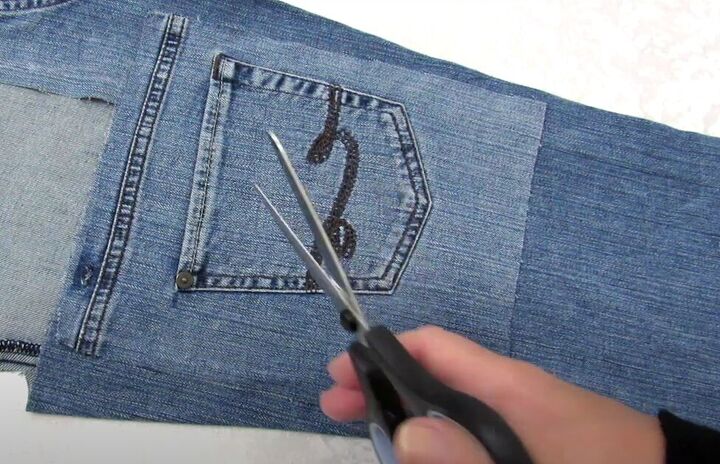
Use it as a template to cut out a matching square, again from just one layer of your jeans.
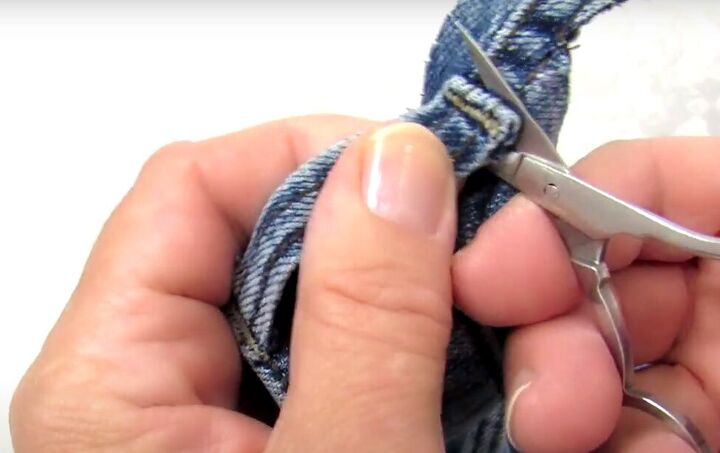
Use a small pair of scissors to cut two belt loops off of the jeans.
2. Make lining
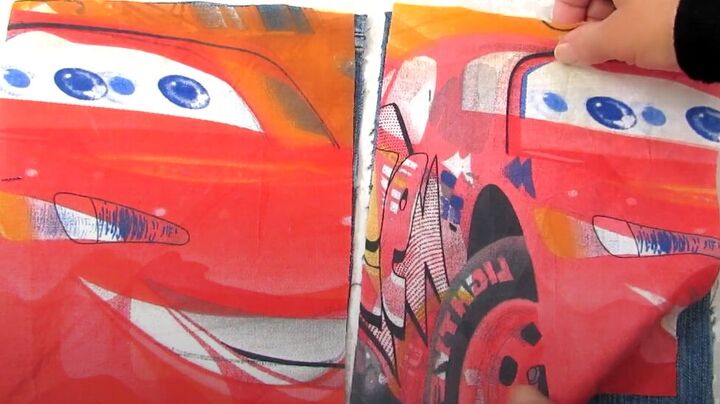
With any fabric you choose for your lining, cut out two squares the same size as your denim squares.
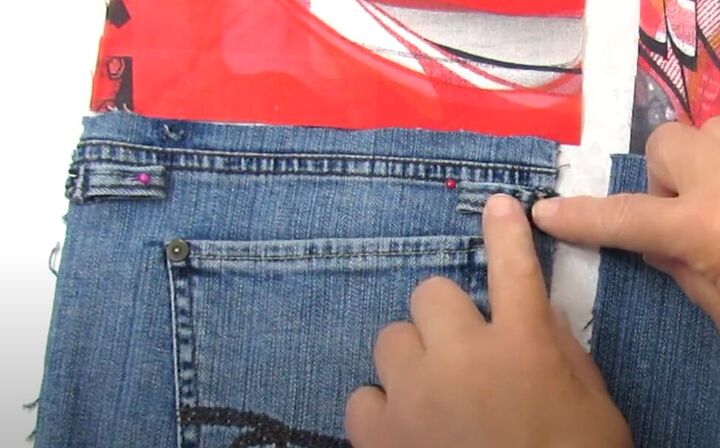
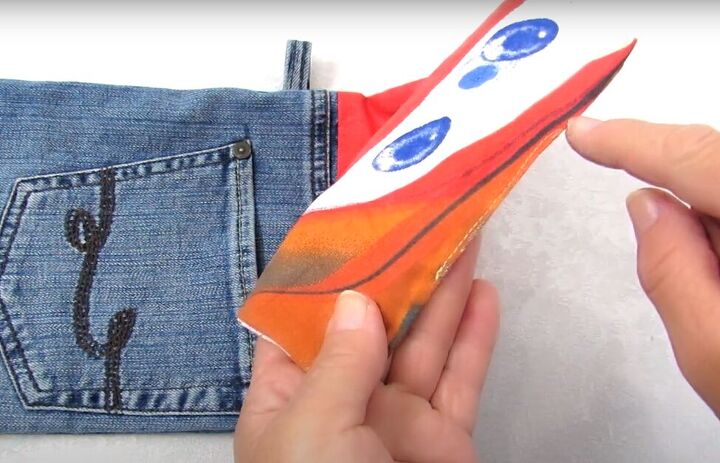
3. Attach the belt loops
Fold each of the belt loops in half lengthwise, with the wrong side facing in.
Pin the lips to the outside edges of your denim square with the pocket in the middle.
Place the loops about an inch below the top edge of the square, with the folded end of the loop facing toward the center of the square.
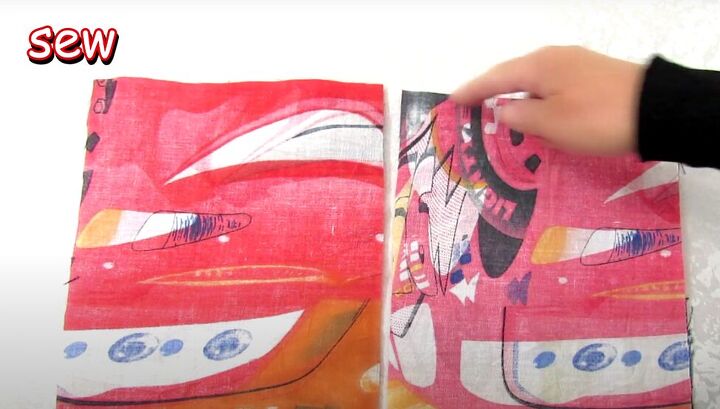
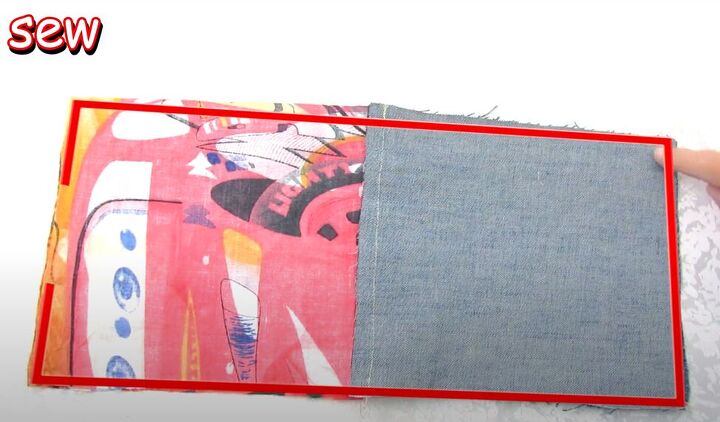
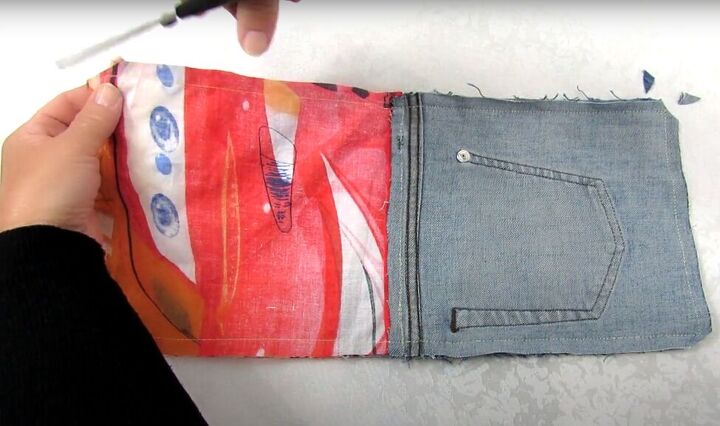
4. Sew in the lining
With right sides together, place each lining piece on top of its matching denim piece. And sew them in place along the top edge.
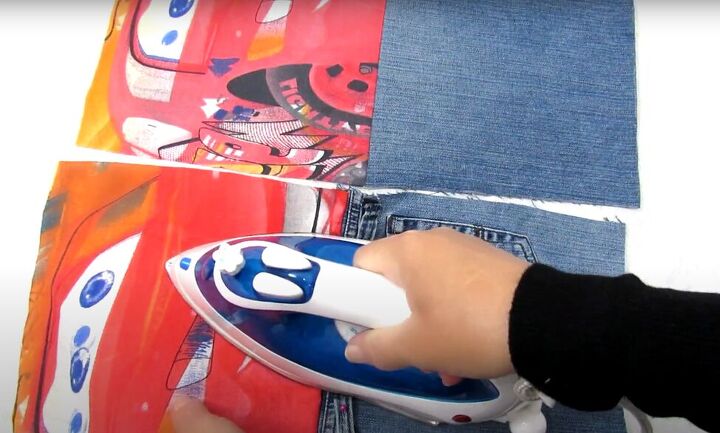
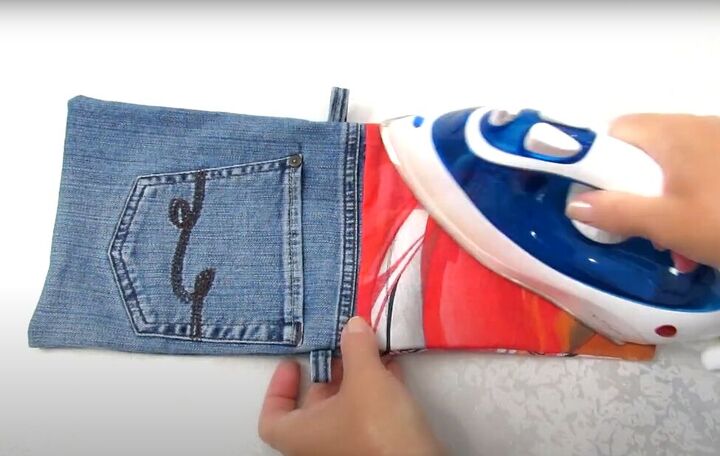
Open both pieces of your bag and iron the top seam flat on the right side.
5. Sew your bag together
Now place both pieces of your bag together, with the right sides facing in, and sew all four sides, leaving a small 6-centimeter (2.4-inch) opening on the short lining end, to turn your bag right-side out.
Snip all four corners in the seam allowance to reduce bulk in the corners of your bag.
Turn your bag right-side out by pulling it through the opening. Then use a ruler or the end of your scissors to carefully push out the corners so they are nice and flat.
Iron the whole bag.
Turn in the edges of the opening and sew it closed with a top stitch as close to the edge as you can get.
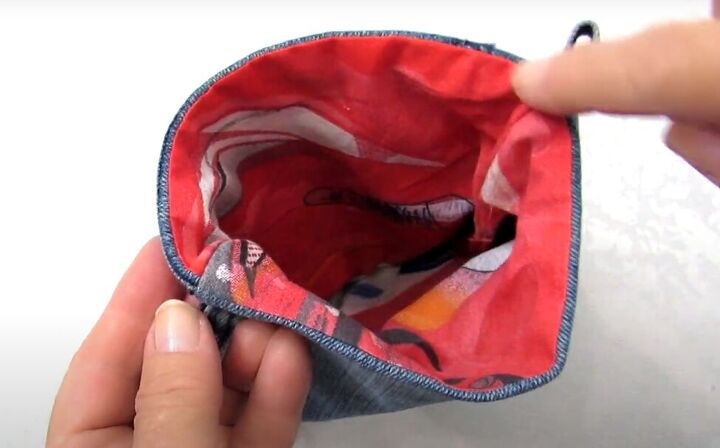
6. Finish the lining
Push the lining to the inside of the bag and topstitch around the whole top edge of the bag on the inside. Now, your lining will stay in place.
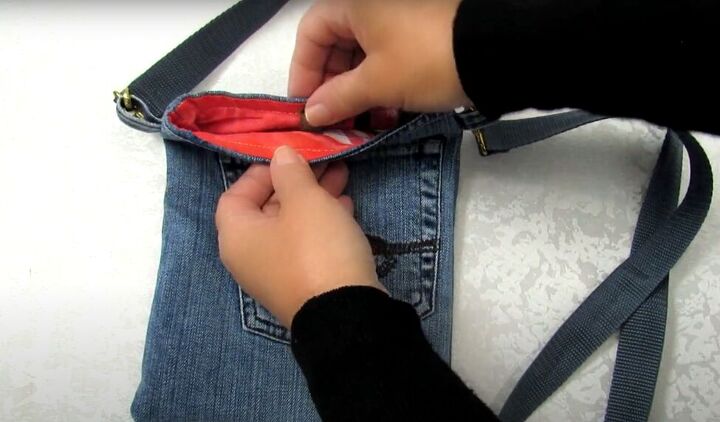
7. Add a crossbody strap and closer
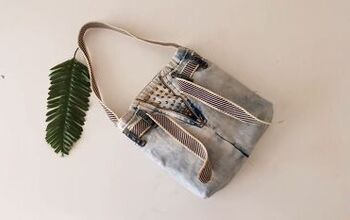
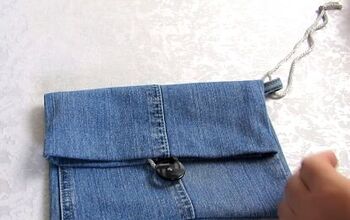
You can use a strap, rope or cord for your crossbody – whichever is your favorite. Attach your strap through the two belt loops at the top edges of your bag.
For a closer on your bag, you can use a magnetic bag clasp or Velcro. Attach one side of the closer on each side of your bag at the top edge, ensuring they align so your bag closes properly.
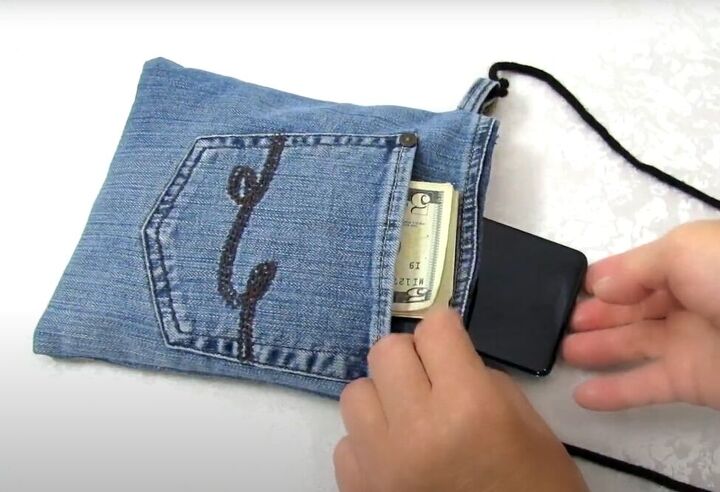
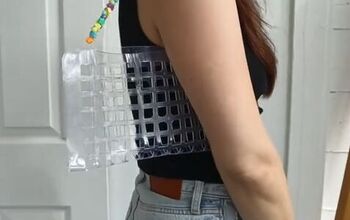
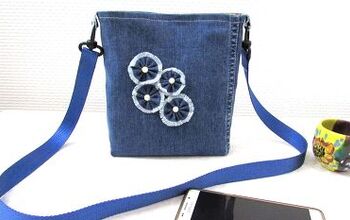
Now you have a small crossbody bag with an inner and outside pocket to hold those essentials you need to take with you everywhere.
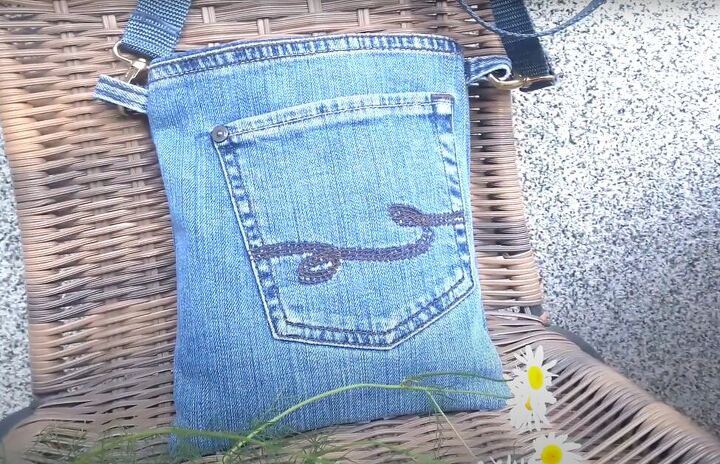
Your new creative crossbody bag made from old jeans looks great and will serve you well!
I hope you try this simple upcycled bag that makes good use of your old jeans, and the scrap fabric that turned into the lining. Please leave a comment to let me know how it turned out.
The author may collect a small share of sales from the links on this page.


Comments
Join the conversation