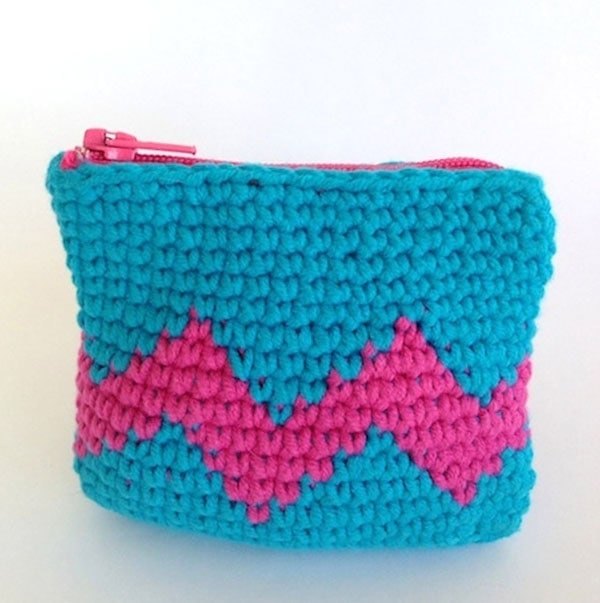
Tapestry Crochet Coin Purse
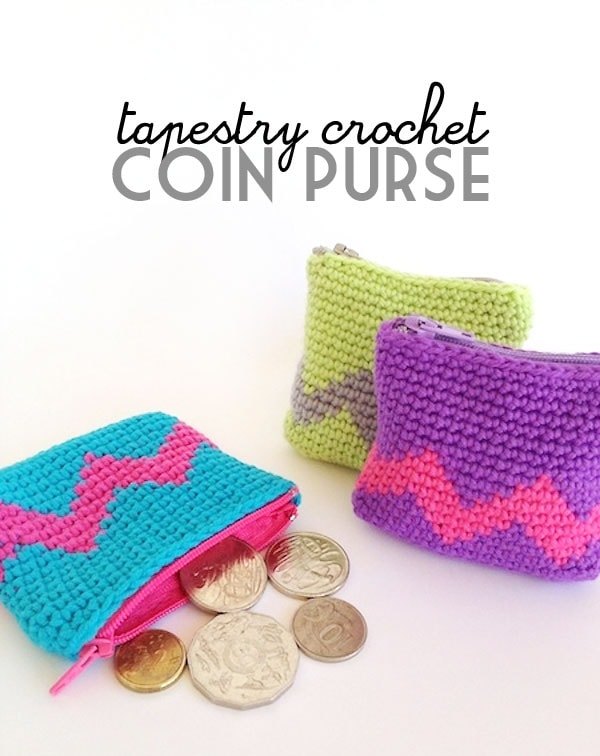
I thought it would be fun to play with Tapestry Crochet.
It really is quite easy to do and brings a whole new world of design possibilities. It works up into a nice firm fabric making it ideal for pouches, bags, bowls or even hats.
To whet your appetite we’ll make a quick little coin purse. Make one or many, they make great little gifts and Christmas is just around the corner. Really! So lets get started…
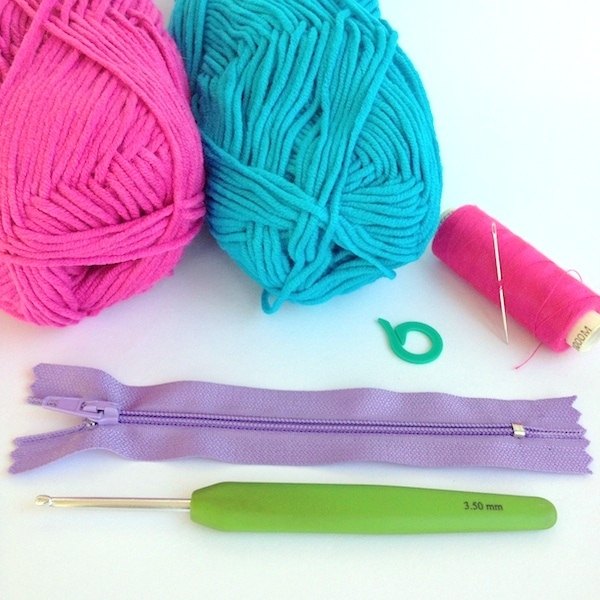
You will need:
3.5mm crochet hook
8 ply cotton in 2 colours
Stitch marker
Zip
Sewing thread & needle
US crochet terms used
Abbreviations:
ch chain
sc single crochet
sl st slip stitch
How to:
Base
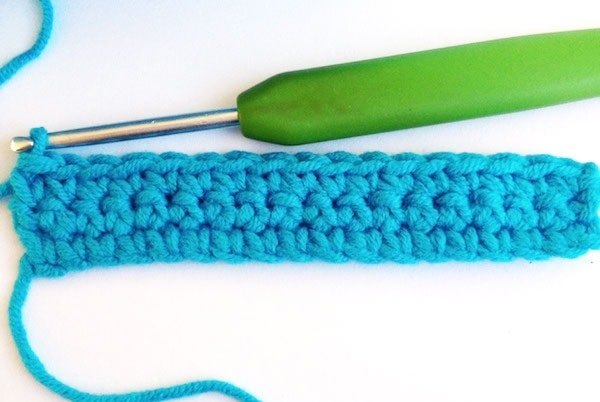
o Row 1: Ch 18, sc into 2nd chain from hook, sc to end, ch 1 turn
o Row 2: Sc 17,ch 1,turn
o Row 3: Sc 17 stop (don’t ch 1 or turn, proceed to next step)
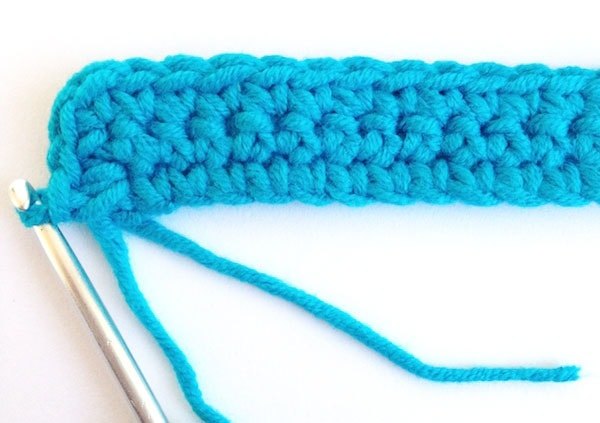
Now we are going to stitch around all sides of the base to prepare forming the sides of the purse….
o Without turning, sc back into same space as last stitch worked
o Working along the left side of the base, 2sc into next space
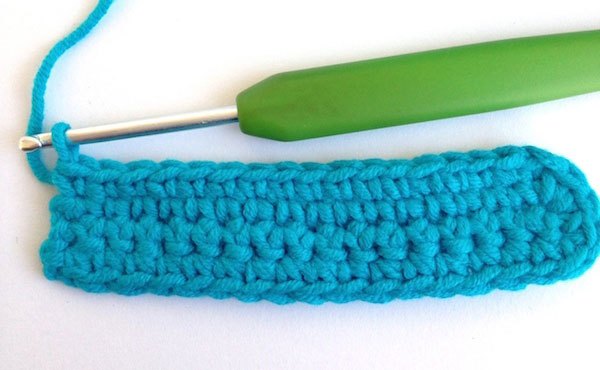
o 17 sc along bottom of foundation chain
o and then back up along the right hand side of the base, sc 1 into last st worked, sc into next 2 spaces (40 sts)
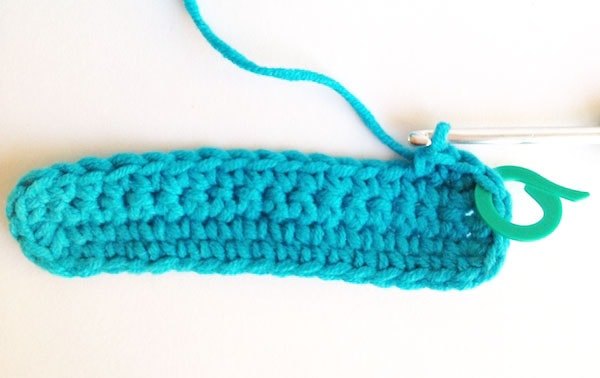
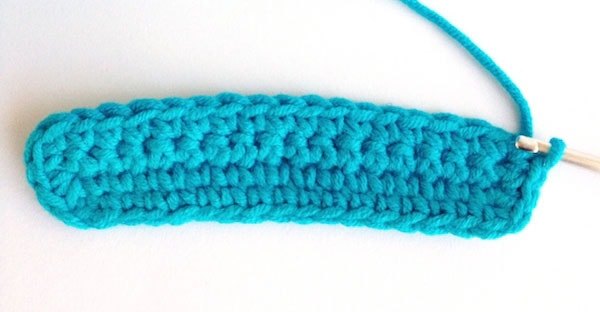
Next we are going to form the sides of the purse and begin working in the round …
o Sc into next st and place a stitch marker into this first stitch, sc to end.
Tapestry Sides
And now the fun Tapestry Crochet part begins. To make the design you simply carry the contrast colour behind your work and crochet over it with the working colour until you are ready to change colours. Here’s how …
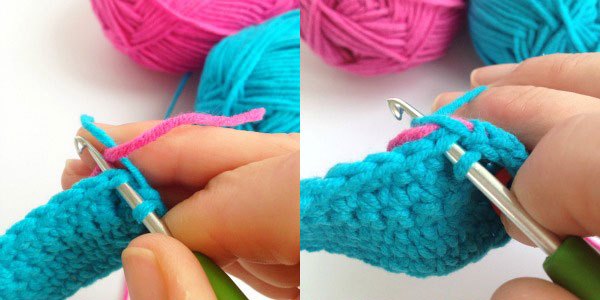
o Join in contrast colour at the start of the row by placing the end over the main colour and then crochet over the top of it to trap it in.
o Continue stitching, carrying the non-working colour behind your work, catching it in as you crochet over the top of it.
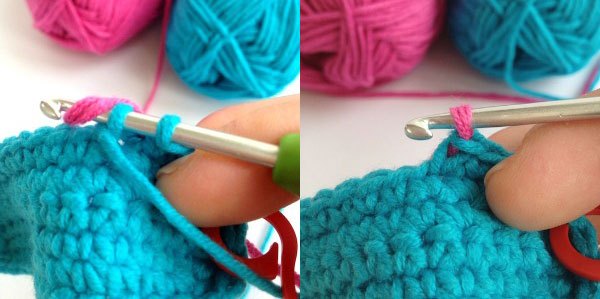
To change colour, leave the last 2 loops of the working colour of the stitch before you want to change, yarn over with new colour and pull loop of new colour through.
o Continue stitching with the new colour as before until the next colour change.
Handy Hint 1 To make a nice clean line when changing colour, flip the old working colour to the front of your work as you make the colour change then back again once the change has been made.
Handy Hint 2 Give the non working yarn a little tug at each colour change to stop it showing through as much.
Handy Hint 3 Use a smaller hook than you normally would. This also helps to hide the carried colour from showing through.
And that’s all there is to it! You are now an expert at tapestry crochet.
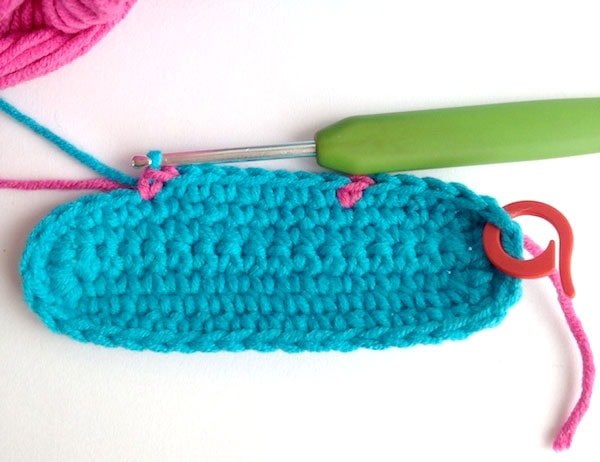
o Work the next 8 rows following the chart below reading from right to left and from bottom to top
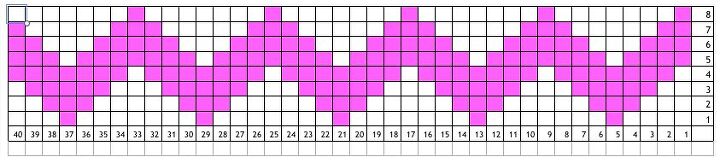
(click pattern image to enlarge)

o Once you’ve finished the chart design, tie off the contrast colour and work another 6 rounds of sc in main colour
o Join with a sl st
o Break off yarn and weave in ends
Finishing
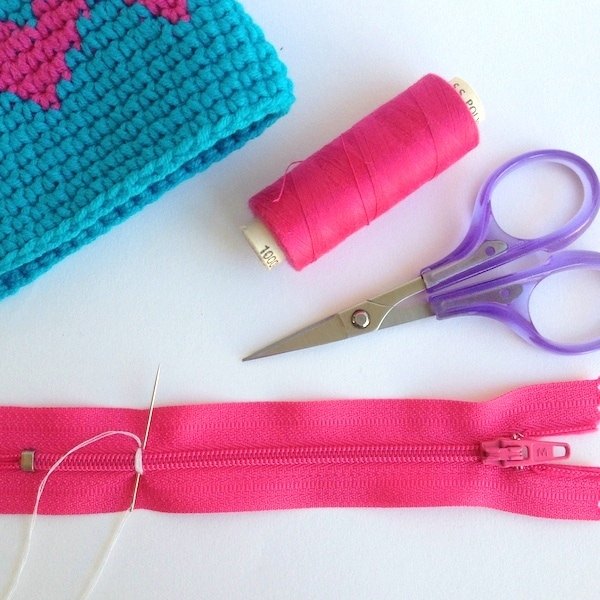
o Hand stitch a zip into top of pouch and you’re done.
Tip: Don’t worry if your zip is too long. To make zip smaller, make a few stitches over the top of the zipper teeth at the length required then trim off excess.
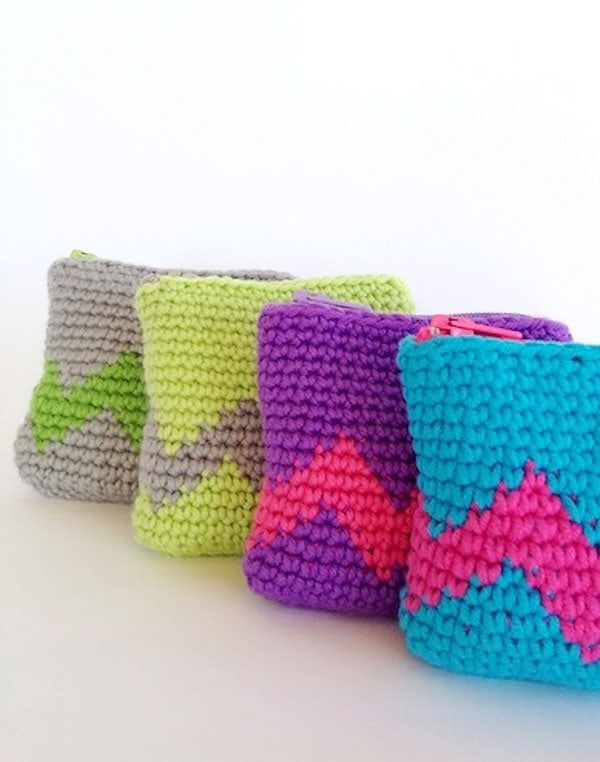
I hope you’ve enjoyed making this little purse and go on to enjoy some more design possibilities.
The author may collect a small share of sales from the links on this page.


Comments
Join the conversation
Already made two. So simple and cute.