How to Apply Press-On Nails With Adhesive Tabs in 7 Simple Steps

Press-on nails are the next best thing! If you want instant long nails and don’t have the budget to go to a beautician, then I really suggest you watch this tutorial on how to apply press-on nails with adhesive tabs. Let’s get started, and I can’t wait to show you how amazing these look!
Tools and materials:
- Press on nails kit with adhesives
- Acetone
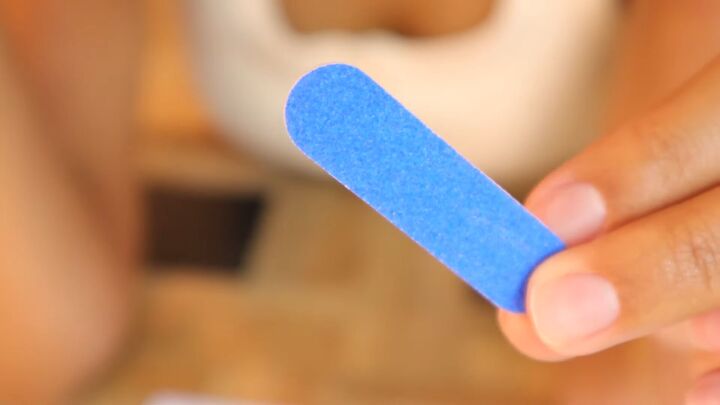
- Nail file
I used a press-on nail kit by Oohmynails, but you can use whatever works for you - the technique is the same.
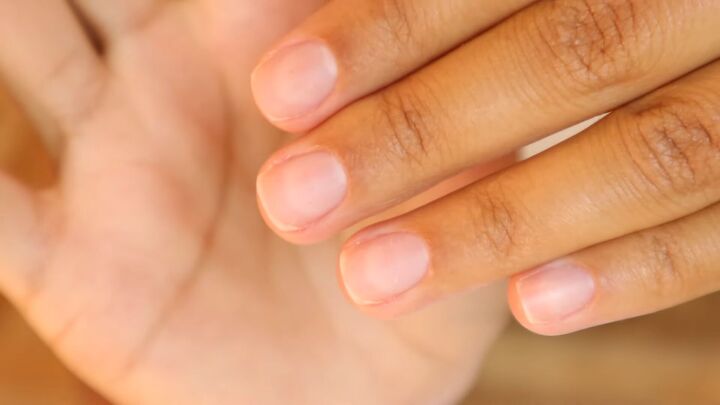
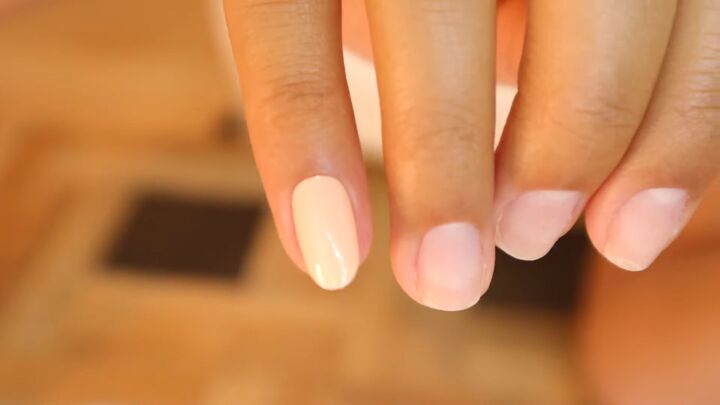
1. Prep your nails
First thing’s first, go ahead and prep your nails. Clean the cuticles, file them down, and make sure they are ready for the next step!
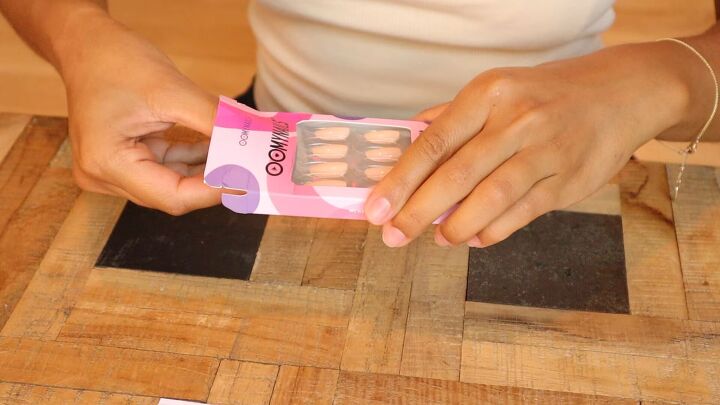
2. Press-on nails kit
I prefer using an inexpensive kit that doesn’t come with annoying glue, and I much prefer using press-on nails adhesive tabs. Glue is just super messy and really frustrating to use.
The kit should come with adhesive stickers, alcohol wipes, wooden stick, nail file, and everything else that you’ll be needing to make your nails look on fleek!

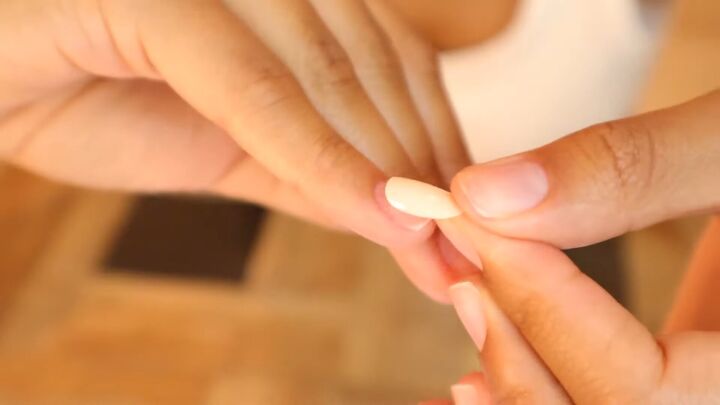
3. Try on the nails
Your nails should sit snug on your nail bed. I don’t like them looking too big, because then they don’t look natural. So, try on a few nails from the nail kit and see what fits you best.
4. Clean your nails
The next step is to clean your nails. Even though you prepped them, it’s always good to make sure they are spotless with no oily texture! Your nails need to be clean so that the adhesive tabs stick properly. So, with an alcohol wipe, go over each nail bed thoroughly.
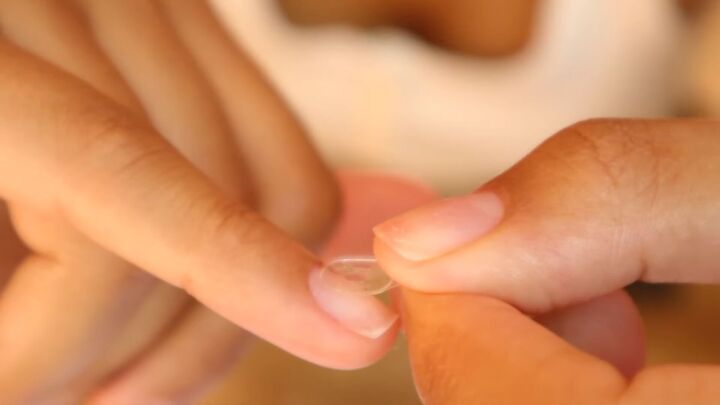
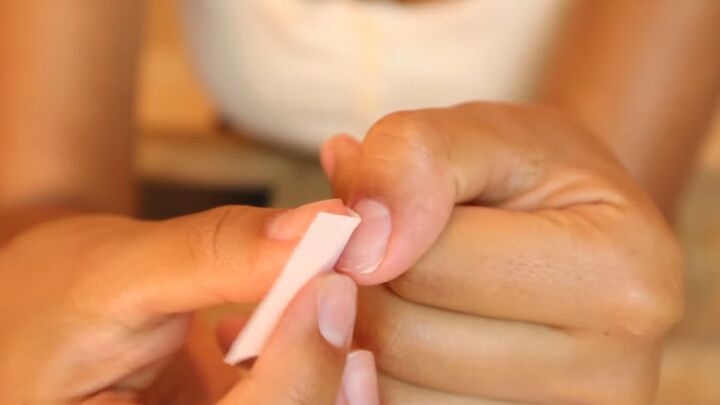
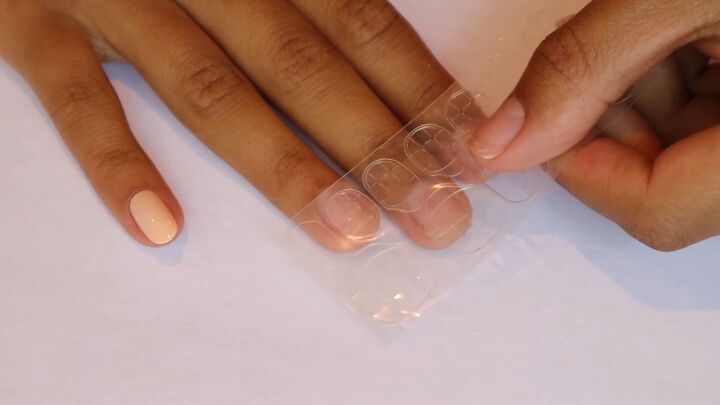
5. Add the adhesive
Choose the best-sized adhesive for your nail bed. Next, peel it out from the pack, and stick it on your nail bed. Be careful - you want to make sure it’s centered.
I also recommend that you use tweezers instead of your fingers for this step. I used my fingers, but it’s way harder to get it right.
Now, remove the top lining of the adhesive to reveal the sticky part.
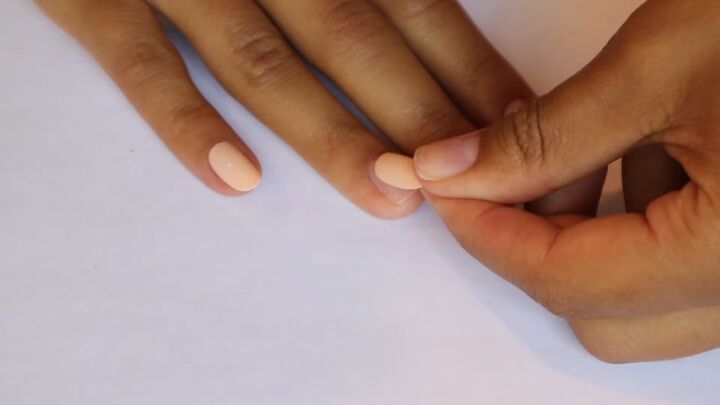
6. Press on the nail
Stick the relevant-sized nail onto the sticky part, as shown.
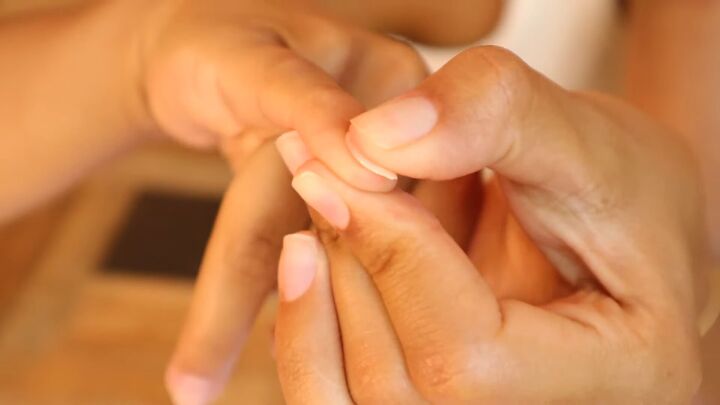
Press the nail on your nail bed for about 20 seconds or as instructed by the packaging.
Tip: Make sure you’re not turning your finger blue as I did!
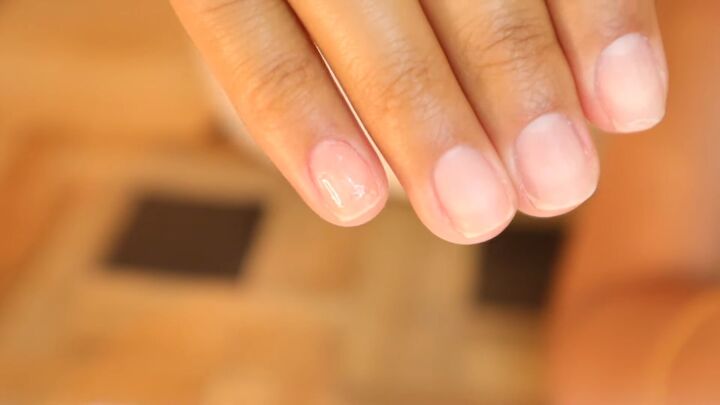
This is the result. Doesn’t it look so natural? I was pretty surprised at how stunning it looks.
7. Repeat the process
Now, go ahead and repeat the same for all your nails.
Lay the adhesive on your nail, remove the plastic lining, and press the nail. That’s it!
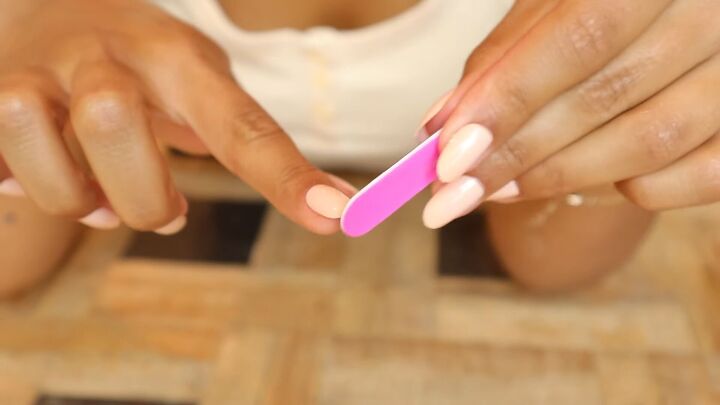
If you want to have a different nail shape, you can go ahead and file the tips into whatever shape you like.
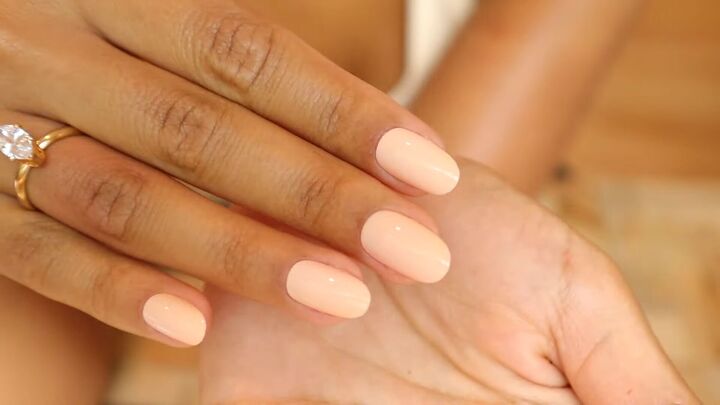
How to apply press-on nails with adhesive tabs
Here’s the result! When you’re done with them, you can just soak them and they come right off. So, now that you know how to apply press-on nails with adhesive tabs, you can get a whole lovely manicured look for cheap. So inexpensive and quick.
The author may collect a small share of sales from the links on this page.


Comments
Join the conversation
Inspired is the right word. I’ve only tried glue on nails! NEVER AGAIN, they were sticking in all the wrong places. I love these. Since I’m in my 70’s my nails just won’t grow, they split. Definitely going to try these, so much kinder to my own nails than gel nails AND the expense! 💅🏼