How to Easily Sew a Pocket Onto Any Bottom

If you've ever found or thrifted what seemed to be the perfect garment only to discover that it had no pockets, you don't need to put it back on the hanger anymore!
Today, I'm going to show you how to sew a pocket on any skirt, pants or dress. I have a free hidden pocket pattern for you and step-by-step instructions. So let's get started!
Tools and materials:
- Free pocket pattern
- Pocketless garment
- Lightweight fabric
- Fabric marker
- Seam ripper
- Tape measure
- Pins
- Scissors
- Sewing machine
- Serger (optional)
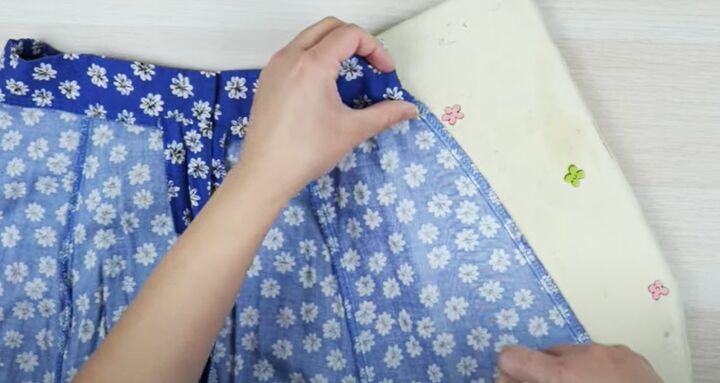
1. Open the seam
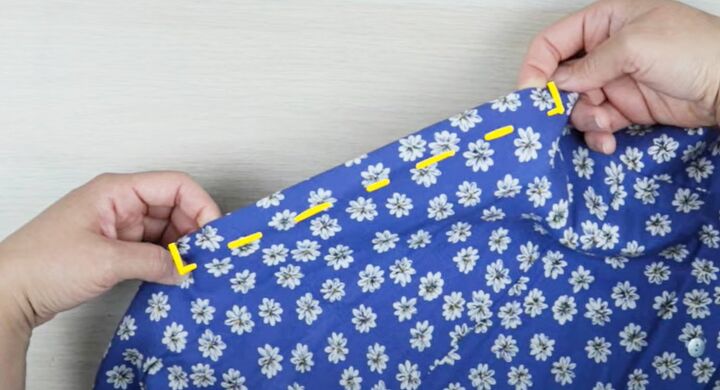
Turn your garment inside out and press the side seam where you want the pocket.
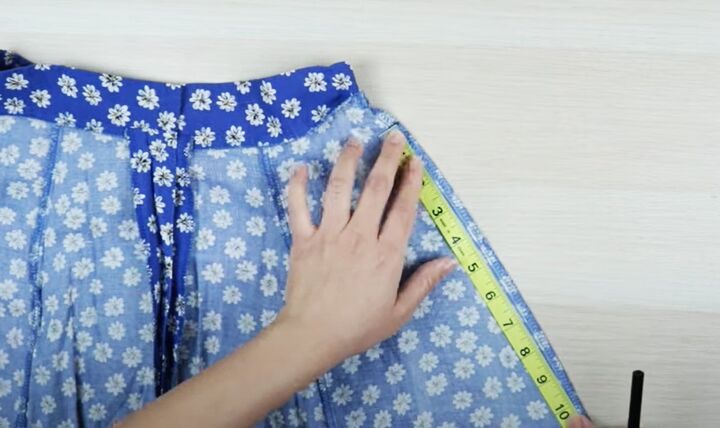
Measure 1 inch from the bottom of the waistband or from the natural waistline if your garment doesn't have a defined waist.
From the 1 inch mark, measure and mark 10 inches down the side seam.
Use a seam ripper to undo the seam between the two marks.
Backstitch over the remaining seam at the top to stop it unraveling any further.
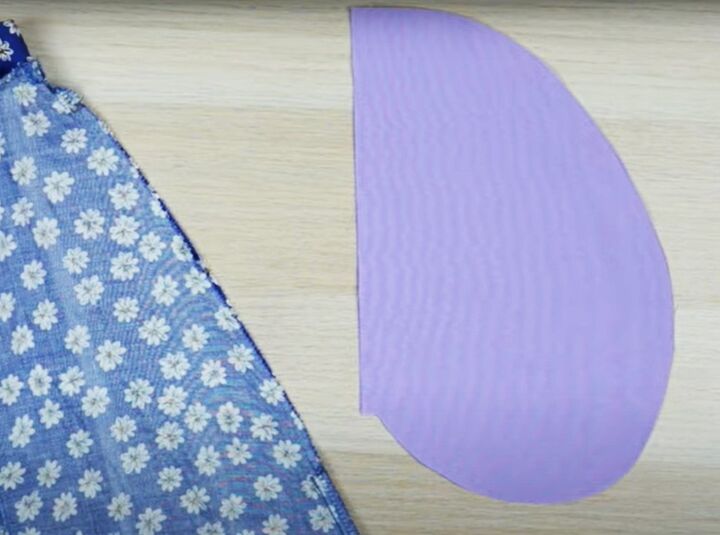
2. Cut out the pocket
Print out the free pattern and cut out two pieces for each pocket from lightweight toning fabric.

3. Insert the pocket
Align the straight edge of one pocket piece with one side of the opening, with the right sides facing.
Aim to get the top edge of the pocket right into the upper corner and pin the edge in place.
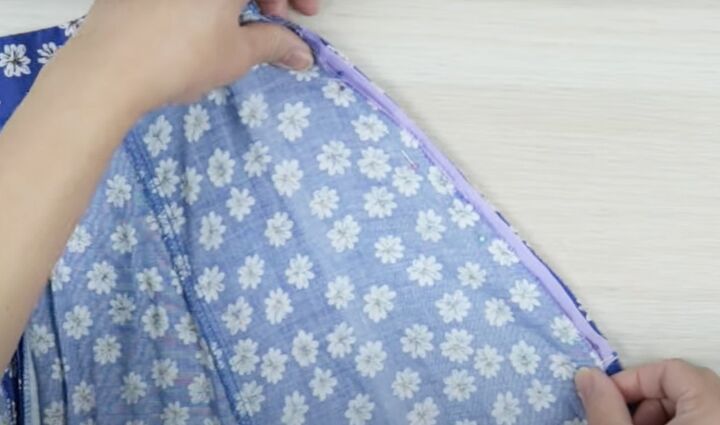
Pin the second piece to the other side of the seam in the same way.
Double check that the two sides of the pocket are aligned at the top and bottom edges.
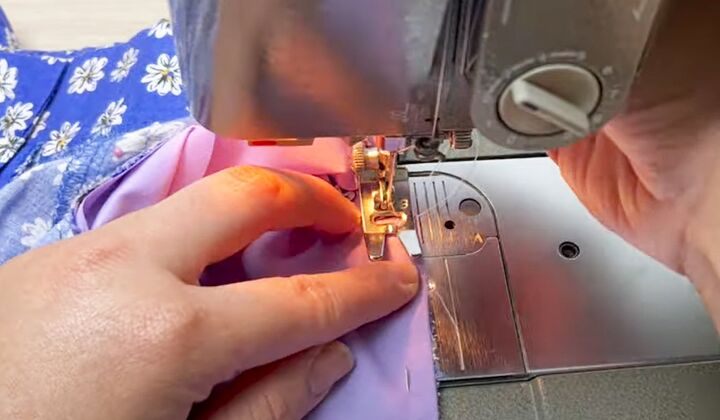
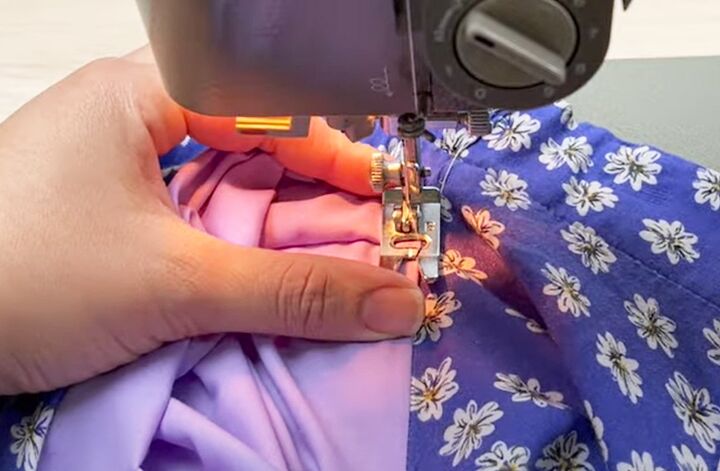
Starting at the top corner, sew the pocket in place 3/8" from the edge on both sides.
Finish the raw edges with a serger or use an overlock or zigzag stitch on your machine.
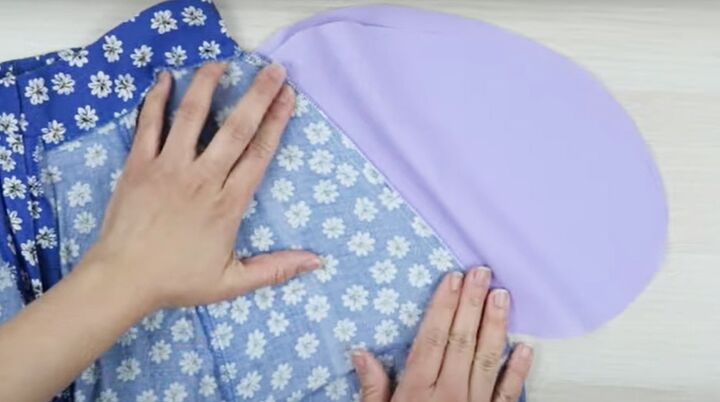
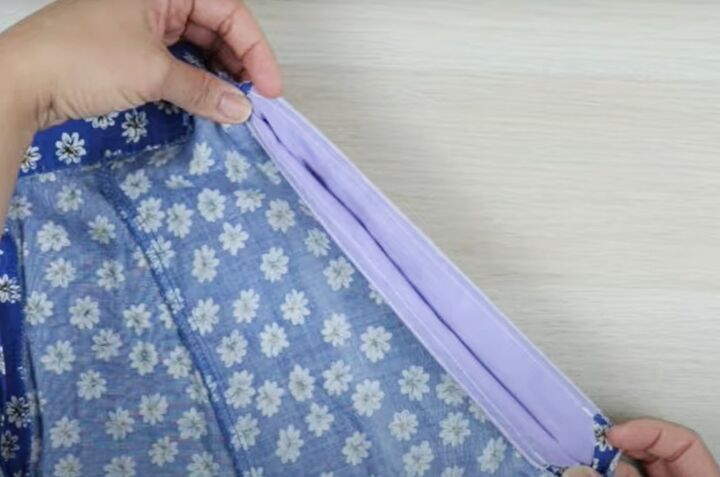
4. Sew the pocket bag
Bring the pocket pieces to the wrong side and press the seams flat against the pocket.

Pin the pocket pieces together along the curved edge, with the right sides facing.
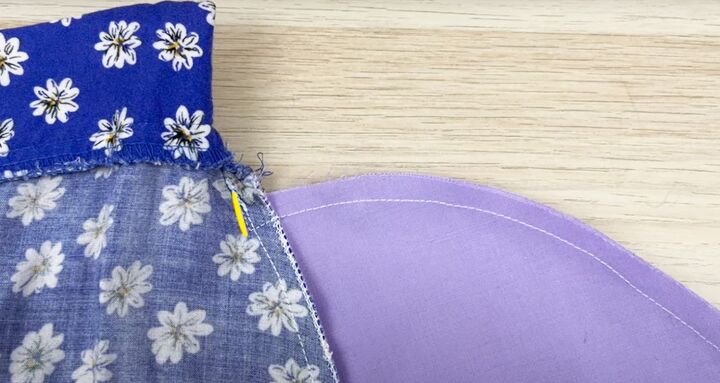
Backstitch in the stitch line above your pocket then sew down the seam to about half an inch past the top of the pocket curve.
Sew across the seam allowance and continue sewing the pocket bag together along the curve.
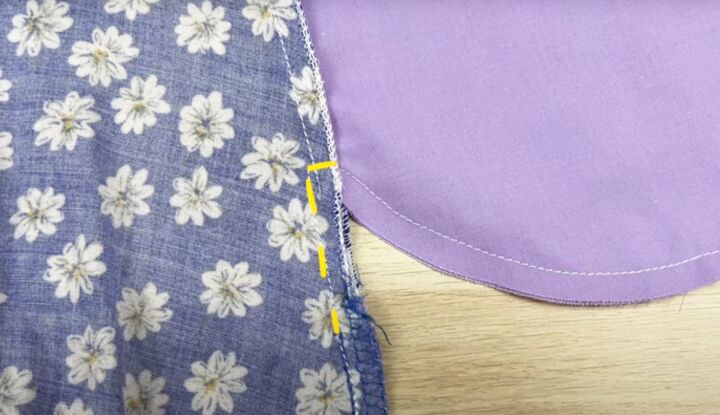
At the end of the curve, sew back across the seam allowance and continue down the side seam to close it.
Finish the raw edges of the pocket bag.
5. Pocket facing
Turn your garment right side out.
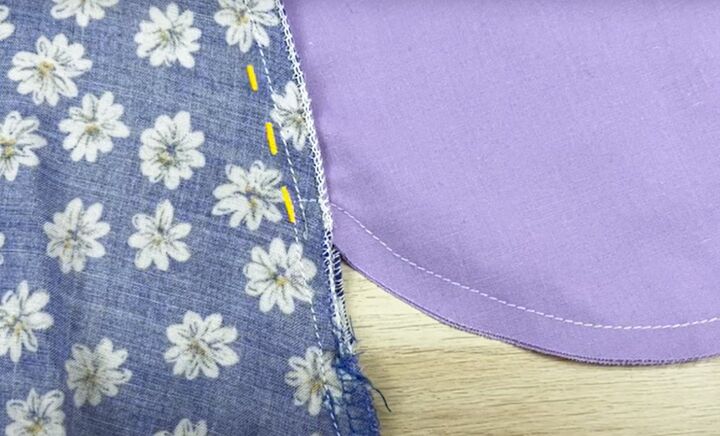
Understitch the front edge of the pocket to give a crisp edge and stop the pocket from showing on the right side.
To do this, turn the seam allowance towards the pocket and sew it to the pocket from the inside, 1/8" from the seam.
Alternatively, top stitch a quarter inch from the seam on the right side of the front edge of the pocket.
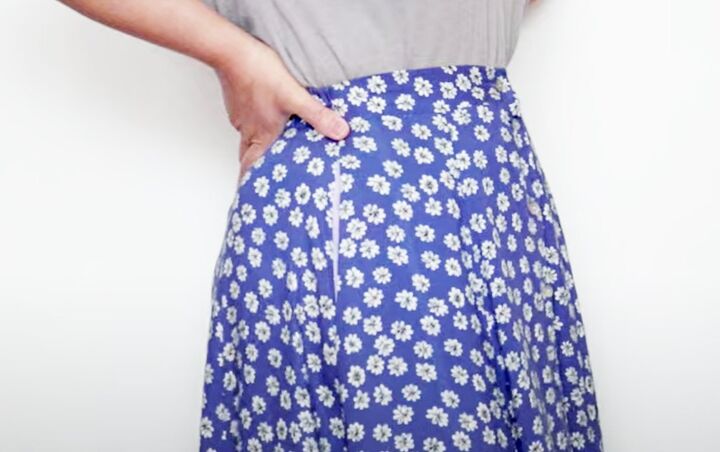
6. Pocket depth
To make sure the pocket is deep enough, place a pin 2 inches above the lower pocket edge.
Close the side seam from that point to the bottom of the pocket.
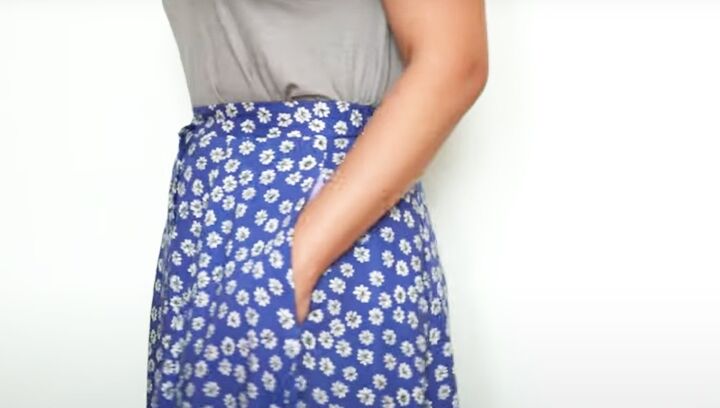
How to sew a pocket on
I hope that this was helpful and that now you can shop with confidence that you know how to sew pockets in pants or skirts.
It really is a quick and easy way to make your clothes more useful and functional. It doesn't require any complicated sewing techniques, so even a beginner can do this!
Please let me know how you get on in the comments below.
Next, check out my post on How to DIY a Cute Twist Front Shirt Dress.
The author may collect a small share of sales from the links on this page.


Comments
Join the conversation
Thanks. I need to do this on a few items.
Great idea but the pattern link doesn't work 🙄