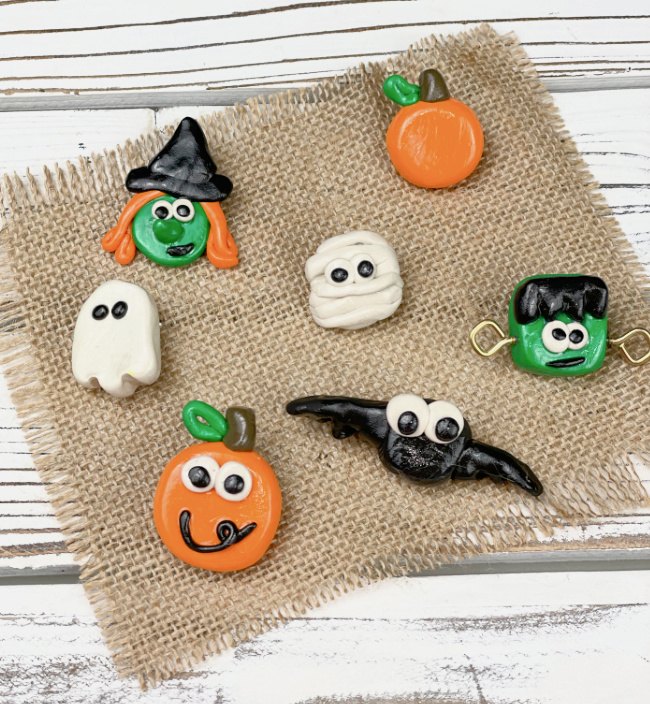
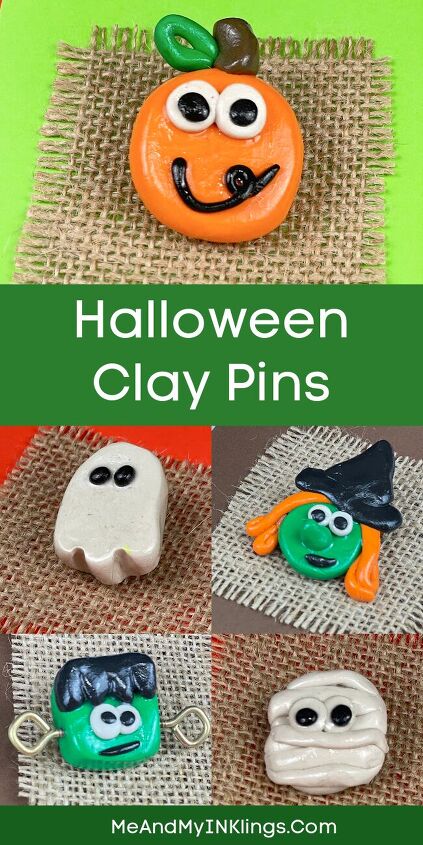
Sculpey Clay Halloween Pins
These clay Halloween pins are a fabulous way to accessorize for the spooky season. I prefer cute spooky over scary spooky so these are pretty dang cute! I am excited to share how to make the pins and also some of my best tips for working with polymer clay. Making the pins is a fun little project that can be done with beginning crafter that have little to no experience working with clay.
They are so fun to make and work great to add to a little card to send to a friend. Of course, you might fall in love with your creations and decide to keep them and add them to your favorite autumn jacket. This project is great for kids and adults. Because it is fairly simple and doesn’t require too many colors, it is perfect for a party craft or a Girl Scout meeting. This post is sponsored by Sculpey but the ideas and opinions are my own. I used Sculpey Bake Shop clay
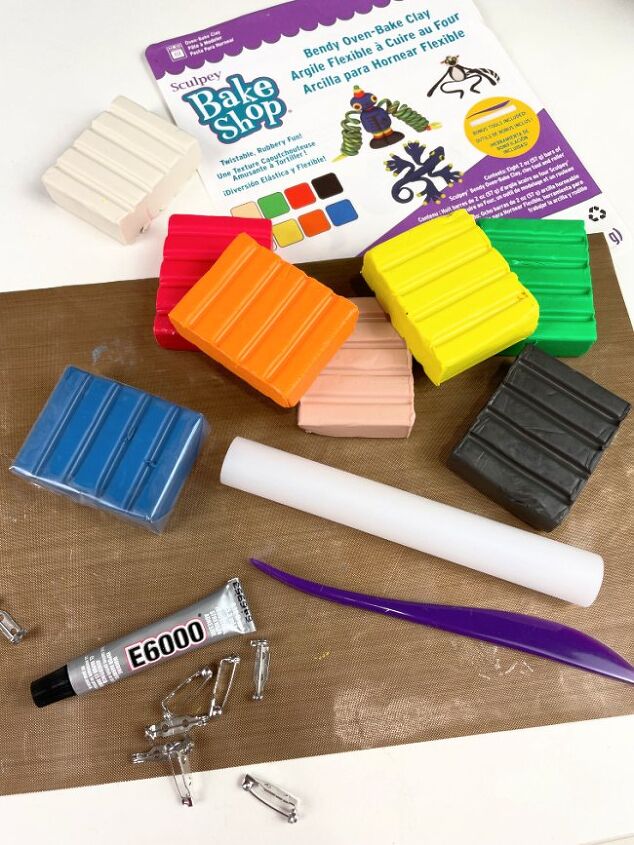
Materials Needed To Make Clay Halloween Pins
To make these pins, you will need the following supplies:
- Sculpey Bake Shop Starter Pack
- Satin Glaze from Sculpey
- Oven for Baking
- Clay Tools for Shapings and Texture (If Desired)
- Pin Backs
- Adhesive (I used E6000)
Directions to Make Clay Halloween Pins
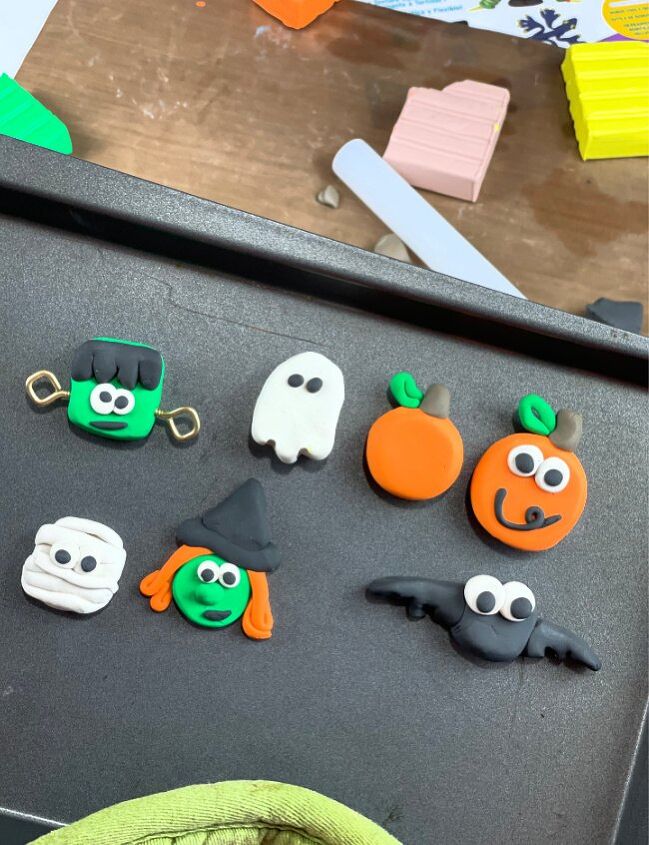
The first step is to prep your clay and get it soft. Rolling into balls with the desired amount for your pin works great. These pins each are approximately half a bar. There are four bars in a package.
Once the clay is soft, form your design with your fingers and press flat. Add details with the other colors. TIP: Make sure that when you add features the clay is completely pressed together so it doesn’t come apart after baking.
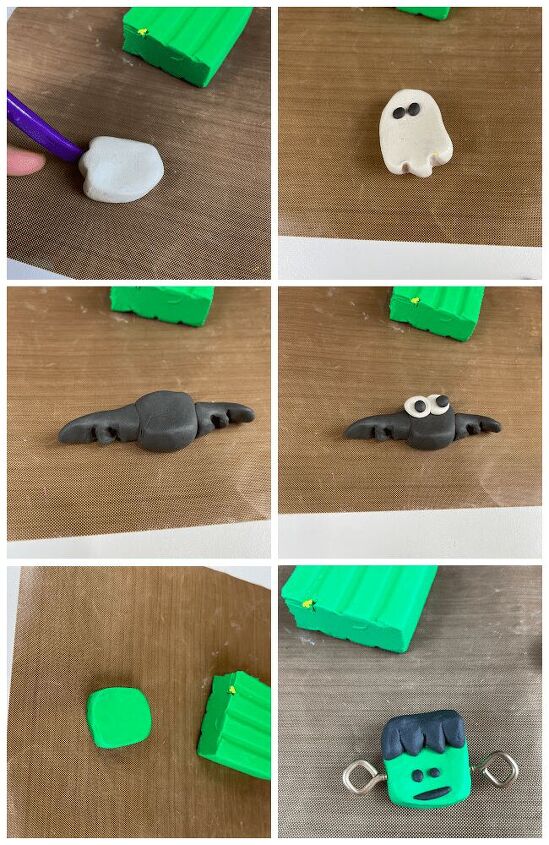
Bake the masterpieces following the direction in the packaging or from the Sculpey site.
Let them cool then add a think coat of Sculpey Satin Glaze to give them a finished and beautiful shine.
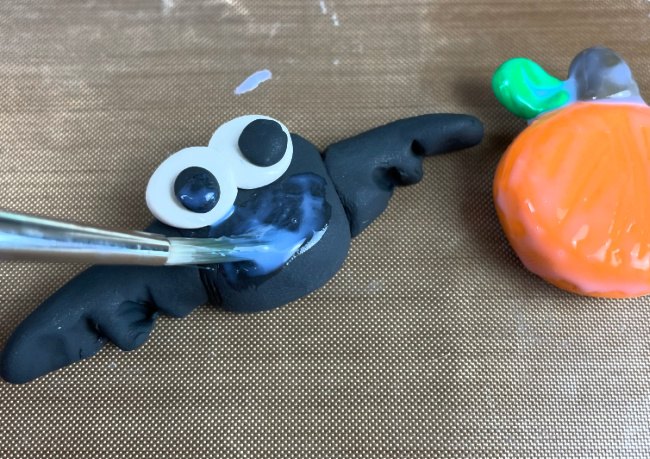
By adding the Satin Glaze, your pins will be much more finished and special.

Lastly, glue pin backs to each one.
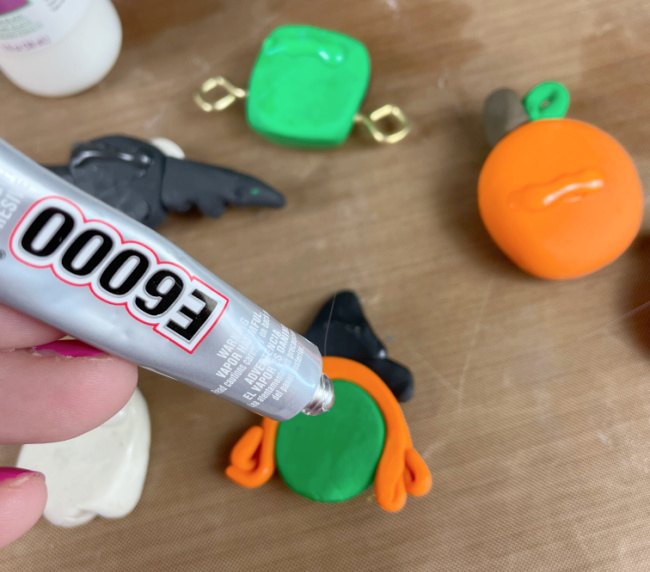
Allow plenty of dry time before wearing or using the pins.

Here is more information about the Sculpey Bake Shop clay pack I used in this project. It is my favorite for working with kids.
- Clay stay rubbery, super flexible and bendable after baking.
- Comes with 8 unique bright clay colors including: White, Beige, Yellow, Red, Blue, Black, Orange and Green
- Two modeling tool included for adding detail to clay creations! A roller and a knife tool – essential tools for creating with clay.
- Stays soft until baked – Does not air dry. Remains soft and flexible until it is baked in your home oven – No kiln needed. Store extra clay to use later.
- Made in the USA – Non-Toxic Polymer Clay for Kids & Adults – This polymer clay is safe enough for artists of all ages since it conforms to ASTM D-4236 and EN 71 AP safety standards to be non-toxic.
Here is a free printable of a card that you can use with your pins. It prints two to a regular piece of card stock. Cut in half and fold and you are ready to add your pin.
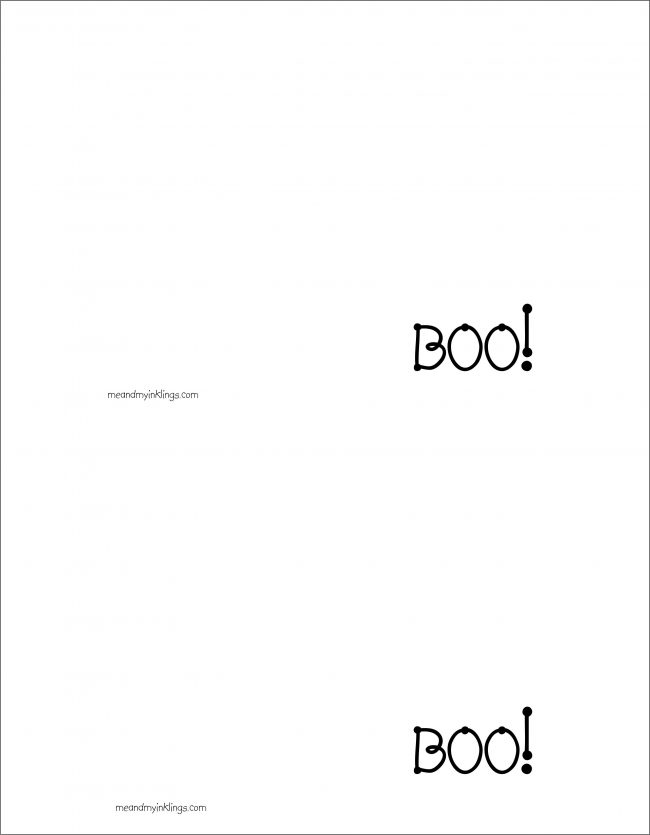
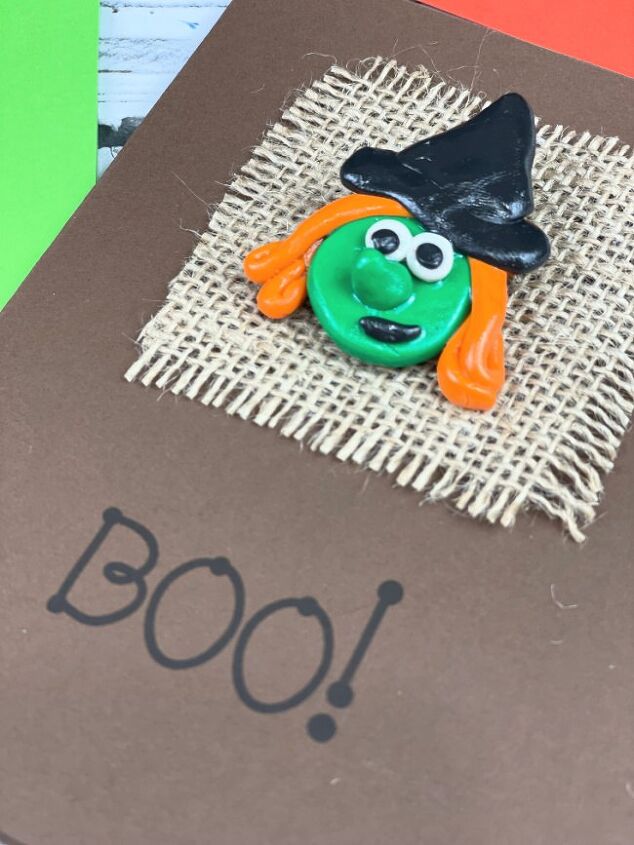
It is fun to add a piece of burlap to the card first so you don’t have to put your pin through the card itself. Cut the burlap into small squared and adhere to the card ONLY on the top and bottom sides so there is a place to attach the pin in the center.

The witch is by far my favorite from this batch!
Cheers to Halloween and all of the fun crafting that goes with it.
XO,
Laura
The author may collect a small share of sales from the links on this page.


Comments
Join the conversation
This looks like great project to try😀!
Omg! These are precious! Would be great idea to use for necklaces and earrings too.