How to Make Africa Earrings in 3 Quick & Easy Steps

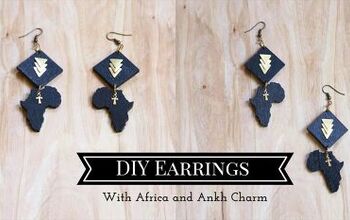
This simple tutorial for how to make Africa-shaped earrings will leave you wanting to make more and more! In fact, I have! You may remember similar designs I made in the past for post earrings and earrings with ankh charms.
The materials are inexpensive and the instructions are easy, but these DIY earrings are strikingly beautiful. As shown in all three tutorials, you can mix and match the same design elements to create different styles.
Tools and materials:
- 2 small wooden squares
- 2 8-mm jump rings
- 4 4-mm jump rings
- Earring posts and backs
- 6 Small brass-colored decorative triangles
- 2 Africa charms, mirror-image to each other
- Freezer paper
- Sandpaper
- Craft paint
- Paintbrush or sponge
- Jewelry glue
- Toothpicks
Remember that for earrings you want to make sure the Africa charms are a mirror image of each other so they look right when you are wearing them.
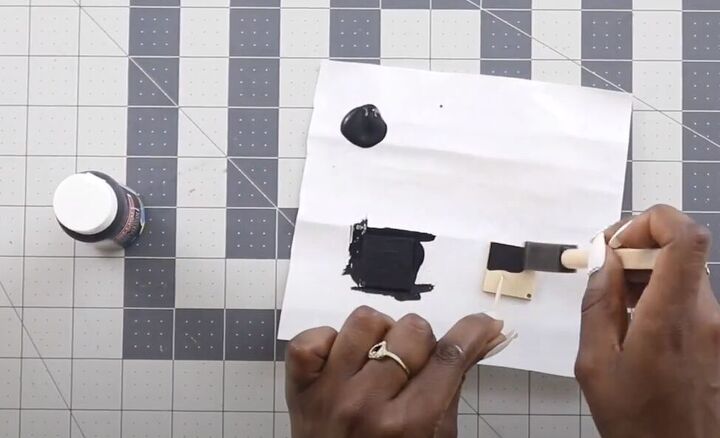
1. Paint the earring squares
Shake your craft paint and squeeze a bit onto some paper. Use your paintbrush or sponge to paint one side of two small wooden squares, including the edges.
Let the paint dry for 5 to 10 minutes, then paint a second coat and let them dry for 15 to 20 minutes.
Tip: when you are buying the wood squares you may be able to ask the seller to pre-drill a small hole in one corner of each square. If you can’t get them pre-drilled, then drill a small hole yourself before painting.
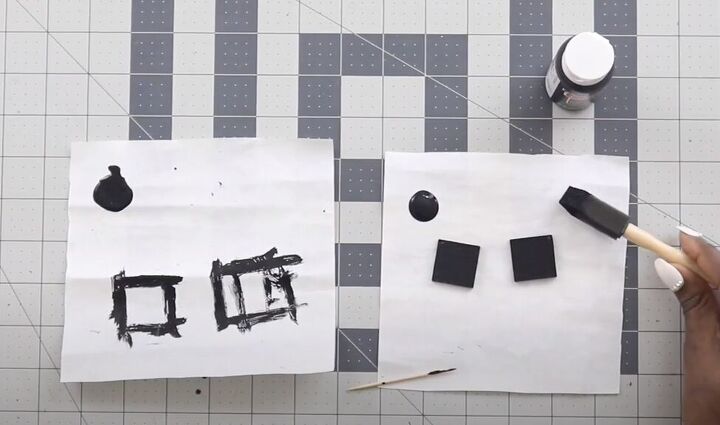
When they are dry, flip them over and paint the other side with the same drying times after each coat.
Tip: to make the paint clean and even always paint your strokes in the same direction.
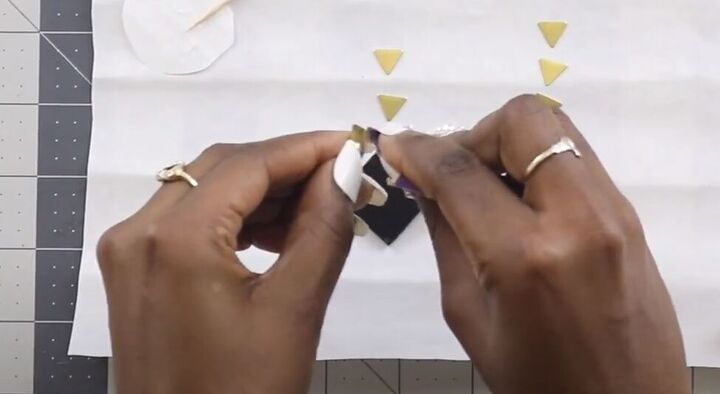
2. Attach the gold triangles
Use sandpaper to roughen the back of six decorative gold triangles. This will help the glue to adhere.
Use jewelry glue with a toothpick to dab glue at the center top of one inverted triangle. Place the point of a second triangle on the glue of the first one and repeat with a third triangle.
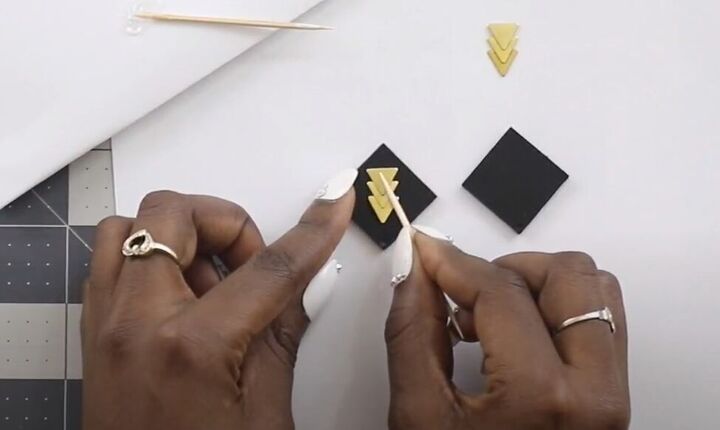
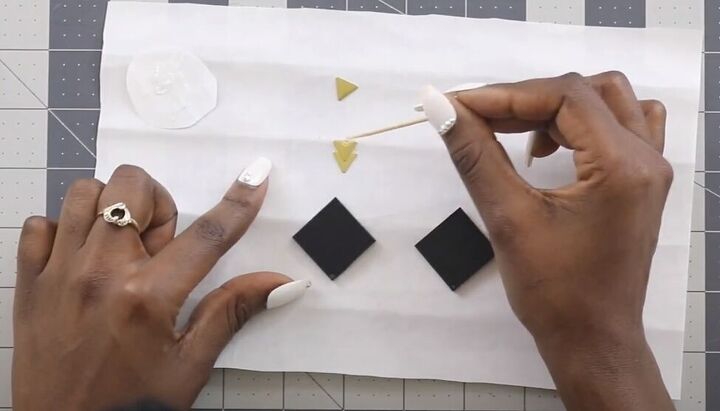
Once the glue has dried on the two sets of triangles, use more jewelry glue to attach one set to one black square.
Turn the square so it is a diamond shape with the hole at the bottom and place the row of triangles vertically in the center of the diamond with the points towards the bottom hole.
Use a clean toothpick to remove any excess glue that squeezed out from under the triangles.
Let that dry for 5 to 10 minutes.
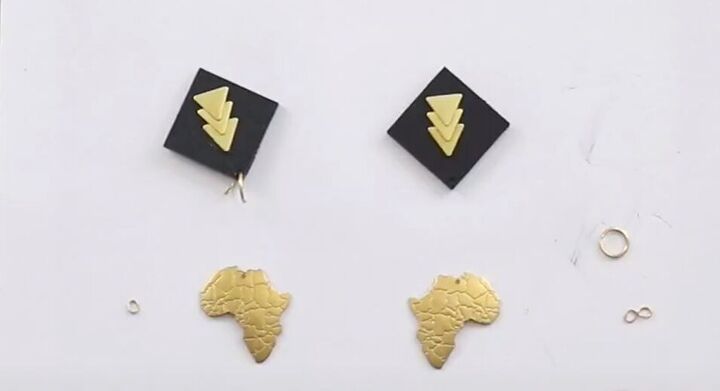
3. Assemble the earrings
Attach a large jump ring through the hole at the bottom of the diamond.
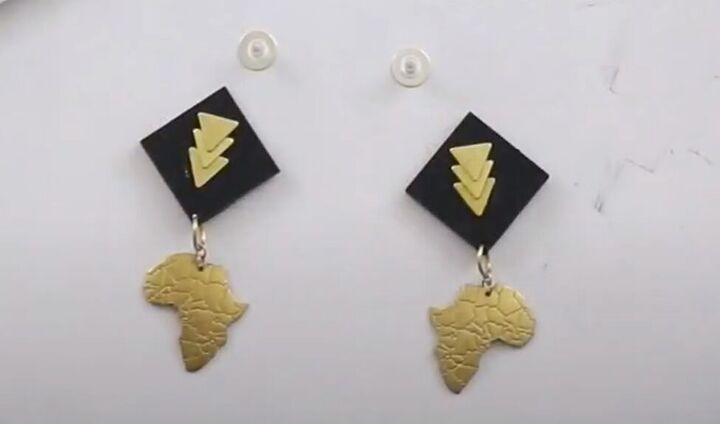
Link two jump rings together and attach the double link to the larger jump ring on the diamond. Close up the jump rings.
Now, open the small bottom jump ring and place an Africa charm onto it. Close that jump ring.
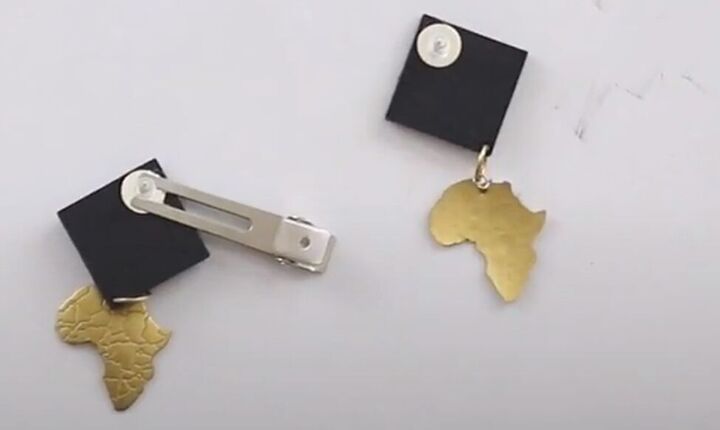
Rough up the earring posts with sandpaper. Glue the earring posts to the top back corner of your earrings. If you have a small hair clip it will work well as a clamp while the post is drying on the earring.
Tip: When you are opening jump rings, twist them apart with your pliers instead of pulling them out to open them. Pulling them will weaken the metal.
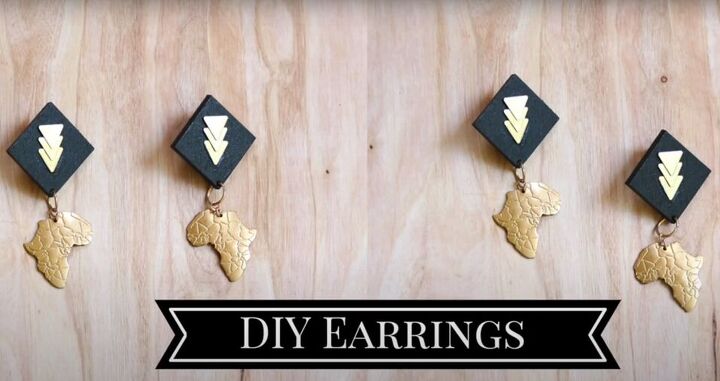
DIY Africa earrings
Of course, you can use any color paint for the squares that you like. Black and gold is a very classic color combination though.
Now that you have done this tutorial, you can apply the same techniques to make other decorative earrings.
Leave a comment below letting me know how you liked this DIY Africa-shaped earrings tutorial.
The author may collect a small share of sales from the links on this page.


Comments
Join the conversation