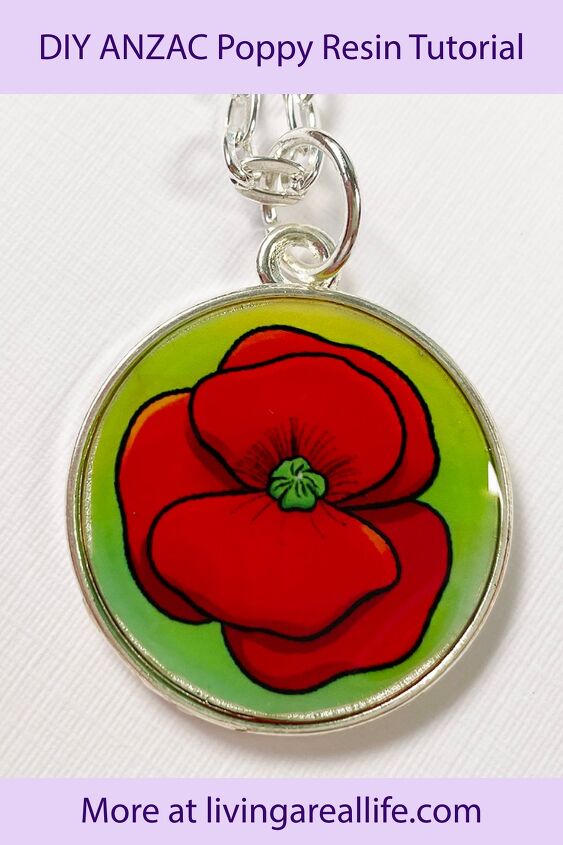
ANZAC Poppy Resin Pendant Tutorial
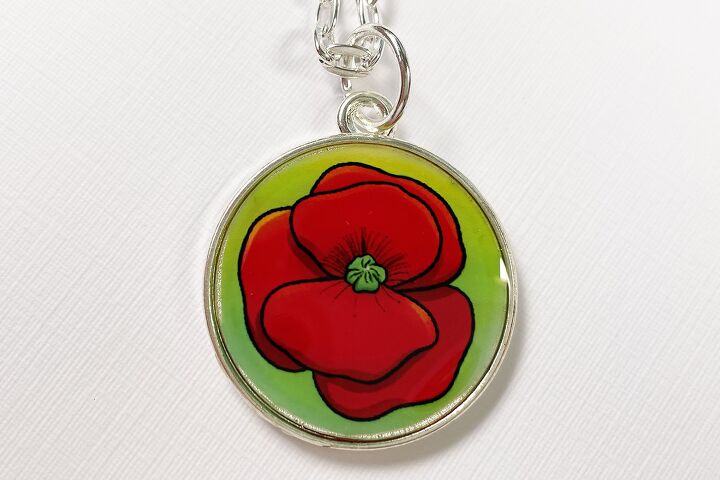
I have been having such a lot of fun playing with resin and applying it to jewellery. I made several resin pendants, in this week’s tutorial, I make two.
If you don’t live in New Zealand or Australia, you may not know about Anzac Day, which is the 25th of April. If you would like to know more, you can read about it here (also a gluten free ANZAC cookie recipe) and here.
Let’s get on and make this pendant.
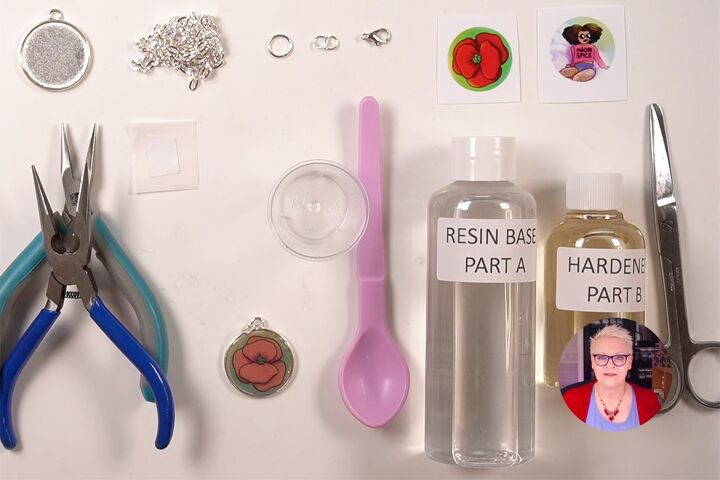
Materials
Here's what I used to make this pendant:
- Large Tibetan Style Pendant Setting x1
- 10mm Silver Jump Ring x1
- 6mm Silver Jump Rings x2
- 6x4mm Flat Oval Cable Chain x 60cm
- 12mm PlatinumLobster Clasp x1
- Epoxy Doming Resin
- Small piece of double sided tape
- Paper
Tools
- Chain Nose pliers x2
- Sharp scissors
- Small plastic cup
- Plastic spoon
- Printer
A Note About the Resin
I bought my resin at my local emporium and it was a really good price ($19), however when I went to look for a link online for you, it was very expensive so I suggest that maybe you try one of those wonderful emporium type places that sell all manner of things.
The most important thing to remember is that you need doming resin.
Instructions
Please watch the video or read the instructions below.
Step 1 - Picture
If you would like to make the poppy pendant, then please download the image here:
Take care when printing your image to ensure that it’s printed at 100%. It should measure 27mm across the diameter. You can experiment with different types of paper and printers to get a good print. For more on this, please watch the video.
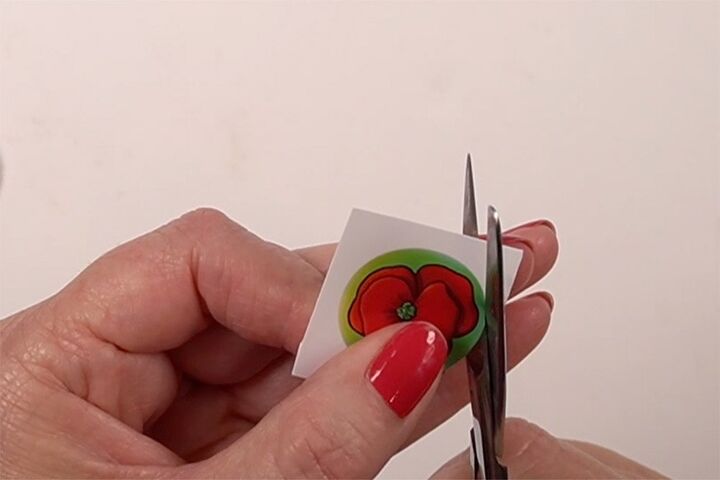
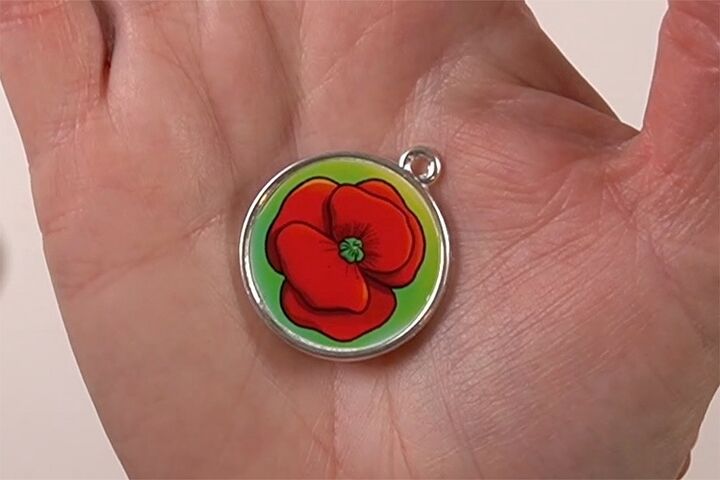
Carefully cut around the outside of the poppy print, it doesn’t have to be perfect but you want to aim to have no white showing and to not make it significantly smaller.
Cut a piece of double sided tape about 1cm square and place it on the cabochon, then peel of the backing paper.
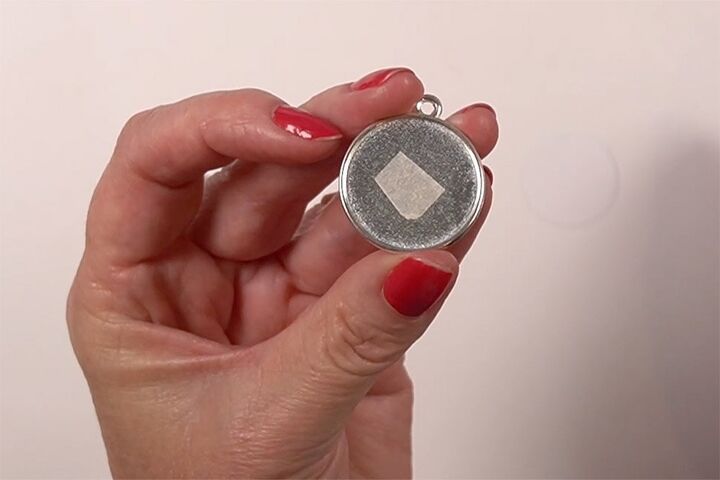
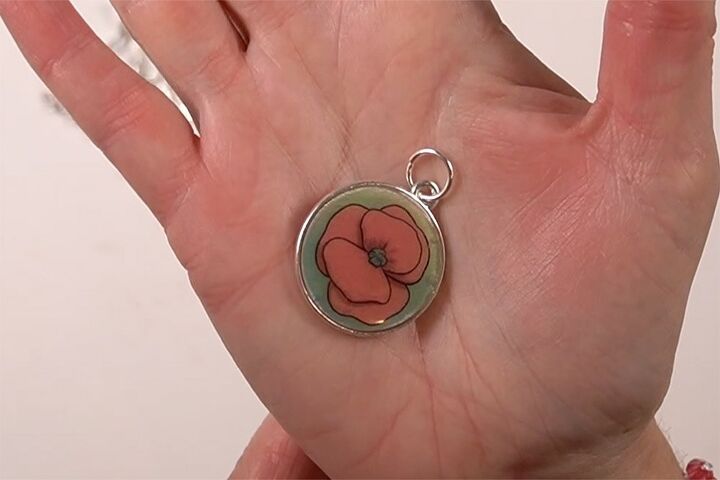
Place the picture onto the cabochon, ensuring that it’s the correct way up. I like my poppy with the centre petals going up and down.
Run your thumb nail around the edge, just inside the rim, so that it pushes the image right down into the cabochon.
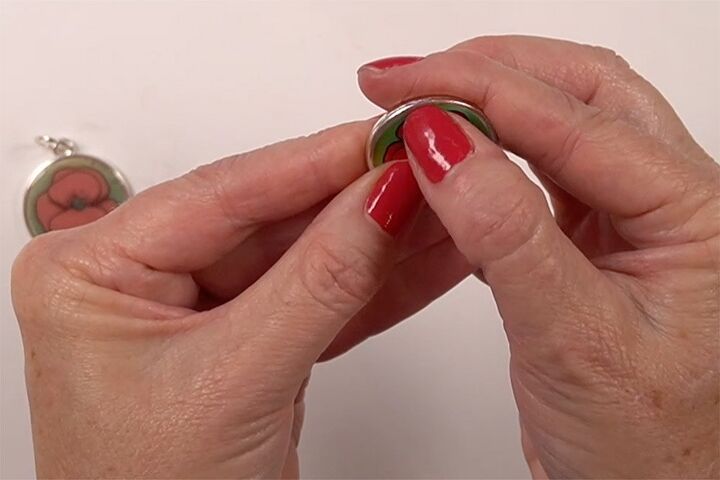
If your picture is a little large, it will fold up when you do this giving you a line to cut just outside of. Don’t stress too much about it being perfect, you can see that I have a tiny amount of silver space showing on one side but I’m not worried, the resin will fill that.
Step 2 – Applying the Resin
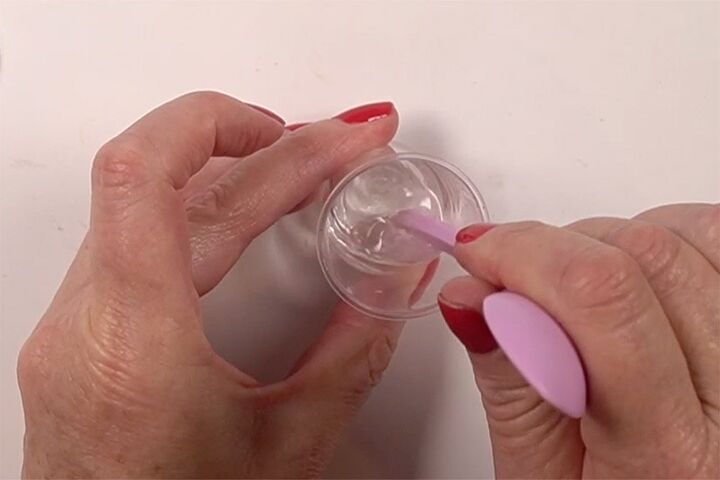
Mix the resin according to the manufacturer’s instructions. For my resin, it was two parts of Part A to one part of Part B (the hardener).
Mix it with the wrong end of the spoon. Don’t whisk it, just stir it gently for three minutes. If you whisk it, you will get too many bubble. It’s very important to mix your resin properly.
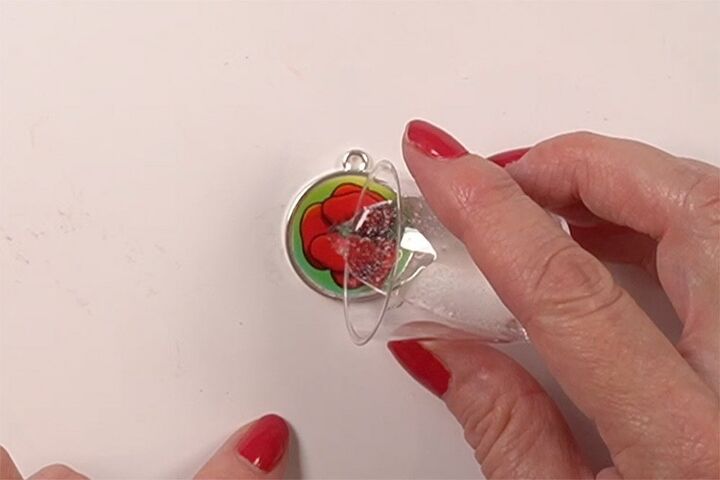
When the resin is well mixed, pour a small amount onto the pendant, on top of the picture. Go slowly, pouring a little at a time – you don’t want to overfill the pendant and have it spill out everywhere. It’s better to under fill and add more than overfill. The resin will spread out evenly to the sides. If it doesn’t, add a tiny bit more until it fills the space.
Dealing With Bubbles
If there are any bubbles, wait about 5 minutes as they may just go on their own. If you still have a few bubbles left, gently blow across the top of the pendant, being super careful not to blow the resin out of the pendant. You could also use a hairdryer for this but make sure you keep it quite a distance away from the pendant.
Leave the pendant to sit for 24 hours, until the resin is dry. Do try and be patient with this. I wasn’t patient enough and I managed to crack my first attempt.
Step 3 – Adding the Chain
Once your pendant is nice and dry, you can make up the necklace. Open the 10mm jump ring using your chain nose pliers. If you’ve never used jump rings before, watch this video all about jump rings.
Thread on the loop of the cabochon pendant and close the jump ring.
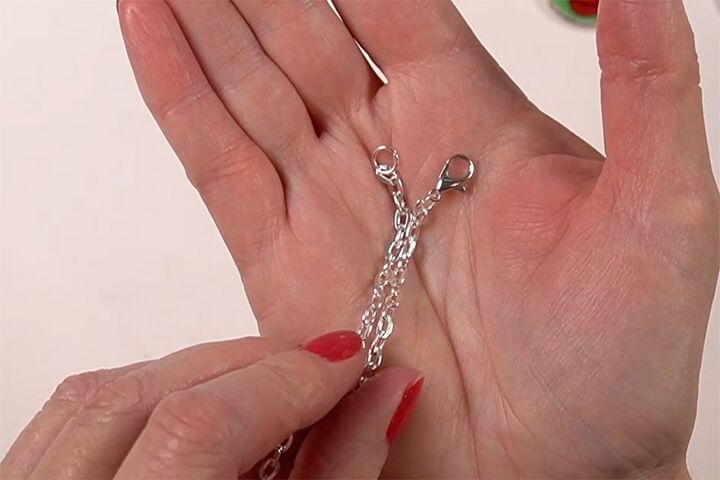
Thread the chain through the 10mm jump ring.
Open one of the 6mm jump rings and thread on the last link of one end of the chain. Remember, if you are right handed, you will want your clasp on the right side and vice versa, so put the jump ring on the left hand end of the chain.
On the other end of the chain, thread the jump ring through the last link, then add the loop of the clasp to the jump ring as well. Close the jump ring.
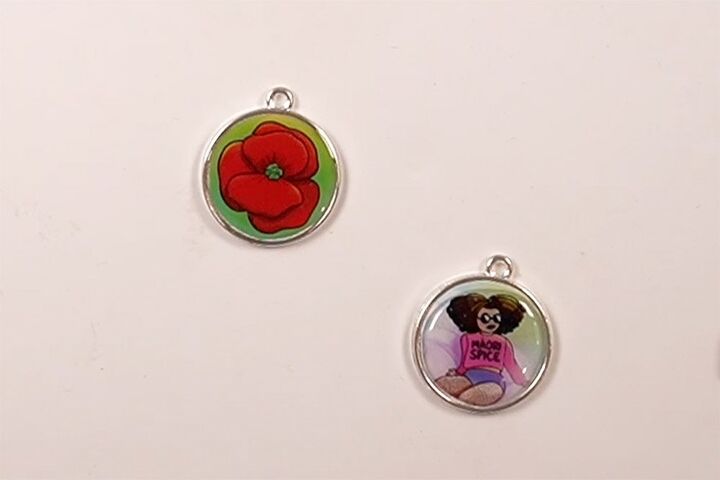
Now your pendant is done. In the video, I made another pendant using another piece of my daughter’s art.
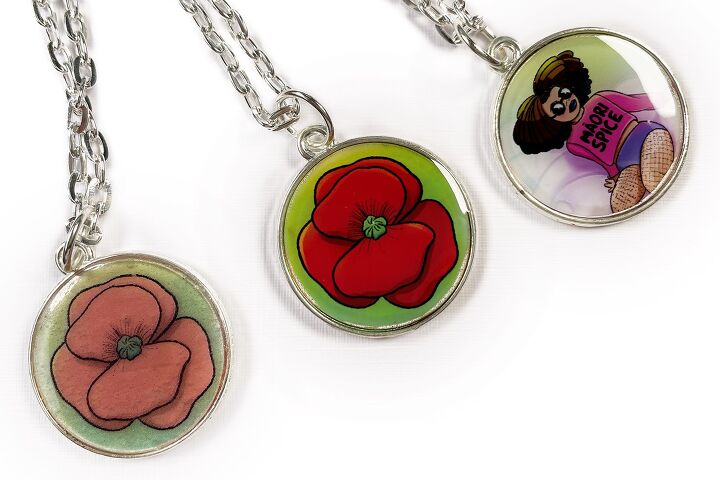
If you would like to see more of her art, please visit her website, jennakarl.com.

Thank you for joining me today for my tutorial.
⇓ REMEMBER TO PIN THIS PROJECT FOR INSPIRATION AND SHARE WITH YOUR FRIENDS!!⇓
If you like my blog be sure to click on the RECOMMENDED button and SHARE it with your friends! It’s the best way for my blog to grow so I can continue to make great content. I would love for you to be part of my family so sign up to receive my emails. Every time I post a blog, I will send you an update email. Also, follow me on Facebook HERE, Instagram HERE, and Pinterest HERE.
Come by and say Hey!
The author may collect a small share of sales from the links on this page.


Comments
Join the conversation
I'm just learning about epoxy resin. Thank you for your project instructions. I learned a lot!