Breast Cancer Awareness Necklace - DIY
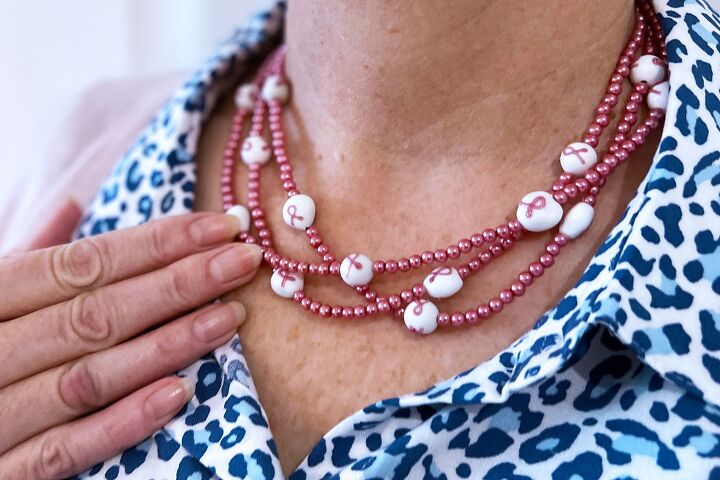
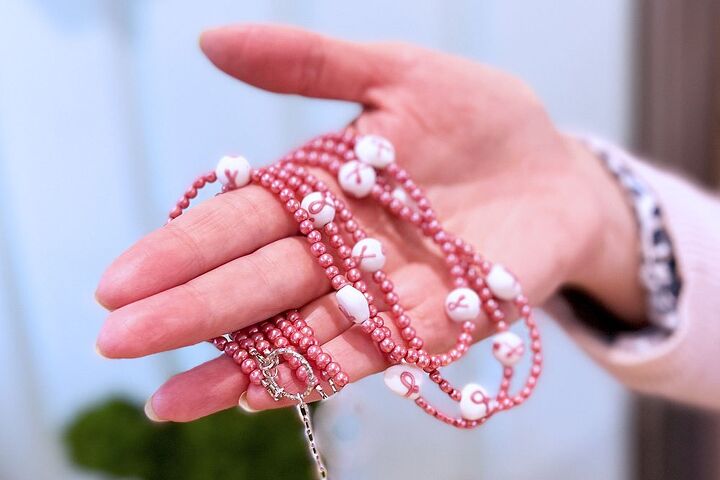
This month would have been my Mum’s 90th birthday, and she was also a breast cancer survivor so I decided to honour her memory and make a breast cancer awareness necklace.
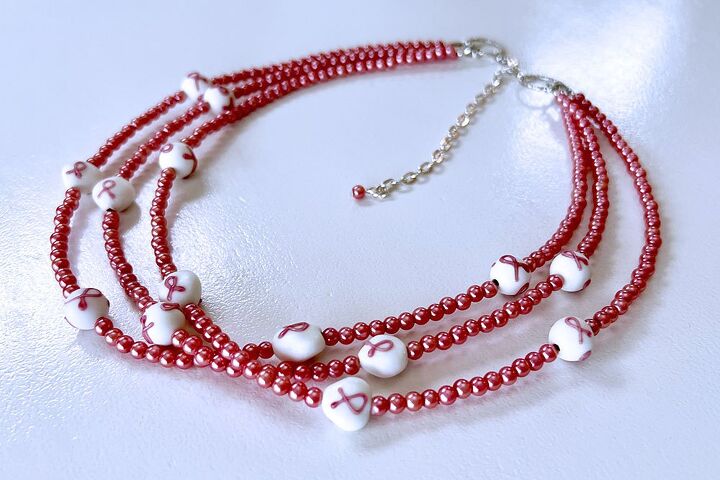
This necklace uses a lot of 4mm glass pearls – in fact 183 of them! They are beautiful little beads and the dusty rose colour goes perfectly with the breast cancer beads.
The breast cancer beads come in two shapes and I wanted to utilise both. There are round ones and heart shaped ones.
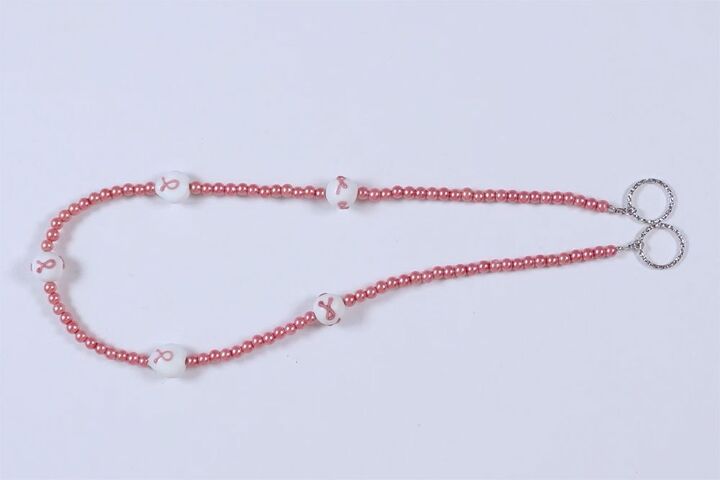
I decided to make a triple strand necklace and I used some beautiful linking rings to join them.
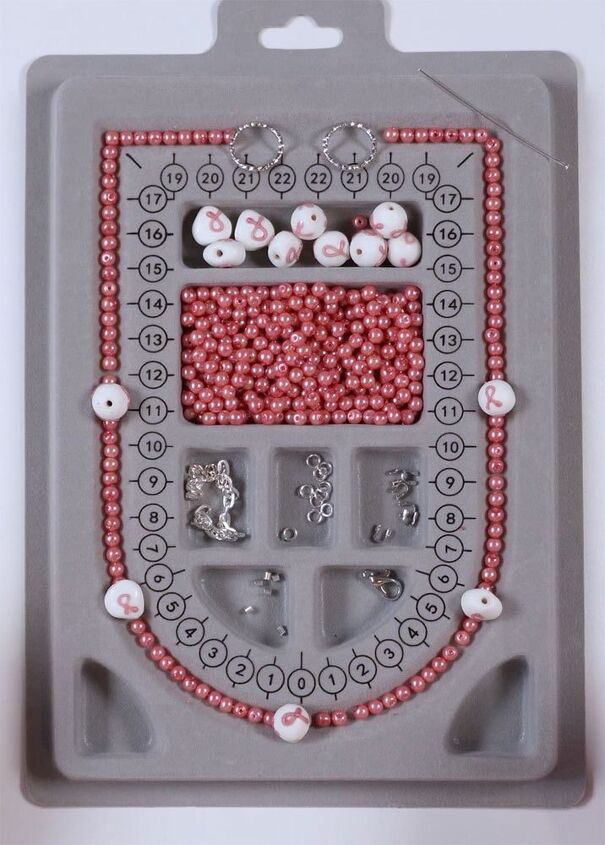
Materials
To make this necklace you will need:
- 4mm Dusty Rose Glass Pearls x 183
- 10mm Heart Shaped Breast Cancer Awareness Beads x 6
- 10mm Round Shaped Breast Cancer Awareness Beads x 8
- 4.5mm Platinum Plated Brass Wire Guardian x 2
- 12mm Platinum Lobster Clasp x 1
- 6x4mm Silver Flat Oval Chain x 10cm
- 15mm Silver Linking Textured Rings x 2
- 4mm Silver Jump Rings x 9
- Silver Magical Crimp Tubes x 6
- 0.38mm Silver Tiger Tail x 180cm
- 5cm Silver Head Pin x 1
Note: If you purchase the breast cancer beads from Affordable Jewellery Supplies, a donation is made to the New Zealand Breast Cancer Society.
Tools
- Chain Nose Pliers x2
- Flush Cutters
- Magical Crimp Forming Tool
- Bead Board (optional)
- Bead Stopper (optional)
Instructions
Please watch the video or read the instructions below.
Strand One
Cut a piece of Tiger Tail approximately 60cm long and add the bead stopper to one end. If you want to, lay out the beads for strand one on the bead board, following the diagram below.

Thread the beads onto the Tiger Tail in the order laid out. Place another bead stopper on the end to stop the beads from falling off.
Strand Two
Cut another piece of Tiger Tail 60cm long and add a bead stopper to one end (you can use the same bead stopper if you wish, just clip the wire into another slot).
If you want to, lay out the beads for strand two on the bead board, following the diagram below.

Thread the beads onto the Tiger Tail in the order laid out. Place into the bead stopper to stop the beads from falling off.
Strand Three
Cut another piece of Tiger Tail 60cm long and add a bead stopper to one end (you can use the same bead stopper if you wish, just clip the wire into another slot).
If you want to, lay out the beads for strand three on the bead board, following the diagram below.

Thread the beads onto the Tiger Tail in the order laid out.Place into the bead stopper to stop the beads from falling off.

Crimp the Ends
Make sure everything is secured with bead stoppers, then remove one end of strand one and thread on the Magical Crimp Tube. Next thread the Tiger Tail through one of the tubes of the wire guardian, around the top and then through the other tube. You may find this video about how to use a wire guardian helpful.
Thread the Tiger Tail back through the crimp bead, then through three of the pearls.
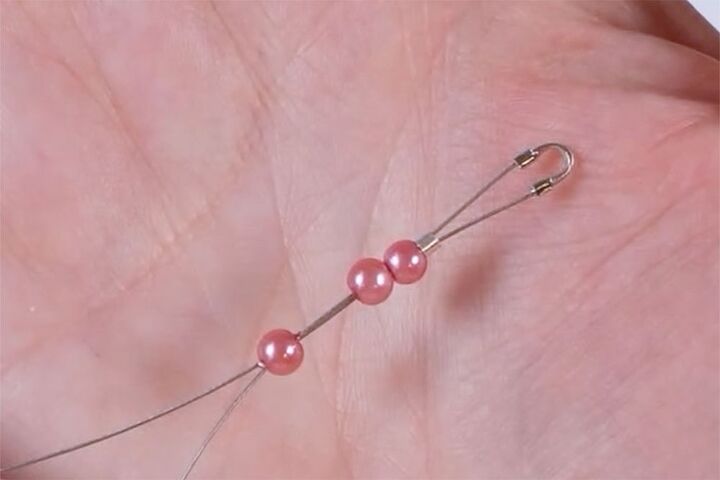
Push the crimp tube up towards the wire guardian, then use your Magical Crimping Tool to squeeze the tube, turn it around and squeeze again, until you have a nice round ball. You may need to squeeze the ends of the wire guardian together to get the tube close enough. If you are not using the Magical Crimping Tool, then just squeeze it with your chain nose pliers or other crimping pliers.
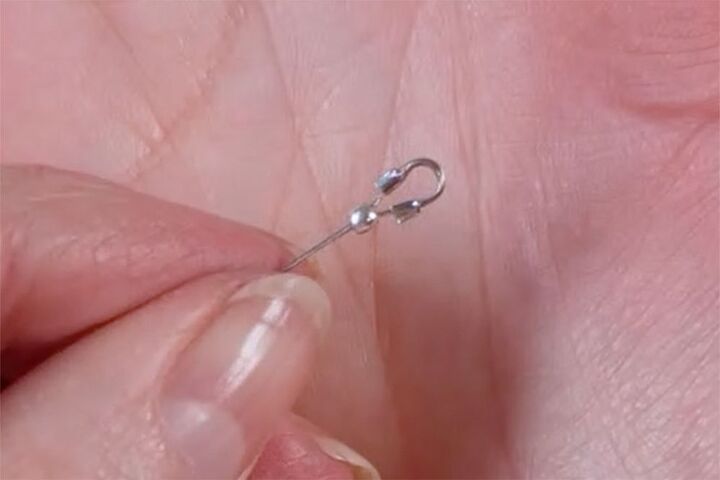
Run the three pearls back towards the crimp and trim off the excess Tiger Tail as close to the bead as possible.
Run all the beads up towards the crimp, making sure there are no gaps, and repeat for the other end.
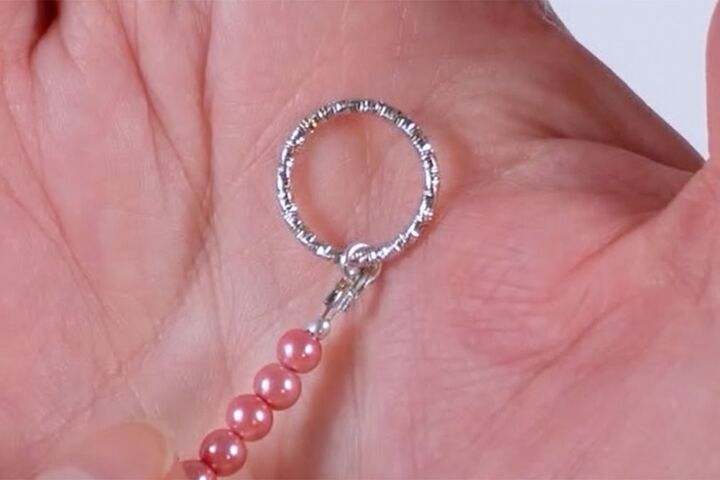
Attach the Linking Ring
Open a 4mm jump ring. Thread on the wire guardian and the 15mm linking ring. Close the jump ring. If you haven’t used jump rings before watch this video, all about jump rings.
Repeat the same process for the other end of the strand.
Rinse and Repeat
Now it’s just a matter of repeating the same progress for strands two and three. Make sure that you don’t twist the strands and that strand two is actually in the middle.

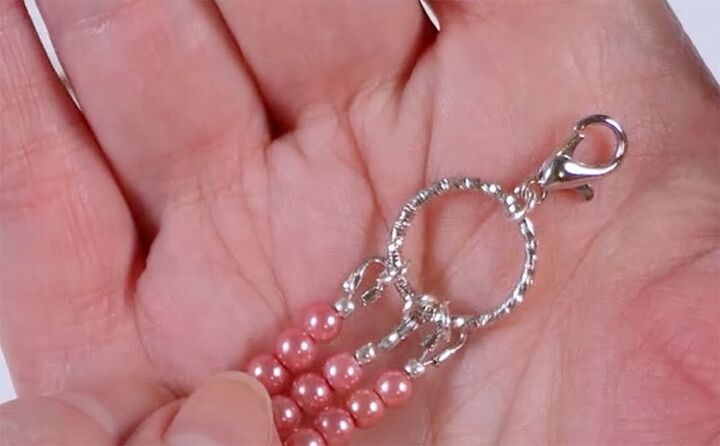
Attach the Clasp
Check that the strands aren’t twisted. Open another jump ring and feed on the loop of the clasp and then one of the linking rings. Close the jump ring.
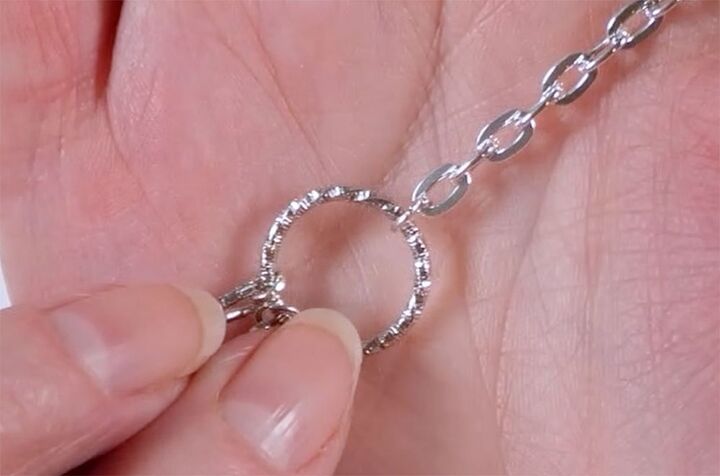
Make the Extender Chain
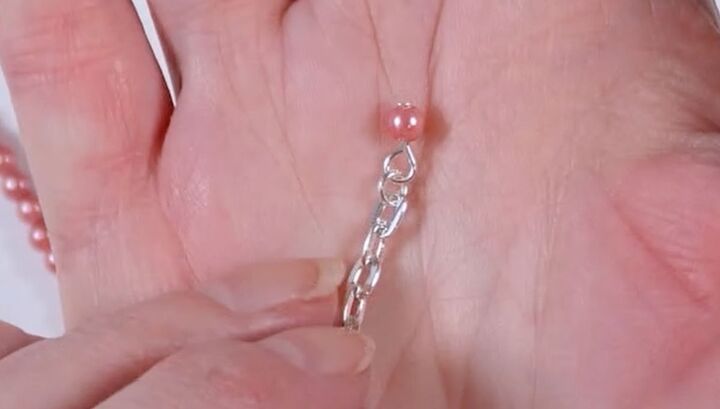
I decided to add an extender chain to this necklace because it might be one you would want to wear a bit longer. I also decided to add a little dangle to the end of the chain using the one remaining pearl.
To attach the extender to the necklace, open a jump ring and feed on the linking ring and the first link of the chain. Close the jump ring.
To make the dangle, thread the pearl onto the headpin. Make a right angle bend at the top of the bead. Make a loop. This How to Make a Simple Loop video could be helpful if you’ve not done this before.
Open another 4mm jump ring and feed on the loop that you just made and the last link of the chain. Close the jump ring.
Now the necklace is complete, you can wear it in several ways. You could attach the clasp to the large linking ring, or to any of the links in the chain to change the length.
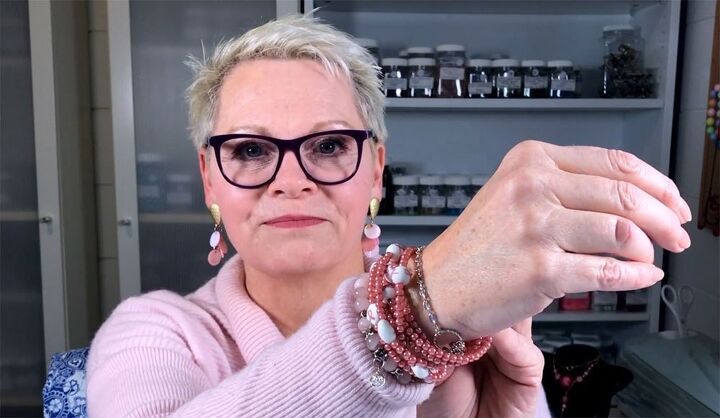
The other way you could wear it is as a bracelet, because you have that extender. This goes quite nicely around my wrist twice.
Let Me Know
The 4mm jump rings were quite fiddly to use so please leave me a comment below and let me know if you would upsize to the 6mm or stay with the 4mm. I’d love to hear your thoughts on that one.
⇓ REMEMBER TO PIN THIS PROJECT FOR INSPIRATION AND SHARE WITH YOUR FRIENDS!!⇓

If you like my blog be sure to click on the RECOMMENDED button and SHARE it with your friends! It’s the best way for my blog to grow so I can continue to give you great content. I would love for you to be part of my family so sign up to receive my emails. Every time I post a blog, I will send you an update email. Also, follow me on Facebook HERE, Instagram HERE and Pinterest HERE.
Come by and say Hey!
The author may collect a small share of sales from the links on this page.


Comments
Join the conversation