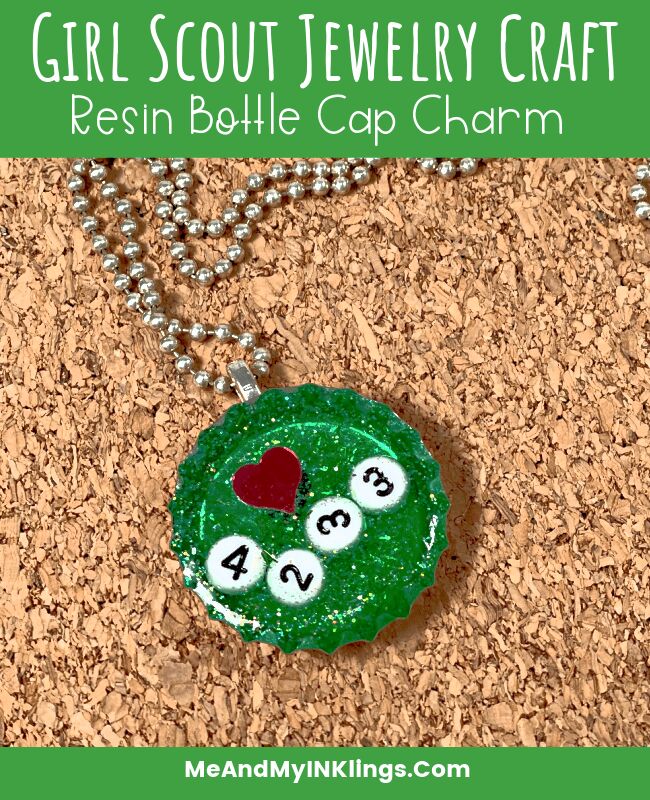
Jewelry Making Bottle Cap Charm With Resin
My Girl Scouts love to craft and make all the things, especially jewelry. It started out with friendship bracelets when they were Brownies. Once they got a little older we ventured into harder things like hand stamped jewelry and beading. As Junior Girl Scouts, earing a Jeweler badge is possible. One of the ideas is to turn everyday things (like a bottle cap) into jewelry. This resin charm is so perfect for a Girl Scout jewelry making badge craft.

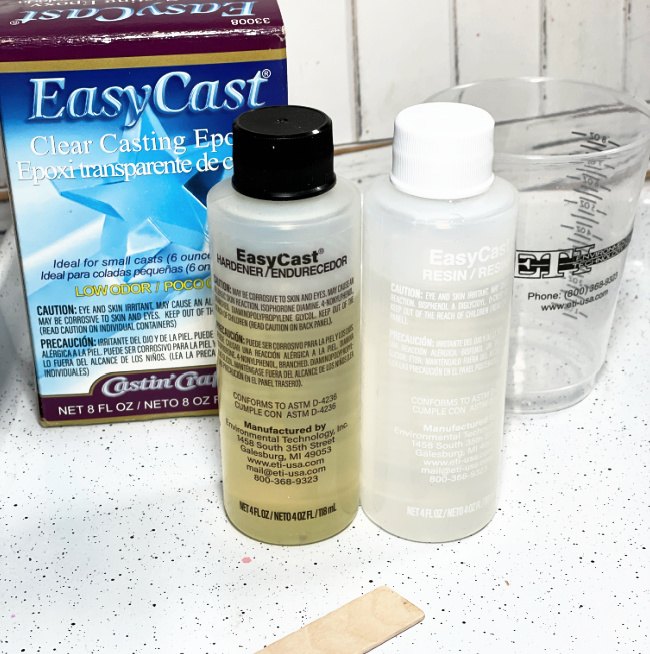
Materials and Supplies Need to Make the Resin Jewelry Bottlecap Charm
- ETI EasyCast
- ETI Transparent Green Dye
- Bottle Cap
- Number Beads
- Jewelry Bail
- E-6000 Adhesive
- Green Glitter
- Mixing Cup and Tools from ETI
Directions
If you are making this with a small group of girls, they should all be ready with their bead picked out and their glitter on standby before the resin is mixed. An adult should definitely supervise or do the mixing and pouring.
Step One
Start by carefully measuring and mixing the epoxy resin according to the instructions on the box. THIS IS SO IMPORTANT. The ratio has to be exactly 1:1. This is the easiest resin charm to make but FOLLOWING the directions is cricital.
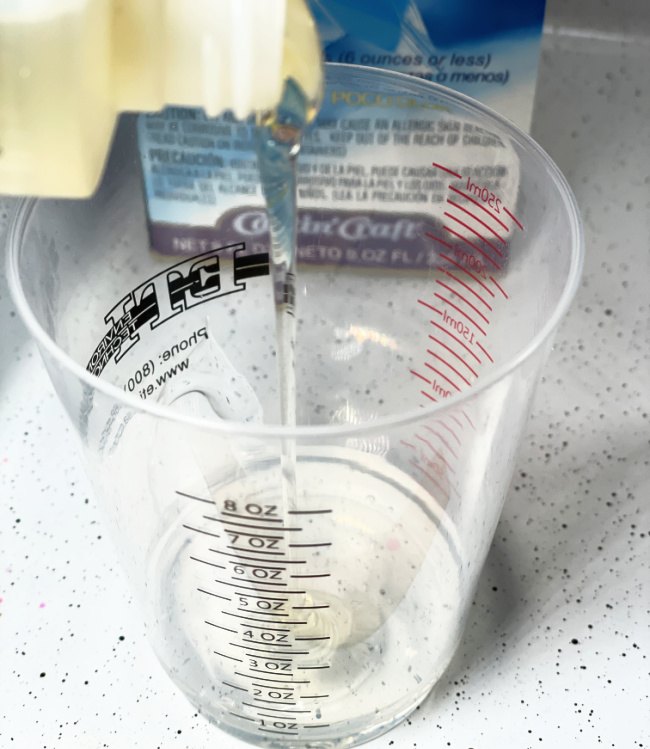
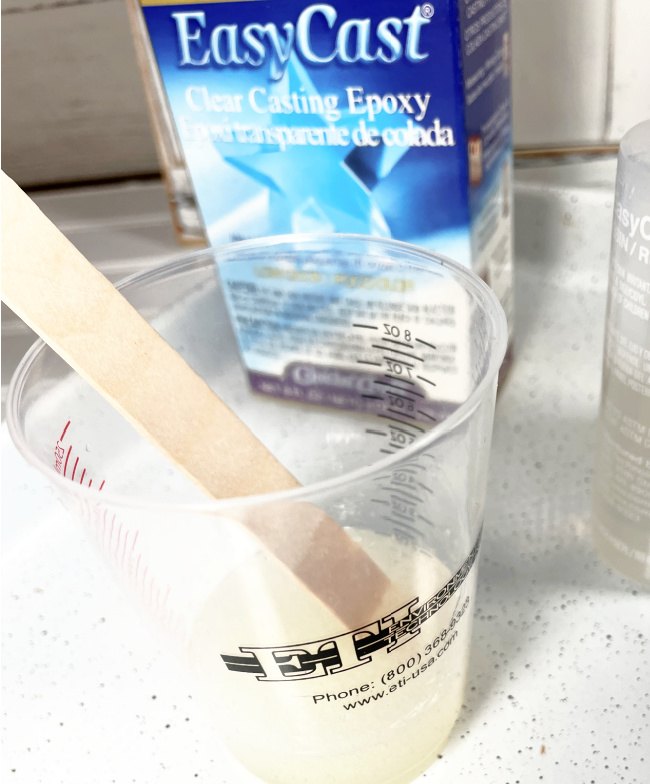
You have to pay attention to your project carefully! When your first mix the two parts together, you should see they look cloudy or wavy. This is normal. You should notice, however, that the more you mix, the closer the mixture gets to a clear liquid.
Step Two
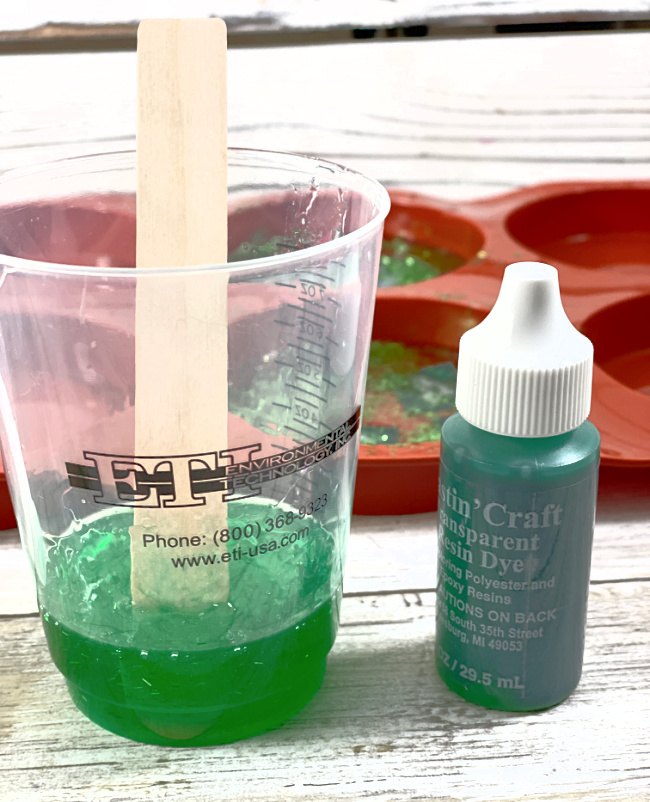
Add green dye to tint the resin. Stir it in completely.
Step Three
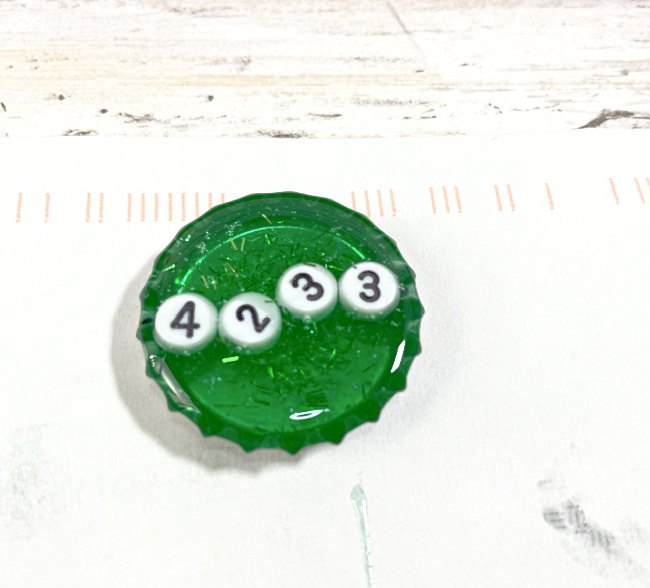
Pour the resin into the bottle cap, leaving a little room for the beads and glitter so it doesn’t overflow. You can always add a little more resin if needed once the beads are placed. If the beads settle in the wrong place, you can use a toothpick to move them around. Note that they might shift a little when the resin is setting and that is okay. Add glitter if desired.
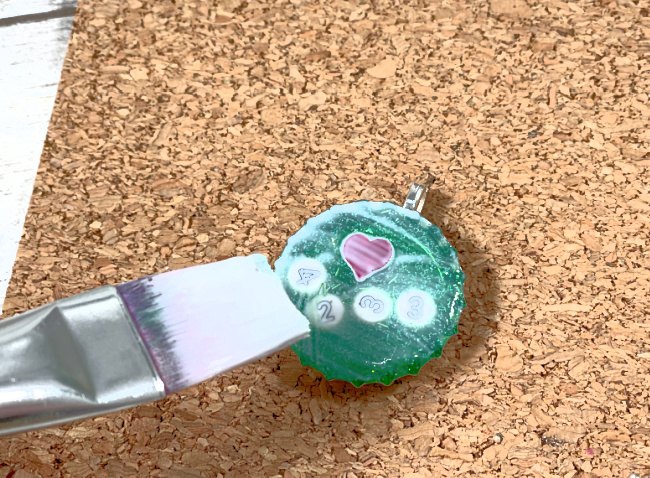
I added a little red confetti heart from my craft stash too. Let the resin set for 24 hours.
Step Four
If desired, add a coat of Modge Podge gloss on the top of the set charm in this Girl Scout jewelry making craft.
To make a charm that can be added to a piece of jewelry, use E-6000 adhesive to attach a bail to the back of the charm. The bail can be simple or ornate. This completely is determined by your personal taste. I prefer simple. Let it dry completely before going any further.

Add it to a chain and you have a beautiful piece of jewelry.
Tips For Working With Epoxy Resin When Making Charms
I think it is wise to share a few tip that will help you when you are making your resin charms!
- MOST IMPORTANT!!!! Make sure you measure the resin and hardener carefully. It must be exactly 1:1 ratio.
- Mix the two parts together completely. Take your time and mix for at least 7-10 minutes. If they are not completely mixed, then your resin mixture will not set properly and will stay sticky!
- When mixing, make sure you do it slowly so that you don’t get too much air into the mixture. You want to keep the bubbles to a minimum.
- After you pour the resin into the molds, if you have any little bubbles on the surface of your resin, you can use a lighter to gently pop the bubbles. A match works too but be super careful that it doesn’t fall in the resin!
- Do not use paper stickers or paper scraps in the resin! Use plastic or metal ones instead.
- LETTERS and WORDS! – If you are using letter beads, be sure to spell any words backward, as they will be views from the other side on the finished piece.
- GLITTER TIPS! – Fine glitter will sink down to the bottom of the mold. If you want to add a backing of fine glitter then you will want to wait a few hours for the resin to set, before sprinkling it on the surface.
The author may collect a small share of sales from the links on this page.


Comments
Join the conversation