Fuss-Free Makeup for Beginners: How to Do an Easy Glam Look

Want to try a simple, fuss-free, glamorous makeup look? This makeup for beginners tutorial is perfect for those who want something achievable quickly.
In this easy makeup routine, I won’t be adding the extras such as false lashes, eyeliner, highlighter, etc. It’s a purely basic makeup look. Let’s get started.
Tools and materials:
- Foundation
- Beauty blender
- Concealer
- Assorted makeup brushes
- Blush
- Mascara
- Lipstick
- Contour
- Cream-based eyeshadow stick
- Eyelash curler
- Eyeliner
- Powder bronzer (optional)
- Metal-tooth eyelash comb (optional)
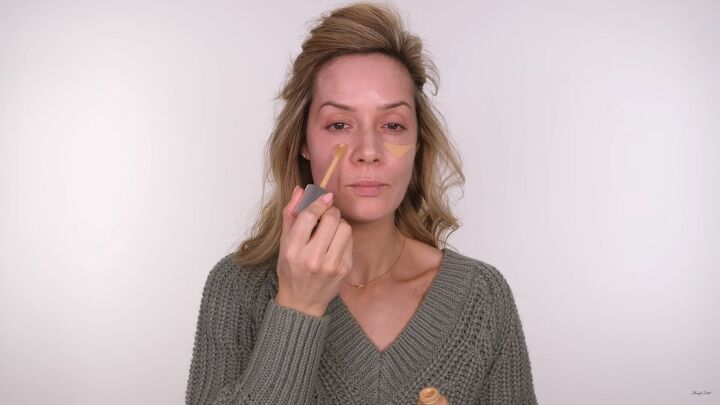
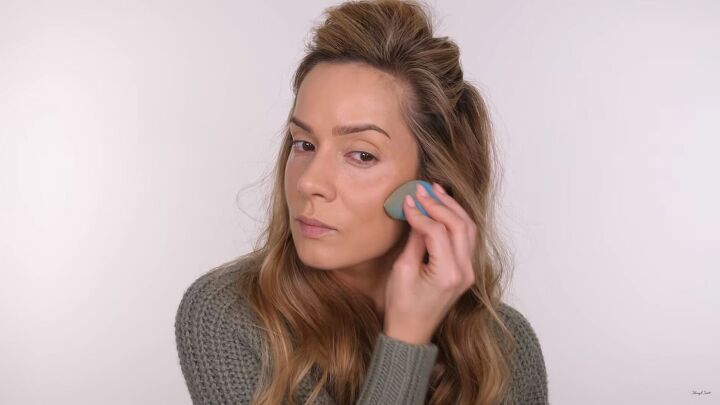
1. Foundation + concealer
After completing your skincare routine, go ahead and apply foundation. I have a combined foundation and concealer product, which makes things easier. Apply the foundation straight to your face, as shown.
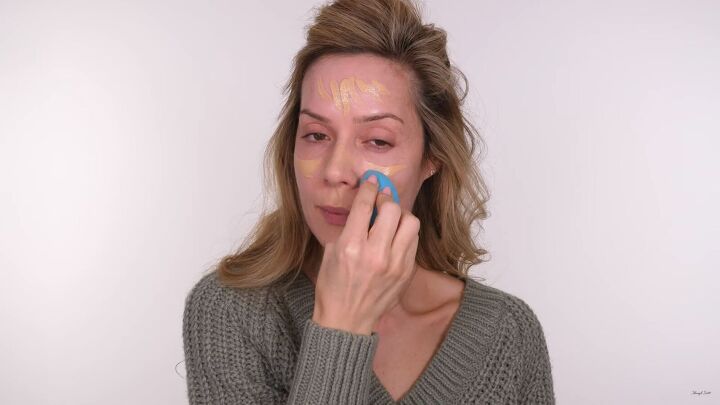
Then, apply a little to the back of your hand and use a damp sponge to blend for a silkier finish.
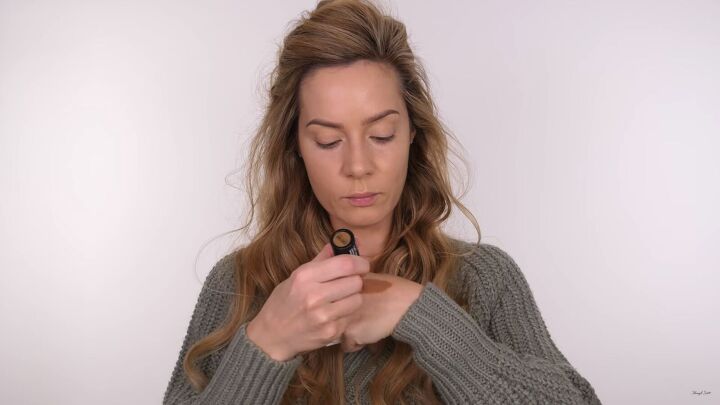
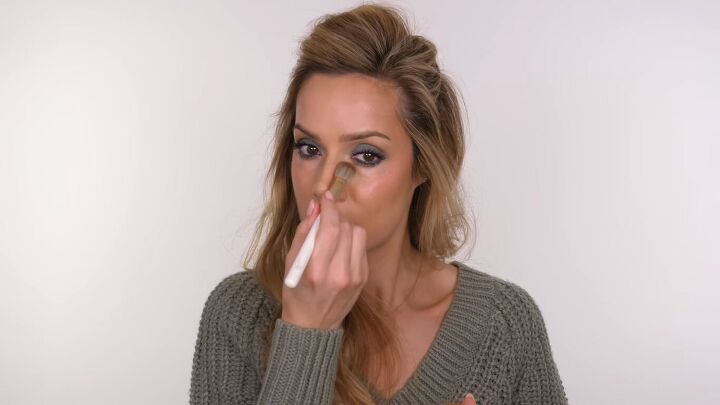
2. Contour + bronzer
Use a contour stick to add shape and warmth to the skin. If your contour is a cream product, first work it on the back of your hand to warm the product up.
From there, stipple your brush onto your hand, using your hand as a palette.
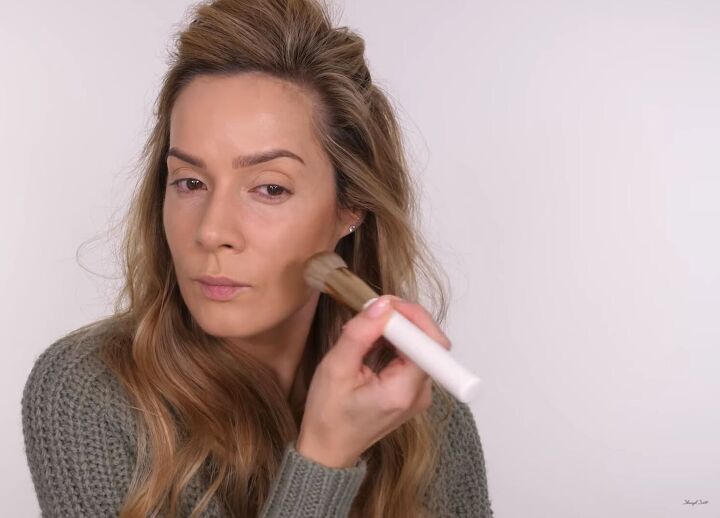
Apply the contour to your cheekbones and the temples in a stippling motion.
By applying contour first to the hand, it won’t be as intense as applying it directly onto the face, and you won’t have to spend as much time blending it in either.
Since it is a cream, you can blend and soften the seam with a damp makeup sponge.
You can also use your contour as a bronzer. Pull the color forward across the cheek; this is where the sun would naturally hit the face.
Don’t be afraid to stipple a little around your hairline and across the bridge of your nose. This adds structure to the face as well as a sunkissed look to the skin.
Tip: using cream-based products makes blending much easier. If you are using creams, wait until the end before adding powder on top.
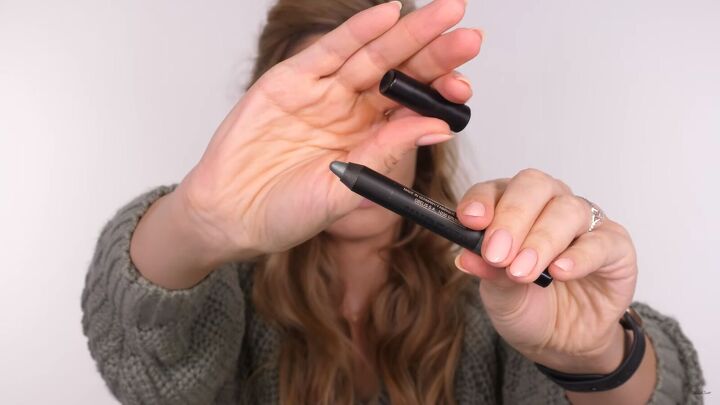
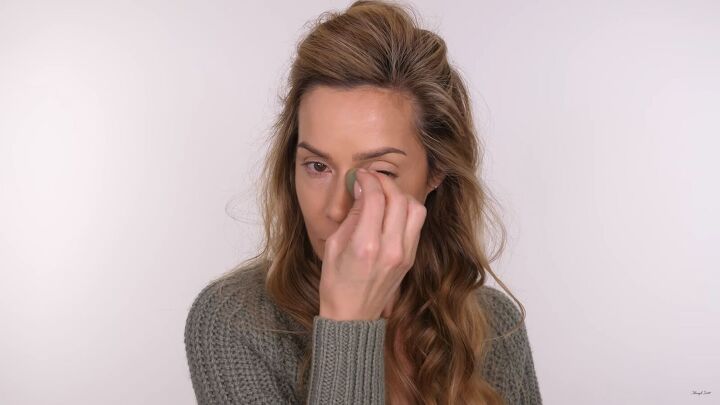
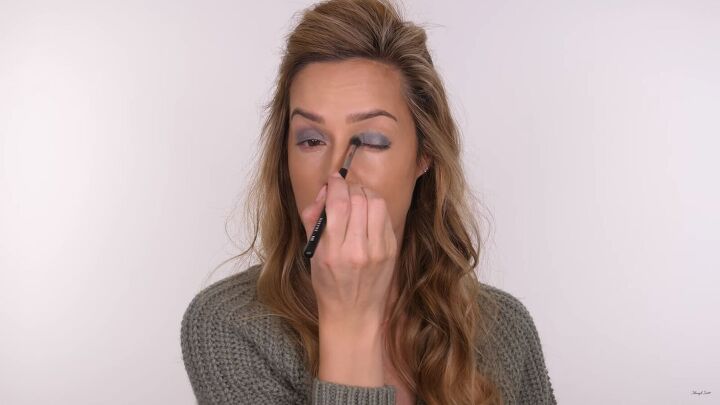
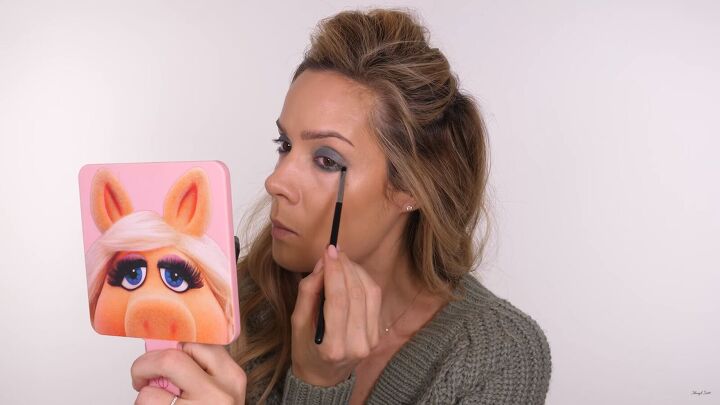
3. Cream eyeshadow pencil
For the eyes, I’m using a cream-based eyeshadow pencil. I chose this color to match the sage color top I’m wearing.
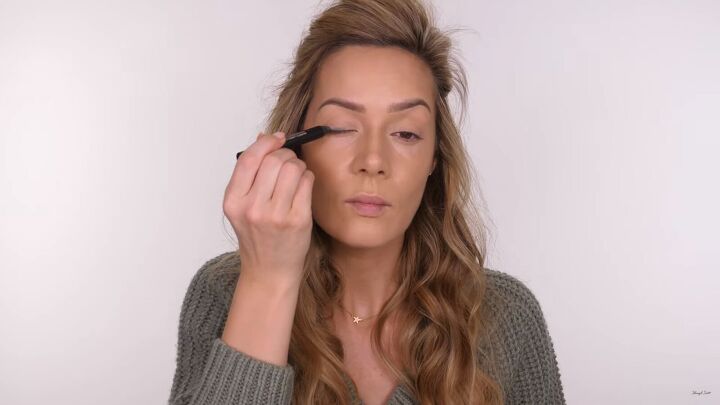
By using a pencil, I can directly apply the eyeshadow to my mobile eyelid.
Blend out the color with your blending brush. Don't take the eyeshadow any higher than the socket; just into the socket, so that it's nice and soft.
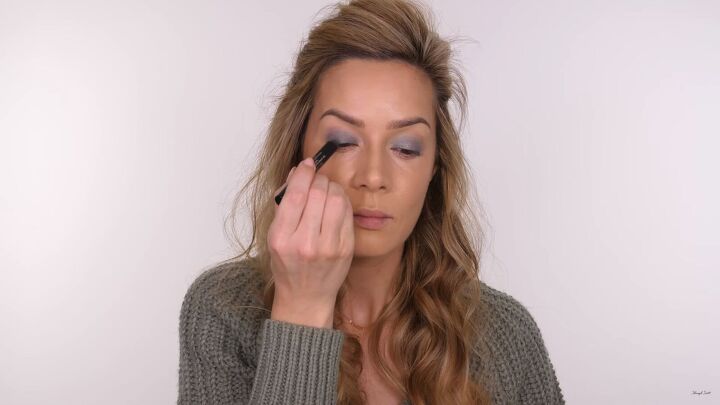
You can layer on more eyeshadow to build up the intensity. I'm going for a glam, smokey eye look, but one that is super simple to achieve. Building layers this way also helps the eyeshadow last longer.
Next, line the rims of your eyes with the same eyeshadow pencil. This is the great thing about using cream products - they are multi-purpose.
Tip: This green shade is very flattering for brown, blue, and green eyes, so don't be afraid to give a color like this a try.
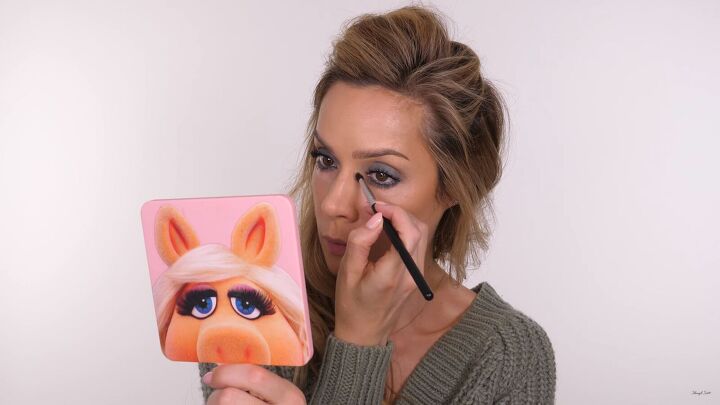
If your under-eyes need a little more work, apply concealer there, as I have.
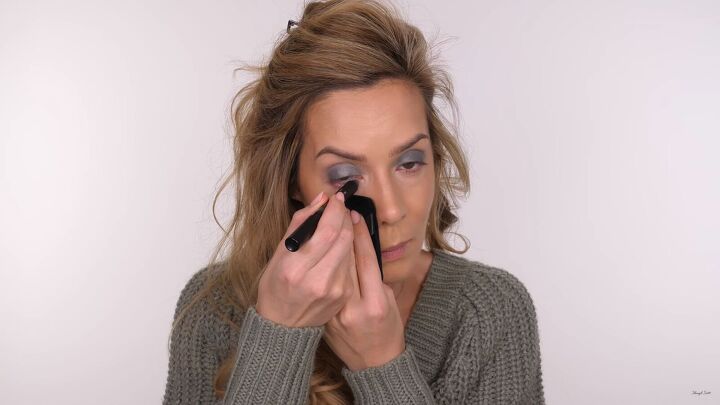
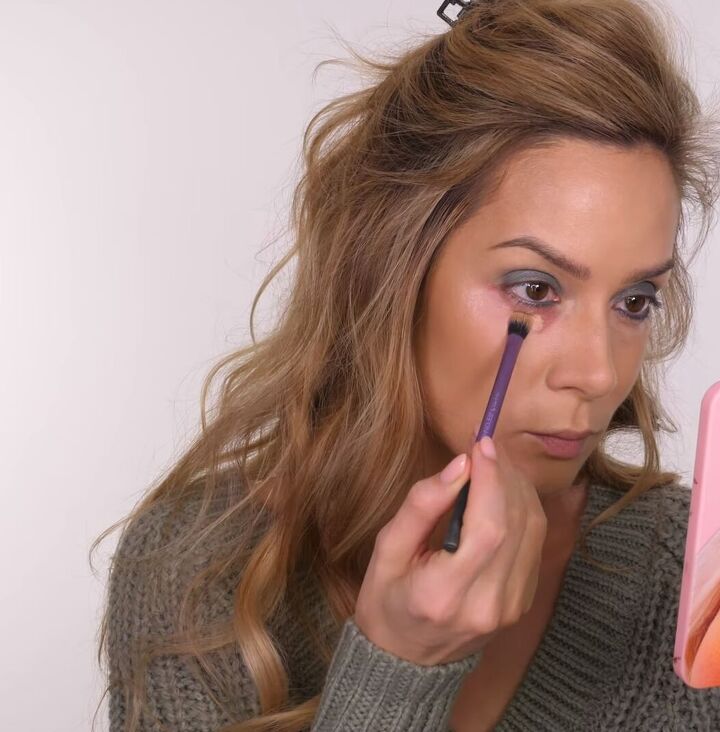
Whenever you have dark eyeshadow on top, it’s always good to frame the eye. So, blend the same color out underneath the eye with a subtle smudge.
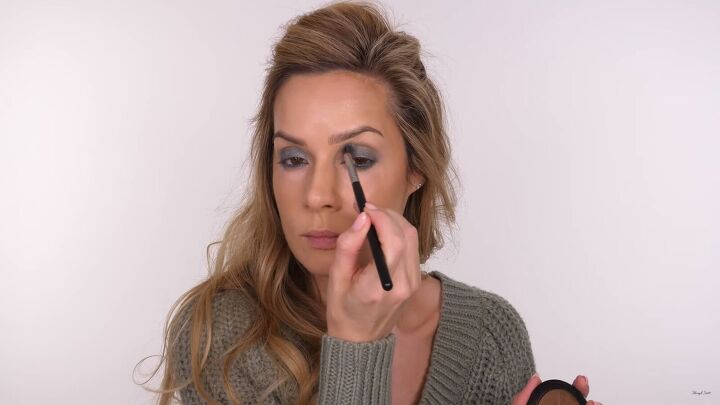
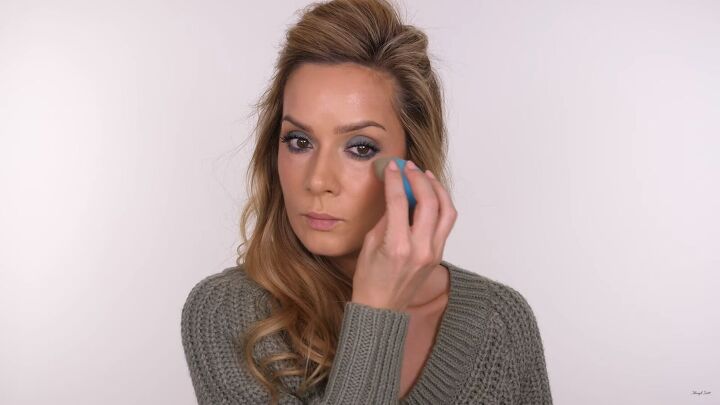
As an optional step, take a powder bronzer and softly run that over the sockets of your eyes.
This is a nice way to create a transition between the deep eyeshadow and your skin tone. It also ties in with the bronzer on the rest of the face, creating a cohesive look.
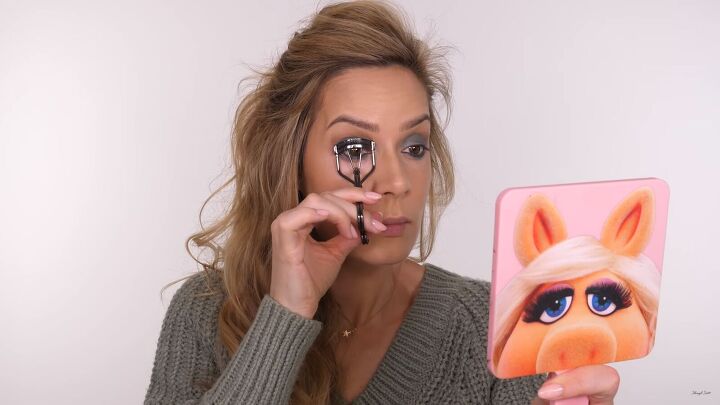
4. Eyeliner and mascara
First, go ahead and curl your eyelashes.
Then, tightline your eyes. I prefer to use liquid eyeliner for this step and I'm using a brown shade. This makes such a difference to your lash line, especially if you're not applying eyeliner on the lid.
It’s best to do this step after you’ve curled your lashes, as curling lifts lashes and gives you easier access to the upper waterline.
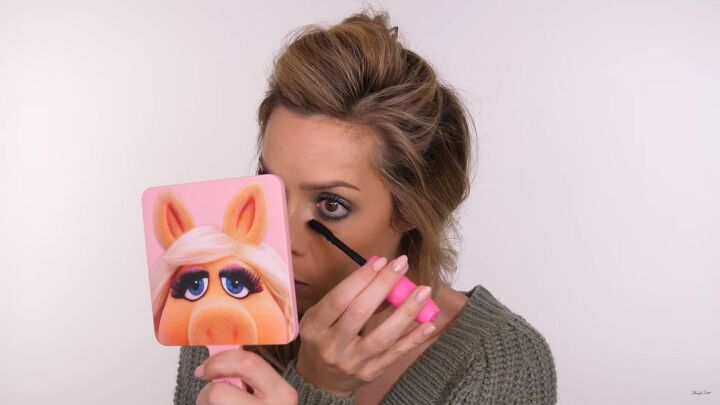
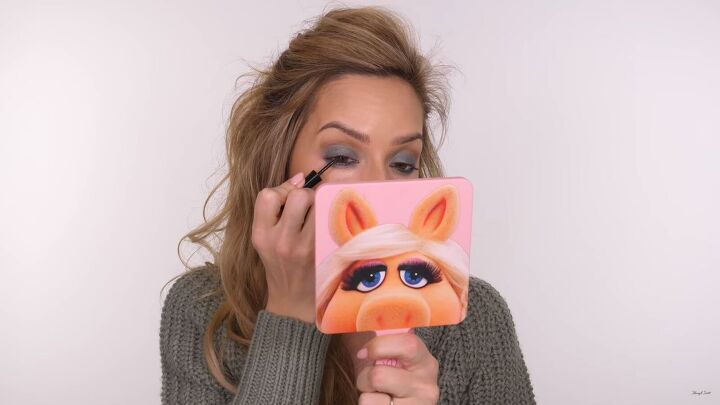
Next, go in with your favorite mascara.
Tip: The mascara I'm using is quite chunky, so I tidied up my lashes with a metal-tooth wand after. This is a great tool to have on hand to separate lashes and avoid clumps.
Brighten the inner corners of your eyes with concealer.
5. Cream blush
Apply a cream-based blush to your cheekbones with a brush, then use a damp makeup sponge to smooth out the edges, and press the product into the skin.
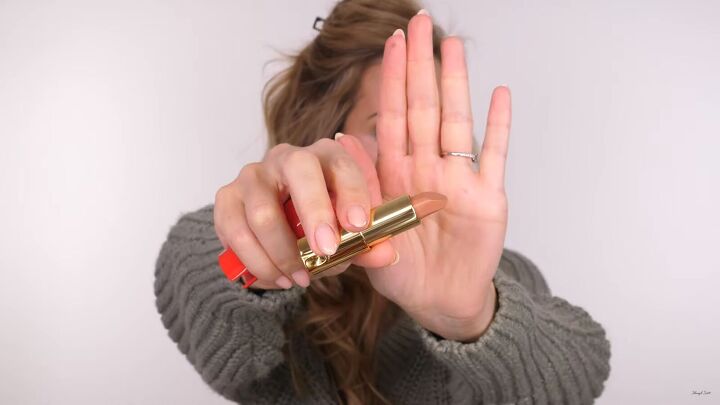
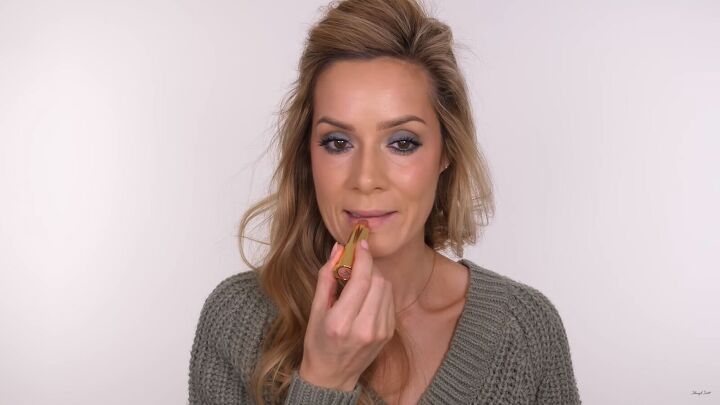
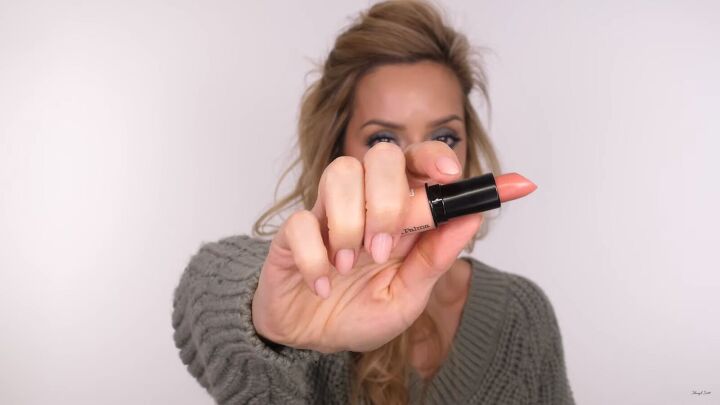
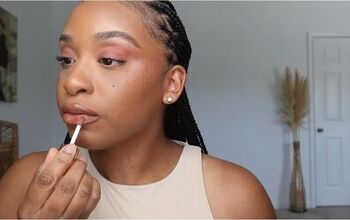
6. Nude or blush lipstick
Since we’ve gone for dark eyes, it’s best to go in with subtle lipstick. There are two great color options for a look like this.
The first is nude lipstick, which ties in with the bronze vibe on the skin.
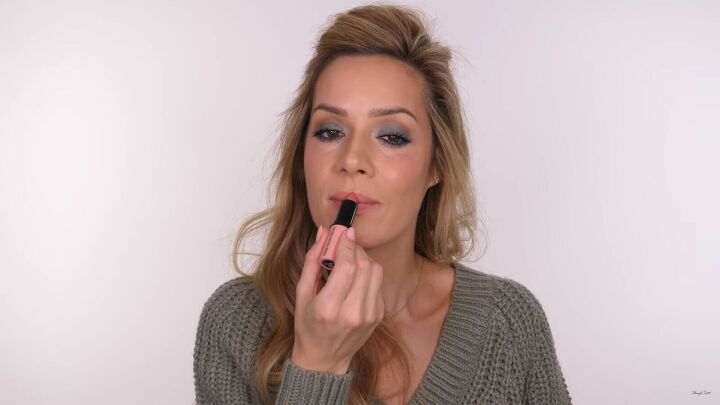
Or you could go for a pinky blush tone, which complements the green on the eyes.
7. Powder
Finish off the skin with a little powder, which helps set the cream makeup in place. I applied this lightly where needed.

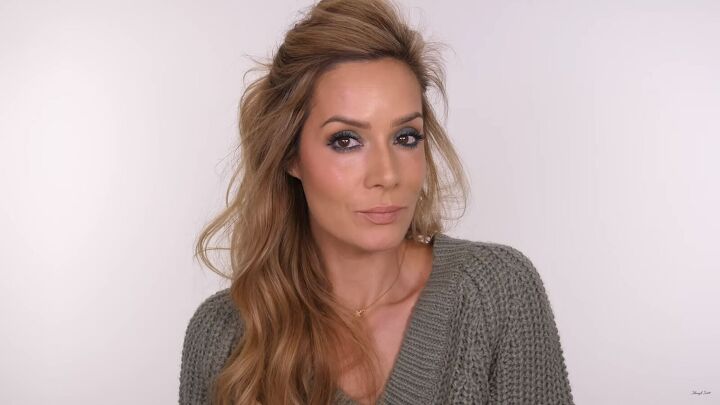
Makeup for beginners tutorial
Here’s the finished look! I hope you enjoyed this makeup for beginners tutorial. It’s simple, fuss-free, and really beautiful! I highly recommend using cream-based products for quick and easy blending.
Thanks for joining me and let me know what you think of this makeup look in the comments.
Products used:
- AllEven Instant Perfector All-In-One Foundation, Concealer & Treatment - Pearl
- Beauty Blender Sponge
- Urban Decay Brow Blade - Cool Cookie
- SoSu Contour Stick - Cool
- Monika Blunder Call Your Buff Angled Brush
- NUDESTIX Magnetic Luminous Eye Color - Night Dweller
- Morphe M453 Brush
- AYU - Instant Under Concealer - Medium 3
- Anastasia Beverly Hills A3 Pointed Brush
- bareMinerals Endless Summer Bronzer - Faux Tan
- Kevyn Aucoin Eyelash Curler
- Wet 'n' Wild Megaliner
- Diego Dalla Palma - My Happy Toy Mascara
- KVD MonCon Luminairy Gel-Blush
- IT Cosmetics 7 Heavenly Luxe Complexion Perfection Brush
- LH Cosmetics Majestick Lipstick - Light Beige
- Diego Dalla Palma - Dance Dreamer Lipstick
- Charlotte Tilbury Airbrush Flawless Powder
- Monika Blunder Hybrid Cream Brush
The author may collect a small share of sales from the links on this page.


Comments
Join the conversation
Showing all of your examples in a close-up mode would’ve been far more effective. The way the pictures are now, no details can be seen which makes it a lot harder to understand what you are meaning.
It was totally helpful and informative