Comfy Lounging All Summer Long
Comfy lounging is a priority to me no matter what time of year. As soon as my work day ends, I can’t wait to put on the most relaxing clothing to spend the remainder of the day in!
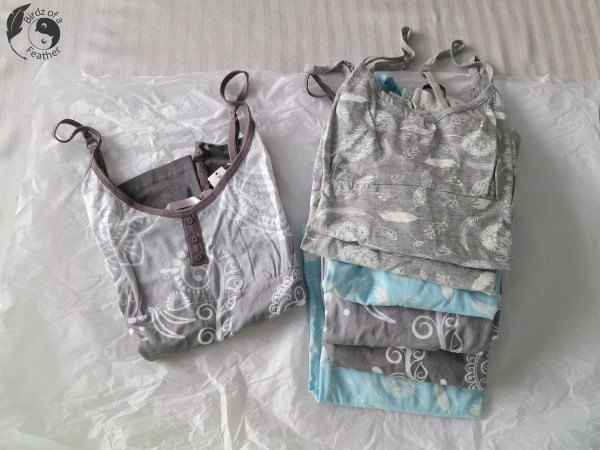
When I came across the most amazing clearance of loungewear camis at a popular sleepwear store, I had a dilemma. There were no suitable bottoms to match, but I couldn’t pass up such a good price!
What’s a crafty blogger to do? Grab a pattern and sew her own lounge pants!
Materials and Pattern Used
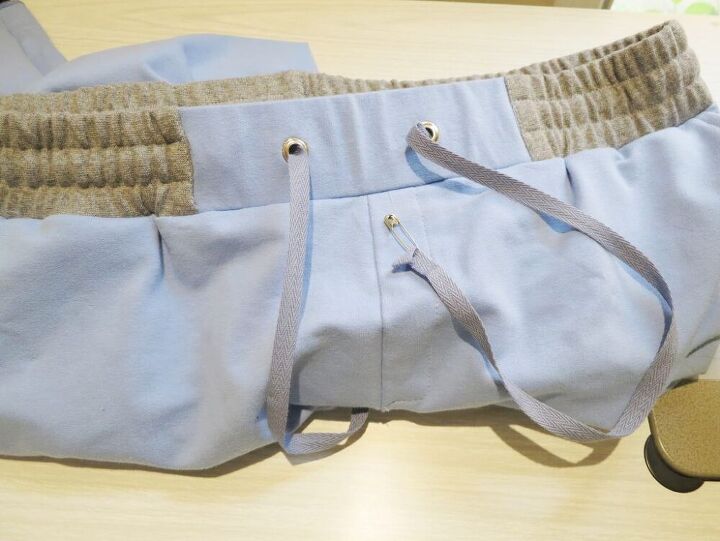
To tie in the grey from the camis, I accented with a grey rib knit. Since I’ll be pairing my fabric selections with the grey camis you saw above, the colour combo I selected will work perfectly!
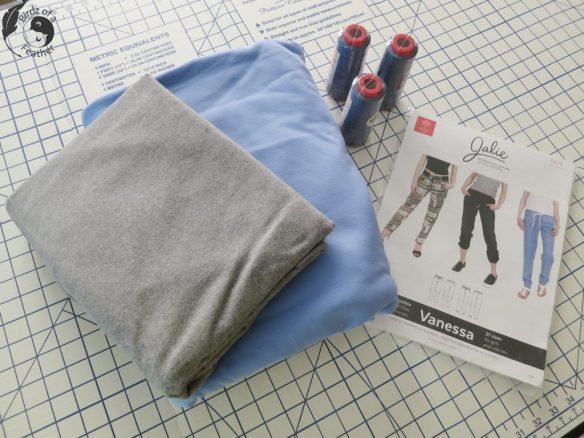
I’m a huge proponent of 100% cotton knit when it comes to lounge wear; it breathes and stretches. I especially love working with french terry. I wear french terry all year long – no matter what the season. Now that it’s summertime, it’s perfect to take the chill off of indoor air conditioning!
Working with Jalie Patterns
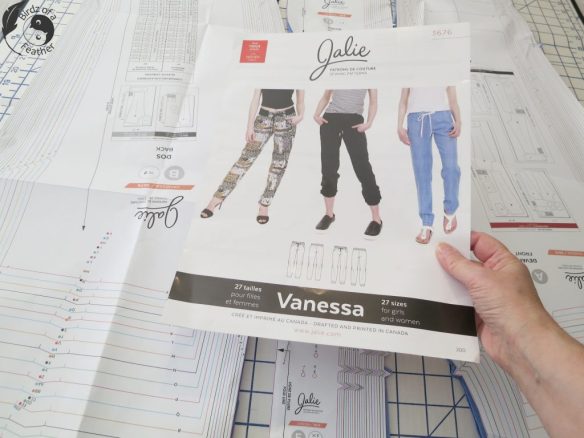
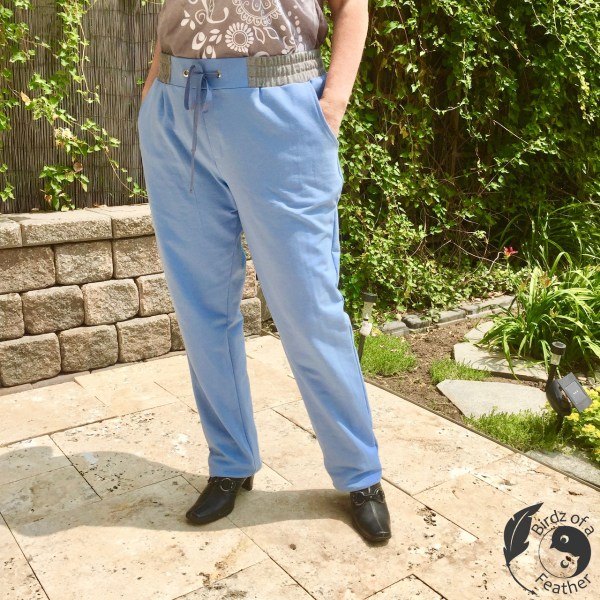
This is Jalie’s Vanessa Fluid Pants (pattern 3676). What I love about the style (besides the opportunity to use two different fabrics) is that you could easily use this pattern for sleepwear using a lighter weight knit!
It is so rare to find sleepwear on the market that actually has pockets! Believe me, I know! Why spend time looking for bottoms with pockets when you can whip up your own over the weekend?
Watch this very quick video for an overview of all the steps, then read on for the detailed tutorial :).
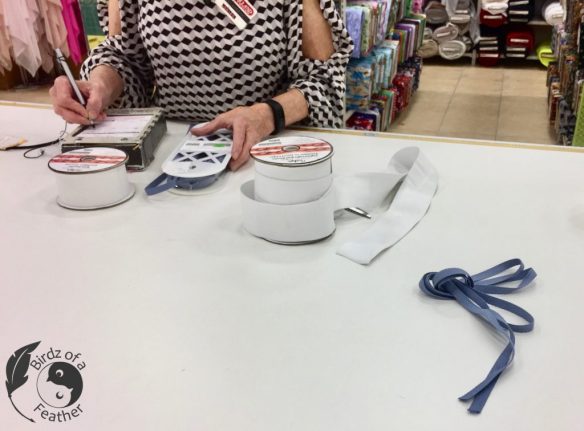
By the way, the pattern envelope does not list a few notions that are needed such as the yardage for the drawstring, interfacing and grommets for the waistband (if not doing buttonholes). While I was buying elastic, I found a flat twill to use for the drawstring (shown below). I bought 1.8 metres, which will be more than sufficient (you may need a bit extra, depending on your waist size).
Select a Size
Picking your size couldn’t be easier with a Jalie pattern; there are 27 sizes in each one! For pants, you only really need two measurements to get a perfect fit: your hip size and inseam. The pattern can easily be lengthened or shorted at the knee if necessary.
Once I figured out my size, it’s just a matter of cutting out the pattern on the coordinating colour coded line (mine was pink). Here’s a trick so you don’t accidentally cut on the wrong line. For each pattern piece, take a pencil and colour in all the relevant notches for your size.
Then for each line, put a slanted pencil mark through where you will cut (do this all around the pattern).
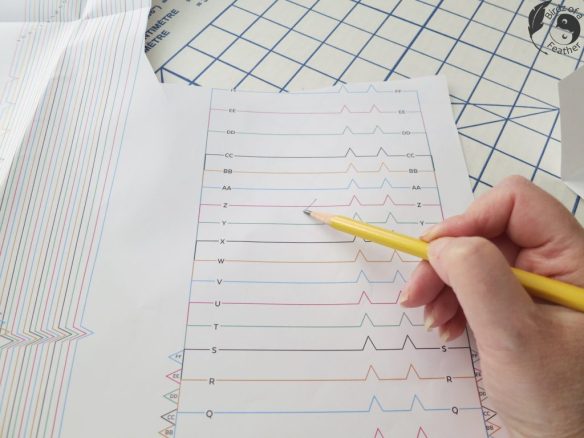
With so many sizes in one pattern, if you use my trick, you will find it much easier to stay on track as you cut out the actual fabric!
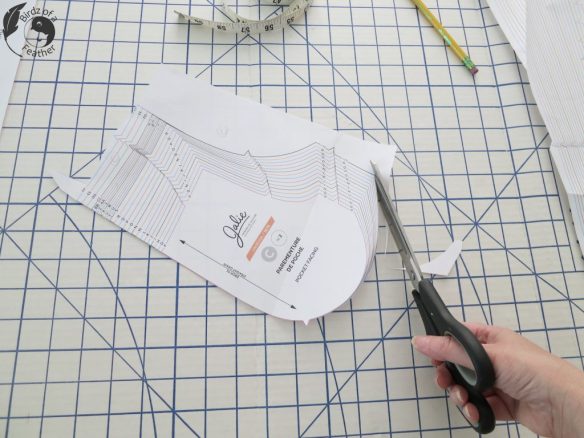
Here’s another tip: keep separate scissors for paper and fabric. Paper will dull your good fabric scissors very fast so never cut paper with your ‘good’ scissors.
Cut around every pattern piece before preparing the fabric.
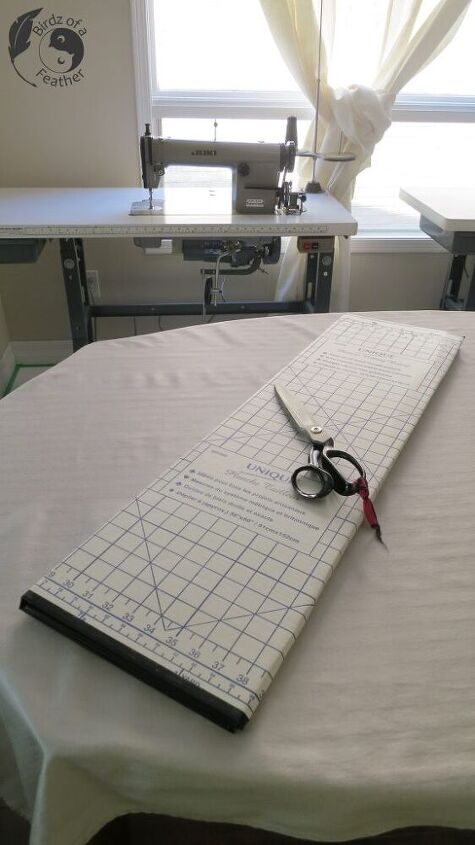
Other than my scissors and sewing machine, my folding cutting board is the most indispensable piece of equipment. It allows me to cut right on top of my dining room table! In the background you can see one of my industrial machines. I don’t typically keep those in our dining room; it’s only temporary!
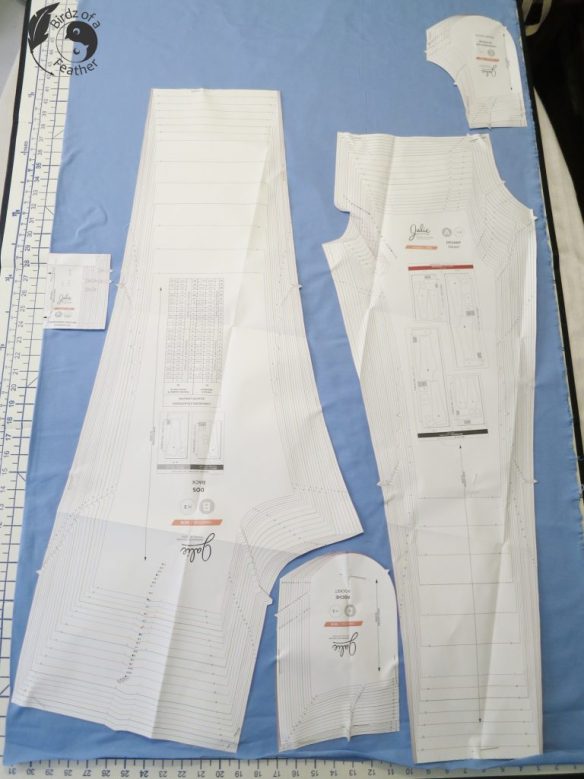
One all your paper pattern pieces are cut out, it’s time to lay them out on the fabric.
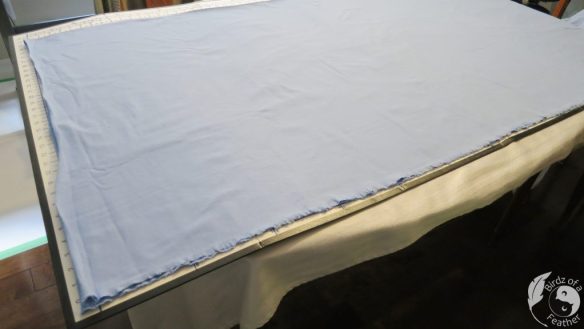
One thing to keep in mind when working with knit is that it ‘travels’. What I mean by that is even though the selvedges may appear to line up properly, the fabric near the fold may not lie perfectly flat. You may need to reposition the fabric so it lies perfectly smooth at the selvedge – and not bunched up at the fold. As you see below, once I straightened out the grey rib knit, the cut edge was offset.
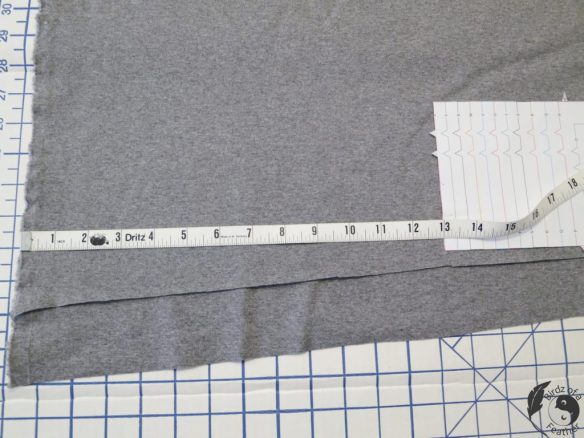
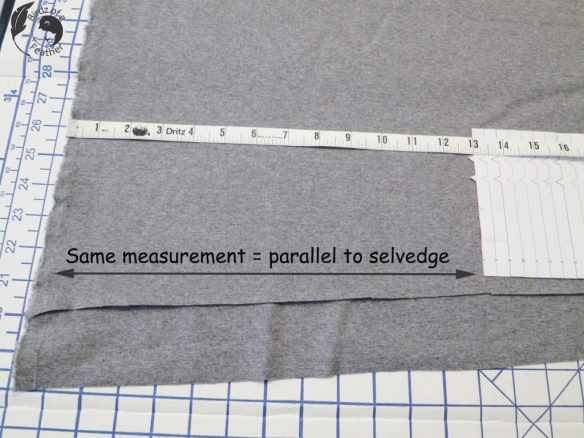
Each pattern piece has a grain line marked on it. Ensure that the grain line measures the same distance at opposite ends of the pattern piece as shown below so you keep the pattern parallel to the selvedge. Here, I’m measuring from the selvedge, but if you have a piece on the fold you can measure from there instead.
The french terry lined up very well; I just needed to ensure the selvedges were even. I guess the texture of the terry helps prevent the ‘travelling’ I mentioned above!
While the Jalie pattern instructions provide great layouts for 45″ and 60″ fabric, the french terry is just a little bit wider than 60″ so I was able to maximize the fabric with my own layout.
Finally, the pieces are all cut out and it’s time for the fun part; sewing it all together!

Knit Fabric Sewing Tips
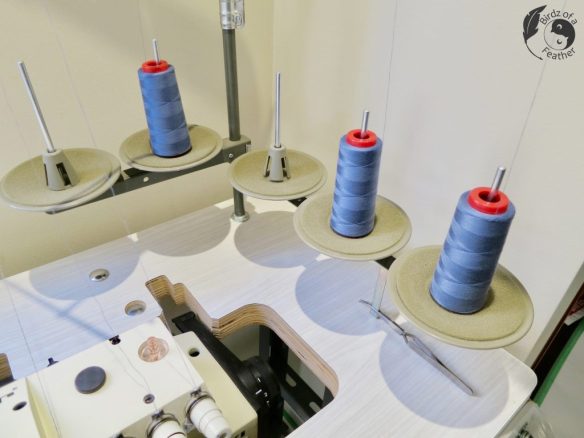
For a professional finish, I serge the raw edges as I finish each seam.
When working with knits, you need to switch out your regular sewing/serging needles with ball point needles. A regular sewing needle will typically cause the knit to form holes, causing the fabric to run. That’s the last thing you want to spoil all your hard work!
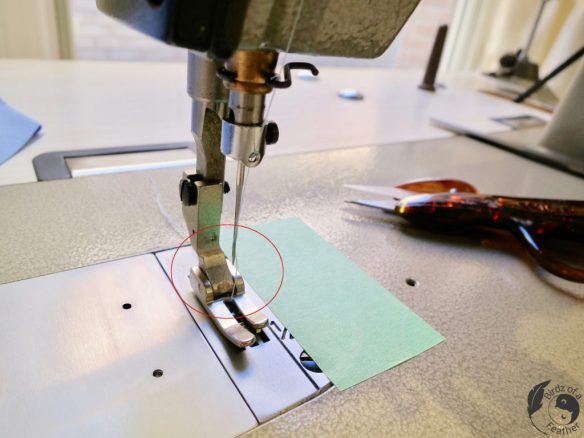
Jalie patterns allow 3/8″ seam allowance, so I put piece of green tape on the needle plate to help guide my stitching.
Assembly
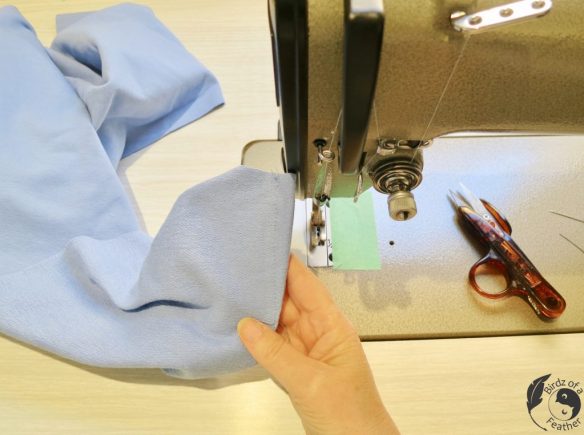
Jalie instructions are very easy to follow! I first stitched the darts on the back pieces.
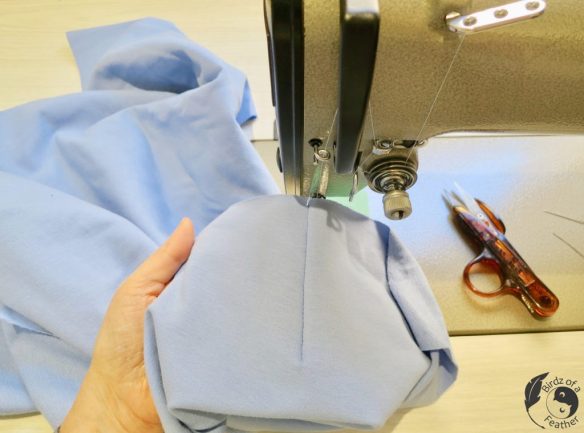
With the darts done and right sides facing, I joined the back pieces at the crotch (double nothches help you line it up).
Create Faux Fly Front
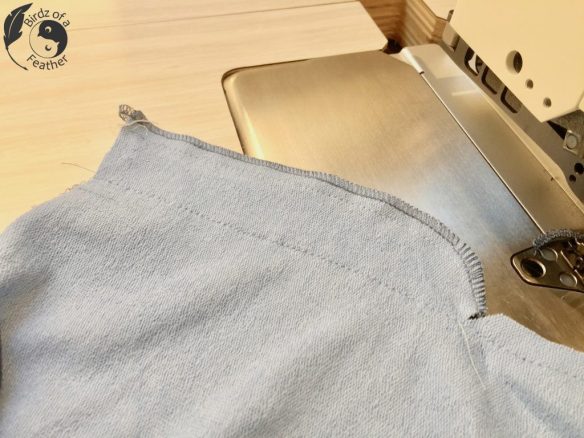
The front crotch seam is stitched.
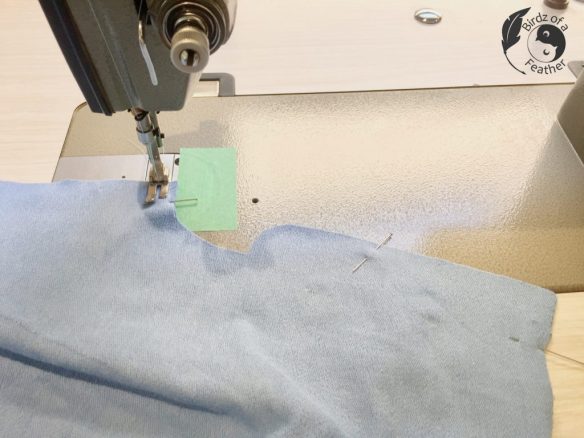
Then the front is clipped at an angle just under the faux fly, stopping short of the stitches! That allows me to serge the front.
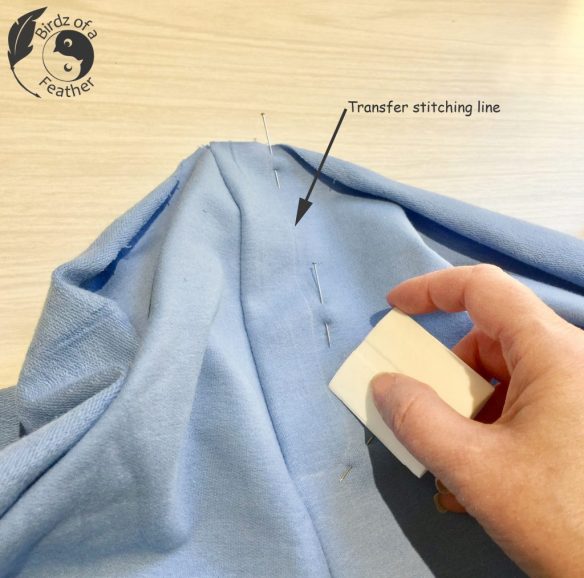
Topstitch Faux Fly
On the right side, the faux front is brought to one side. I marked the topstitching line on the right side with the help of some tailor's chalk (it washes out)
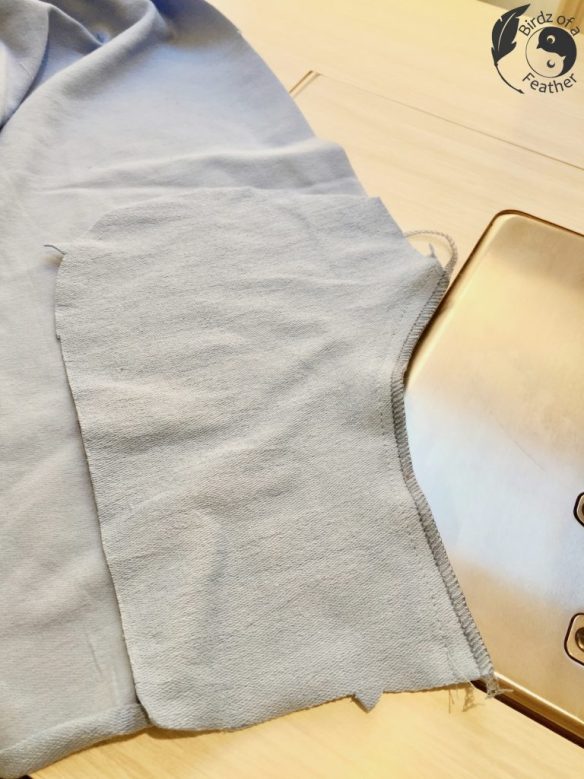
After stitching the faux fly, I moved on to pockets.
Pin and stitch the front facing. Open the facing so the right side is up and under stitch through the facing and seam allowance.
Bring the wrong sides together and topstitch the edge. Pin the pocket to the pocket facing.
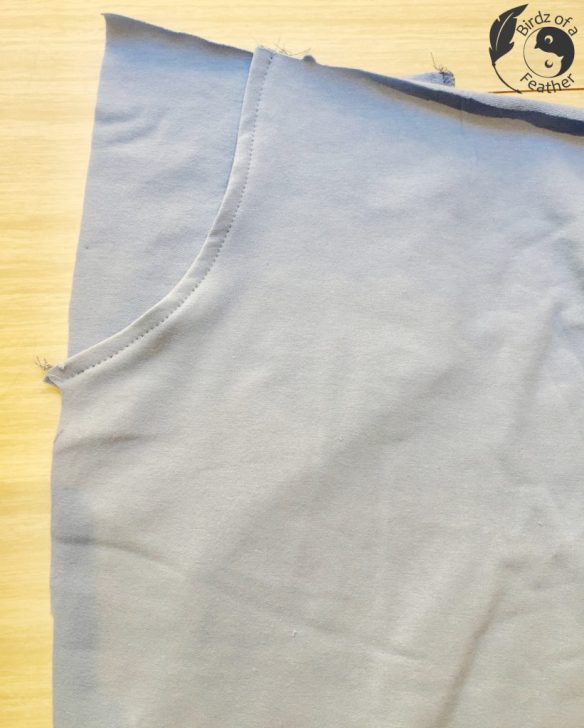
Stitch and serge the pocket facing.
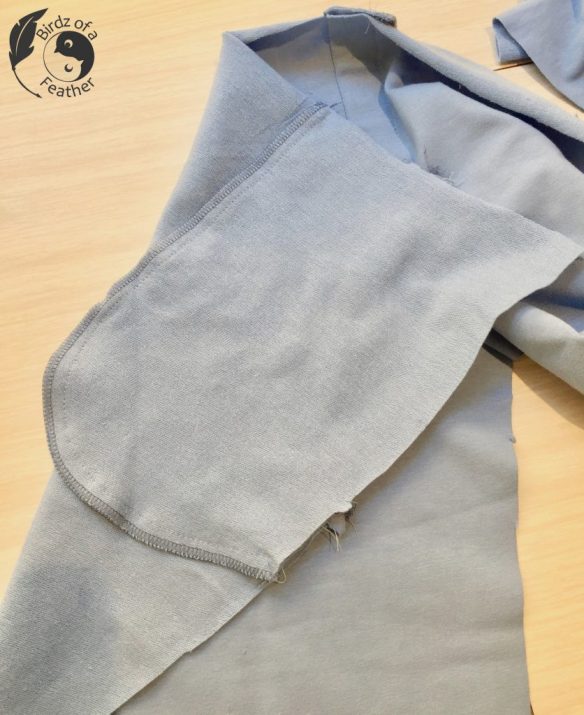
With the pocket in place, the waste and side is basted to the facing to keep it in position. Then the inseam and sides are sewn and serged.
Add Grommets
You could stitch button holes for the opening of the drawstring, but since I have an industrial machine that does not do zigzag, I did grommets instead.
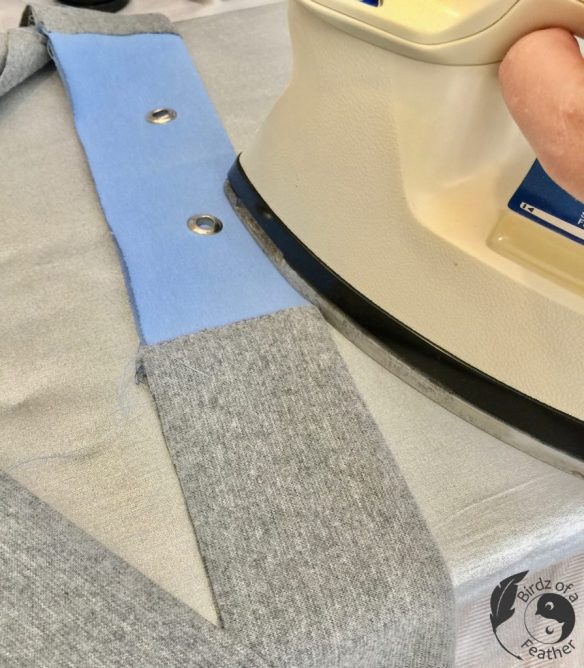
Prepare the waistband by ironing on fusing (I just used scraps) and marking the holes.
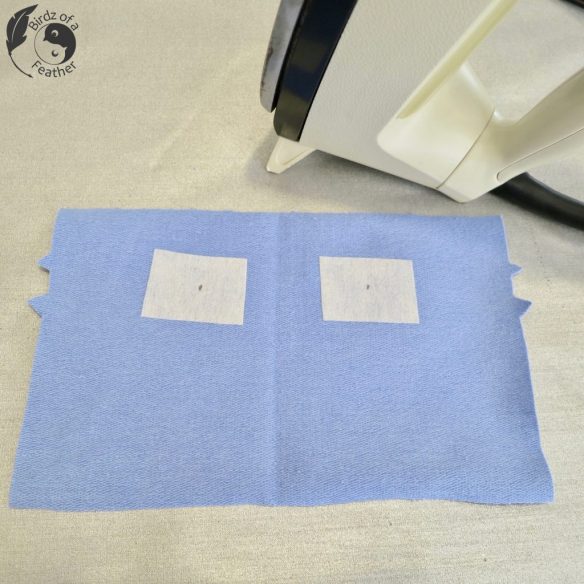
It’s always a good idea to test first on a scrap piece of fabric so you get the size of the hole just right and can also test out the grommet tool. You can cut the hole with sharp scissors but my husband had an old hole punch from his kiting days so I used that instead.
The hat shaped piece of the grommet is pushed through the hole to the wrong side. The washer lays over top. Then the grommet tool is used to squeeze it together.
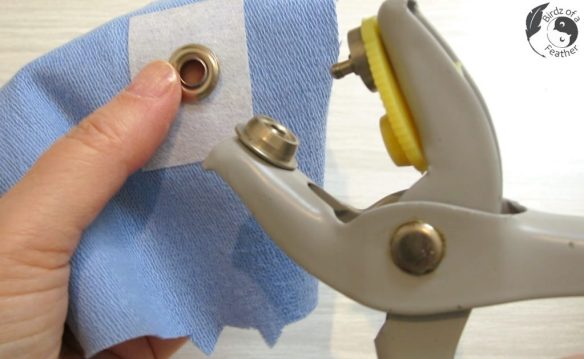
If I find the edges of the washer aren’t quite tight, I reposition or even flip the tool around and squeeze again to get the washer to close completely. Now the waistband is ready to assemble.
Waistband
With right sides together, stitch the seams. Bring seam allowances toward waistband (away from inset) and topstitch.
Fold waistband in half lengthwise and iron the fold.
Attach waistband to pants waist and stitch, leaving 1 1/2″ open at back to feed the elastic through.
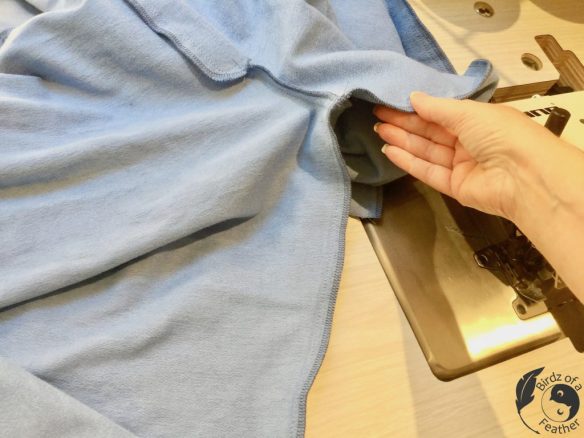
Add Elastic
I use a large safety pin to help guide the elastic through, but you can also use a bodkin.

When you bring the elastic out the other end, make sure that the elastic is not twisted inside the casing before stitching together. If it is, adjust it.
Now you can sew closed the 1 1/2″ opening. I also serged the raw edge to finish it off and ran some rows of topstitching to permanently gather the elastic. Just stretch the elastic flat as you topstitch and you will get perfect gathers.
Attach the drawstring, hem the legs and you're all done.
My First Upstyle Reveal!
I maxed out at 30 pics for this tutorial so head to our website (click below where you see our logo) for more pictures and details. 
I hope you’ll give the Jalie Vanessa pattern a try! Now I can relax in style!
Up until now, I have only done home and garden DIYs with my husband on our blog, Birdz of a Feather, but I had ‘sew’ much fun making these lounging pants that I may have to add a new sewing section!
Get your craft mojo on and subscribe to Birdz of a Feather (visit the link below where you see our logo)! You can also follow us on social media (copy & paste in browser – or you’ll also find these links at the top of this post):
Pinterest: http://bit.ly/BirdzPIN
Facebook: http://bit.ly/BirdzFB
YouTube: http://bit.ly/BirdzYT
Instagram: http://bit.ly/BirdzIG
The author may collect a small share of sales from the links on this page.


Comments
Join the conversation