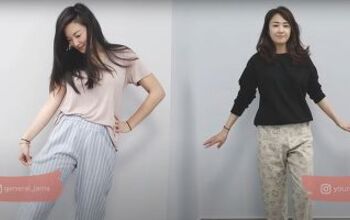
Sew Pajama Pants

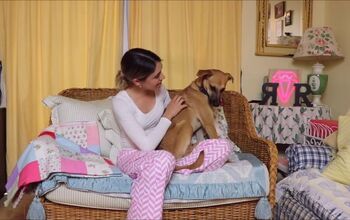
You can never have too many pairs of pajama pants! I don’t know about you but day or night I love lounging about in a comfy, cozy pair of pajama pants. In this DIY tutorial, I show you all the tips and tricks you need to know to sew a super easy and simple pair of PJ pants. If you are looking for a fun sewing project that will leave you with an awesome new pair of pants, my tutorial is exactly what you need! Follow a few simple steps and get started on these easy, DIY pajama pants.
Tools and materials:
- Pattern paper
- Marker
- Pattern master
- Vary form curve ruler
- ruler
- Measuring tape
- Pins
- Scissors
- Safety pin
- Elastic
- Bias fabric
- Fabric
- Sewing machine
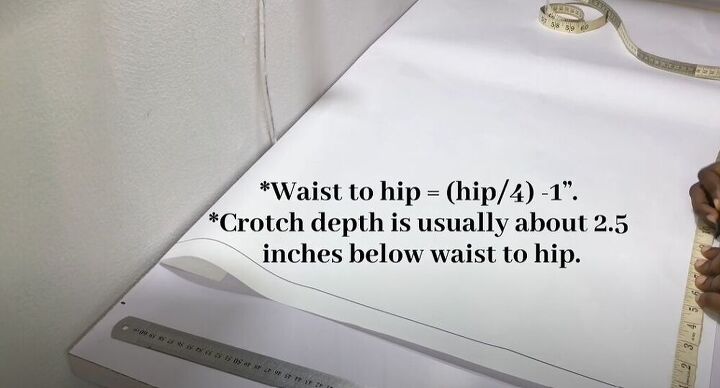
Before you can kick off this awesome DIY, you will need a few measurements. Use a measuring tape to get your hip, waist, waist to hip, crotch depth, and trouser depth measurements.
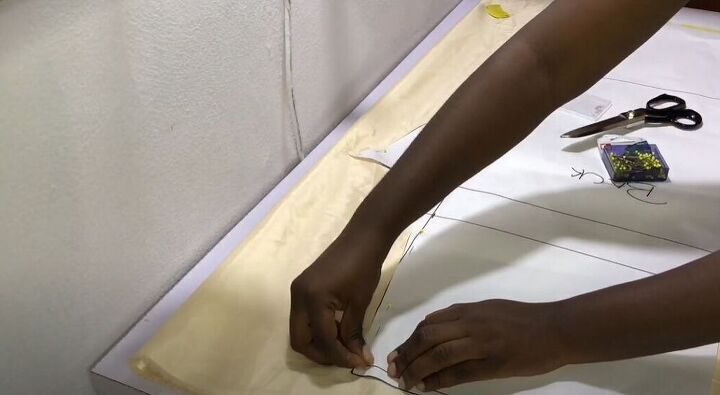
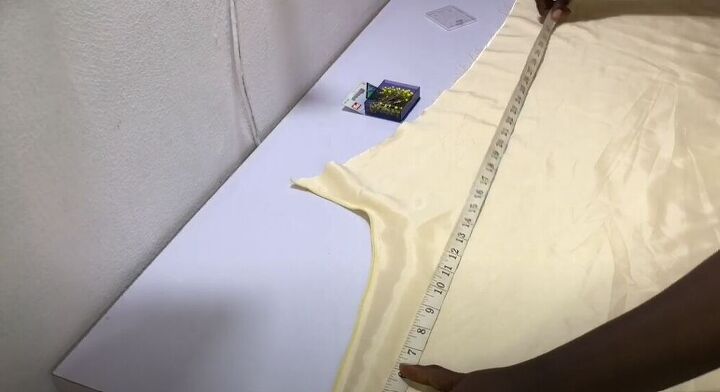
Draft a pattern
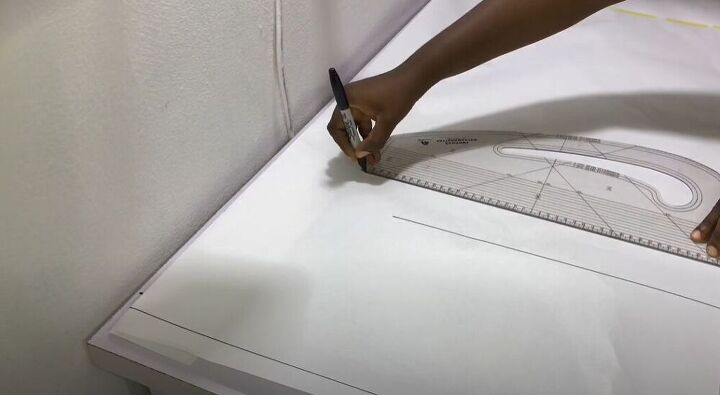
Go ahead and draw a straight, top line on your pattern paper about 1 inch from the edge. Then from that line, mark your trouser length measurement, your knee measurement, and of course your waist to hip and crotch depth measurements. Remember your waist to hip measurement is normally your hip measurement divided by 4 minus 1 inch and the crotch measurement is usually 2.5 inches below that. For the knee measurement, calculate half the distance from your crotch depth to your trouser length, minus 2 inches.
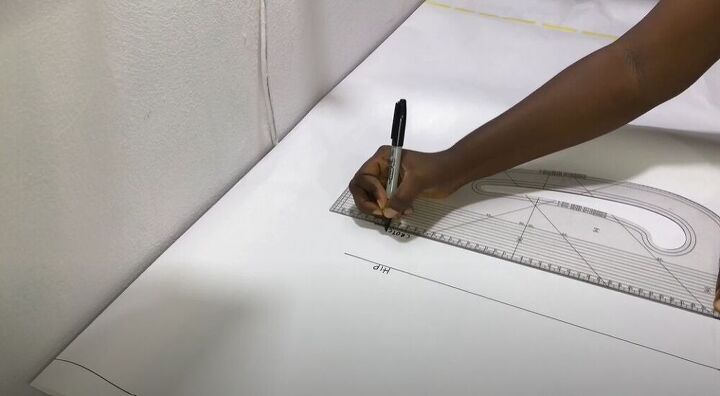
Once you have squared out all of the points, label them. This will definitely help make this DIY a whole lot easier.
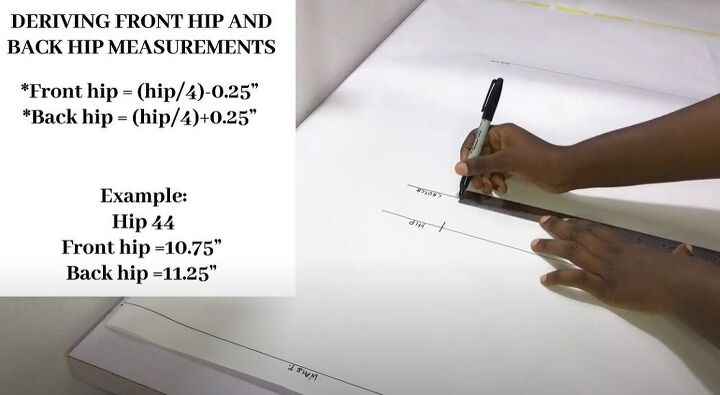
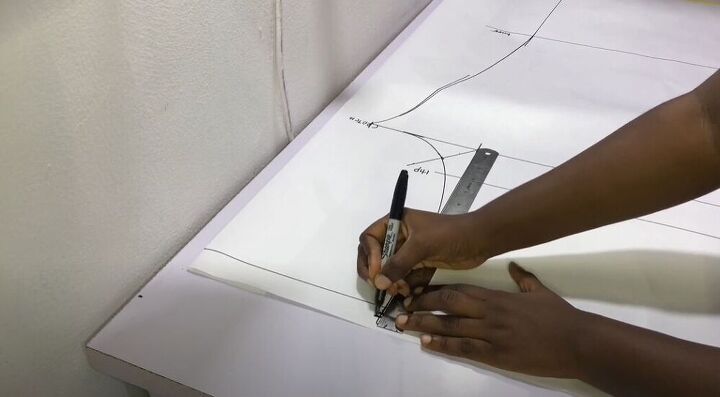
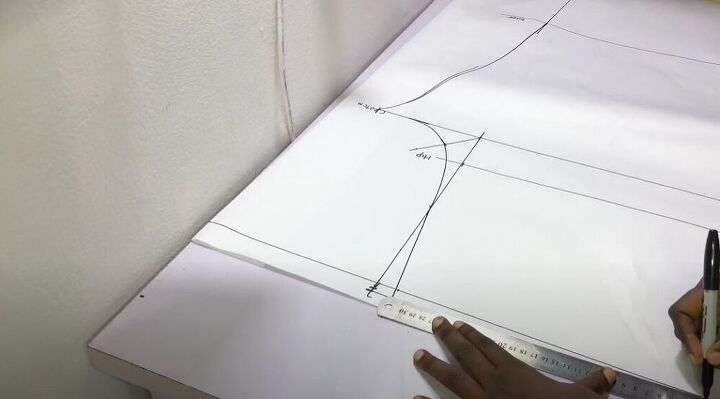
On the waist, hip, and crotch lines mark a front hip measurement. To work out this measurement see the small square on the left in the above picture. Once you have marked these points, connect them with a vertical line.
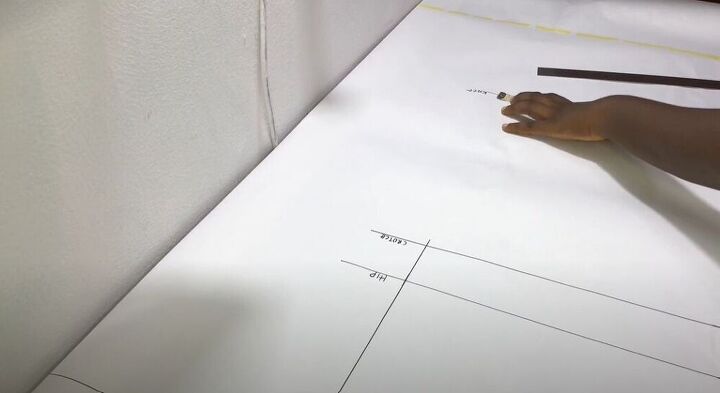
Next, mark your desired knee measurement. I like to use my front hip measurement plus an inch. Then mark your hem. I usually use my exact front hip measurement for the hem.
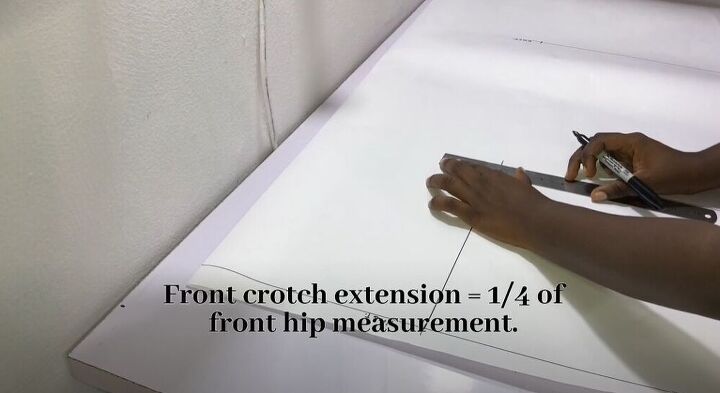
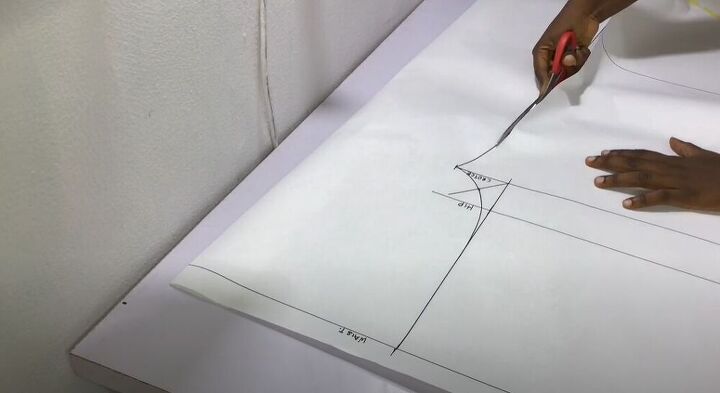
Move back to the crotch line and extend it by a ¼ of the front hip measurement.
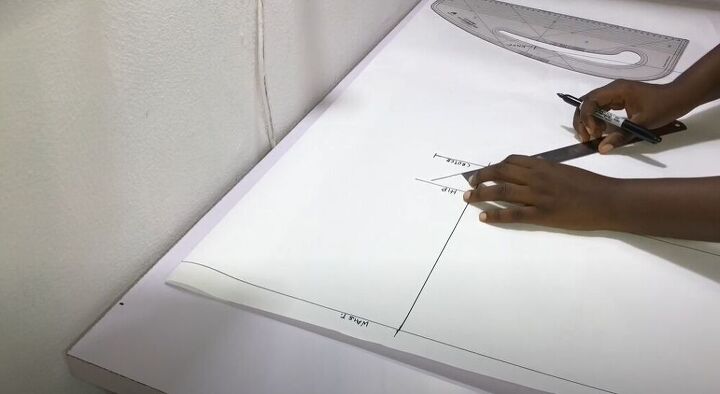
Find the middle between the hip and crotch lines and once you have marked it at a 45-degree angle, make a point 1.5 inches on the marking.
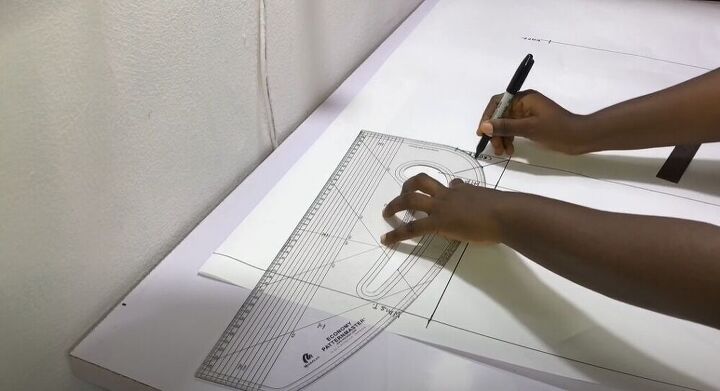
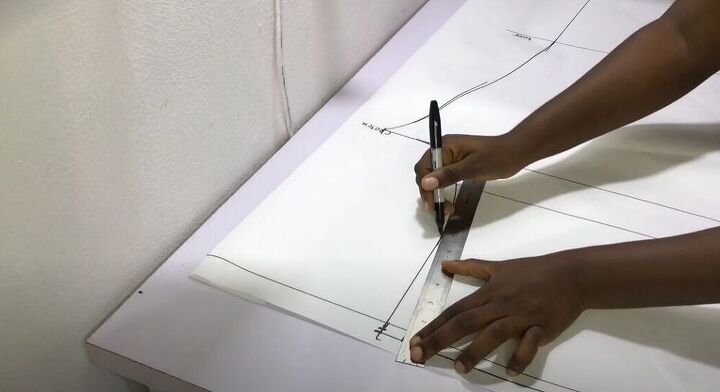
Then go ahead and connect the crotch to the waist through that midpoint. To see exactly how I did this step, see 4:08 in the video above.
Next, connect the crotch, the knee, and the ankle and label this as your front piece.
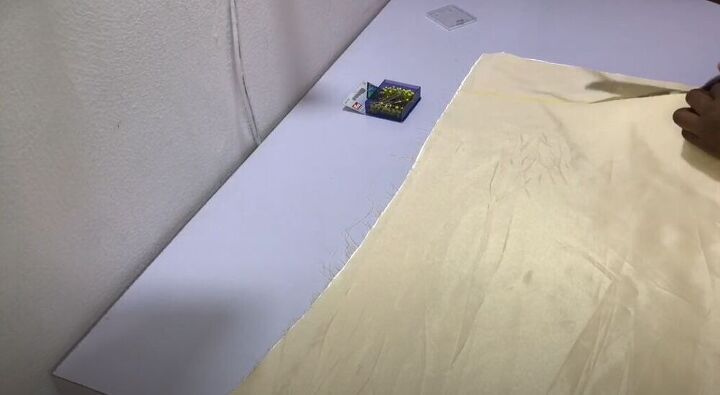
Finally, you can go ahead and cut out your front pattern piece.
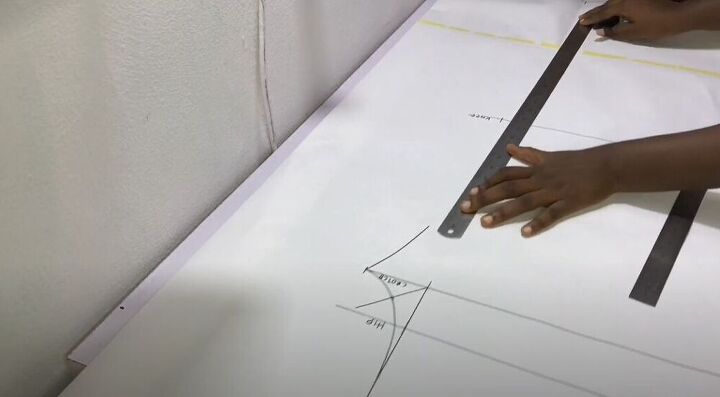
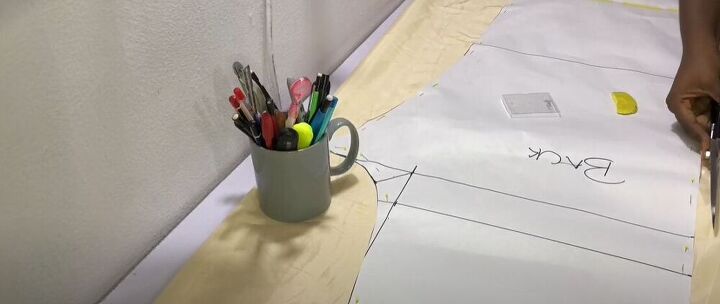
For the back pattern piece, repeat the process of marking and squaring out your waist, hip, crotch, knee, and hem measurements. The main difference between the front and back pieces is that the back piece is slightly bigger and the crotch extension is a bit wider.
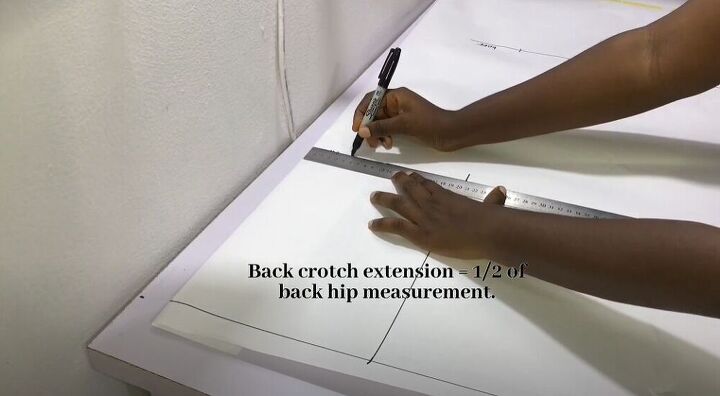
Once you have connected the waist, hip, and crotch and marked your desired lengths for the knee and hem, extend your crotch line by ½ of your back hip measurement.
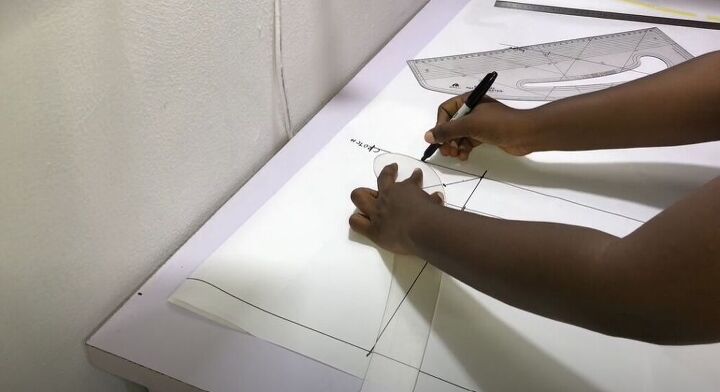
Once you have repeated finding the midpoint for the 45-degree angle, draw in your crotch. Just like you did for the front piece, connect the crotch to the knee and ankle.
Move back up to the waistline and extend the center back by ½ an inch.
Make another marking 1 inch inwards and connect this point back to the crotch.
Then connect this new marking to the corner of the inner waistline at a slant.
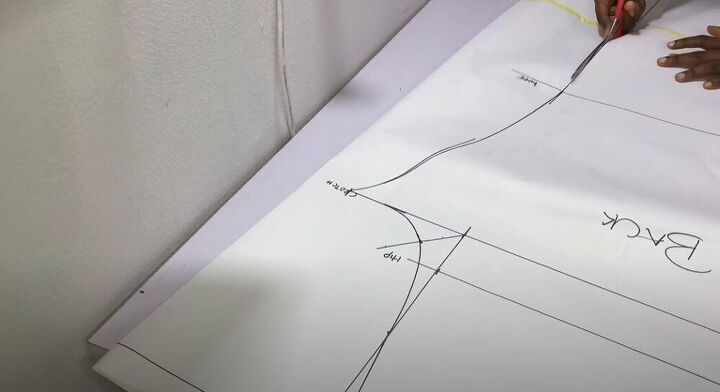
Label your back piece and cut it out.
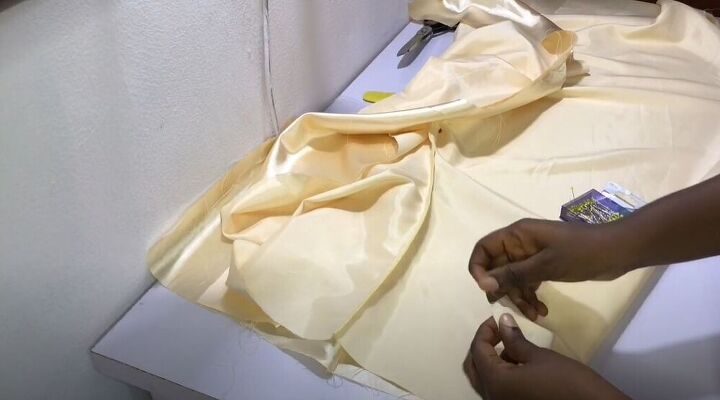
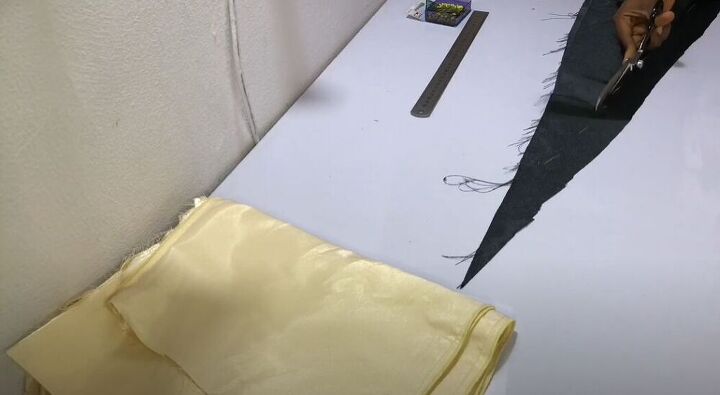
Cut out the fabric
Finally, it’s time to start working with the fabric. Place your back piece on the fold and pin it down. Then mark seam allowance for the pants. At the hem mark 2.5 inches, at the waist mark 2 inches and 0.5 inches for the rest of the piece.
Once you have marked the seam allowances, cut out your fabric. You should have two pieces for the back. Then repeat the same process for the front piece.
Sew the pants
It is finally time to start putting these awesome pajama pants together. Pin the crotch seam of your front pieces and sew with a 0.5-inch seam allowance. Repeat this process on the back pieces. After sewing, I suggest overlocking your stitches.
Next, place the front and back pieces, right sides together, and pin along the sides. Then hop back over to your sewing machine and sew the sides together with a 0.5-inch seam allowance.
Fold your pants and check to see that the length is even. If you find any uneven parts, go ahead and trim them off.
Create a hem
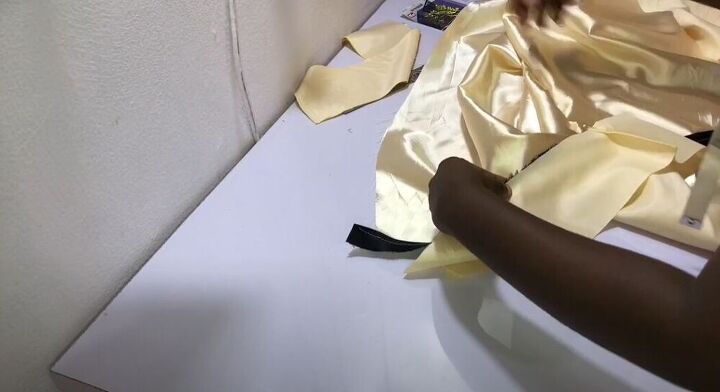
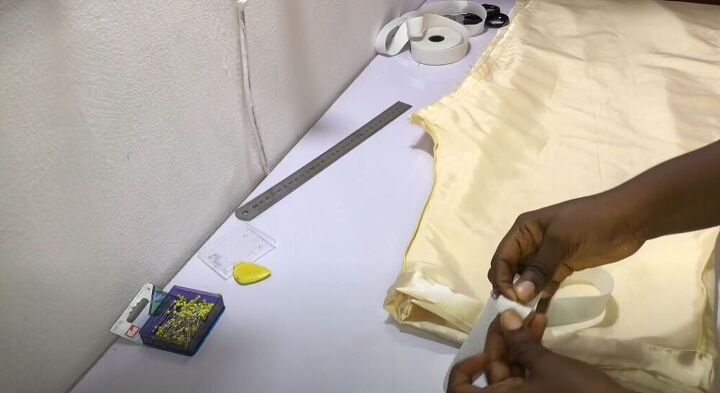
Mark 4.5 inches from the hem of your new pants and cut. Keep this strip of fabric as you will need it later.
Put your pants to the side for a minute and move on to cut out your bias strip. If you are not sure how to cut, check out this video. Once you have cut the bias strip, make sure to fold and press it.
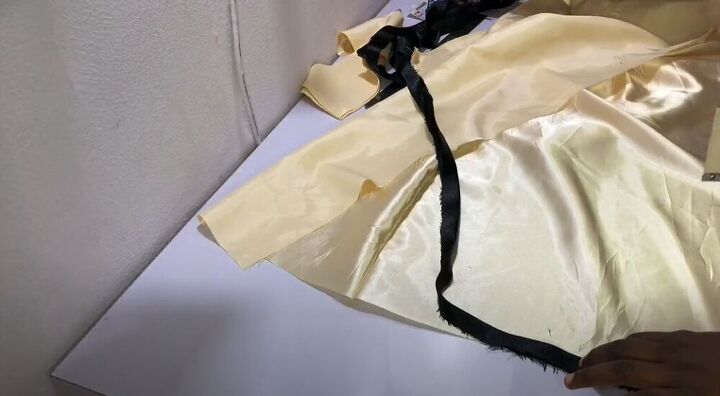
After pressing, place the bias tape at the bottom of the pant leg and pin it in place. Then go ahead and sew it on with a 0.25 sewing allowance. The bias tape definitely adds a more professional look to these PJ pants.
Next, take the 4.5-inch strip of fabric that you had cut off earlier and pin it to the trouser hem. Make sure that the front of the strip is facing the back of the hem. Before you start pinning, match up the seams to get the perfect finish. Move back to your sewing machine and sew on the fabric strip.
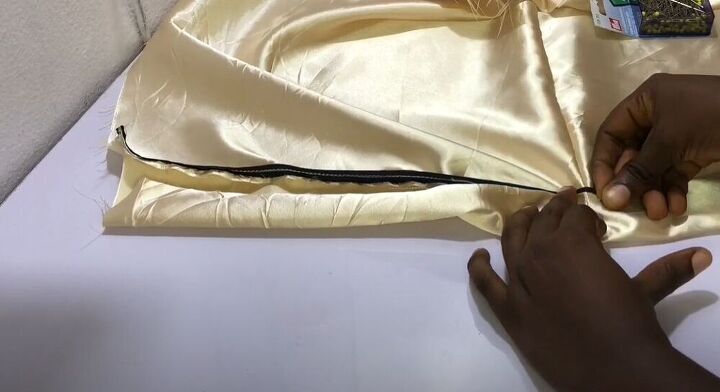
Then fold over the strip and topstitch, making sure a bit of the bias tape is showing.
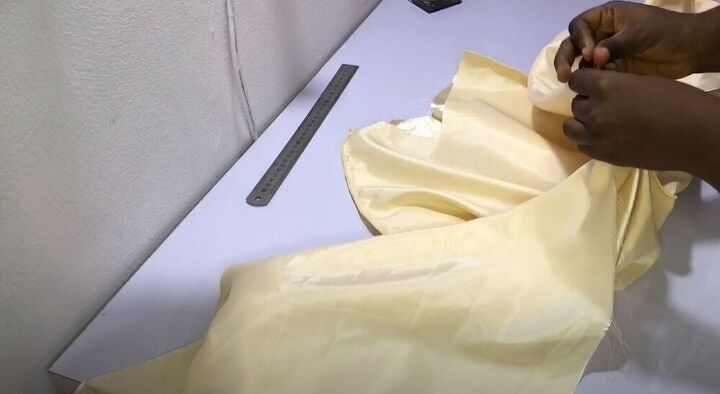
Sew the legs
With your hem looking absolutely gorgeous, pin the legs together starting at the crotch all the way down to the hem. Once everything has been pinned in place, sew along your pinned lines with a 0.5-inch seam allowance.
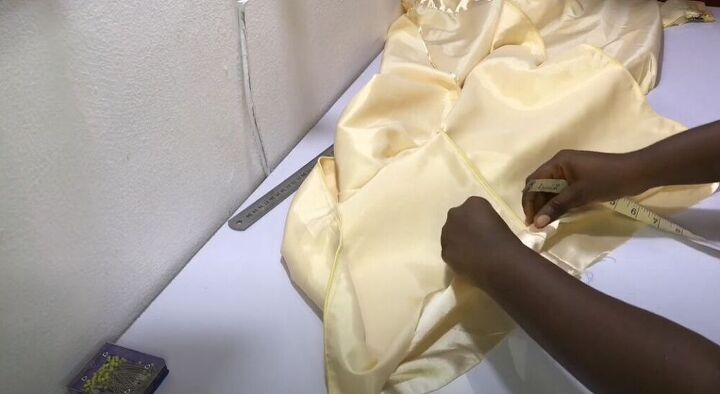
Add elastic
Now it’s time to move on to the waistline. Fold the fabric by half an inch and then by 1.5 inches and pin it in place. Sew around the waistline leaving a small gap of 1.5 inches unsewn. This small gap will allow you to thread the elastic through later.
To attach the elastic band, cut a piece of elastic 5 inches shorter than your waist measurement. Attach a safety pin to the end of the elastic and thread it through the gap you had left in the waistband. Once the elastic is all the way through, sew the end pieces together, and don’t forget to sew the small gap in the waistband by topstitching.
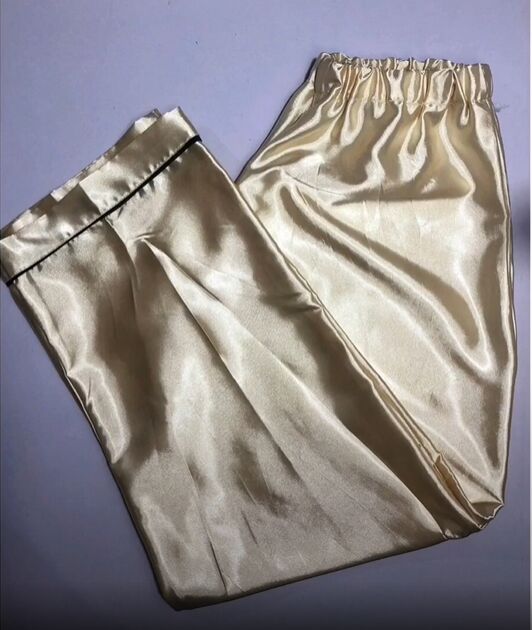
I just adore these comfy pajama pants! What color fabric would you use to make these pants? Let me know in the comments below!
The author may collect a small share of sales from the links on this page.


Comments
Join the conversation
I am amazed and a little envious of your design and pattern-making skills! Awesome. ❤️
I am so impressed with your ability to make me understand your instructions. Thank you! I will definitely post when I make mine