Make a Comfy Pair of Pajama Pants in No Time

I had made a pants pattern and I knew that I just had to use it to DIY the most gorgeous pair of pajama pants. These pants are so simple and easy to sew and can also be made as a cute gift for your loved ones. I chose an adorable blue, llama fabric design and got to work on making these awesome and comfy pajama pants. If you want to learn the ins and out of making this pair of pants, pick out your fabric, and watch my tutorial. My easy, step-by-step guide will show you all you need to know to recreate these incredible pajama pants!
Tools and materials:
- Fabric
- Sewing machine
- Needle and thread
- Scissors
- Pins
- Elastic
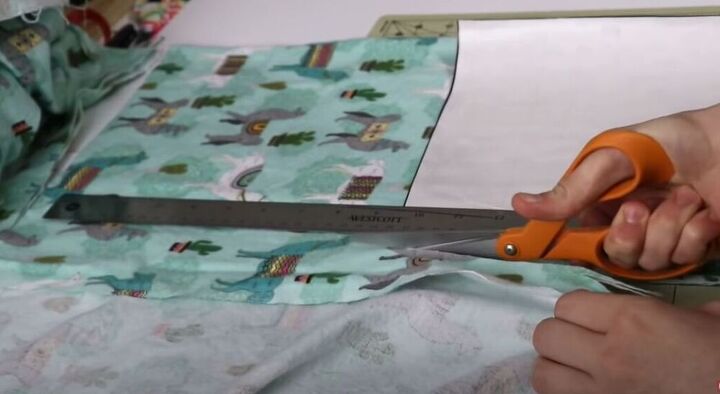
To get started on these amazing pajama pants, I placed my fabric down and cut around the pattern. Check out how I made this pattern here. I like to add seam allowance while I cut, but you can always draft your pattern to include seam allowance.
Once I had the pant pieces cut out, I started working on cutting the waistband. For the waistband, I used a stretch material and I cut it a little smaller than it needed to be because the material would stretch.
For an extra, fun element, I decided to add pockets to these cute pajama pants. I placed a piece of paper over my front piece pattern and marked 5-inches to the right so that I would actually be able to fit my hand into the pocket and I marked a depth of 3-inches.
Using my ruler, I connected these two points. I then measured down 9-inches from the 5-inch marking and drew a horizontal line to represent the bottom of the pocket.
I decided to curve the opening of the pocket but you can leave it straight if you prefer. I also curved the side of the pocket but this can be left straight as well. I felt the pocket was a little too wide so I brought it in by an inch.
I cut out my pocket pattern and then used it to cut out the fabric. I made sure I had four pieces to create the 2 amazing pockets for these pants.
I placed the two pieces right sides together and sewed the opening and the bottom of the pocket closed. I used a serger but a sewing machine with a zig-zag stitch works just as well! Once I had sewed both pockets, I turned them right side out and gave them a good press with the iron.
I moved over to my sewing machine and topstitched along the opening of the pocket.
Now for the fun part! I laid down my front piece for the pants and lined up my pocket. I then pinned the pocket into place. Once my pins were in I sewed around the pocket excluding the opening which of course needed to remain open.
It was time to start putting these adorable pants together. I placed the front and back pieces, right sides together, and then sewed both the inner and outer side seams.
Once I had sewed the two sides, I placed one inside the other, right sides together and I matched up the crotch seams. I then made sure to sew the crotch.
In this next step, I worked on attaching the waistband. I folded it and made a small cut at the center front and center back.
Once I had my little cuts, it was easy to match up the center front and center back on the pajama pants. I sewed on the waistband leaving a small opening to put the elastic through. These pants were looking so amazing and I couldn’t wait to finish and try them on.
I thread my elastic through the waistband and made sure to sew closed the small gap I had left earlier.
Finally, I hemmed the pants to give them the perfect finish!
I am so in love with these pajama pants! What fabric design would you use for this piece? Let me know in the comments below!
Enjoyed the project?
The author may collect a small share of sales from the links on this page.


Comments
Join the conversation