No-Sew Custom Hemmed Pants

Crop any pair of wide leg pants to the perfect length without a needle and thread!
This tutorial will help you refresh a neglected pair from your own closet or upcycle a pair you purchase secondhand. With just a few materials and bit of time, you can create a personalized on-trend, transitional item.
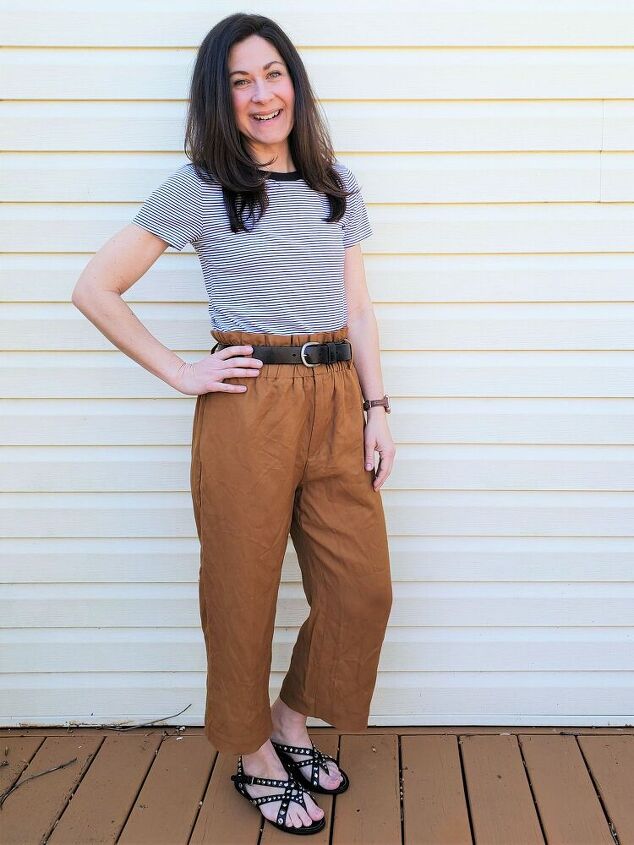
At 5'3" I often find great pants that are just a bit too long, but I decided to fully crop these secondhand J.Crew paperbag waist trousers. This proved to be an even better option when I discovered the hems at the back of the legs were pretty significantly damaged and stained.
A heat bond tape is the perfect hemming tool for lightweight fabric like these pants.
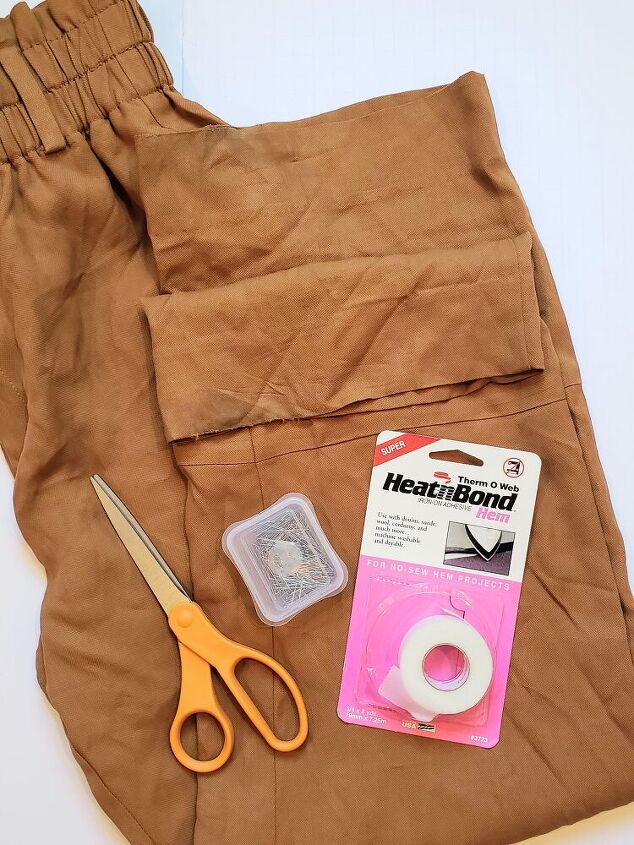
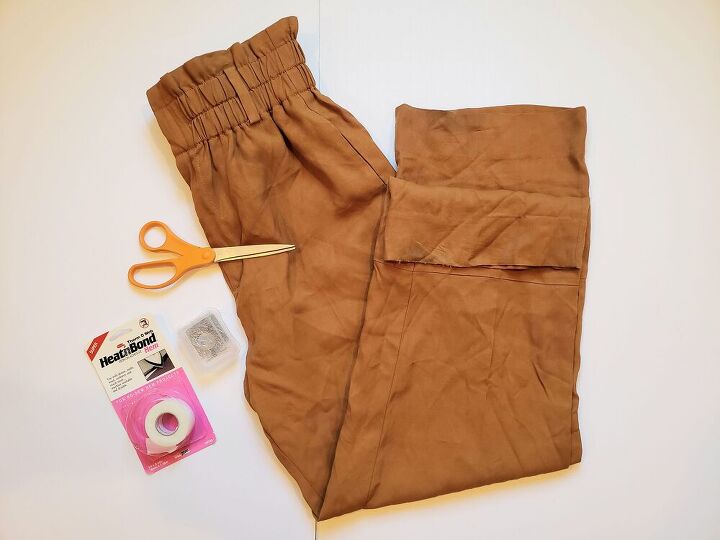
This hemming option requires:
- heat bond tape
- fabric scissors
- straight pins
- iron
As I mentioned, I not only wanted a cropped length on these pants, but I needed to trim away this damage that I didn't notice when I purchased them.
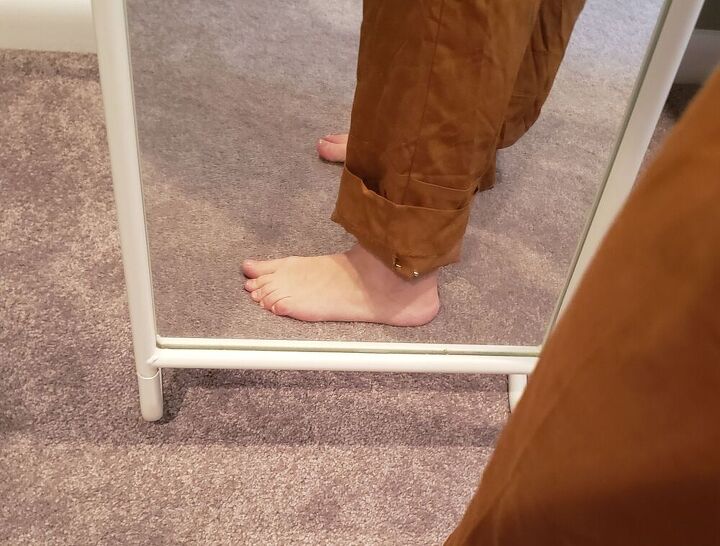
Step 1: Determine your perfect length.
Use push pins to create a temporary hem. Then try on and view in a mirror to see where the hem is hitting your ankle or calf. The most flattering length is typically just below where your calf begins to widen. Adjust temporary hem until the length suits you best then mark that length with pins. This will become your "guide leg".
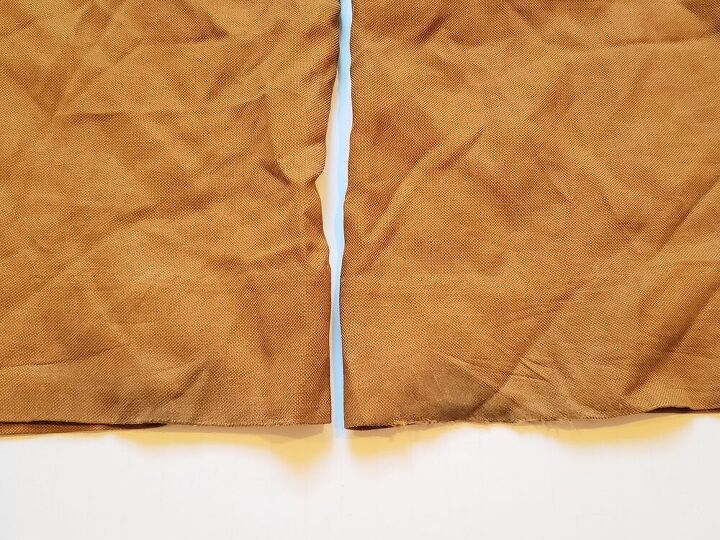
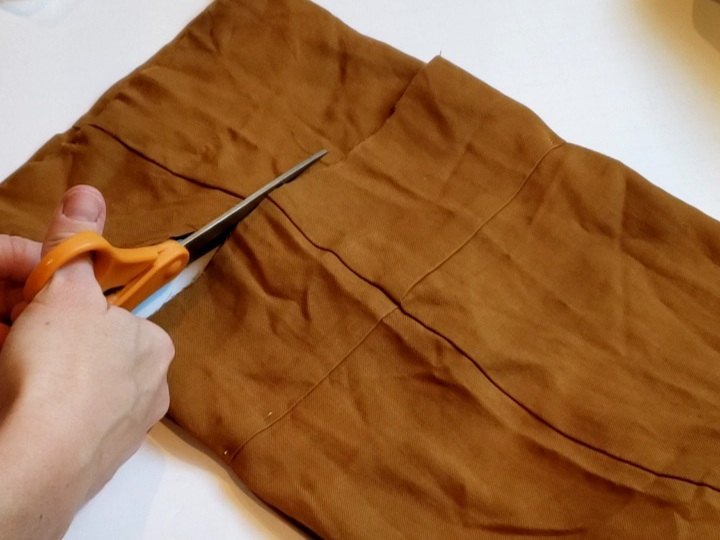
Step 2: Cut to length, allowing for turn under.
If you pin line is at your desired length, add 3/4 - 1" to allow for hem turn under. Be sure your turn under length is at least as wide as your heat bond tape.
Then, even the original hems and seams of both pant legs and pin together with the guide leg on top. Use sharp fabric scissors to cut straight across at the determined length. Repeat the cut on the second/bottom leg to create matching lengths.
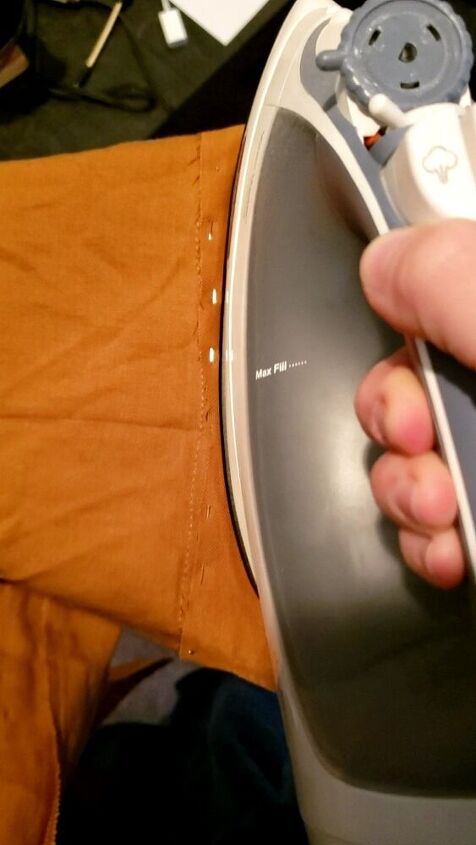
Step 3: Create new hem.
Turn iron on to hottest temperature setting allowed according to care tag on pants.
Turn the pants inside out. Fold hem up to desired length and use straight pins to hold in place. Use the iron to press a hem line into fabric.
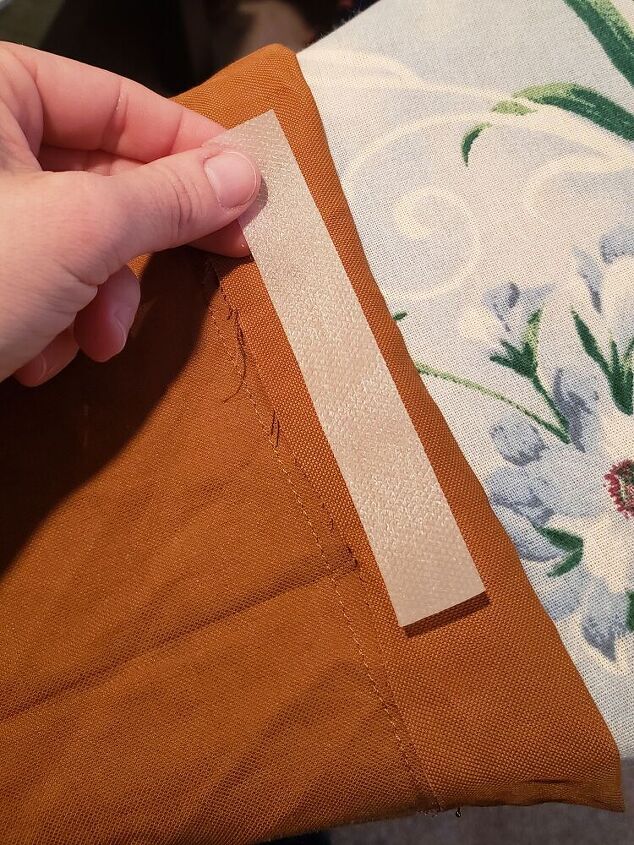
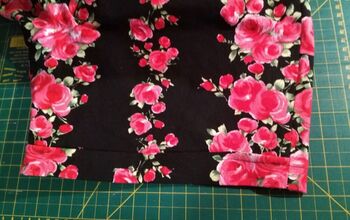
Step 4: Bond the new hem.
Cut heat bond tape into 4-6" sections. Place inside hem along fold. Follow the directions on heat bond tape packaging to bond hem together.
*The brand I used required pressing on inside first, then flipping pants right-side-out and pressing again.
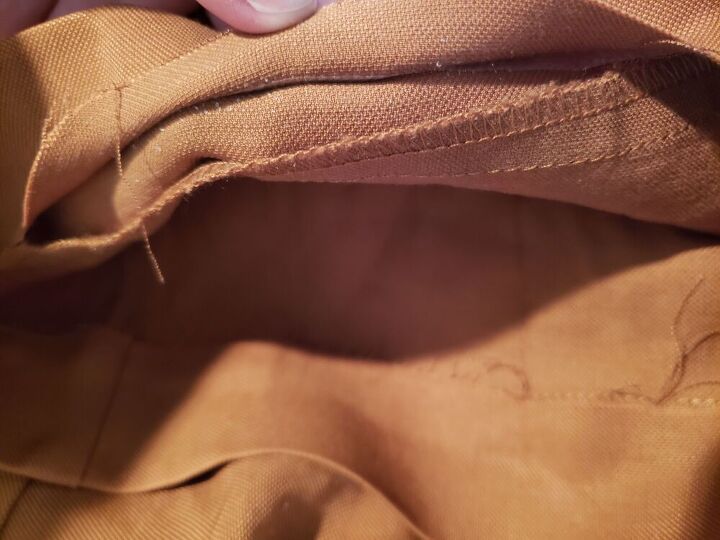
Check to ensure the tape is bonded to both sides of the the hem. Extra fabric can be trimmed if desired. Be sure to launder pants according to both the fabric care tag and the heat bond tape care instructions.
Your pants are ready to style and wear!
I hope this tutorial helps you create the perfect cropped length on a pair of pants this spring even if you have no sewing skills!
All my Best,
Amanda
The author may collect a small share of sales from the links on this page.


Comments
Join the conversation
Love this look! And, yes, I will be trying it. I have several pants that I keep saying "I really need to shorten these" but just don't want to drag out the sewing machine. Problem solved! I don't know why I didn't thing of this - I even have this product in my stash of quick and easy ways to do things! Thanks for the reminder!
Fraying??