Sewing a 70's Pant & Top Set

Do you have a favourite era for fashion? One of my favourite era's is definitely the 1970's. I've longed for a summer set as well as a pair of floral wide leg pants for a long time, so I made my own with a repurposed vintage bed sheet and a vintage pattern from 1973.
This post will show the steps I used to create this awesome, floral vintage set.
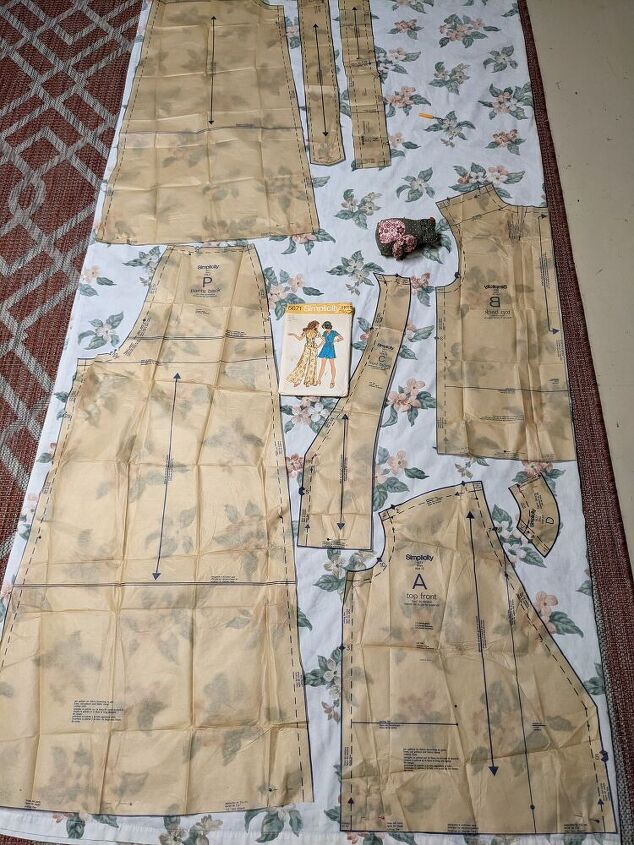
To start, I folded the fabric in half and laid out the pattern to fit, pinned the pieces to the fabric and cut them out. A little note, this pattern is vintage from 1973, and as I purchased it second hand, the piece for the flutter sleeve was missing. This piece had to be self drafted so it is missing from this photo.
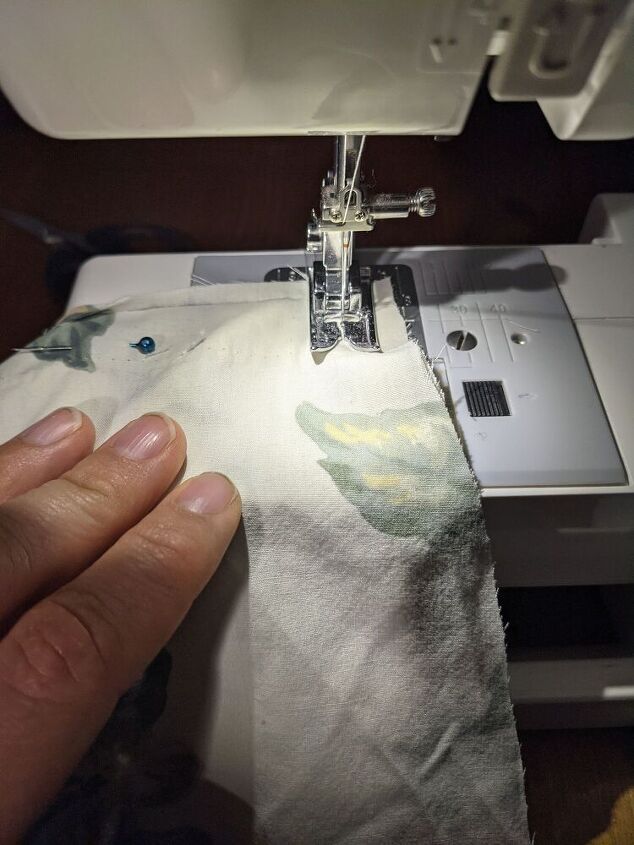
The first pieces I sewed together were the pants. I pinned the sides together to ensure the fabric did not slip as I sewed the pieces.
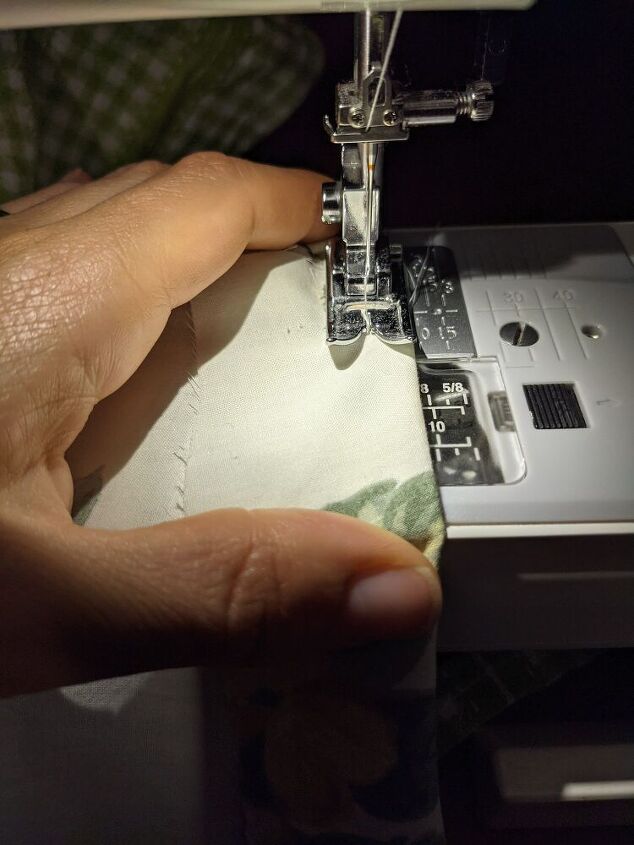
Then I hemmed the pants...
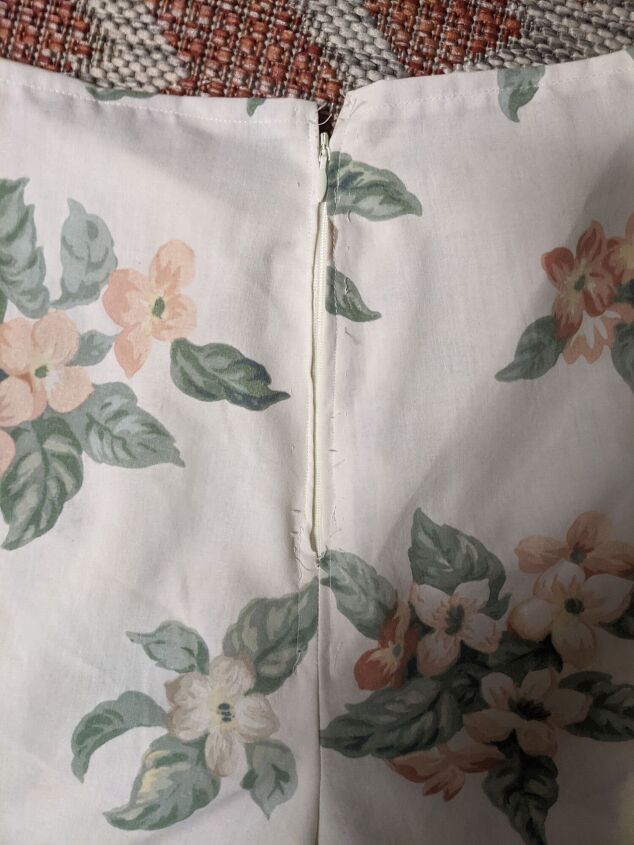
...Sewed on the zipper...
...And making the pants was complete!
Next, I moved onto the top and made the front bodice gathers for the top of the shoulders, sewing each one in place by hand.
Then I sewed the front and back of the top together at the shoulders, keeping the right sides together.
Sewing the sides of the front and back of the top together was next, I also hemmed the top at this point.
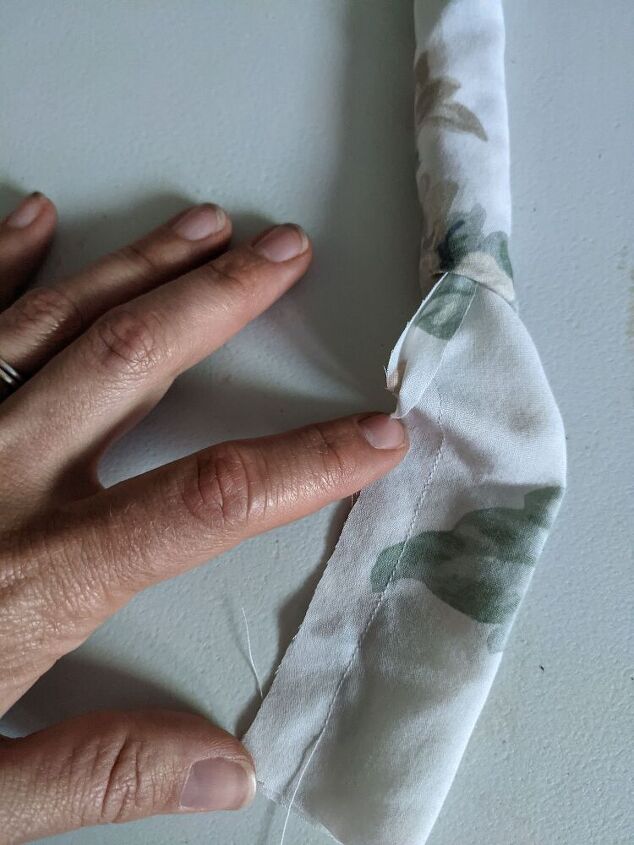
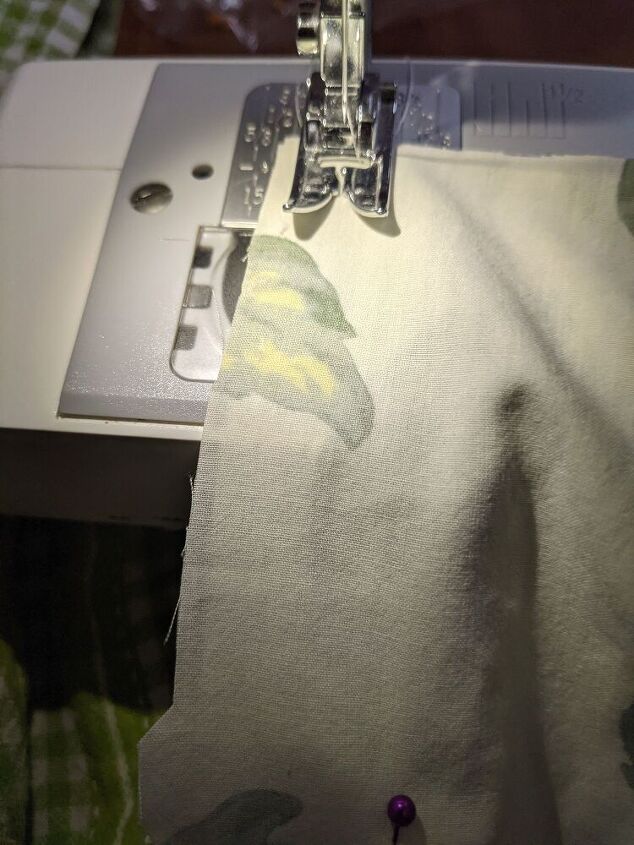
I moved on to complete the waistband, sewing the ends together and turning the fabric inside out.
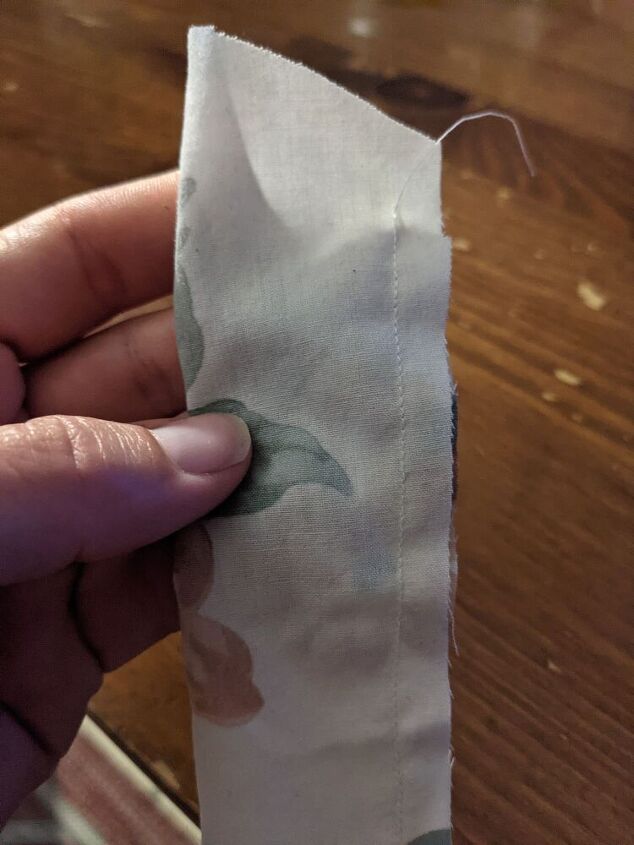
I did the same with the waist tie, only with this piece I made sure to sew the ends together at this point.
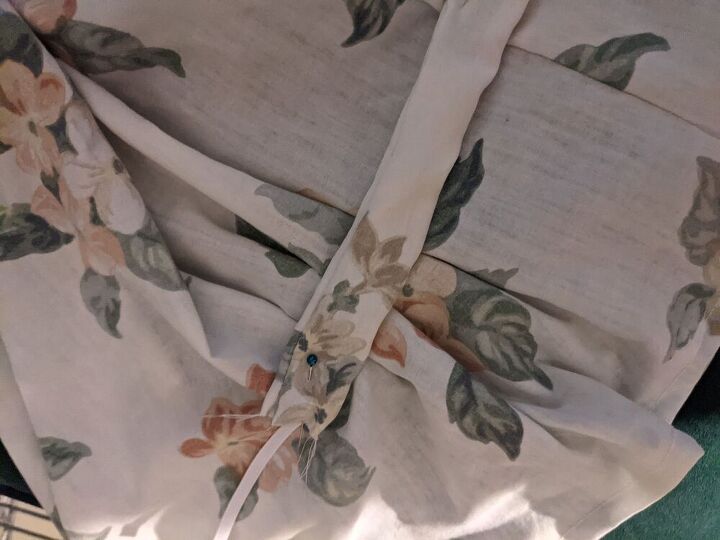
Then I created the gathers for the bodice so the top would fit my waist, and next positioned the waistband to sit at my waist, pinning it in place. I also put an elastic through it as was directed by the pattern. As I looked at the way the top would fit on I realized the elastic was not needed so I took it out. Sometimes patterns include steps that are not necessary.
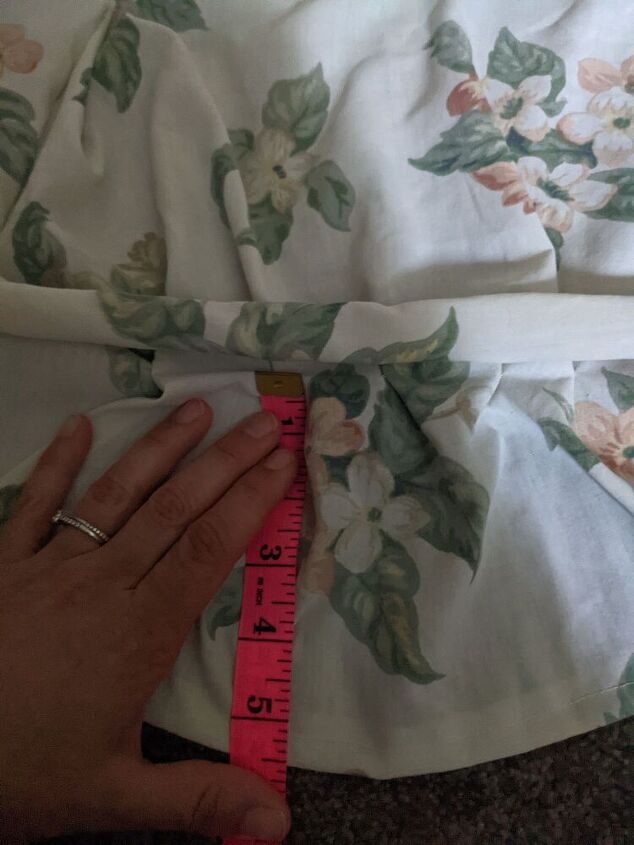
I measured the waistband to ensure it sat at the same height around the whole top before I sewed it in place. I sewed it down by hand with hidden stitches.
At this point I sewed the four pieces of interfacing together and sewed them to the top. Both the right sides of the interfacing and the top were touching when I sewed them together. The interfacing really creates a nice edge when you fold it to the inside of the top. I recognize some people use special fabric to create interfacing, I prefer to use the same fabric for the interfacing that I use to create the main piece.
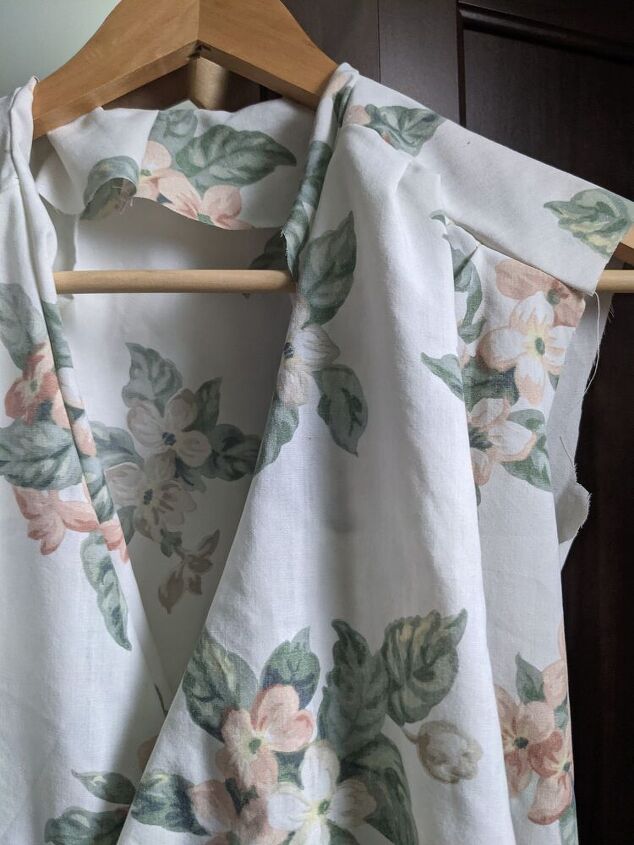
With this part of the top finished, it was time to add the sleeves!
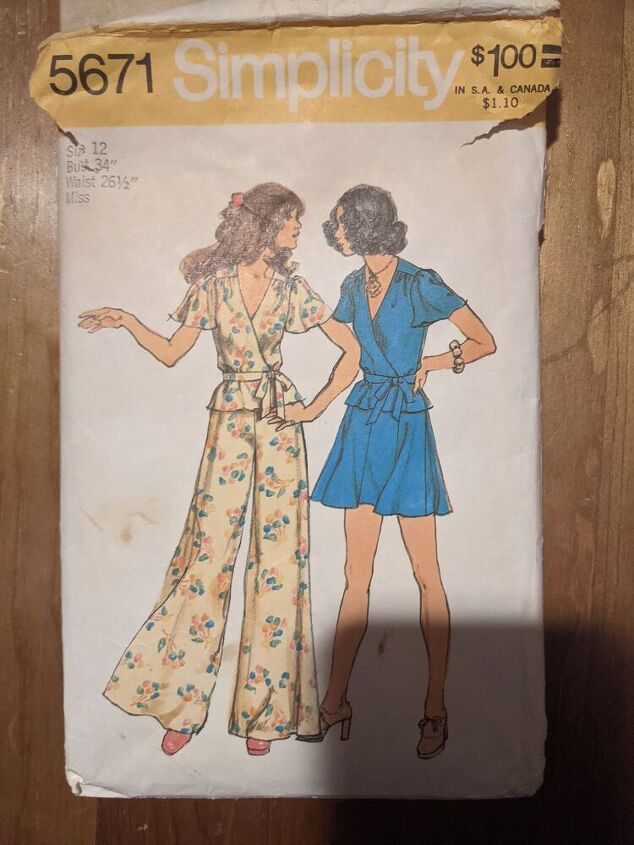
As was mentioned earlier, this vintage pattern did not come with the pattern piece for the flutter sleeves, I knew this before I purchased it and saw it as a good opportunity to learn how to draft them myself.
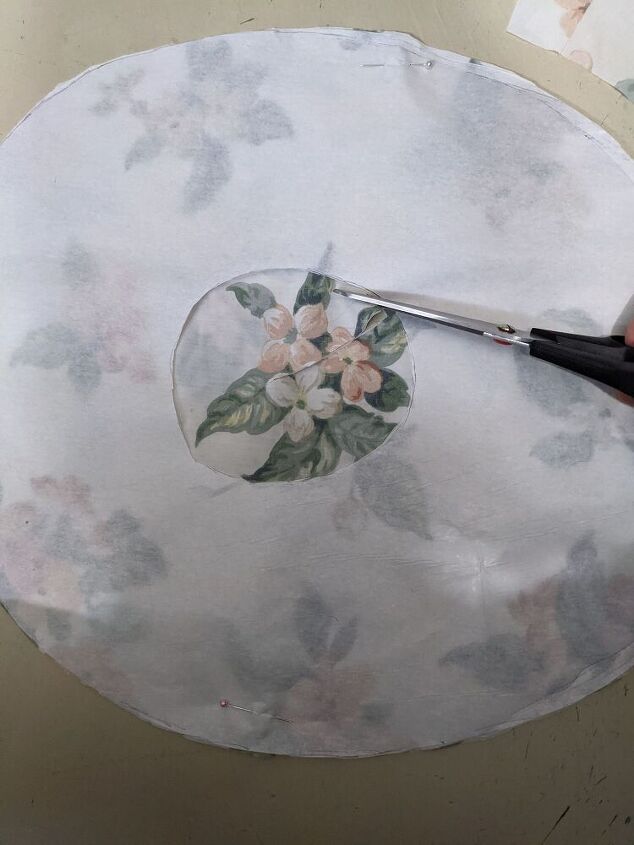
To draft the sleeves I used medical examination paper to create a draft. I created an inner circle first that matched the circumference of the sleeve opening. Then I extended one side, making an egg like shape, to allow for fabric gathering when fitting the sleeve to the top. Then I measured outwards from the inner oval, the number of inches desired for the length of the flutter sleeve, marking each measurement and keeping the measurement the same all around. Then I connected the points to make a larger oval and cut it out, pinned the paper to the fabric and cut out the sleeves.
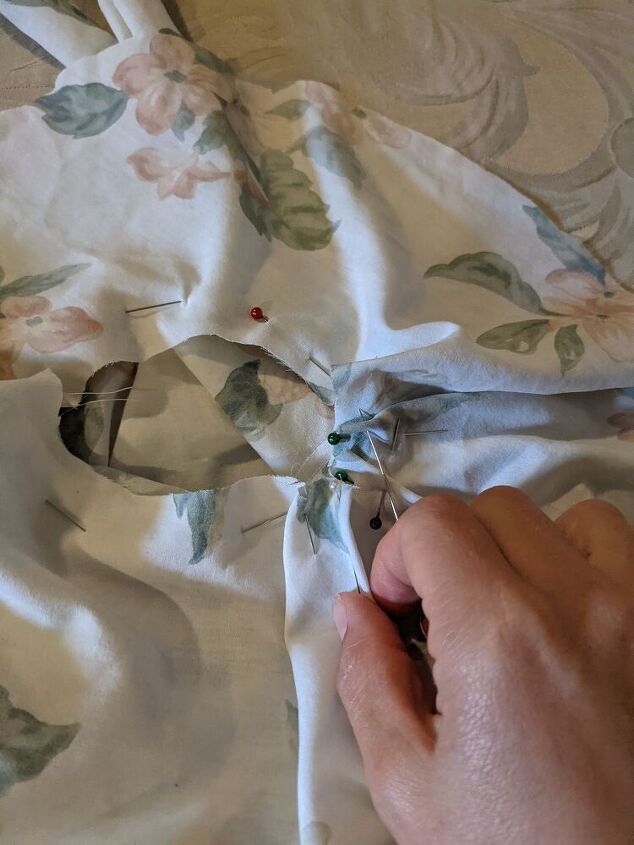
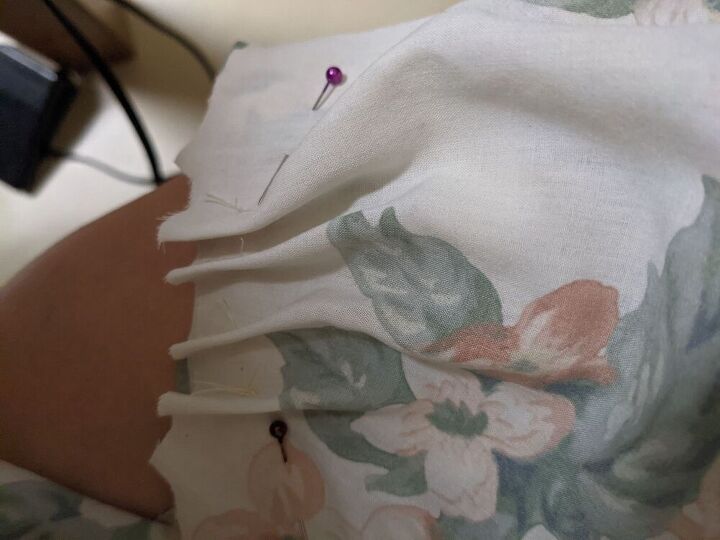
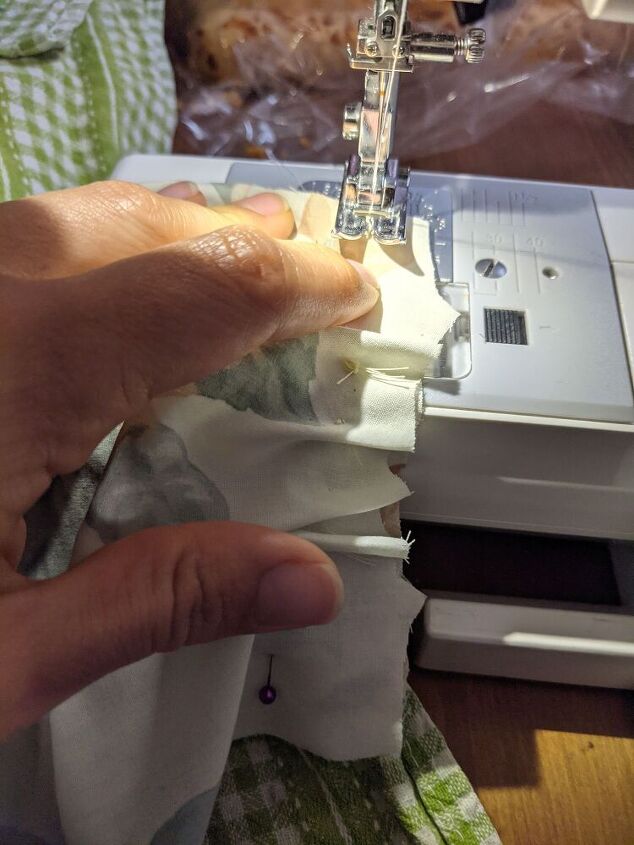
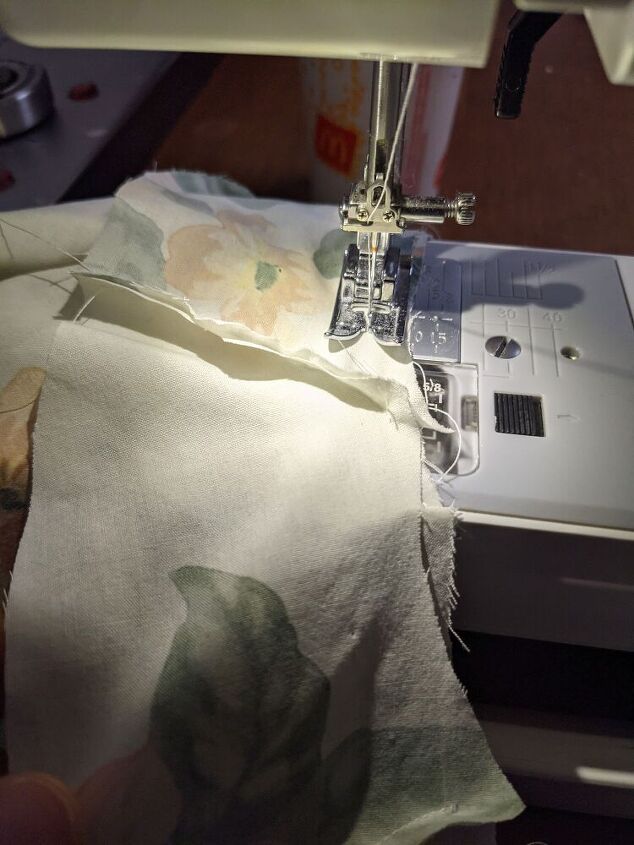
Once the flutter sleeves were positioned on the bodice, I created the gathers so the sleeves would fit the sleeve opening, and sewed each one in place by hand.
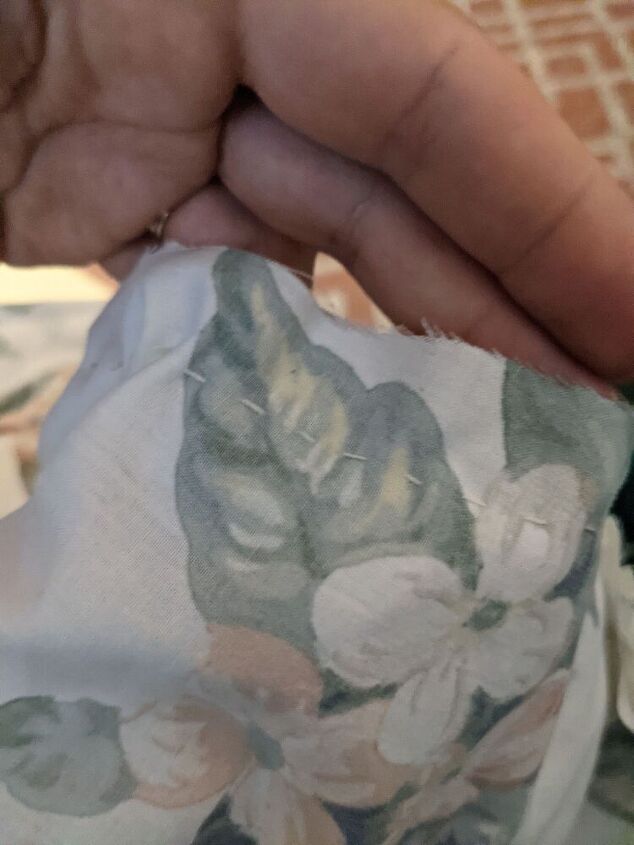
I also hand sewed the sleeves to the bodice as this is my preference but you can do this step with your sewing machine.
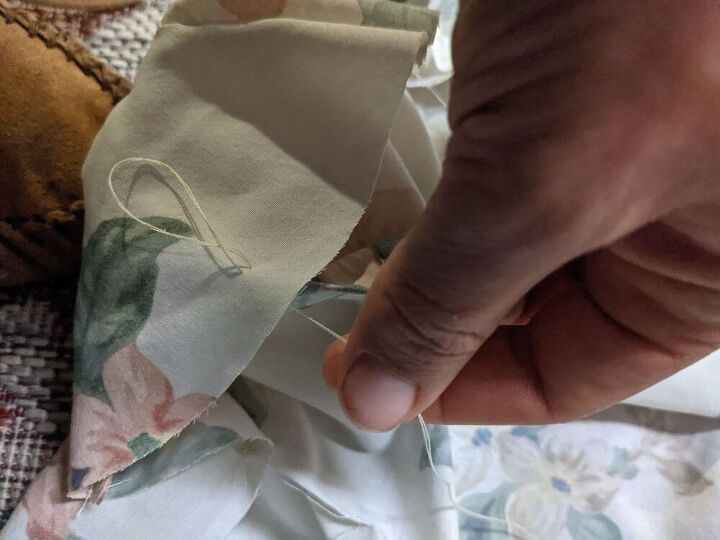
Then I completed the finishing touches which included sewing the interfacing to the top with a hidden stitch to keep it down nicely.
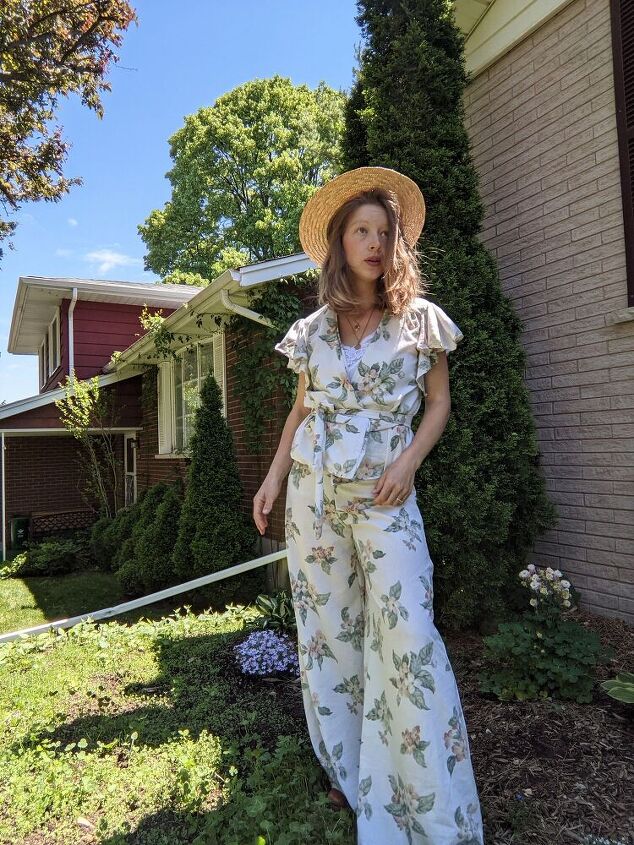
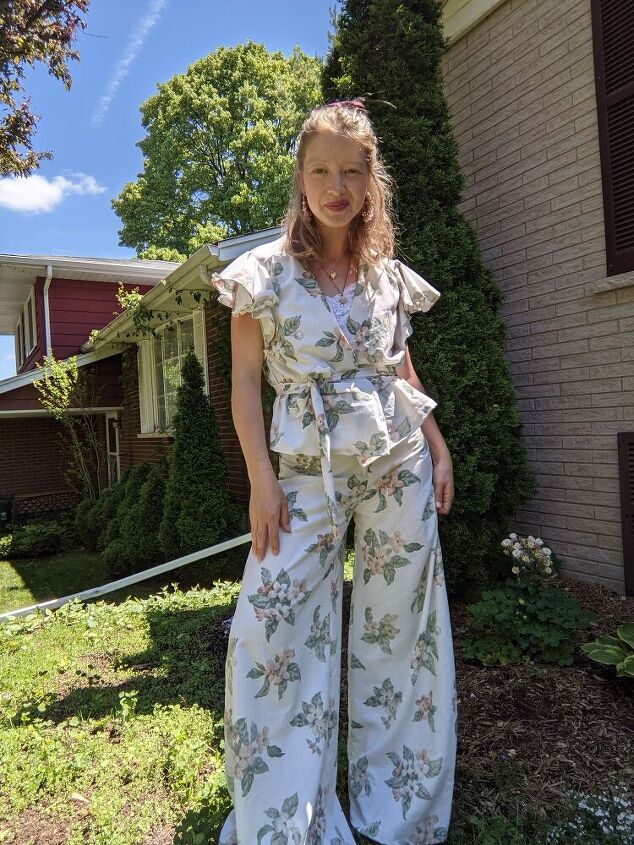
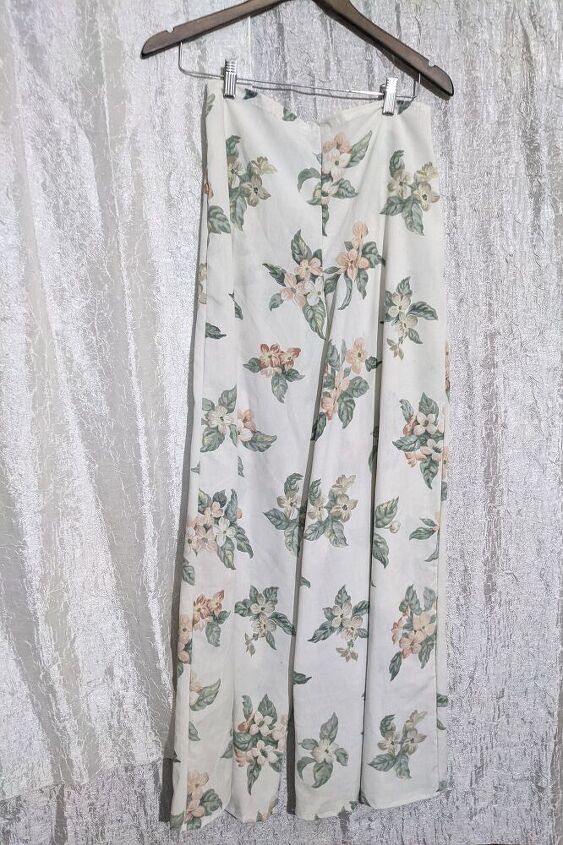
This is the finished outfit! I absolutely love the 70's vibes from this set, especially the wide leg pants and the flutter sleeves. Have you ever made your own vintage set?
The author may collect a small share of sales from the links on this page.


Comments
Join the conversation
I made a shirtwaist (full skirt) with these very same sheets. So many compliments. Questions about the beautiful fabric were answered by "stash".
Love it !! I use to use sheets , pretty curtains & all sorts of different fabrics that were normally used for other purposes . Even used a pretty tablecloth once because it had a cut in it that I couldn't mend but was big enough to get a top out of .. Lots of people asked where I got the "beautiful material from " ..didn't have the heart to tell what it once was , just said Mum gave it to me from her linen press LOL