Sew a Patch Pocket on Anything

Beginner Sewing Project – Upcycle Clothing Tutorial
Patch pockets are pockets sewn to the outside of a garment – not pockets in the seams. Because they are one of the last steps in the garment making process, they can be added to nearly anything that you can sew.
Patch pockets could also be added to jackets and button down shirts, or on aprons or fabric organisers for extra storage. This is a fairly quick upcycle project. Once you learn the basics, you can experiment with different pocket shapes, or add a flap.

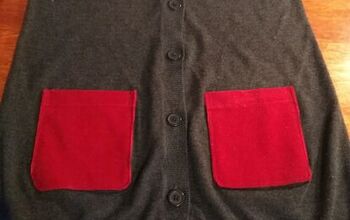
I had a pretty boring grey cardigan with black vinyl patch pockets, and the vinyl fabric had started to peel and rub off. The pockets were looking sad but the rest of the cardigan was still fine. I decided I would replace the pocket with a red corduroy for a bit more colour. You could use many different types of fabric here – could be a good place to use up some fabric scraps, or upcycle further using something like fabric from old jeans or another garment. Be creative – the only limitation would be to choose a fabric for your pocket that is in good condition and a sturdy material.
First I carefully removed the old sad pocket with a seam ripper. I decided to make the new pockets the same size, so I held on to the pocket and used it as a template, pinning it to the wrong side of the corduroy and tracing it before cutting it out. If you aren’t replacing old pockets, you can test out how big you want the pocket by cutting out a pocket on paper and placing it on your item to see if you like the size/placement, and add seam allowances (covered in the next step). I also have a free download for a pocket template if you prefer – click here to have it sent to you.
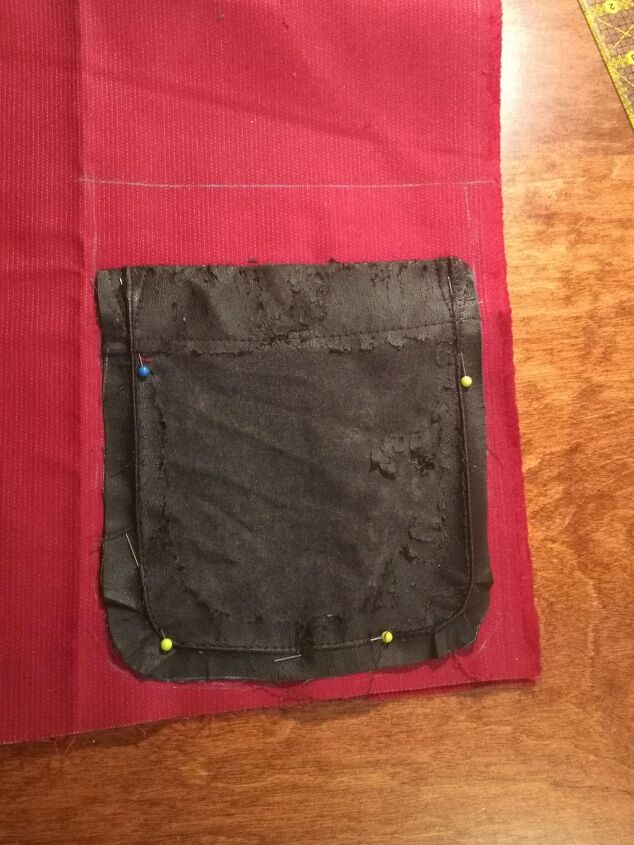
When I traced it, I included the seam allowance around the pocket to be the same as the original. For the top of the pocket, I didn’t open the stitching so I had to add seam allowance there. I added 1″ for seam allowance here. Then I removed the pins, and cut my new pocket fabric. I repeated the process for the second pocket.
Now I had my two pockets cut out of my new fabric. This pocket has a 1″ seam allowance for the top edge. To sew it, I folded down the top edge 1/4″ and pressed in place (fold the edge down so the wrong side of the fabric is touching the wrong side). Then fold it down another 3/4″ and press, so the seam allowance is on the inside (wrong side) of the pocket fabric. Stitch your folded down seam allowance near the edge of the folded down part – in this case 3/4″ from the top. I usually use pins with metal heads so I can press between them at the iron. Never put your iron near a pin (or anything else) with plastic or it will melt!
Next fold the seam allowance around the sides and bottom of your pocket 1/’4″ and press. Your pocket should have the top edge stitched, and the other 3 edges folded underneath it.
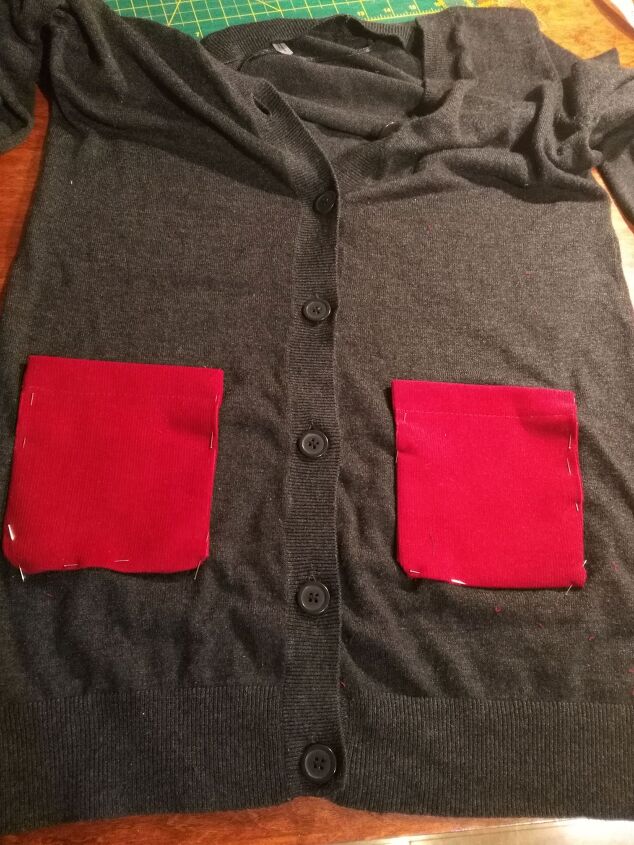
Carefully place your pocket where you want it to go on your garment. Pin in place, and stitch around the three folded edges, about 1/8″ in from the edge, or “just a hair” in from the edge for the three sides. I like to give my pockets a bit of extra back stitching at the top opening of the pocket on each side for a little extra durability.
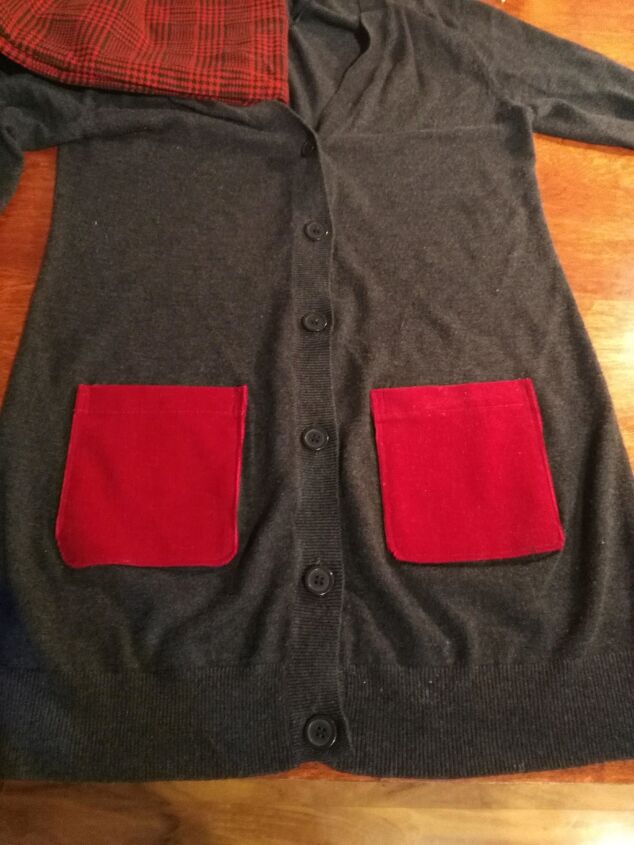
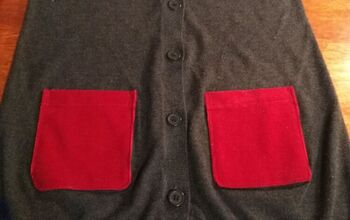
You have completed sewing a basic patch pocket!
You can experiment with different pocket shapes if you like – perhaps rounding the bottom corners or making a point at the bottom. Just keep in mind that rounded corners are slightly more challenging to sew.
Receive my Back Patch Pocket Pattern Free Downloadable PDF if you would like a done-for-you patch pocket pattern! Click the link and enter your email to have the pattern sent to you.
Now that I’ve written this, I can think of a few more things I would like to add patch pockets to….
Happy Sewing!
Elise
Want more sewing tutorials delivered to you inbox, along with my free PDF “Tailoring: What to Know Before You Sew”? Sign up for my newsletter here
YOU MIGHT ALSO LIKE: How to Sew a Front Pant Pocket
The author may collect a small share of sales from the links on this page.


Comments
Join the conversation