You Can Make This Cute, Easy-Sew DIY Flounce Skirt in Just 5 Minutes

You can make this DIY flounce skirt in minutes - it needs just one seam! This is not a boring straight pencil skirt - this skirt has the flirty little flounce detail right in the front. If you have fabric, a sewing machine, and a few minutes, let show you how to make a flounce skirt.
Here’s how to sew a flounce skirt that’s super flattering and comfortable!
Tools and materials:
- Lycra self-finished fabric 1½ yards
- Marking chalk or pen
- Scissors
- Measuring tape
- Sewing machine
You can make this skirt in any length. The technique is the same regardless of how short or long it is. This skirt doesn’t have any closures like a zipper or button, which means you must use a stretchy fabric.
It is also important that you measure your waist and hip line for a proper fit. In this tutorial on how to make a flounce skirt, I make 2 different length skirts so you can see how easy it is and how customizable it can be for you!
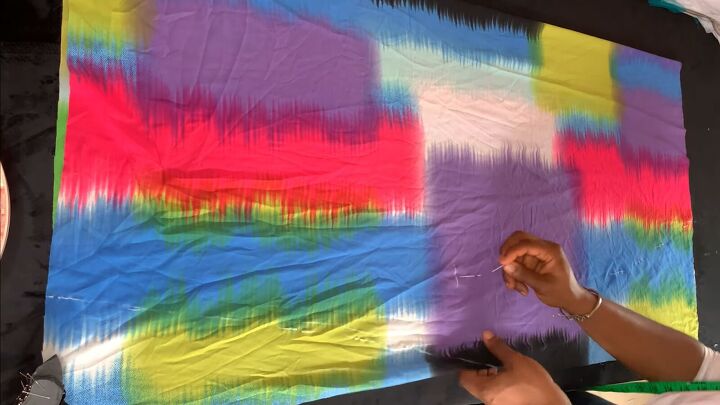
1. Make the pattern
Fold the fabric in half, right sides together. Mark the length of the skirt. The first skirt I am making will be a mini-skirt at 17 inches long. The second skirt is much longer. You can make it 20, 25, or even 40 inches long depending on what suits you best.
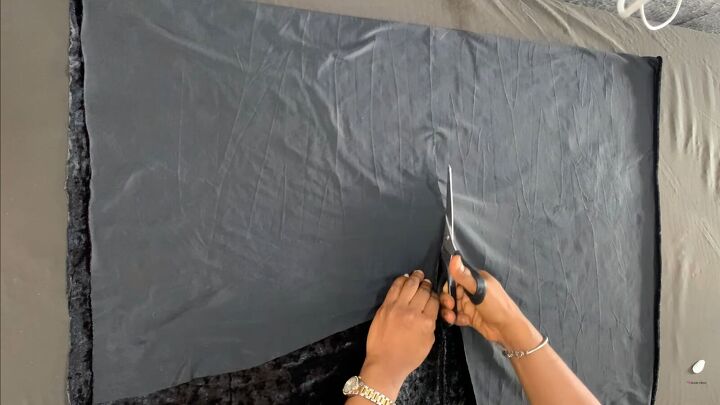
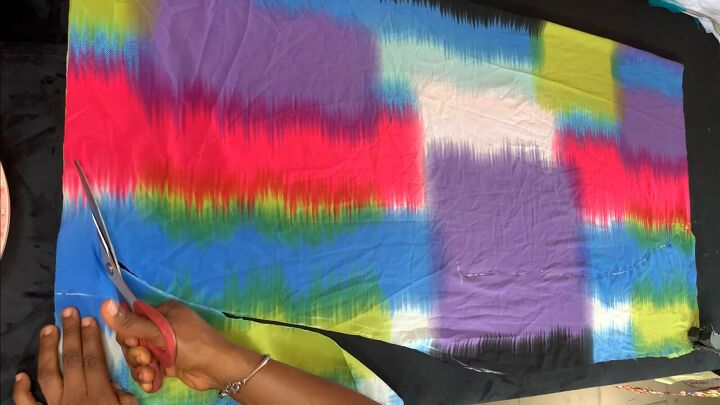
After measuring 17 inches, or the length of your skirt, cut the fabric.
Next, measure and mark the hip line. My hips are 38 inches and I deduct 4 inches from that, making it 34 inches. I divide that in half to 17 inches and I place the mark about 8 inches down from the waist.
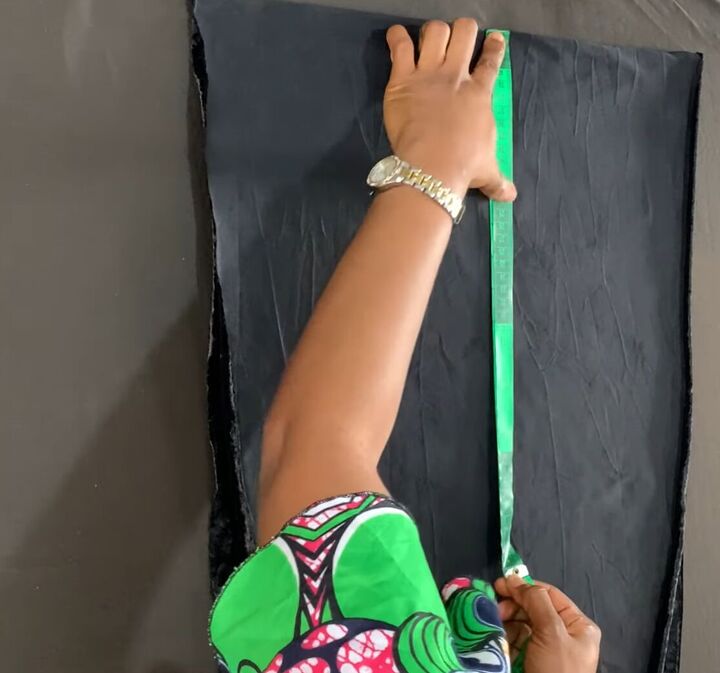
Now, measure and mark the waistline. My waist is 28 inches and I deduct 4 inches from that, making it 24 inches. I divide that in half, making it 12 inches. I mark that at the top of the fabric where the waistline is.
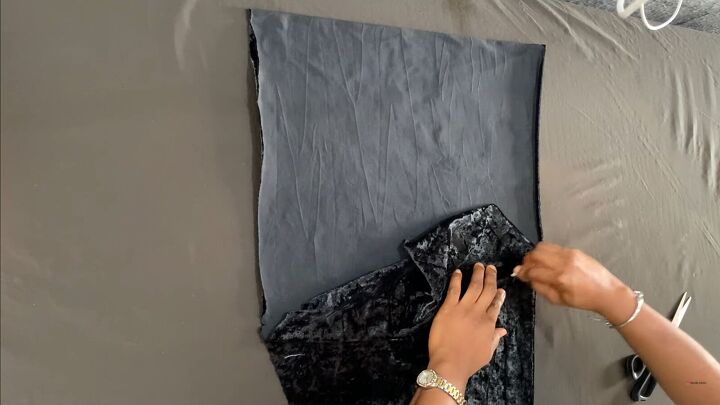
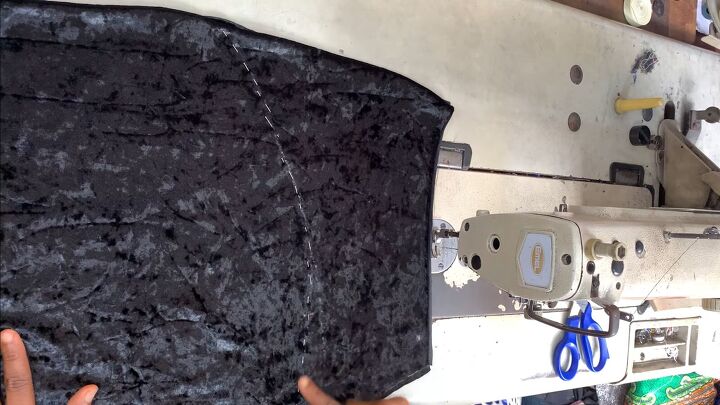
At the bottom, i draw a straight line until I meet the hip measurement. From there, I freehand draw a curve to meet the waist.
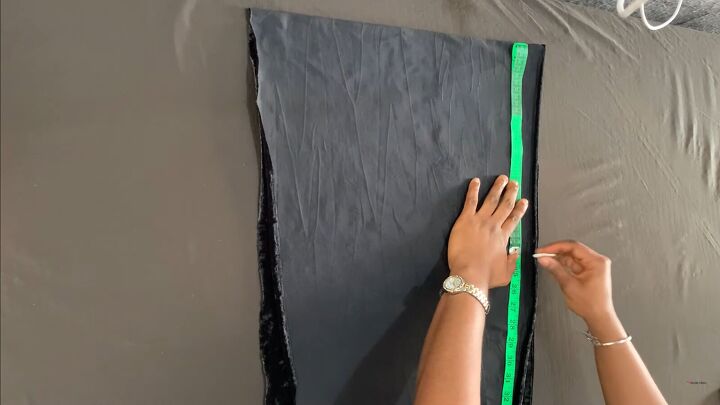
I replicate the curve on the front and mark it because we are going to sew on the right side.
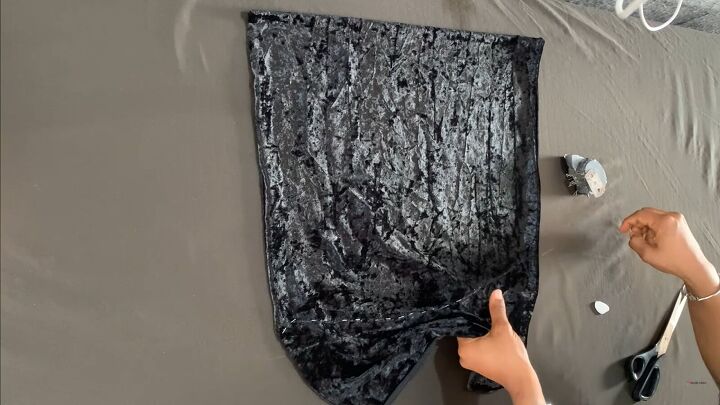
Here is the long skirt with the marking and pinning. On the longer skirt measuring 42 inches long, I marked a line going halfway up from the bottom to form a slit. This skirt needs a slit so I can walk!
Trim the slit area to open it.
I replicated what I measured, marked, and pinned on the miniskirt for this long skirt. On the folded fabric, I measured my waist and hips, leaving at least 5 inches from the pinned area to make the flounce.
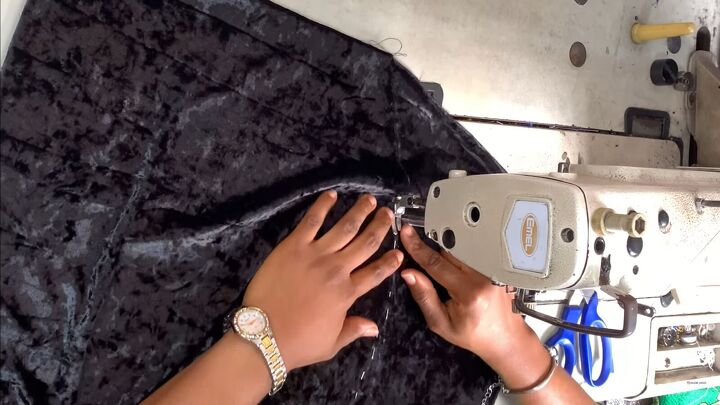
2. Sew the single seam
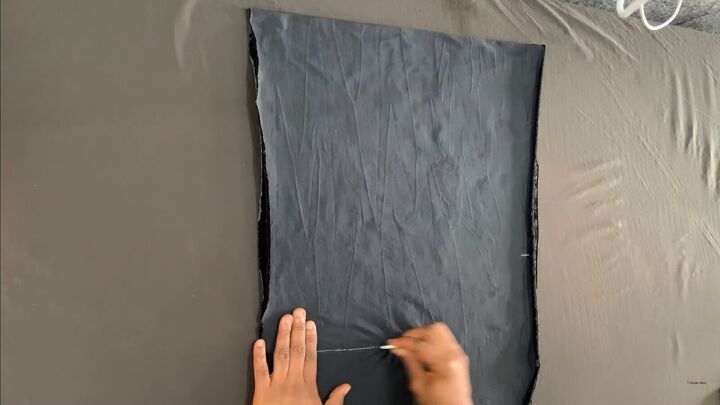
Mark the right sides and refold the fabric to match the marked areas with the right sides facing up. Pin all along the curved line. There will be excess fabric of at least 5 or more inches. This forms the flounce!
Sew the curve on the skirt from the top to the bottom, removing the pins as you sew. Tack at the beginning and end with a backstitch to strengthen the line of stitches.
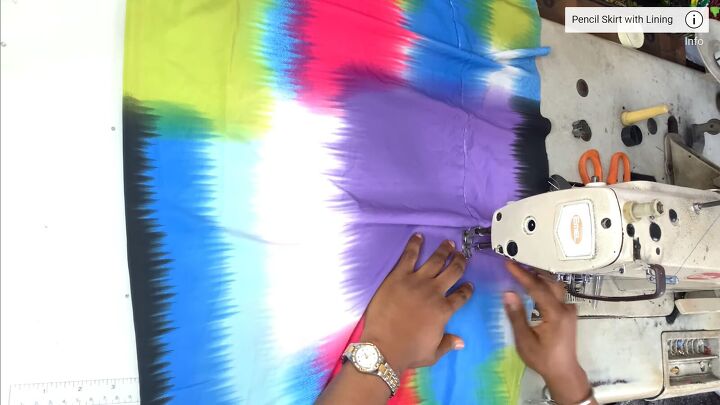
I repeated the same technique on the longer skirt.
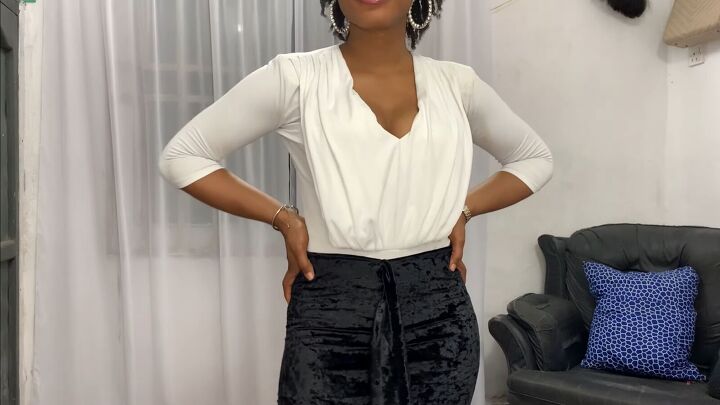

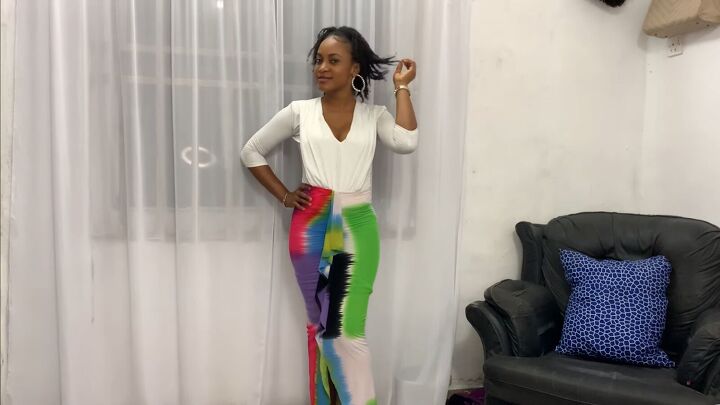
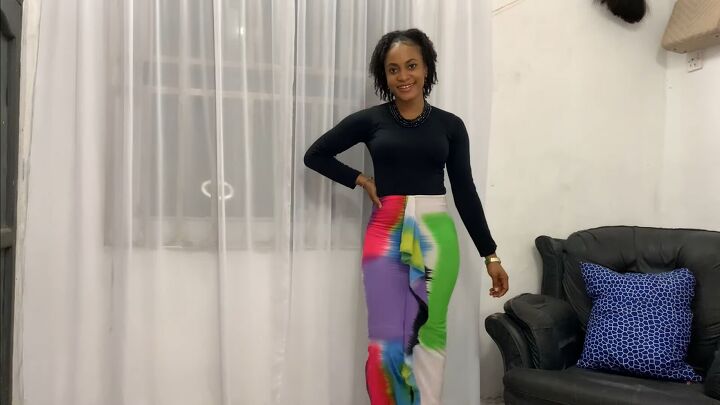
Once it is sewn, put it on. That is it! No bands, no buttons, and no zippers. Just pull it on and expect to receive compliments on the super flattering flounce detail.
DIY flounce skirt tutorial
How easy is it to make a DIY flounce skirt? Let me know in the comments if you prefer the white top or black top styled with this skirt, and mini or longer skirt. Which do you think looks best?
The author may collect a small share of sales from the links on this page.


Comments
Join the conversation
Inspired? Absolutely love this! Thank you
I like the white top better. It seems to bring out the colors and make it brighter although the black does like good also. I would make a mini though or both as you did I prefer minis but sometimes you just need a line skirt and I love these!! Thank you so much!!