How You Can Make a Cute DIY Long-Sleeve Shrug in Just 5 Minutes

In today’s tutorial, I am going to show you how to make a shrug from an old shirt in just five minutes. This DIY long-sleeve shrug is such a creative upcycle! I think shrugs and bolero-style tops are so cute and also practical.
I prefer wearing shrugs when I'm out riding horses because I like my arms to be covered from the sun and wearing an entire shirt can be too warm. I bought two of these online, but after I bought them I thought, "I could totally make this!"
You do not need to know how to sew or anything. You just need a top that you don’t mind cutting.
Tools and materials
- Fabric scissors
- Old shirt
- Tape measure
- Shrug (optional)
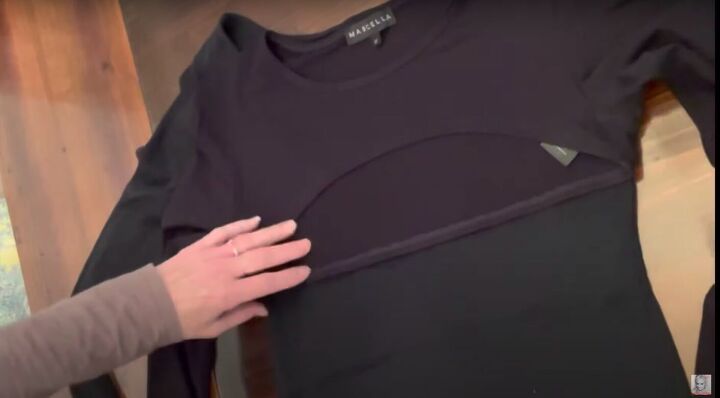
1. Measure the shrug
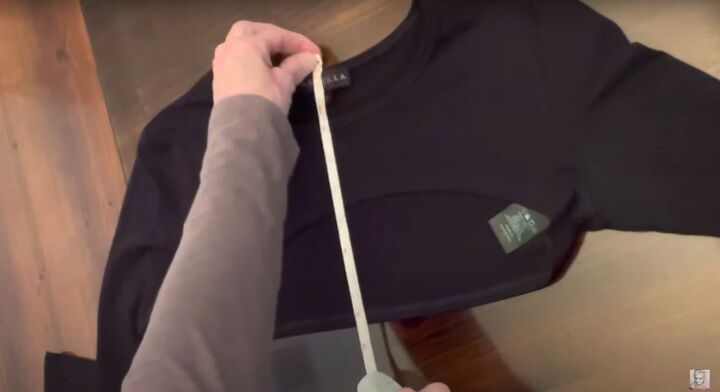
If you have an original shrug, lay it on top of the shirt you are going to cut. If you do not have a shrug already, then you can just use a tape measure.
If you are using a tape measure, the measurement at the front from the top of the neckline until the hem of the shrug is almost 3 inches. The measurement for the back of the shrug from the top until the bottom is 8.5 inches.
The measurements do not need to be these exact measurements. You can decide based on your own style what you like and how much to cut.
Once you have your measurements, you are going to mark them onto the shirt using your tape measure.
2. Measure the lowest point of the back
Figure out the lowest point in the back.
With the shirts lined up it will be pretty easy where the lowest point in the back is. However, if you want it to be a little shorter or longer make sure to mark that out before cutting.
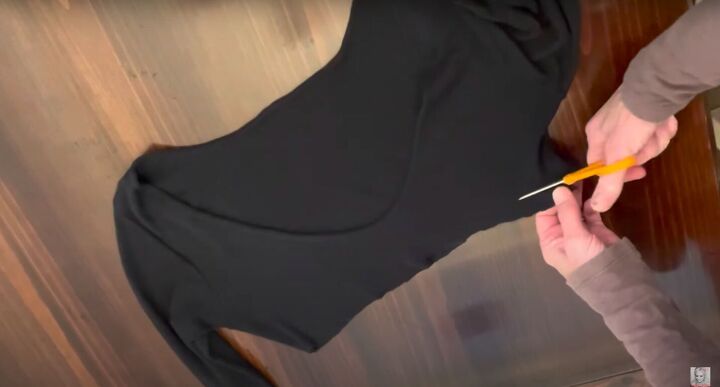
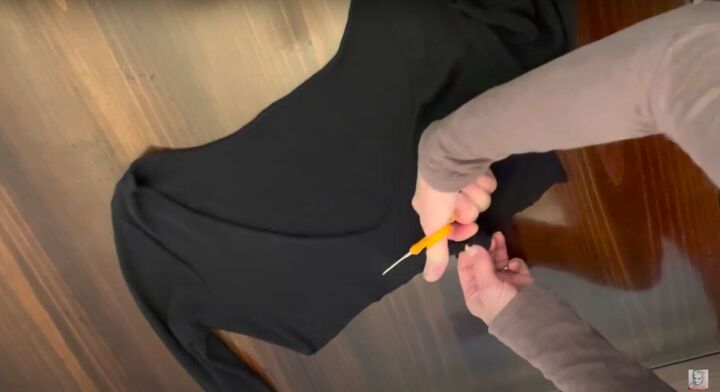
3. Cut the shirt
Once you have your measurement for the back, you are going to cut straight across using sharp fabric scissors.
Since the shirt is two layers, you are going to need to cut through the top layer first. Once the top layer is cut you can go ahead and cut through the bottom layer.

4. Measure out the hem for the front of the shirt
Use a tape measure to measure the distance between the neckline and the hem. Mine is 2.5 inches.
The neckline on this shirt is much lower than the neckline on my store-bought shrug. Because of this, I can't do the half-moon shape that is on that shrug because there is no room. However, I'm still going to take off a little.
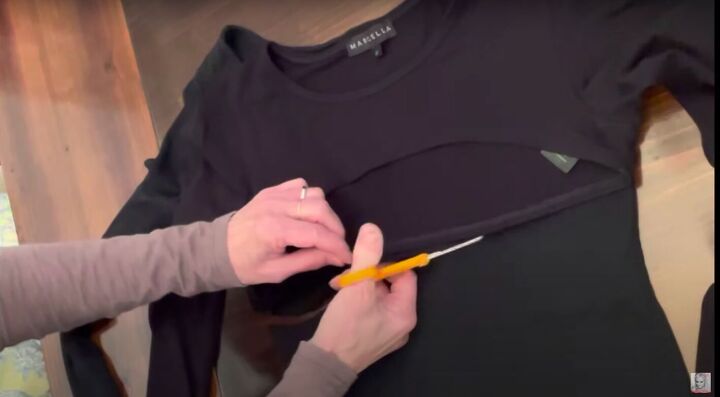
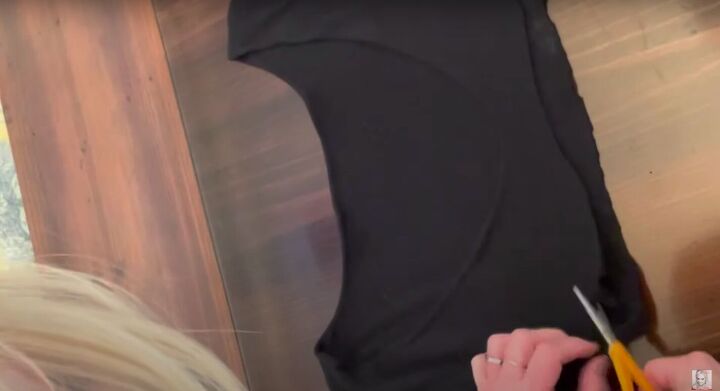
5. Cut the front of the shirt
Start a little higher up on the sides and cut across in a slight half-moon shape. It's totally fine to eyeball this. It doesn't need to be perfect.
Although there isn’t really enough space for the fun half-moon shape, I am still going to do a slight half-moon shaping by cutting in an upwards motion from the sides.
6. Inspect the shrug
Inspect the shrug and make any adjustments that you want with your scissors.
I am taking a little more off the front.
7. Clean up the edges
I didn’t use such a great pair of scissors, so I'm going to clean up the jagged edges now.
It is not necessary to hem this but if you would like to then by all means do it.

DIY long-sleeve shrug tutorial
This is it, the finished shrug. I just love the neckline and bell sleeves. This DIY long-sleeved shrug is a great way to reuse old shirts.
You can mix it up with a different colored tank top underneath to make the shrug pop. You can pair it with a high necked shirt underneath for a different look as well.
Shrugs are super versatile and you can mix and match and get as creative as you would like!
Try this DIY shrug tutorial at home and post in the comments below what you think.
The author may collect a small share of sales from the links on this page.


Comments
Join the conversation