How to Take in a Skirt by Yourself

I’m willing to bet there’s a skirt in your closet that’s too big on you. Maybe that gym membership has been paying off, or maybe you just fell in love with a skirt at the thrift store and bought it even though it wasn’t your size. In this tutorial, I’ll teach you how to take that skirt and make it fit perfectly again.
Tools and Materials:
- Skirt
- Cutting mat
- Ruler
- Pencil
- Rotary blade
- Sewing machine
- Sewing pins/clips
- Seam ripper
- Elastic (optional)
The first thing you need to do in order to take in your skirt is to remove the existing waistband. Use your seam ripper to pull apart the seam and remove the elastic from the skirt. Then just pull out any loose threads at the waistband.
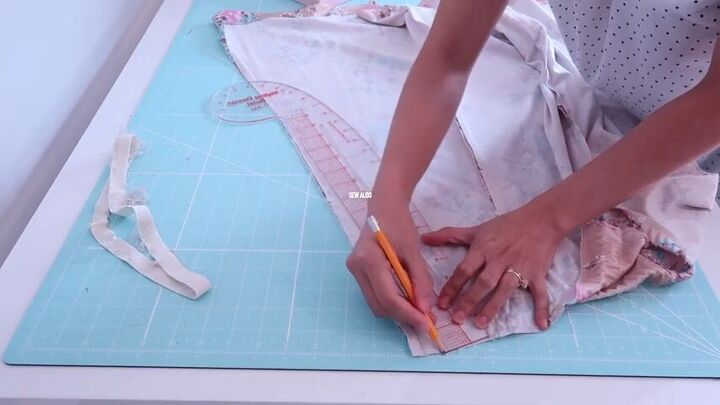
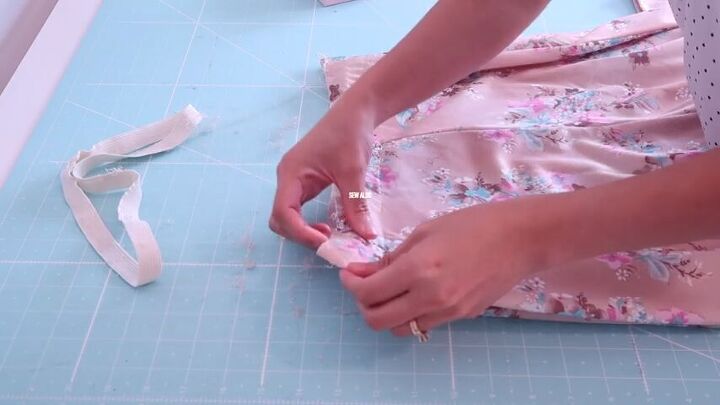
Decide how much you want to take in and mark those points on your skirt. I decided on ½” from both side seams. Then I tapered it by marking down 10” and connecting that point to the ½” marking I made. This allowed me to blend the new seam into the original seam. Do this on both sides. Once you’ve done that, just sew along those lines.
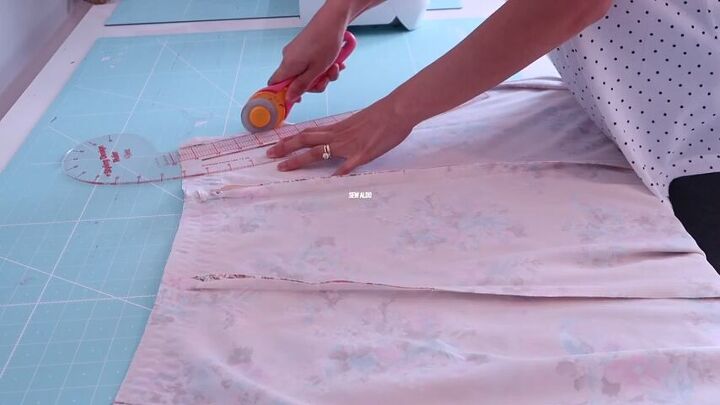
Take your rotary cutter and cut off the excess fabric from where you sewed your stitch. If you don’t already have a rotary cutter, I highly recommend it! It’s such a useful tool for tons of different projects.
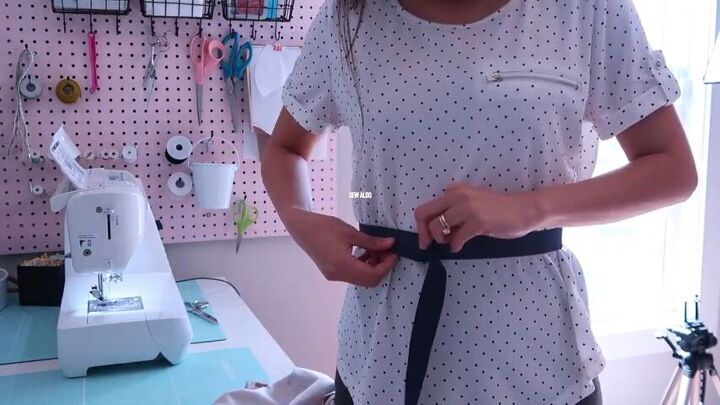
You can use the elastic that was already on the skirt, but I chose to use a new elastic, which was about 1” thick. First, you need to measure it to your preferred size. Do this by circling it around your waist. When you mark it, you want it to be a bit smaller on you since we’re going to end up stretching out the elastic by about an inch. Then cut your elastic to size and sew the ends.
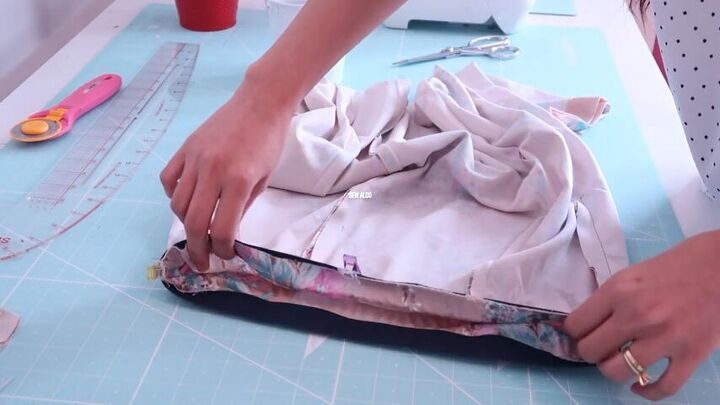
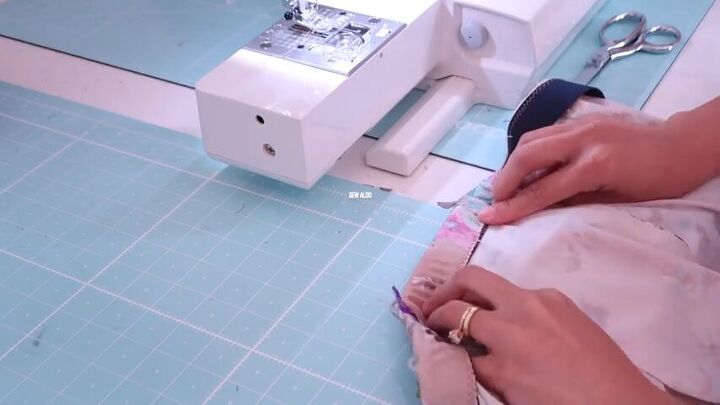
Line the elastic with the waistband of the skirt, first matching together the seams. Clip it into place and then sew it on with a zigzag stitch at the edge. If you have a serger you can use that as well, but if not, the zigzag stitch works just as well! You’re going to stretch the elastic along with the skirt as you sew it into place.
Fold over the top of the waistband so that it’s covering the elastic and make sure there are no wrinkles at the top edge of the waistline. Then sew down the fold using a straight stitch, stretching the elastic as you go around.
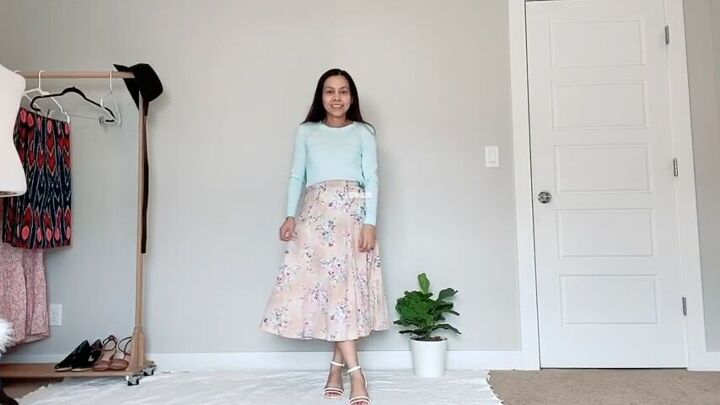
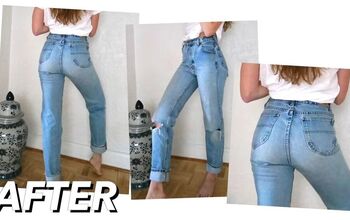
That’s it, guys! Just like that, your skirt will now fit you perfectly. I chose not to shorten the length because I was happy with it, but that’s definitely something you can do if you’d prefer. I love this project because it can be so sad when you have a skirt you love that you can no longer wear, or even when the store only has it in a size that’s too big, and this allows you to make it fit again. Show me the skirts that you’ve taken in in the comments below!
The author may collect a small share of sales from the links on this page.


Comments
Join the conversation
I have lost about 40 lbs from stage 4 cancer and can't seem to put the weight back on. I have 4 skirts to be taken in thank you for this! Can't wait to try !
I'm so sorry to hear about your sickness, I hope that you feel better soon. I'm glad to hear that this tutorial is helpful to you. ❤️