How to Make a Cropped Rash Guard With Long Sleeves

It’s time to soak up the sunrays and enjoy some time in the water! In this tutorial, I am going to show you how to make a cropped rash guard with long sleeves that’s also reversible, for double the fun!
A rash guard not only protects your skin from the sun, but also looks pretty rad as a surfer-style bikini top too. Keep on scrolling to find out how to make an easy rash guard.
Tools and materials:
- Swimwear fabric
- Swimwear elastic
- Seam ripper
- Cutting tool
- Pins or clips
- Thread
- Sewing machine
- Pattern
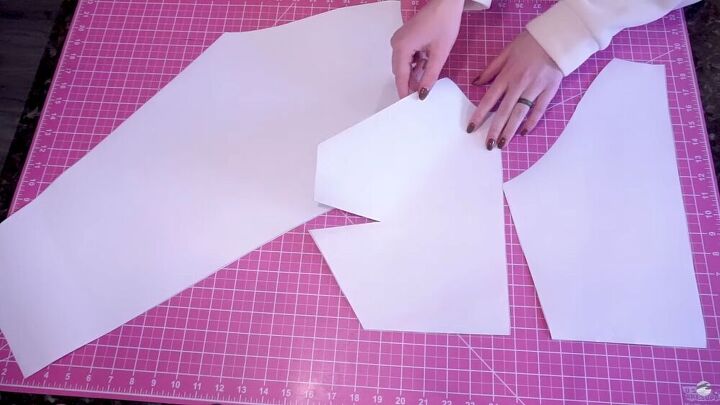
1. Cut out your pattern
First, download my Layne Top digital pattern in the appropriate size. Then, print and cut the paper pieces.
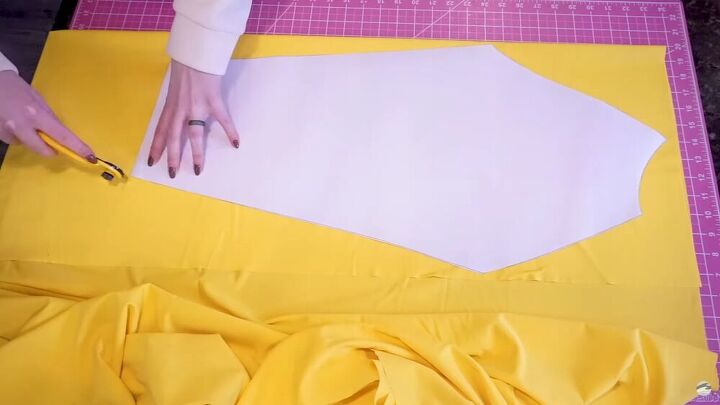
2. Cut out the fabric pieces
Using your cutting tool, cut two pieces of each pattern piece. To make cutting time faster, you can cut the main body pieces on a fold. However, the sleeves aren't symmetrical and should be cut separately.
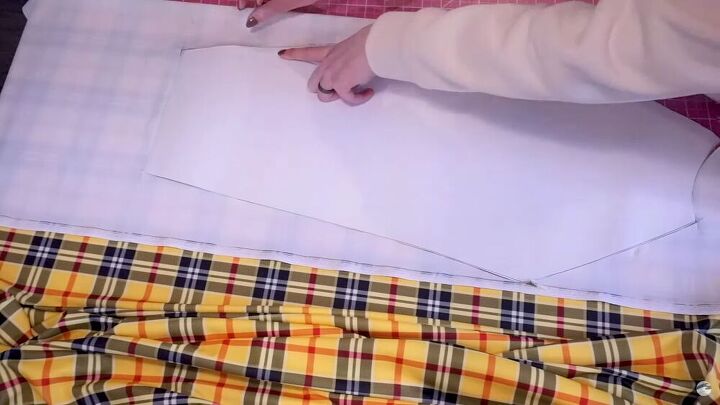
Now, do the same on the second set of fabric.
3. Start sewing your rash guard
Start with making darts on the two front pieces, which help shape the rash guard around the bust. Fold the darts right sides together, then sew along the raw edges.
A quarter-inch seam allowance is included in the pattern, so consider that when sewing.
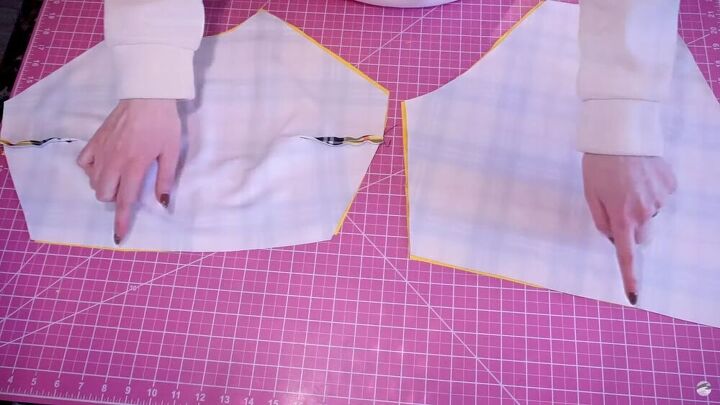
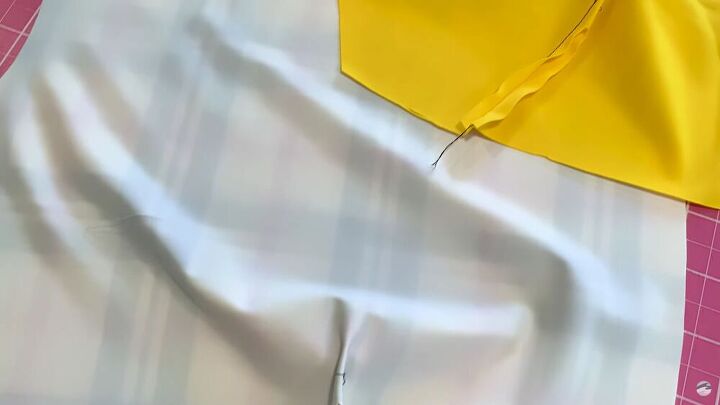
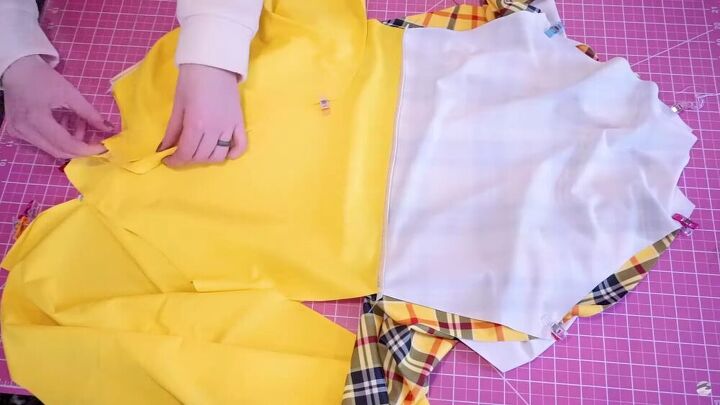
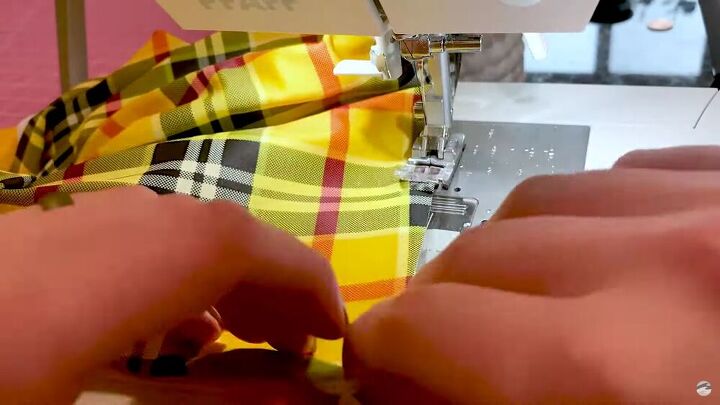
Now, this step is a little unusual, but hear me out! Match every piece, with exterior sides facing inwards. Then, only sew along the bottom line for the front and back pieces.
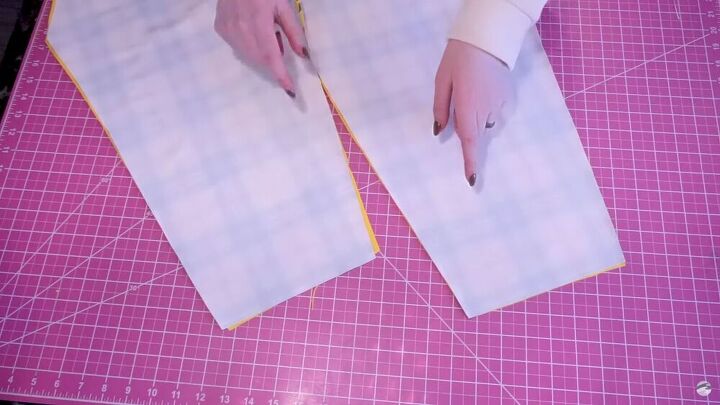
For the sleeve pieces, only sew at the wrist.
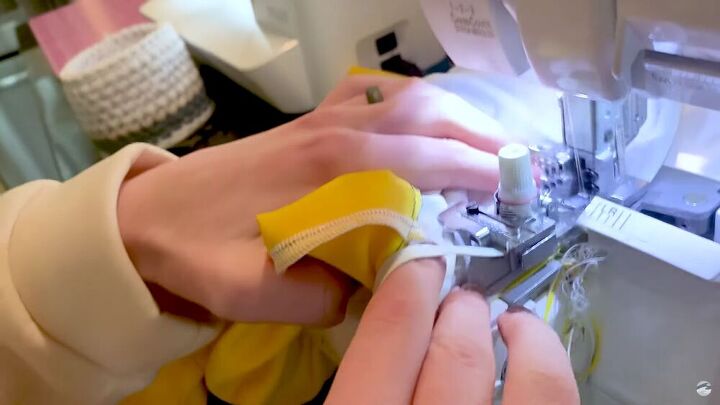
Next, attach elastic to the wrist seam.
4. Attach the sleeves
You’ll notice that the pattern shows a distinct side to the sleeves that should match the front bodice. The same applies to the back bodice, but we’ll get to that after.
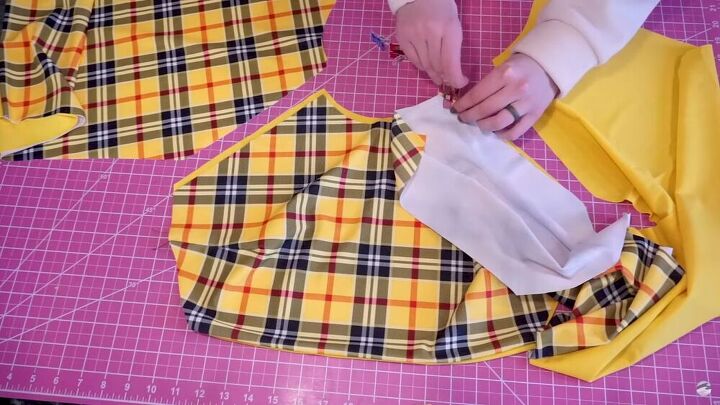
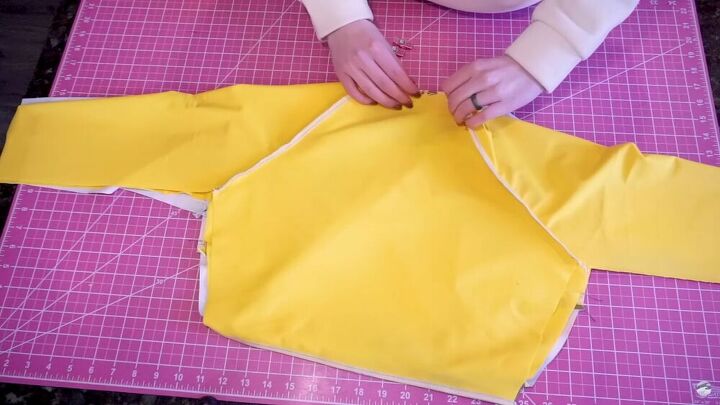
Match up the front side of your front sleeve to the front piece of the bodice. Match them so that the fabric is facing right sides together. Pin as needed.
Do the same to the lining, and pay very close attention that they are also right sides facing.
Now, sew to secure each sleeve to the front piece.
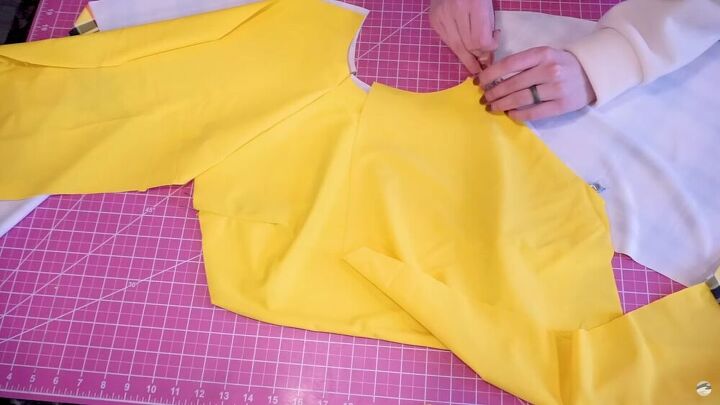
Next, it’s time to repeat the same steps on the back bodice. This time though, lay your front piece open, right sides facing up, then lay your open back piece on top, right sides down.
Go ahead and pin the sleeves to the back rash guard bodice, then sew them in place.
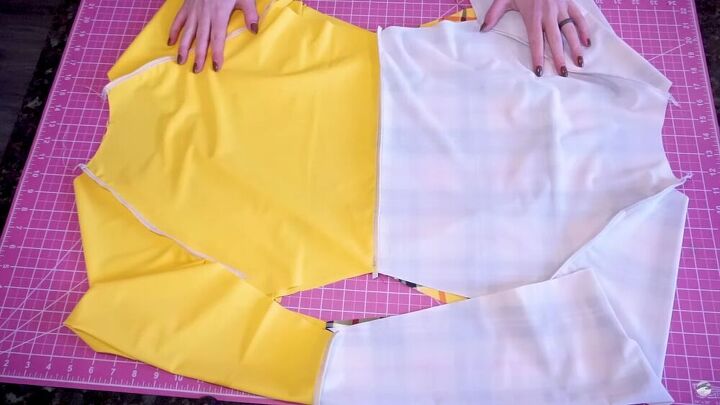
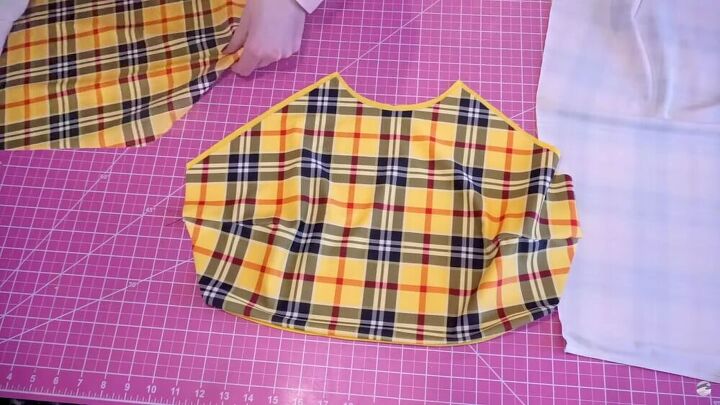
This is what you should end up with.

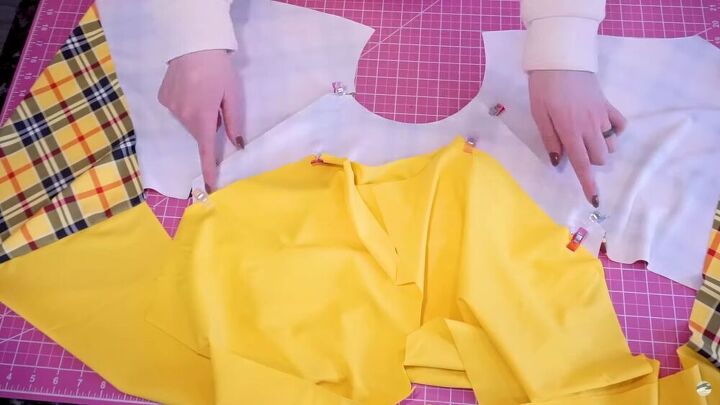
Flip the pieces, so that the front and back are lying against each other. You should now notice that the whole cropped rash guard is lining up nicely.
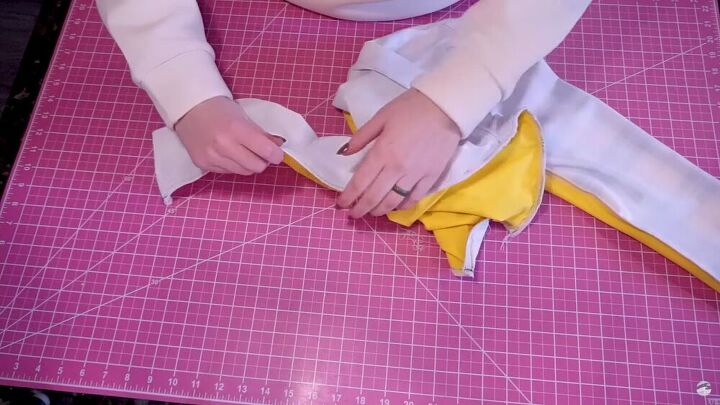
5. Sew the collar
Pin the lining and main fabric pieces of the back collar together. Pin at the seam of the collar, making sure that you only pin two layers of fabric.
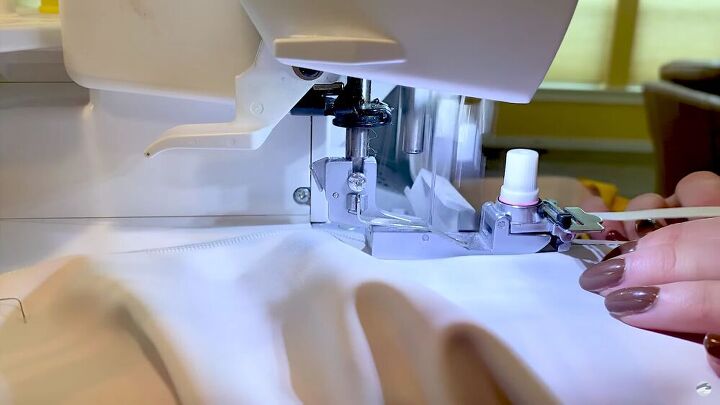
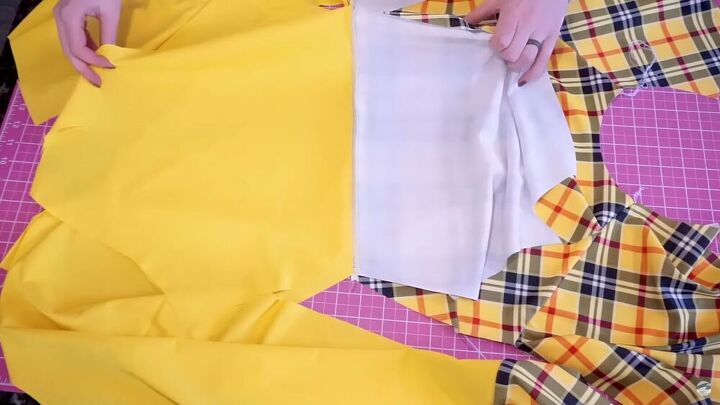
Then, go ahead and sew. I recommend using elastic for this step. Also, as you sew, pull the entire collar through, which will finish the collar for the front and the back pieces.
6. Sew the remaining seams
Ok, now go ahead and pin the side seams. Pin all four layers from the wrist down to the waistline.
Sew the entire seam in one stitch. I found that a basting stitch gets the job done for this step. Sew two layers with the basting stitch, and then all four layers with an overlock stitch. Repeat this on the other side.
After, break the basting stitches or remove them to make sure the rash guard will stretch.
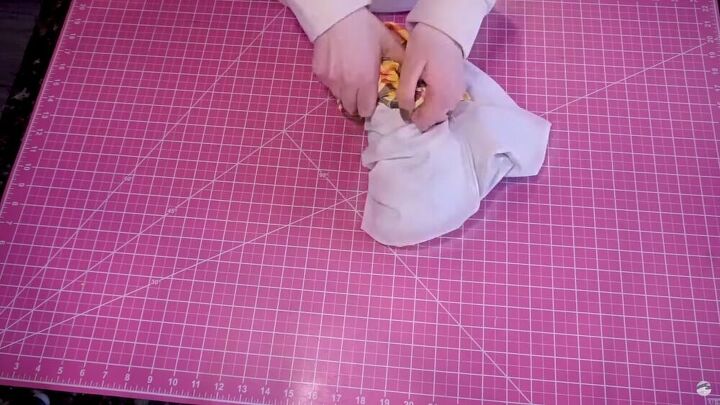
With a seam ripper, rip a hole along an existing seam. Through this hole, turn your cropped rash guard inside out. Then, close the gap with an invisible stitch.

I adore this cropped rash guard with long sleeves, especially that it's also reversible, so I get double the wear. I can match the pattern with bikini bottoms, or mix and match with a plain yellow top.
Thank you for tuning into my rash guard tutorial. I hope you now know how to make a rash guard from scratch! It’s pretty easy, isn’t it?
The author may collect a small share of sales from the links on this page.


Comments
Join the conversation
cute, plus no burn for you and looks great even when windy and cool out.