4 Easy Methods to Transform a T-shirt Into a V-neck Top

Hey everyone! Today, I’m going to show you 4 different methods to assemble the band when sewing a t-shirt with a V-neck.
These are 4 simple techniques you can choose from, and the first step and the final step of attaching the band to the shirt is the same for all methods.
Let’s get started and learn how to make a V-neck out of a t-shirt.
Tools and materials:
- Pins
- Fabric
- Seger/sewing machine
- Scissors
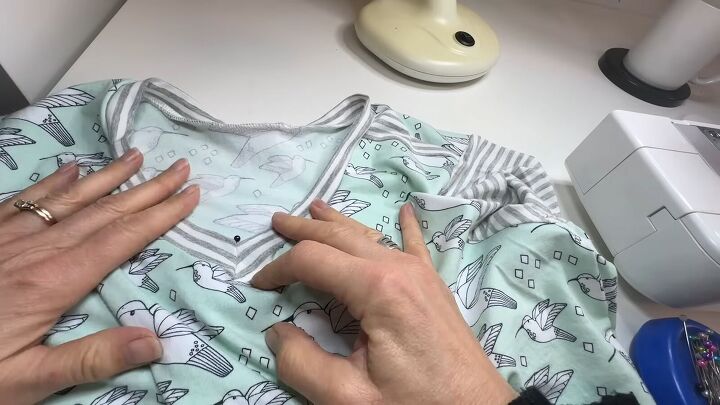
Prepping t-shirt
Make a little notch at the center back of your shirt. Make a strip of fabric that’s 2 inches wide and extra long.

Make sure you cut the fabric so the stretch goes along the length.
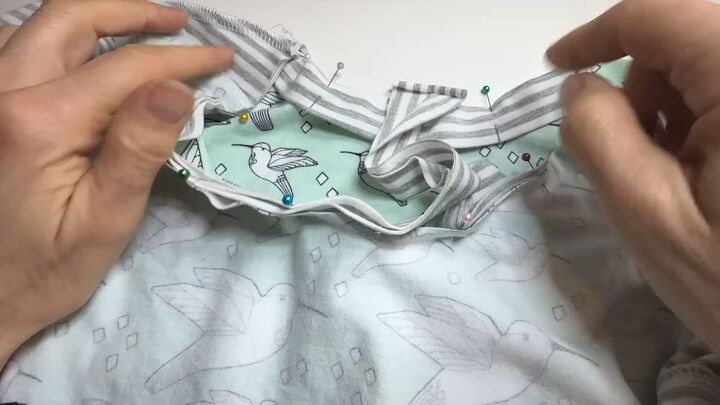
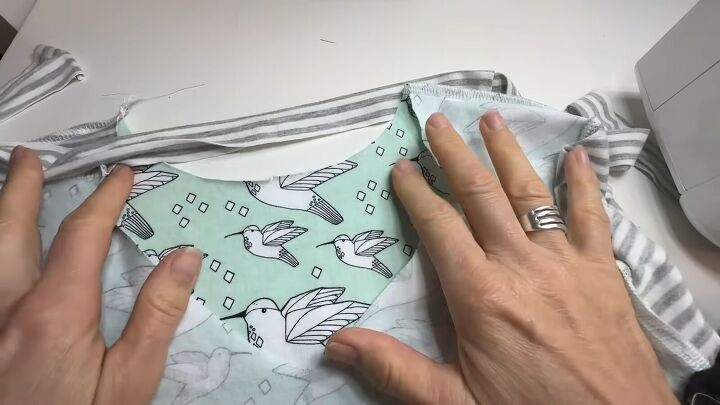
Start to pin the strip from the center back. The strip will need to stretch a bit as you pin.
You’ll be pinning right sides together on both sides until you reach the V.

Serge what you’ve pinned.
If you don’t have a serger you can use a regular straight stitch and a zigzag stitch along the edges to prevent fraying.
Technique 1: Overlap
The first technique I’ll show you is how to neatly overlap the edges at the V. This is probably the simplest technique.
Simply lay one side down and overlap the other.
Once it’s laid neatly, pin it at the center, and along both edges.
Then sew the edges together. Then cut off the extra fabric.
Once it’s sewn together, you can sew it to the V using the final step explained at the bottom of this article.
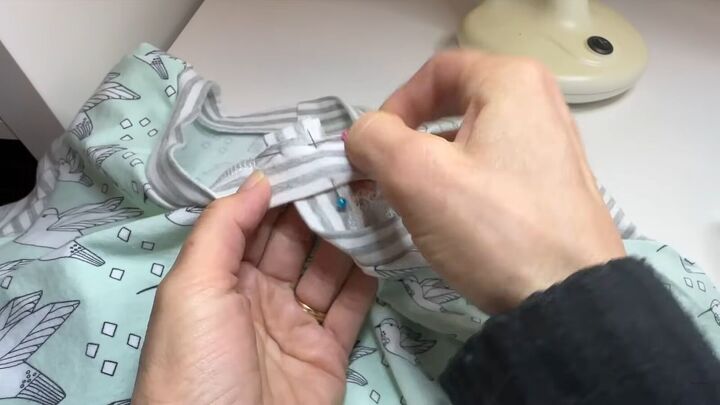
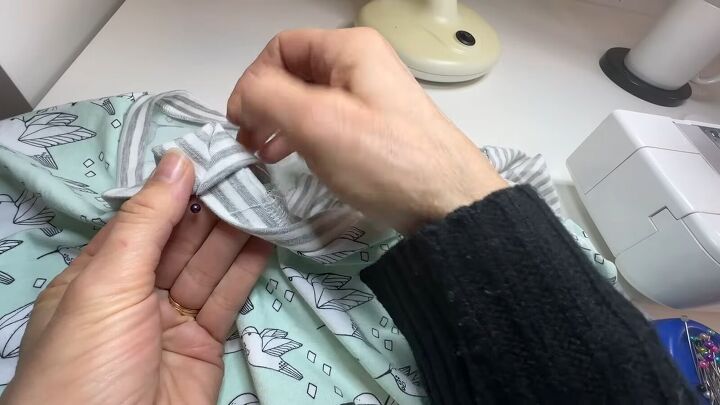
Technique 2: Sew and fold back
Overlap the ends and stick a pin vertically at the V. The pin should be going from where it crosses at the top, to where it crosses at the bottom.
Duplicate that pin on the inside of the band as well.
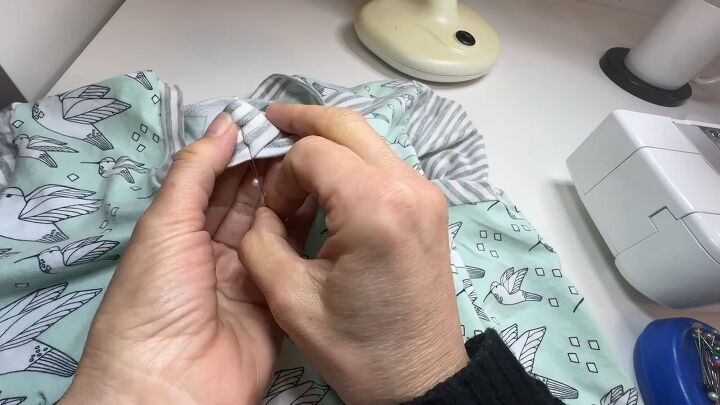
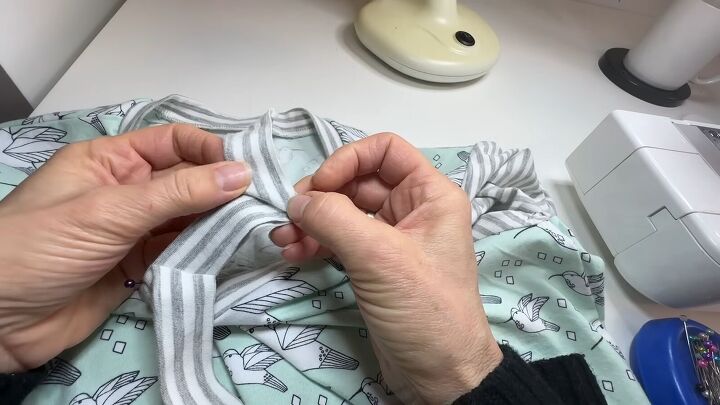
Now take the top pin out and pin it again in the same position in only the top layer of fabric.
Now take a 3rd pin, connect everything, and remove the first two pins.
When you’re sewing the inside edges will simply double back on themselves.
After you sew them together, fold them back onto themselves and you sew that down and cut off the extra.
Just make sure the V sits properly in the V of the shirt.
Technique 3: Make a dart
This technique is used if you have one continuous band that fits exactly to the neck.
In this case, you would form the V by sewing the fabric together at that angle.
You find the point that it sits nicely in the V and make that dart.
Technique 4: Sew the V from the inside
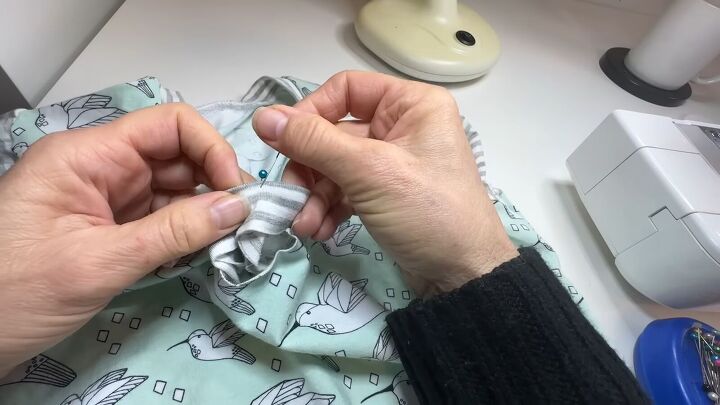
In this case, you would pin it in the same way you did for the sew and fold-back technique.
Then cut the extra fabric past the pin, just enough for seam allowance.
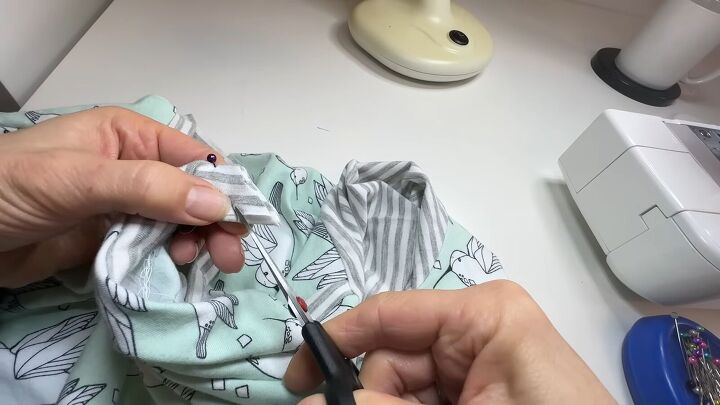
Cut a little notch at the pin to indicate how big the seam allowance is.
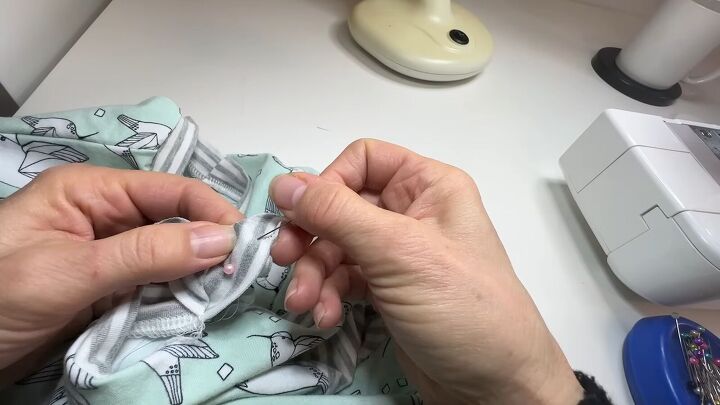
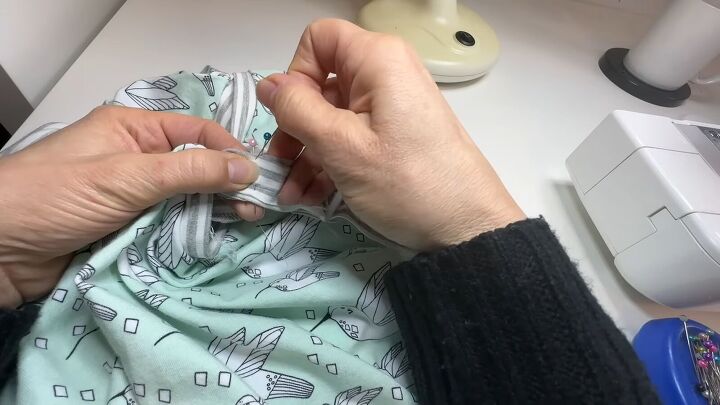
Remove the pin and keep the edges right sides together, pinching the 2 middle layers. Open the top layers.
Then you can see exactly where you’ll need to sew.
Pin those together. Use a regular sewing machine with a ballpoint needle and sew down and back up along the V.
Then that opens out to be a perfect V.
Cut off the extra fabric of the seam allowance and you’re ready to sew in place on the shirt.
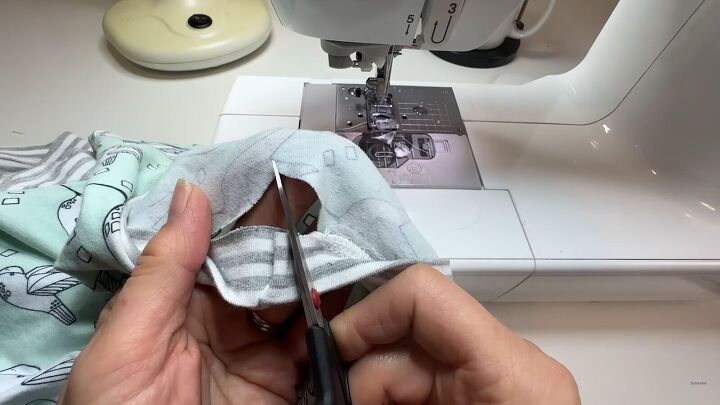
Sewing the final V
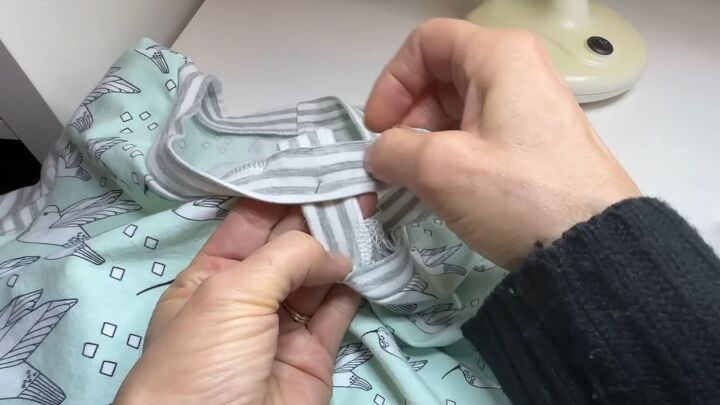
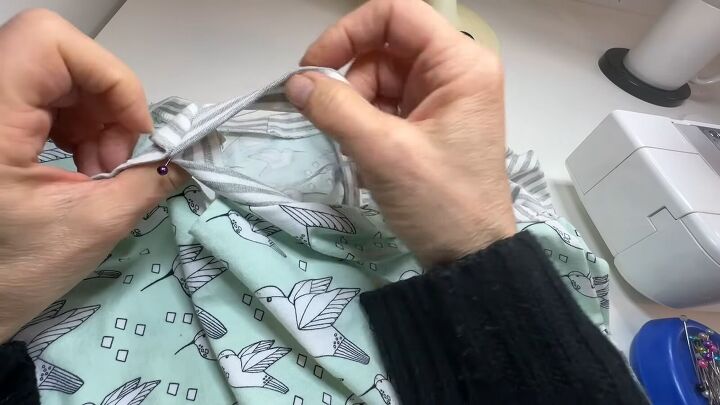
Now let’s sew the strip into the neckline. Snip a little notch on the V of the shirt, no bigger than your seam allowance.
That little clipped area needs to spread out along the V of the strip.
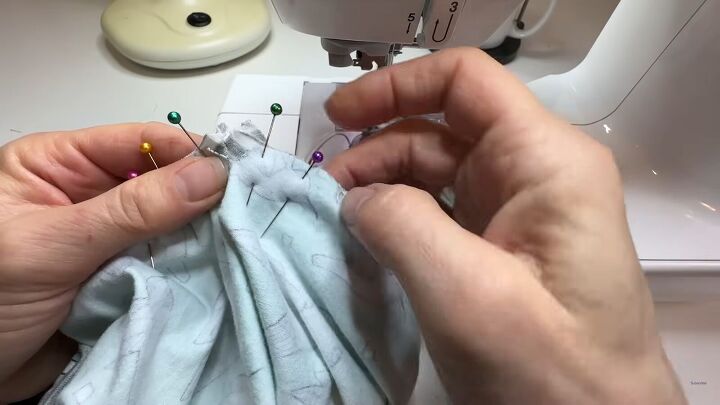
Open that out, bring the edges together, and pin them in place.
This is how the V gets constructed at the end of any of the 4 methods I’ve shown you. Sew down towards that notch in the V of the shirt, pivot, and sew up to the other side.
Before bringing it to the serger, check the outside to make sure everything is sitting right. Then serge the V.
One last optional step you can add if you want is to stitch along the outside of the shirt around the edges of the strip to keep the seam allowance down.
That will also create a more finished look. I’m opting not to do that on mine because I made a sleepwear shirt.
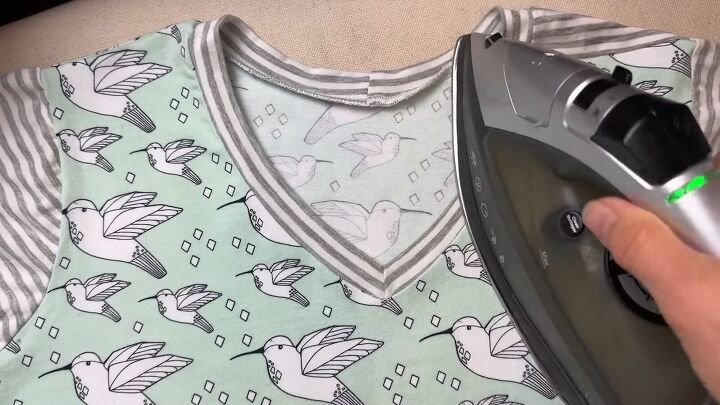
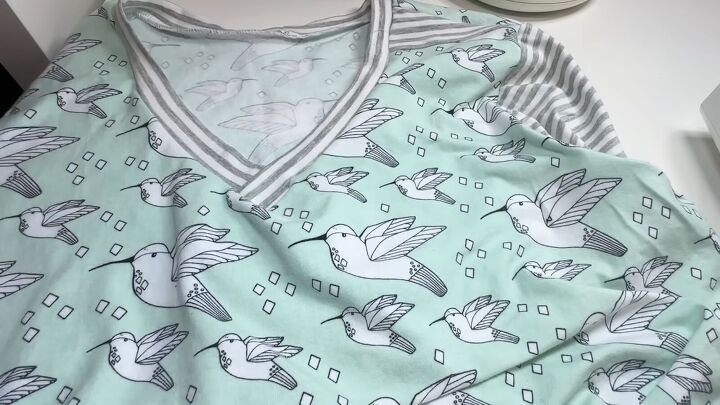
Give the shirt a final press and you’re all done.
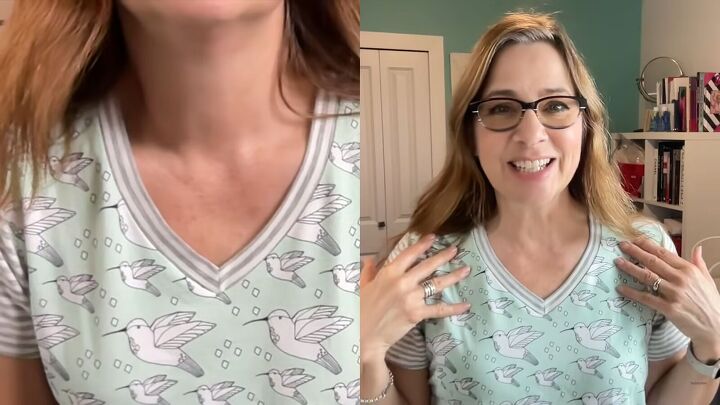
DIY t-shirt with A v-neck
I hope you guys enjoyed learning how to make a V-neck shirt.
A DIY V-neck t-shirt is a simple and achievable task.
Any of the 4 techniques I’ve shown you will give you a gorgeous and professional quality V-neck.
Leave me a comment to let me know which method you like the most.
Next, learn How to Add Side Seam Pockets to Pants.
The author may collect a small share of sales from the links on this page.


Comments
Join the conversation