How to Add Side Seam Pockets to Pants

I wish all trousers came with side seam pockets, but unfortunately they don’t. However, under the right conditions, it’s not difficult to add them.
Today, I’m going to show you how to add pockets to your pants.
I’m using this method because my trousers are slightly too big on the hips and about 1.25 inches too long.
Tools and materials:
- Slightly oversized trousers
- Lining fabric
- Piece of paper
- Pencil
- Seam ripper
- Scissors
- Pins
- Measuring tape
- Sewing machine
- Serger (optional)
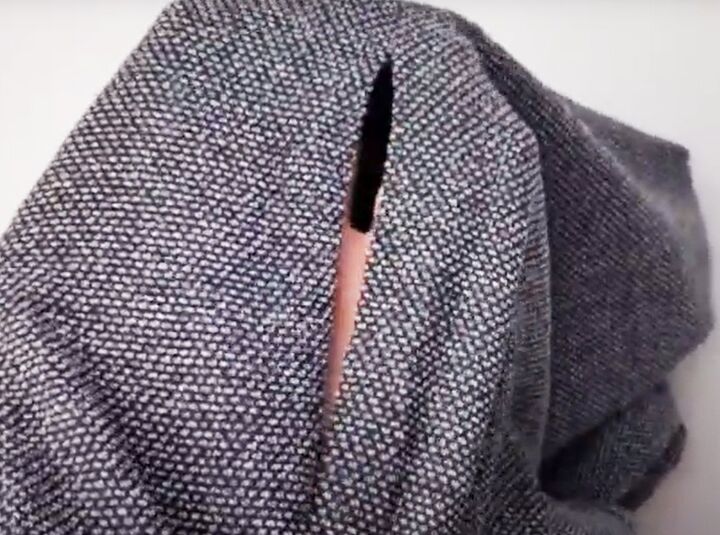
1. Unpick the side seam
Open up the side seam from about 1 inch below the waistband for 6 or 7 inches.
2. Make the side seam pocket pattern
Use a pair of pants with pockets to judge the side of the pocket you need. You should be able to fit your whole hand in it.
My pocket was 9.5 inches by 7 inches. I drew a rectangle of that size on to a piece of paper and checked it would fit in the side seam opening.
I curved the edges of the rectangle and cut it out.
You’ll need to cut out four pocket pieces in total from any scrap lining fabric.
3. Make the pocket facing
Cut off the hem of the pants to the length you need.
Cut each hem in half widthways and join the long raw edges with a narrow seam so each piece is at least 1.5 inches wide.
Pin the facings to the long straight edge of two of the pocket pieces, with the wrong sides together.
Sew across the top and bottom and down the side outer edge with a straight stitch.
Zigzag stitch along the inner long edge, stitching the facing flat to the pocket.
Trim off any excess facing.
4. Attach the pockets
The pieces with the facing need to be sewn to the back seam of the opening.
Pin the facing to the back seam allowance, placing it as close to the waistband as you can.
Sew them together along the original sewing line.
Make sure that you’re only sewing through the two layers and that the seam remains open.
Pin and sew the plain pocket piece to the other seam allowance. You can sew closer to the edge on this side, ignoring the original seam line.
You’re now going to sew the rounded edges of the two pocket bags together. There will be a difference in the width of each side, because of the facing.
Pin and sew them together along the edge of the smaller piece.
If you have a serger, use that to trim and finish the edges. Otherwise, cut off the excess and zigzag stitch the raw edge.
Complete the pocket by sewing or serging the straight top edges of the bag pieces to the bottom edge of the waistband.
Finish the raw edges.
Complete the second pocket to match.
5. Finishing
Close the seam opening at the bottom of each pocket by sewing along the original seam line.
Make sure to tuck the pocket out of the way so you don’t catch it in the stitches.
I took the opportunity to make a slightly wider seam, as my pants were still a little large on me.
Side seam pockets
My trousers feel so much more comfortable with those side pockets!
As you can see, the facing covers the edge of the pocket beautifully. It doesn’t gape at all and the lining isn’t visible.
And it was pretty easy to do! I hope you found this useful and you’ll try adding side seam pockets yourself.
If you have any questions or comments, please drop me a line below.
Next, learn How to Easily Change a T-shirt's Neckline.
Enjoyed the project?
Suggested materials:
- Slightly oversized trousers
- Lining fabric
- Piece of paper
- Pencil
- Seam ripper
- Scissors
- Pins
- Measuring tape
- Sewing machine
- Serger (optional)
The author may collect a small share of sales from the links on this page.


Comments
Join the conversation